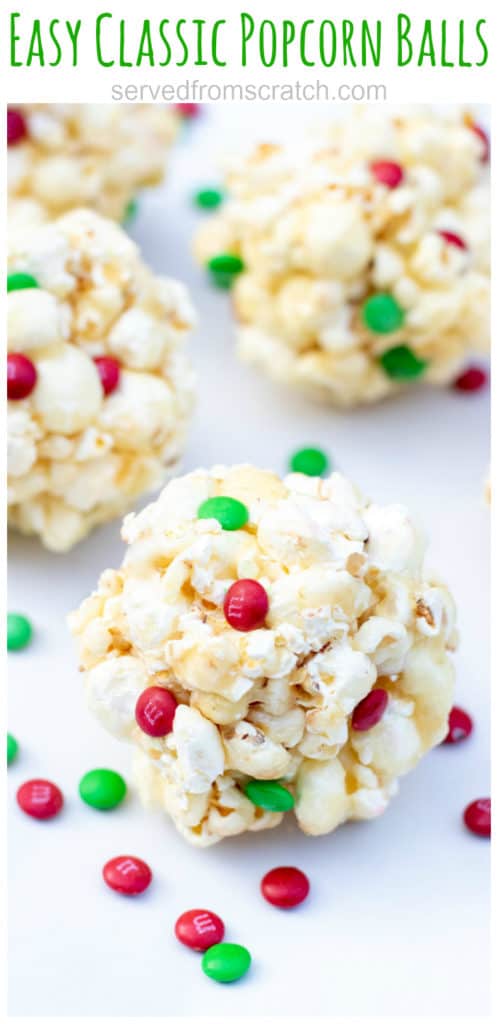
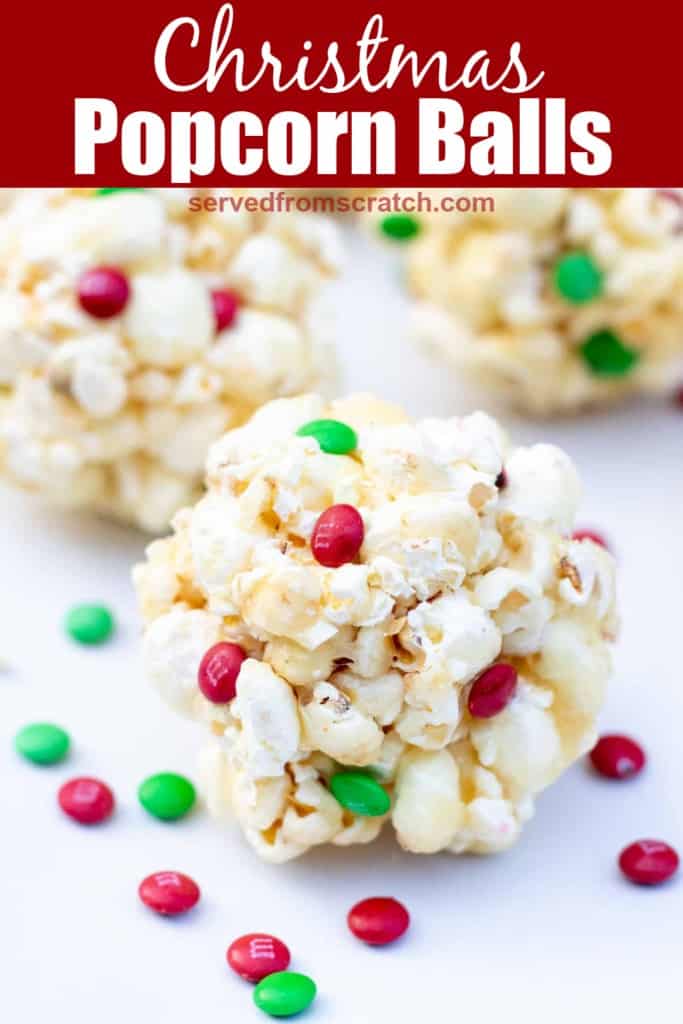
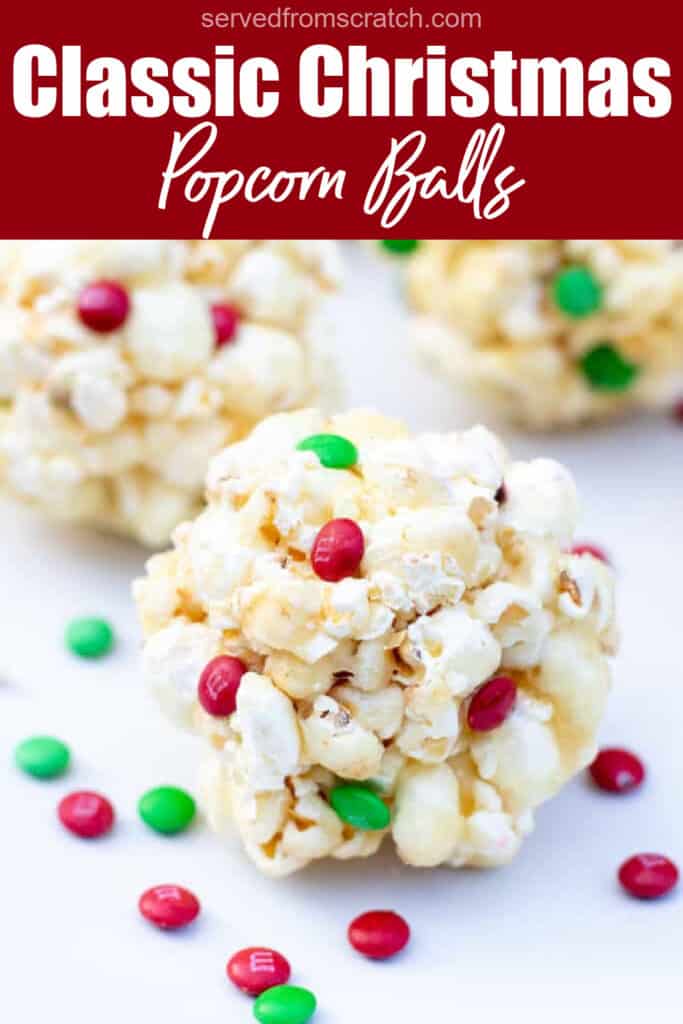
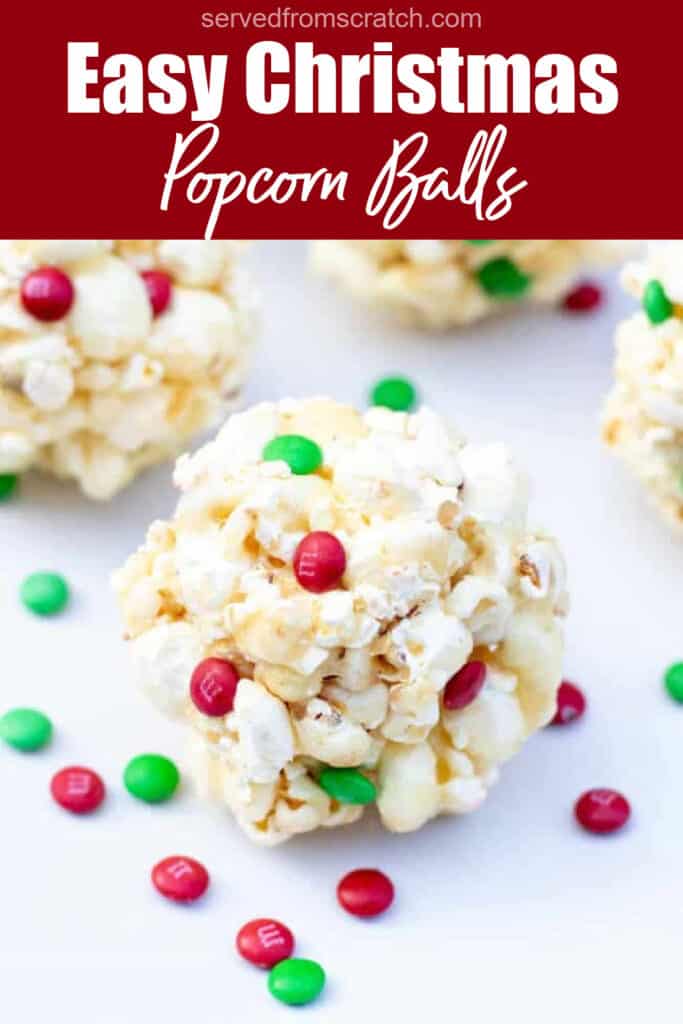
It's a childhood favorite! These Easy Classic Christmas Popcorn Balls are a super fun, nostalgic treat to make for the holidays!
It's the most wonderful time of the year!! Bring on the Christmas music, lights, decorations, sweets, and especially the traditions. These Easy Classic Christmas Popcorn Balls are one of my favorite Christmas treats that I'm so excited to share with my girls.
What is a Popcorn Ball?
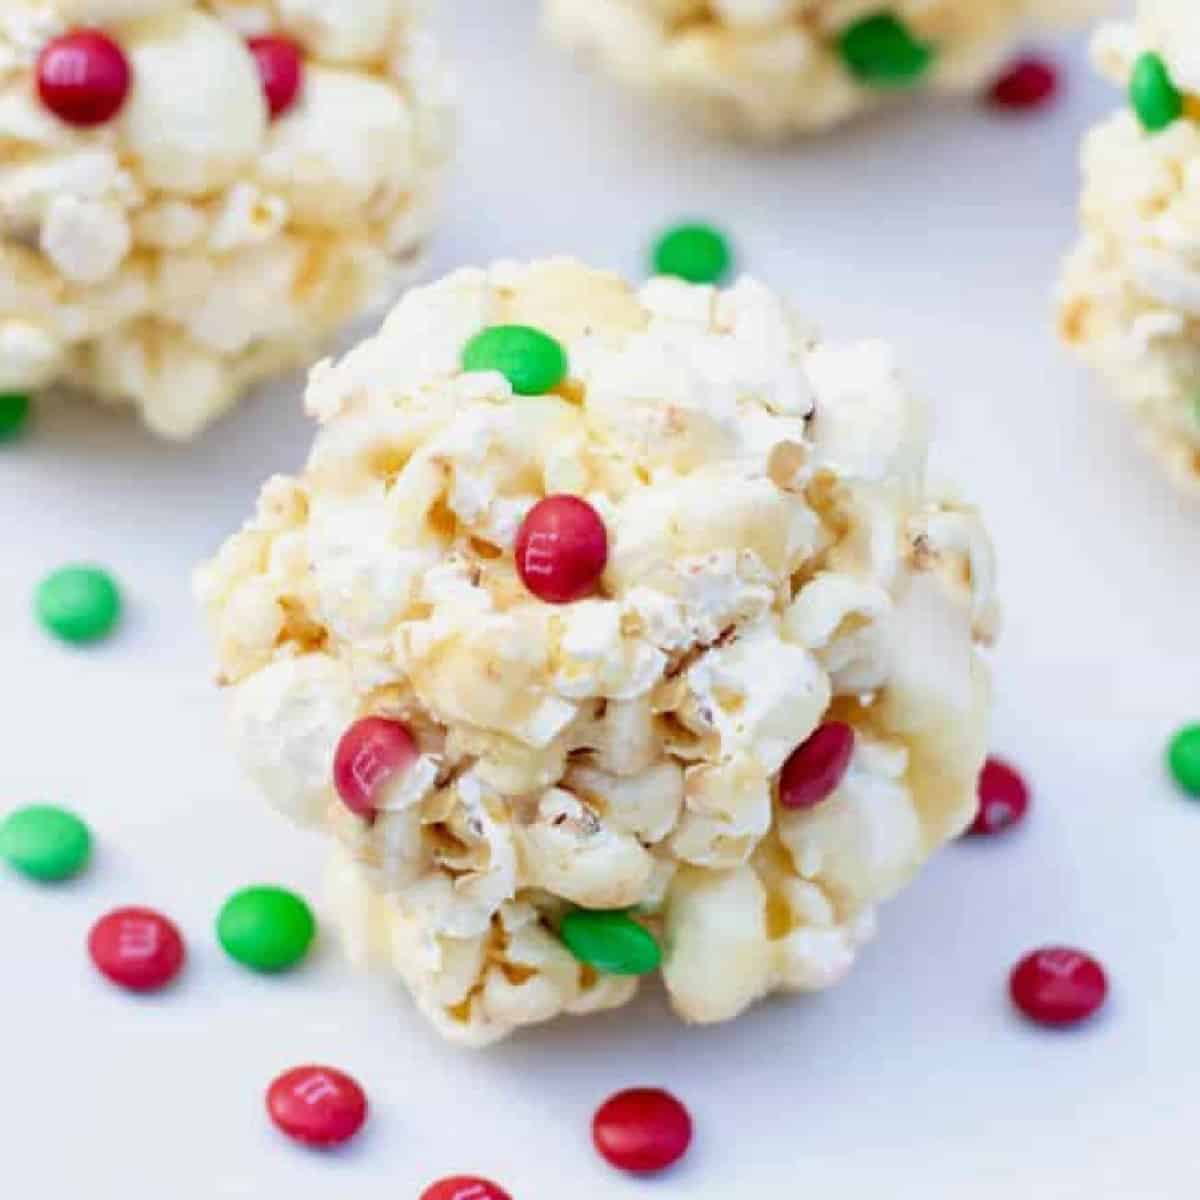
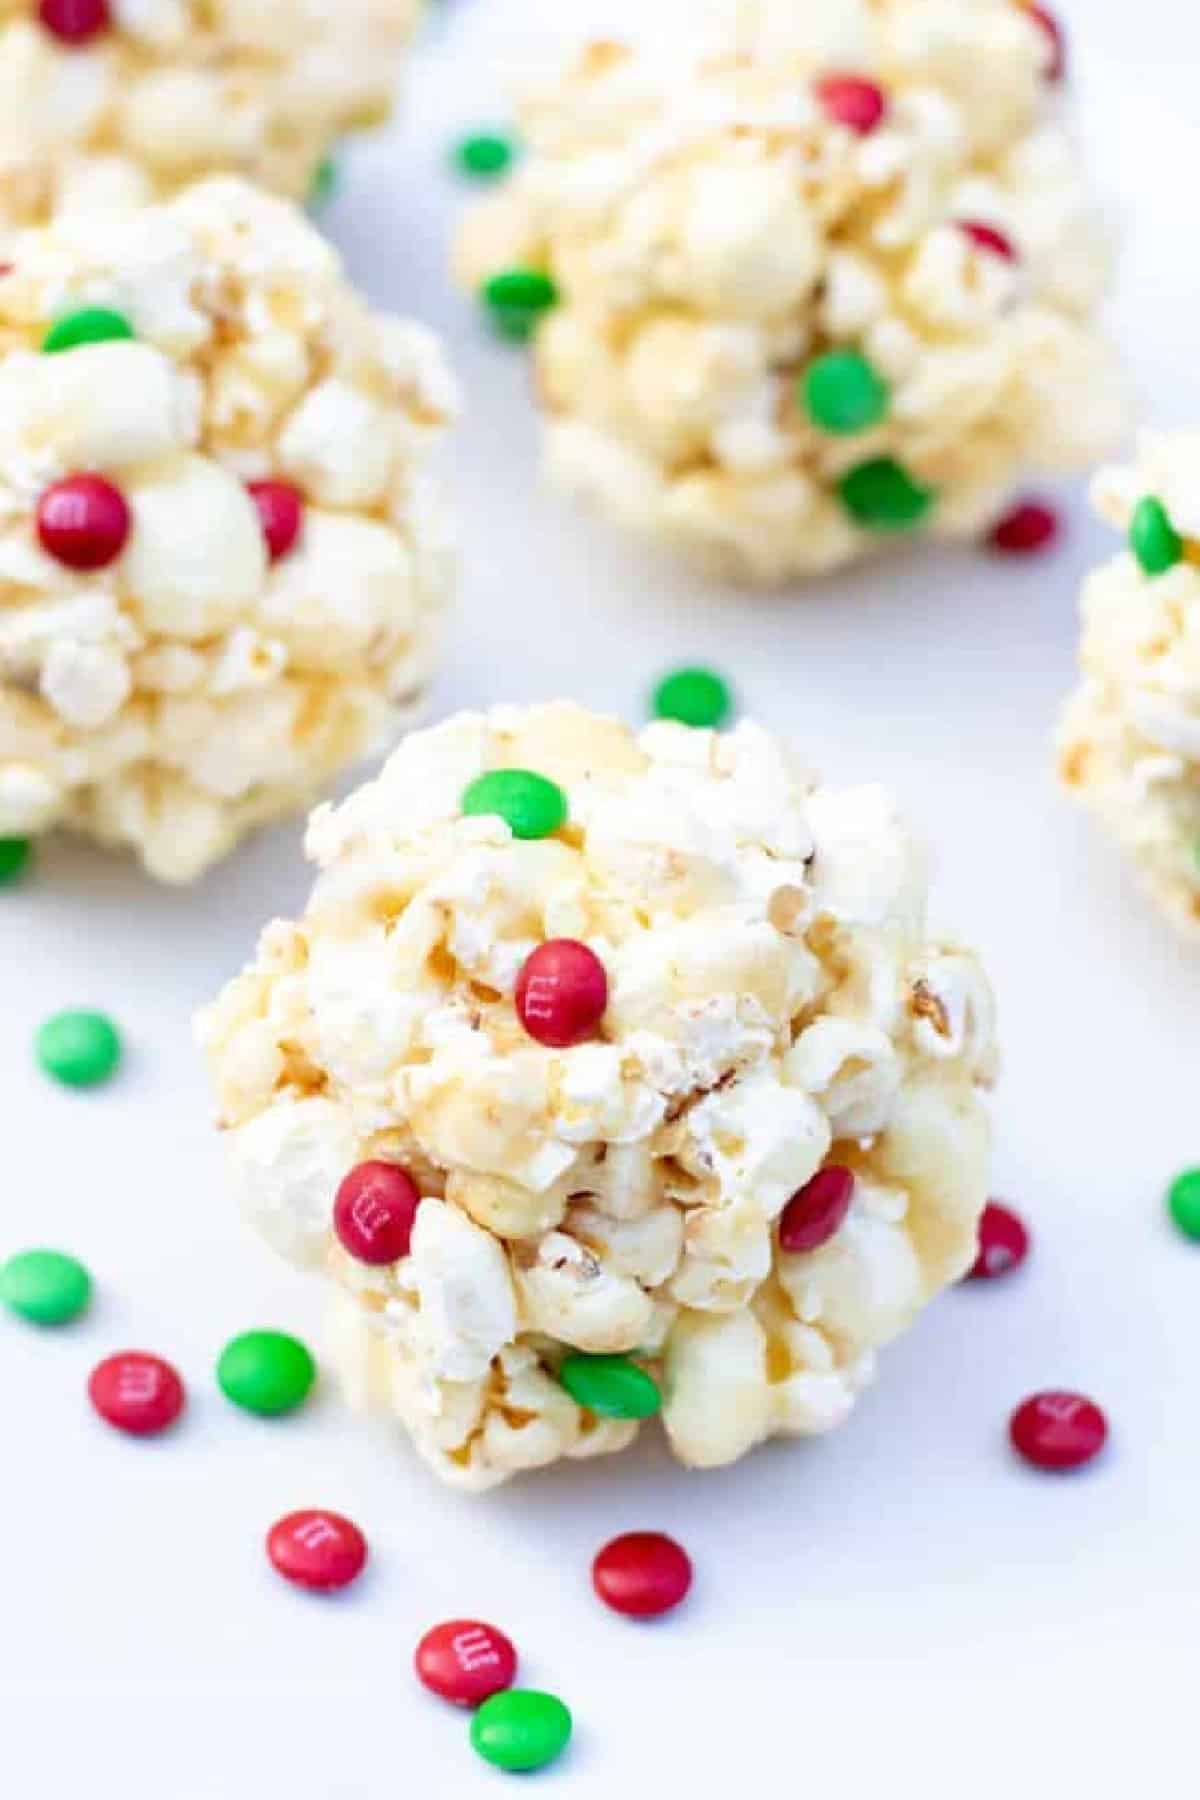
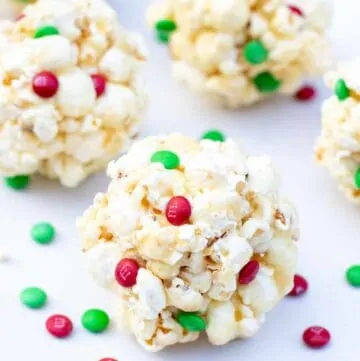
Just a sweet, crunchy ball of my favorite snack ever, that's what! They're a little sweet. They're a little salty. They're sticky and they're crunchy. The perfect kind of annual Christmas treat if you ask me!
They're perfect for a holiday gift bag because homemade popcorn balls if wrapped in plastic, will last up to 5-7 days - although eaten freshly made is definitely the best!
Ingredients Needed
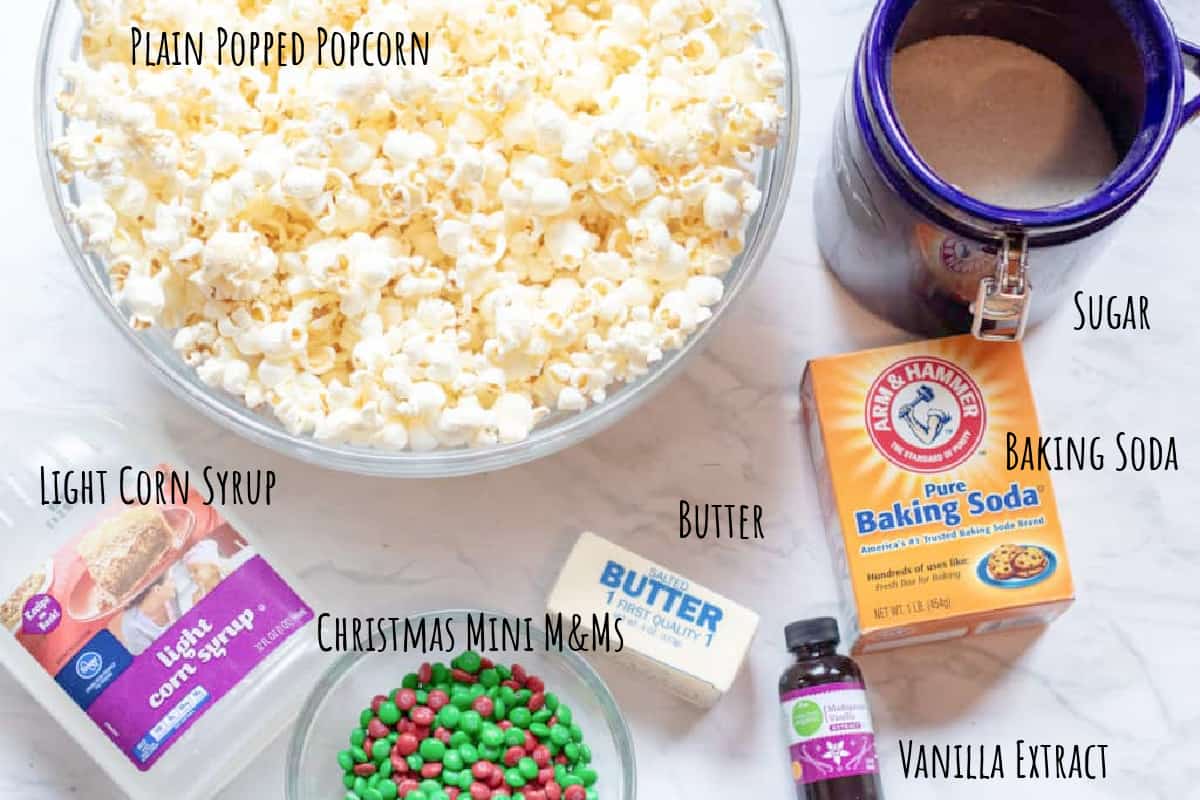
- Plain Popped Popcorn - We use an air popper for this.
- Light Corn Syrup - While we usually don't like to use corn syrup around here, we've tried to make them without it and they're just not the same.
- Butter - We like to use salted before of the little bit of salt it brings. You can absolutely use unsalted though, too.
- Vanilla Extract - Use your favorite brand, or make your own!
- Baking Soda - Just a touch!
- Mini M&Ms or Sprinkles! - Just a few to add a little Christmas spirit to these homemade popcorn balls!
How to Make Popcorn Balls
They're so easy!
Make your Popcorn - Use your air popper or another favorite method of making popcorn (although remember the popcorn in a microwavable package is flavored!)
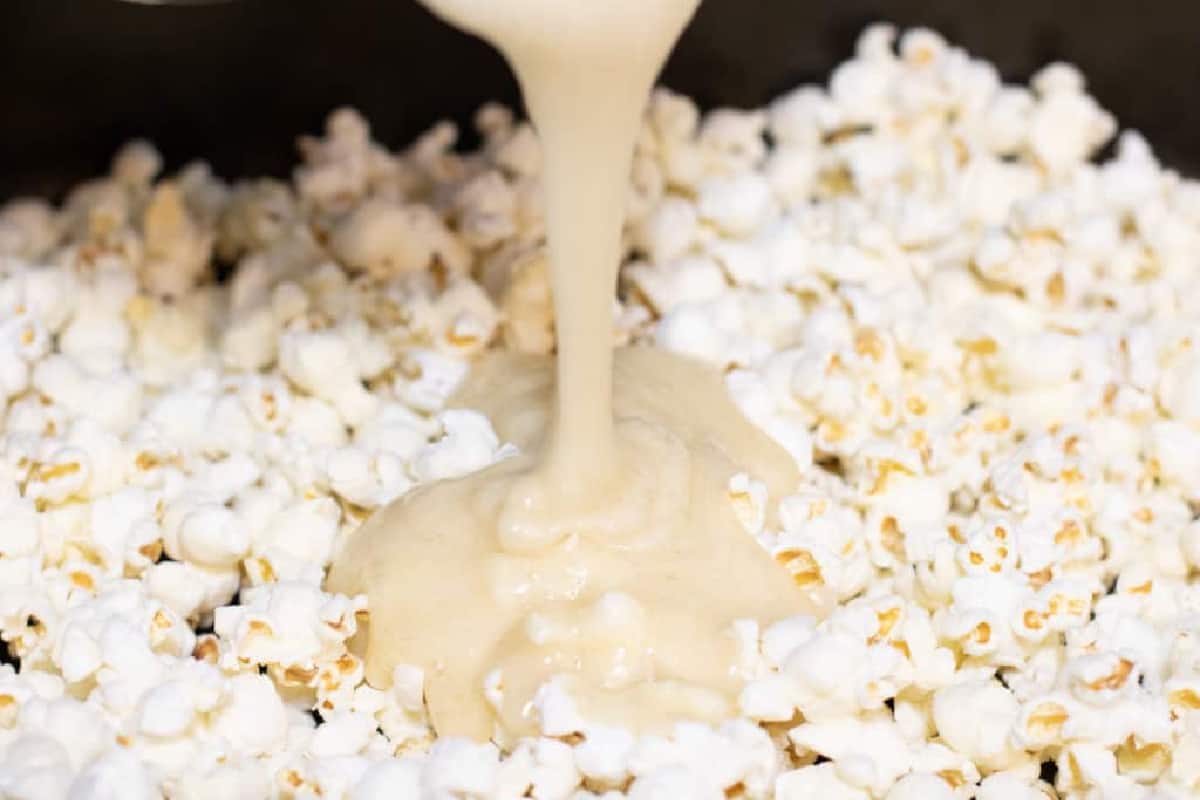
Make the Syrup- What keeps it all together is a melted mixture of the butter, sugar, vanilla, baking soda, and light corn syrup, which is poured over the fresh-popped popcorn.
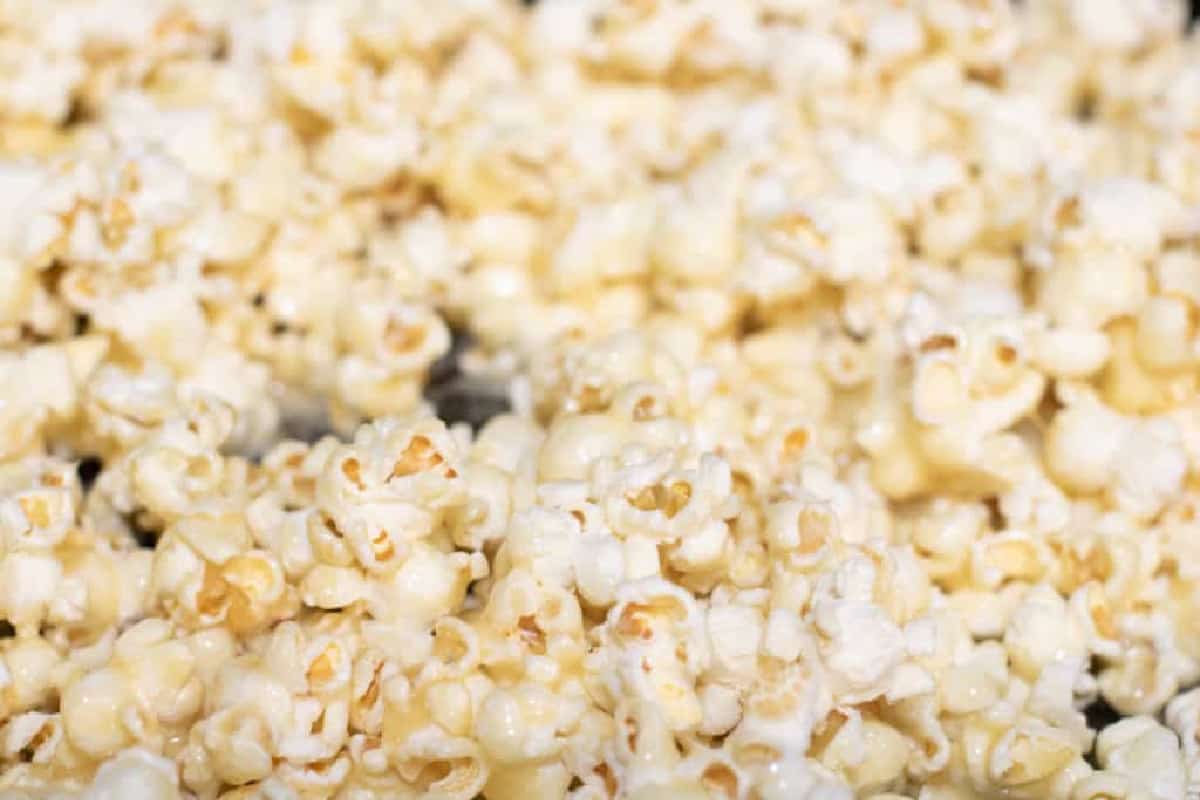
Mix and Shape! This is the tricky part because the mixture will be hot, but also it cools very quickly, and your need to shape them before it cools completely. Plus, in order to have any of the M&Ms stick, you'll need the mixture to be a little bit sticky still.
Homemade Popcorn Ball Making Tips
Keep the Popcorn Warm. Once you have your popped popcorn, add it to a warmed oven to keep the popcorn warm, this will help prevent the syrup from cooling too quickly when it's added.
Use food-grade gloves. After many years of been making these popcorn balls, the first time I used gloves, it was a game changer. Not only did it protect my hands to be able to immediately shape the balls, but also it kept my hands nice n' clean! While not totally necessary, trust me, it'll make it so much easier. Plus they're just great to have in the kitchen, especially if you want to shape some fresh homemade mozzarella!
Add the syrup in batches. Because the syrup cools quickly, I like to separate the popcorn into two batches and pour half of the mixture over the first half of the popcorn, shape, and then do the last.
Give a good squeeze when shaping. In order for your homemade popcorn balls to stick together, you need to make sure that you firmly shape them before the syrup cools. Give the ball and good squeeze between your palms so that all of that syrup will set and the popcorn balls will hold their shape.
Use the syrup as "glue." Adding the chocolate M&Ms to the balls when they syrup is too hot will cause the M&Ms to melt. So after I shape the balls, I add a few M&Ms to the balls and then if they need a bit more, I use some of the syrup that's at the bottom of the roasting pan the syrup was mixed with the popcorn and use it as a bit of "glue" to get more the M&Ms to stick.
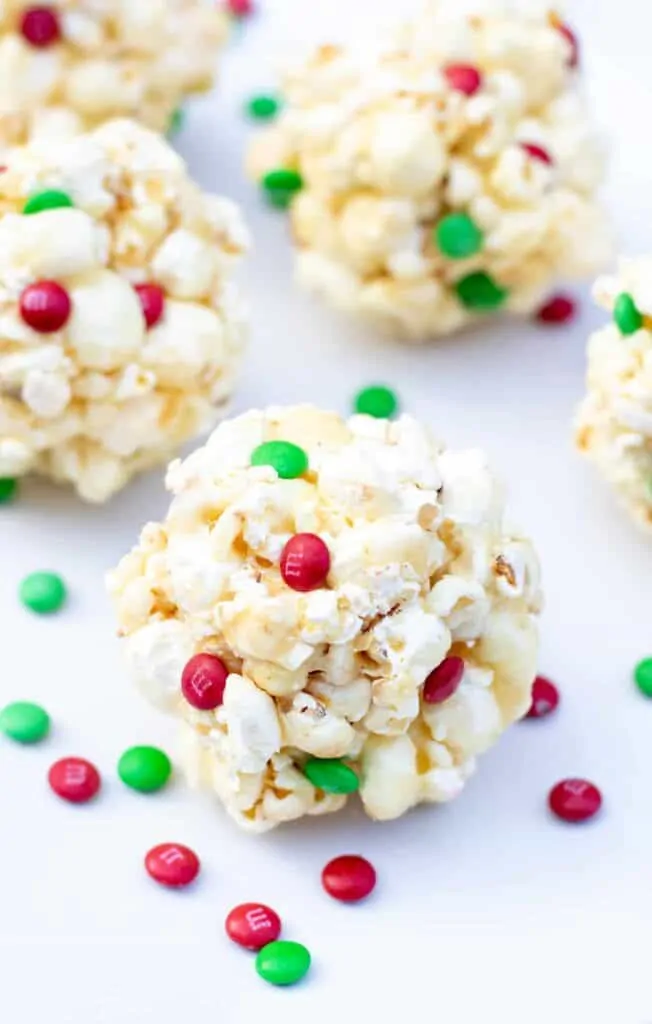
Look at how cute these little Christmas Popcorn Balls are! My girls love them because they're like me, they love anything that's salty and sweet and that's exactly what these Easy Classic Christmas Popcorn Balls are!
Enjoy! As always, if you make this recipe or any of my others, I love to hear what you think! Leave a comment below, email me, or you can find me on Facebook, Instagram, and Pinterest!
If you want to see more, be sure to sign up for my 5 Easy Ways to Start Cooking From Scratch!
Easy Classic Christmas Popcorn Balls
Equipment
Ingredients
- 1/2 cup whole kernel unpopped popcorn about 12 cups popped
- 1 cup granulated sugar
- 1/2 cup light corn syrup
- 1/3 cup salted butter
- 1/2 tsp kosher salt
- 1 tsp vanilla extract
- 1/4 tsp baking soda
- 2 oz Christmas colored mini M&Ms about 1/4 cup
Instructions
- Spray a roasting pan with cooking spray, set aside, and pre-heat oven to 300 degrees.
- Pop the popcorn using air popper or your other favorite method of popping popcorn. Add popcorn to a large oven safe pan and add to oven to keep warm.
- In a small saucepan, melt butter on medium and add sugar, corn syrup, and salt. Whisk to combine the sugar and bring to a simmer, stir constantly and cook for 1-2 more minutes.
- Turn down to low from heat and add vanilla and baking soda and whisk until well combined.
- In a small bowl, add mini M&Ms.
- Remove popcorn from oven. Separate out 1/2 of the popcorn into a large bowl and set aside. With the remaining half that's in your pan, pour 1/2 of the syrup over the popcorn and mix well.
- With gloved hands, gather a palm full of popcorn and firmly press between your palms to form balls. Work quickly because once it all cools too much, you wont be able to form the balls. Set balls on a large plate and complete this with this half of the popcorn.
- Gently stir your syrup mixture on stove to ensure that it's not burning.
- At this point you can start to add some mini M&Ms to the slightly sticky balls at this point, but don't worry about fully filling them yet.
- Add remaning popcorn to the pan and pouring remaining syrup over it and mix well. Form into balls.
- Add more mini M&Ms by using some of the syrup at the bottom of your pan as "glue" to stick on more candies to the popcorn balls. Do this before the syrup cools completly a hardens.
- Let popcorn balls cool completely and then wrap individually in plastic wrap and store for up to 5 days.


I don’t understand the oven part and I didn’t see where it explained when where or how to use the oven. All it says is to preheat oven to 300 and that’s it!
Hi Amy! You want to add the popped popcorn to the oven to keep it warm while you prep everything else. Enjoy!