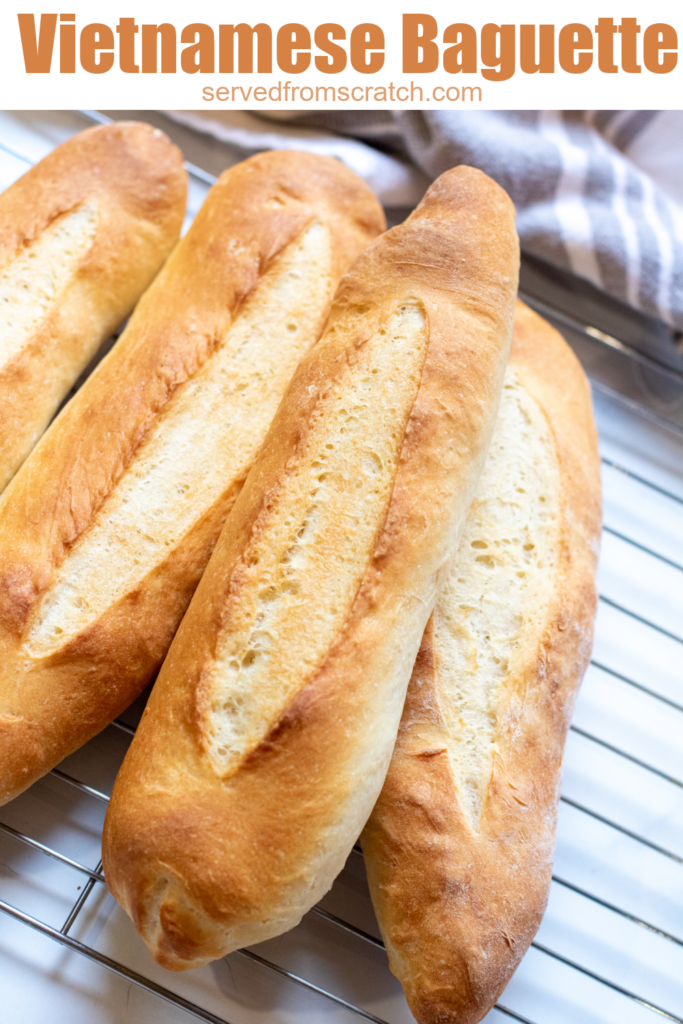
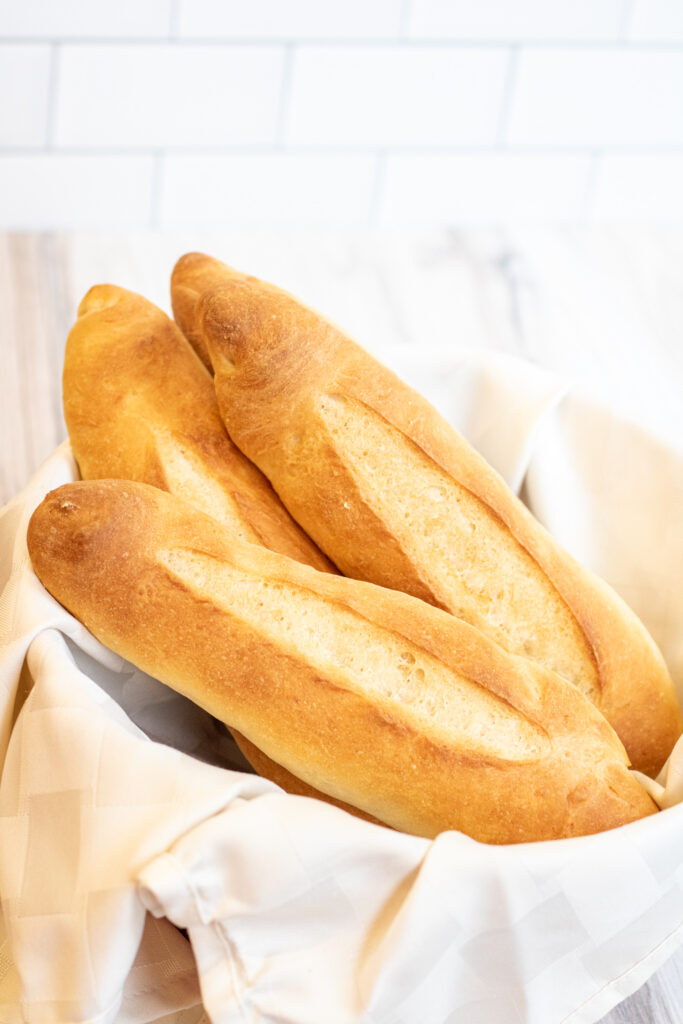
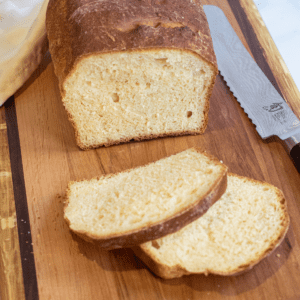
A Vietnamese Baguette is a soft, chewy, baguette that is easy to make and perfect for your favorite banh mi, sub sandwich, or sliced and toasted crostini!
Make it with one of our favorites, Grilled Chicken Banh Mi!

It's one of the bread recipes that we have been making for years, friends! This recipe for Vietnamese Baguette is one of the first bread recipes we made thanks to the recipe from Andrea Nguyen. Over the years we've made our own tweaks, but this amazing soft-centered, chewy baguette of love is all because of her!
What's a Vietnamese Baguette? Well, in short, it's Bánh mì, which in Vietnamese means bread. It's a baguette recipe I got from a Vietnamese cooking website- to specifically be used for banh mis. AND it's the only way I'm ever making big soft baguettes ever again.
Ingredients Needed
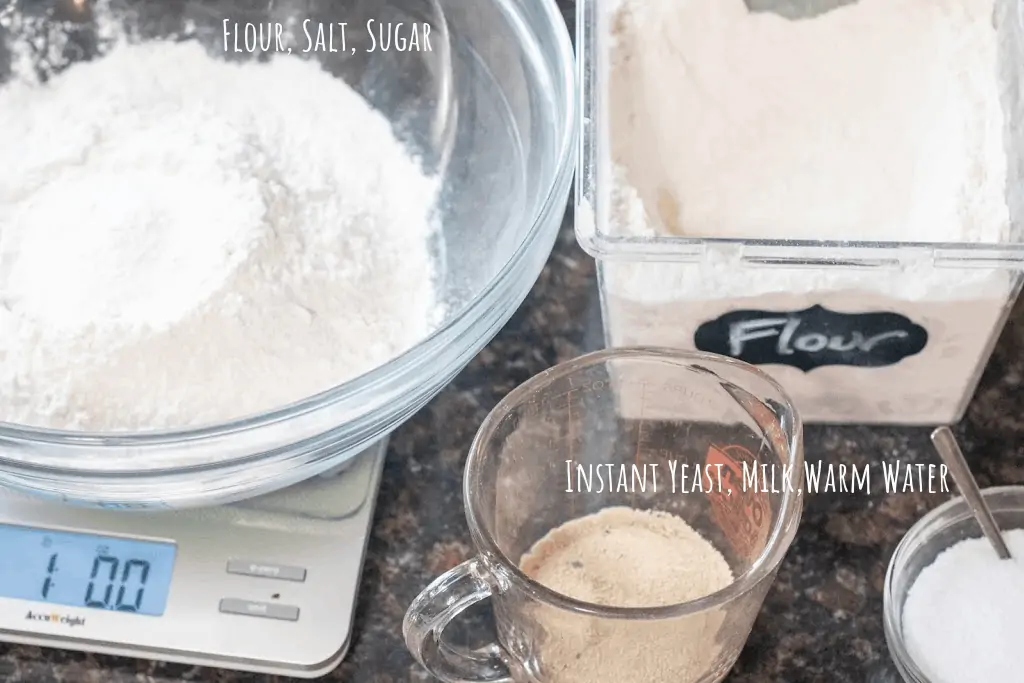
- Flour - All purpose is best for this recipe. You could also use bread flour, but honestly I like it with all purpose the best.
- Instant Yeast - You can also use active yeast, you will just need a little more time to fully activate it.
- Warm Milk - Give it about 10-15 seconds in the microwave.
- Warm Water - You want it at about 90 - 100 degrees, or just warm from the tap.
- Salt - Granulated, something finely ground.
Step-by-Step Instructions
This bread is basically a no-knead bread, thanks to a food processor!
Step 1: Add the yeast to warm milk in a measuring cup with a pour spout. Trust me, you want something with a pour spout. This will help when you add it to the food processor.
Step 2: Add flour, sugar, and salt to a food processor and give it a couple of pulses and then add warm water to the measuring cup and whisk to combine.
Step 3: With the food processor running, slowly add the milk, yeast, and water mixture. Slowly, just until a ball of dough begins to form in the bowl of the food processor.
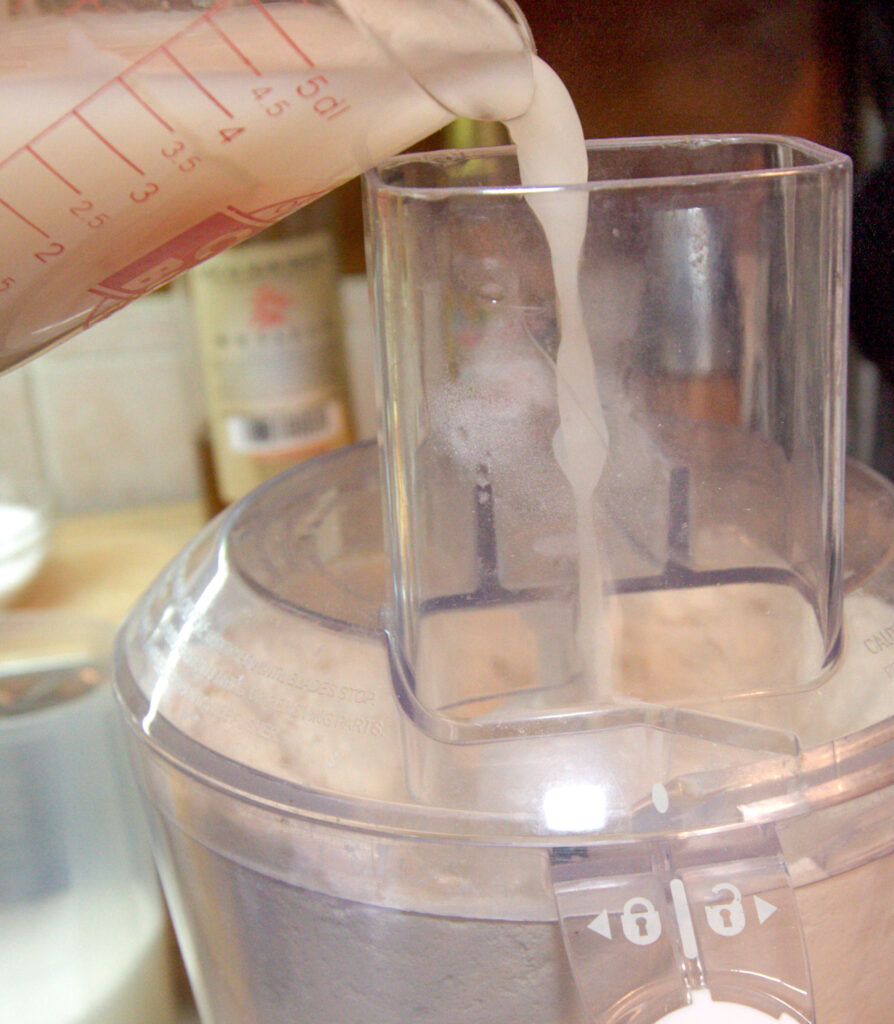
You may not need all of the water. This is why you pour slowly because once a ball starts to form, that's when you've added enough.
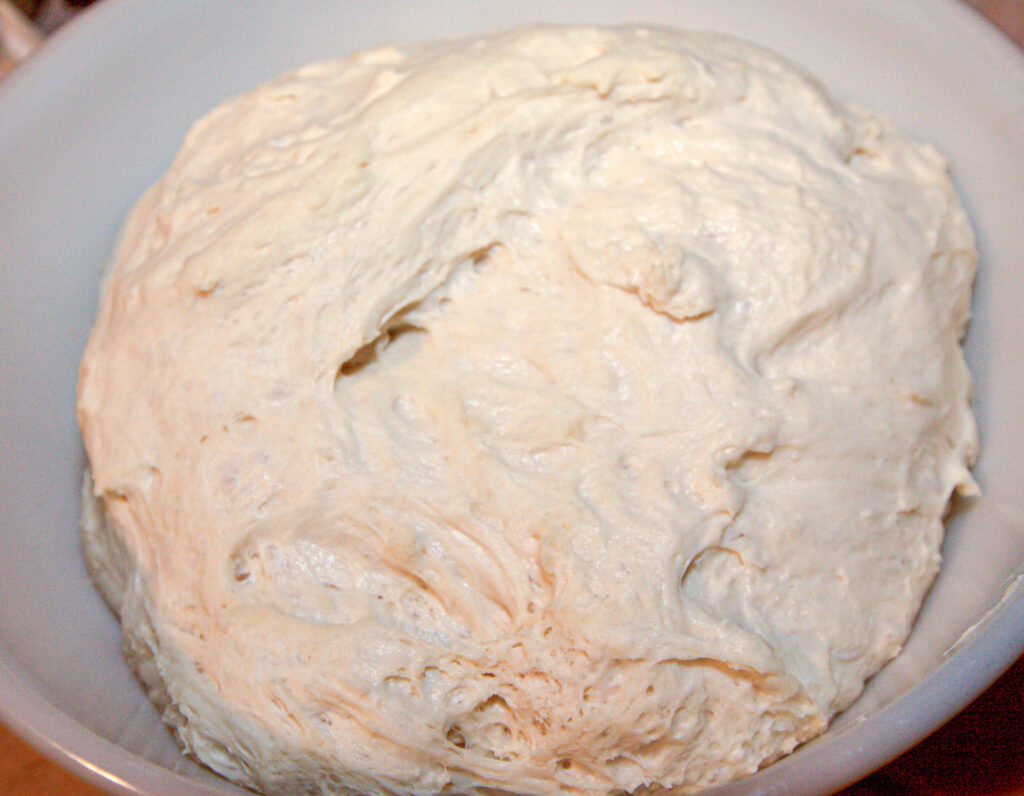
Step 4: Add that sticky dough to a large bowl and then cover tightly with plastic wrap to let rise.
Now for the most time consuming part of the recipe, because you will let the dough rise 3 times. After each rise, you will "punch it down," cover and let rise again.
What is a "Punch Down?"
After a dough rises, it's now filled with a whole bunch of little air pockets. When you punch down the dough, you are pushing that air out of the dough and basically deflating it, releasing those air pockets so that you can form it back into a ball again and let it rise again.
Why do it? Punching down dough has these benefits:
- It will help create a finer, tighter crumb and grain. Those big air pockets of a beautiful sourdough loaf? You don't want those in a roll or sandwich bread. This will help prevent those.
- It improves flavor because it basically let's the yeast do it's job again by giving it new starches and sugar to eat and will rise again.
- Helps prevent over-proofing by allowing the yeast to work again, but not too much at once. When a dough rises, it's gluten is stretched. If it's stretched too much, you'll get a super dense dough. Doing multiple punch downs and rises will allow the yeast to keep working, but without stretching the gluten to the point of collapse (over proofing).
Step 5: After your dough has risen 3 times, then you're ready to shape it.
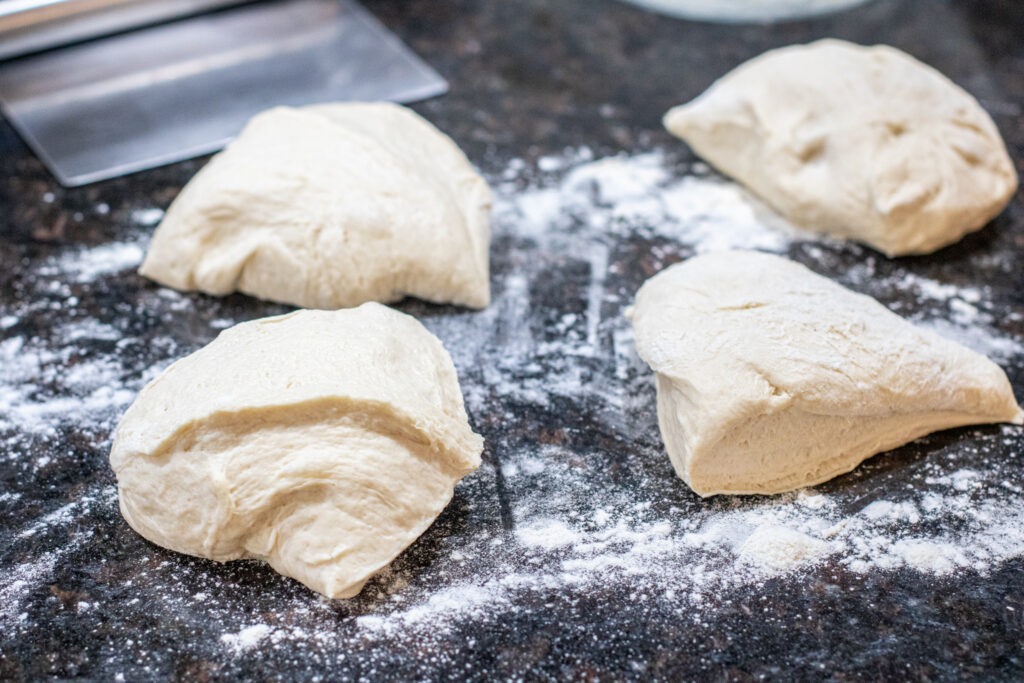
Do this by first turning your dough out onto a lightly floured surface and give the dough a little flip in the flour, coating the outside of the dough with just a touch of the flour.
Then, using a dough cutter (or knife) cut the dough into 4 even pieces.
Shaping of these doughs is the hardest part of this easy recipe - and when I say hard, it's really just keeping a few things in mind:
- Gently press them into rectangles and follow the "lead" of the dough. It will naturally stretch in one direction, go with it. But be gentle, now you want to keep those air bubbles in it.
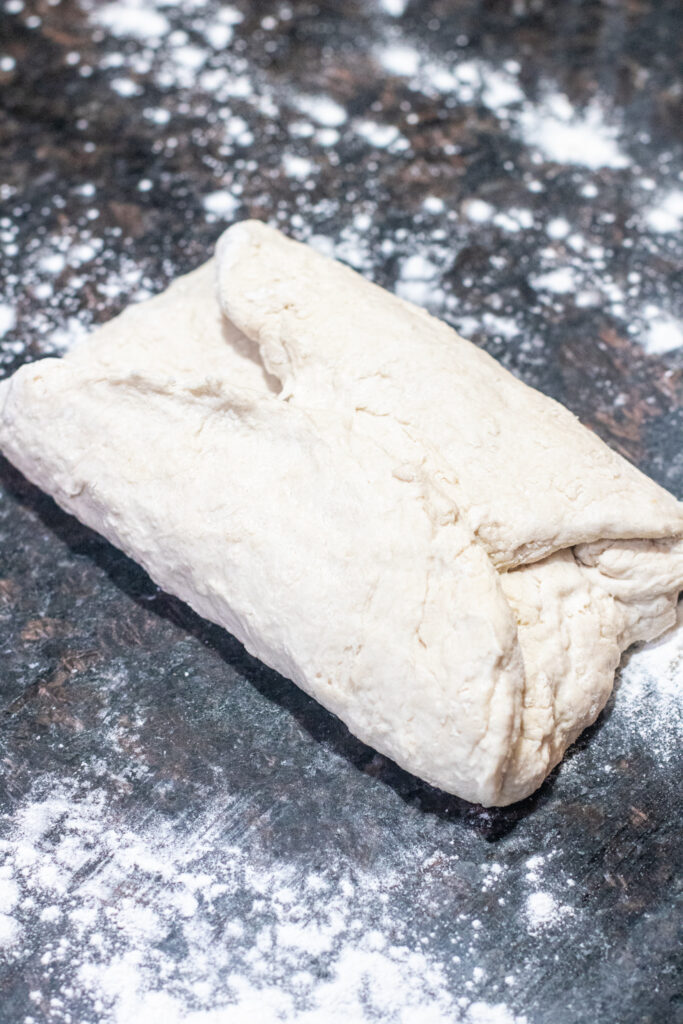
- Fold it up like a letter by folding down 1/3 and folding up the other 1/3 and then fold in the sides.
- Flip the doughs over (seam side down) and give a gentle roll into a log.
- Give the edges a little pinch.
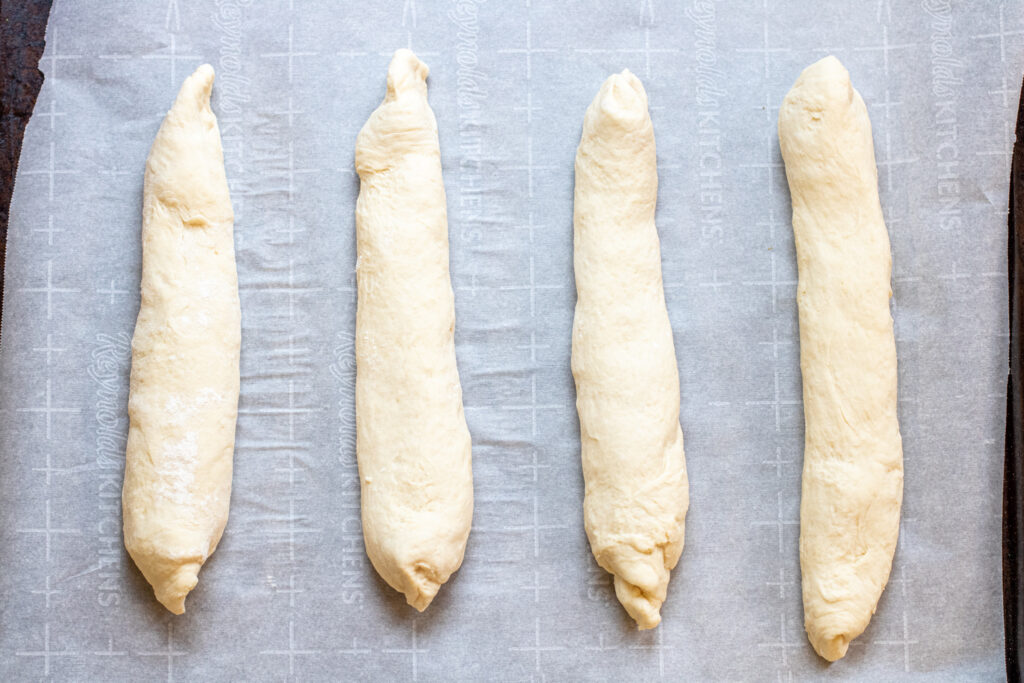
Step 6: Line these 6 - 8 inch doughs out on a large parchment paper lined baking sheet. Gently cover them with a linen towel and let them rest while your oven heats up.
Create Steam in the Oven
Adding some steam in your oven will not only help your bread rise a little more, but it will also create a beautifully browned crust.
There are a couple of ways that we do this for this recipe. There are other ways to accomplish this, but these are the easiest two that we use:
- Add a baking dish with water to the lowest rack of your oven while it pre-heats.
- Spray the top of your bread with some warm water.
By doing this, you're helping with the bread's "ovenspring" and creating that beautiful brown sheen on your bread. That's because during the first few minutes of baking, the yeast will do one final burst of energy (ovenspring). By adding steam, will help the bread to expand (rise) more freely and it will keep your bread nice and soft.
Then, once the bread begins to stop expanding, that steam that you added will have mixed with some of the sugar in the dough and that's what creates the beautiful brown sheen on your loaves - caramelization of those sugars!
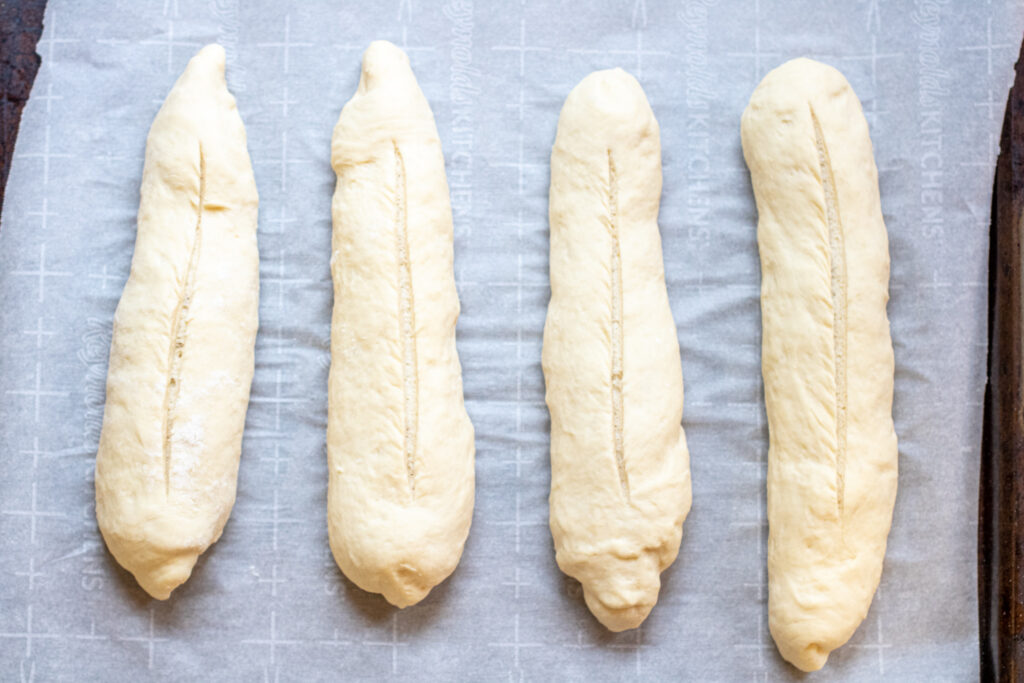
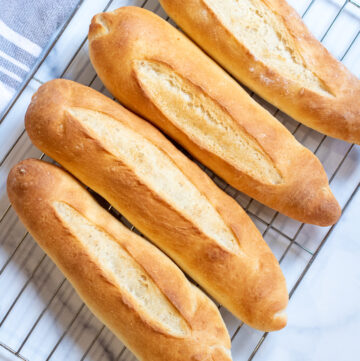
Step 7: Score. After about 30 minutes, your doughs are ready for a score and baking! You can score them either diagonally, or a nice long score down the middle, which I think replicates a Vietnamese Baguette the best.
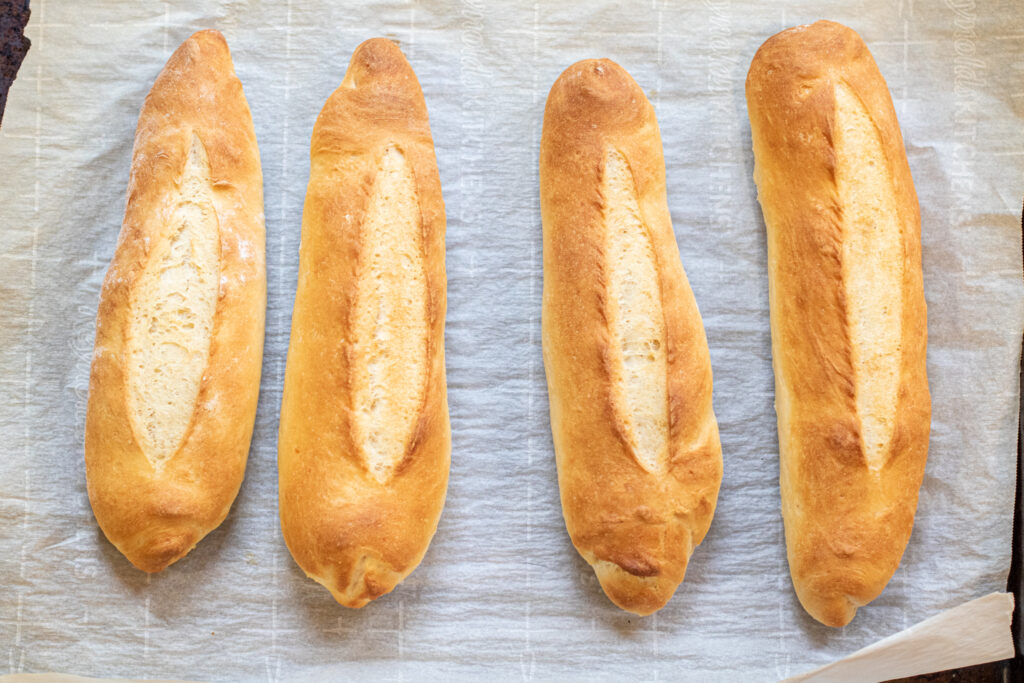
Step 8: Bake! In the first few minutes, you'll use your handy spray bottle to mist the loaves to create steam and that beautiful brown sheen.
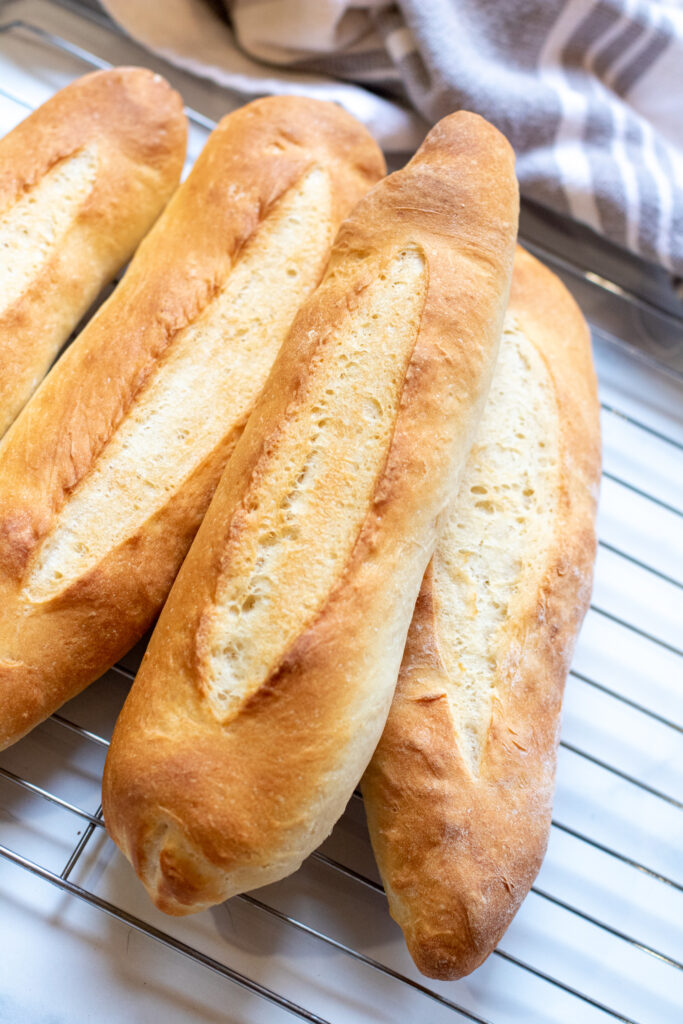
While we love a great crusty baguette like our Easy Crusty French Baguette, these baguettes are their soft, supple sister! The soft texture of these loaves is perfect for our favorite, Grilled Chicken Banh Mi or sub sandwich like our Avocado Tuna Salad Subs!
No matter how you eat them, I know you'll love them! We even love to just tear off pieces and sop up soup or other delicious gravy and sauces.
Enjoy! As always, if you make this recipe or any of my others, I love to hear what you think! Leave a comment below, email me, or you can find me on Facebook, Instagram, and Pinterest!
If you want to see more, be sure to sign up for my 5 Easy Ways to Start Cooking From Scratch!
Vietnamese Baguette
Ingredients
- 2 1/4 teaspoons instant yeast
- 1/2 cup warm milk 1% or 2%
- 1 cup warm water 90° - 100°
- 3 1/2 cups all purpose flour
- 1 1/4 teaspoons salt
- 1 tablespoon sugar
Instructions
- Add yeast to a measuring cup with a spout. Soften yeast by adding it to warm milk and giving it a gentle mix.
- Add flour, sugar, and salt to your food processor and give it a couple of pulses to combine. You could also just add it all to a large bowl, or a stand mixer.
- Add the warm water to the milk and yeast and give a mix. Then, turn food processor on and slowly pour water, milk, and yeast into the food processor through the feed tube. Blend just until a dough starts to form. This will only take a minute.
- Transfer dough to a large bowl and tightly cover with plastic wrap. Let rise for about 1 hour or until it has doubled. Punch down dough, cover and let rise again, another hour. Punch down again, and let rise a 3rd time, 1 more hour. You will want it to rise at least 3 times.
- Line a baking sheet with parchment paper.
- Flour a clean surface or cutting board. The dough will be soft, slightly sticky, and airy. Be gentle with the dough and try to keep as much of the air in the dough as possible as you work with it. Gently turn your dough onto the floured surface so it is lightly covered with dough. Use a dough scraper knife and cut dough into 4 pieces.
- To shape each baguette, gently flour your hands and then press a piece of dough into a rectangle. You'll notice the dough kind of naturally stretch to one side - this is like the grain of the dough. Work with it and stretch it that way, this will allow it to rise more.
- Fold the top third of the dough down and the bottom third up - like you're folding a letter. Pinch the edges and fold those up in half. The purpose of this is coil the dough and that way wen it's baking, it will kind of spring and burst open. Repeat for 3 other pieces. You will have 4-6 inch long logs.
- Place the logs seam side down on parchment paper. Pinch the edges for form small points.
- Pre-heat oven to 450°. Fill a shallow baking dish halfway with water and place it in the oven on the lowest rack. Place the other rack in the middle.
- Cover the dough loosely with a linen dish towel or napkin and let rest for another 30 minutes.
- Use a very sharp knife or bread lame to score the doughs with one long slice down the center. The using a spray bottle, mist the doughs with 1-2 sprays each logs.
- Place baking sheet with dough in oven and set a timer for 20 minutes. After 3 minutes (at 17 minute mark) open the oven and mist the doughs again. Then after another 3 minutes (at the 14 minute mark) open the oven and mist doughs again. After 20 minutes, gently turn the loaves over and bake for another 2-3 minutes to brown the bottom of the loaves, too.
- Transfer loaves to a rack to cool. Let cool for at least 30 minutes before slicing and using for your favorite sandwich or eating with some butter!


By the way, please further explain how to "pinch the edges", what edges? - it seems to be an important detail to get such good looking loaves as you have achieved. Thanks for the recipe and thorough explanation. ("Place the logs seam side down on parchment paper. Pinch the edges for form small points")
Hi, what kind of salt is used?
Kosher salt is our preferred for bread. ☺️ Enjoy!
Just made these to pair with Vietnamese curry. They turned out perfectly and so so good!
Oooh that sounds SO good, Tara! Thanks for sharing!
The recipe calls for 1.25 oz or 2.25 tsp of yeast. When I use the scale the 2.25 tsp yeast is closer to .5 oz. Which measurement should I rely on weight or tsp
Oooh I’m so sorry! That’s meant to say One .25 package! Those little individual yeast packages! The teaspoons are correct, 2.25. Thank you for pointing that out!
Just wanted to share that I used traditional yeast (because that's what I have on hand!), 5gr, about 1.75 tsp and it worked perfectly.
You made some beautiful baguettes, here--definitely better looking than some of the French baguettes I buy for my banh mi fixes. I really want to try this, but I have no food processor! I will have to look into what to do without one....thanks for posting this recipe!
Thank you! I'm sure you can just mix the ingredients by hand and it'll work just as well. 🙂