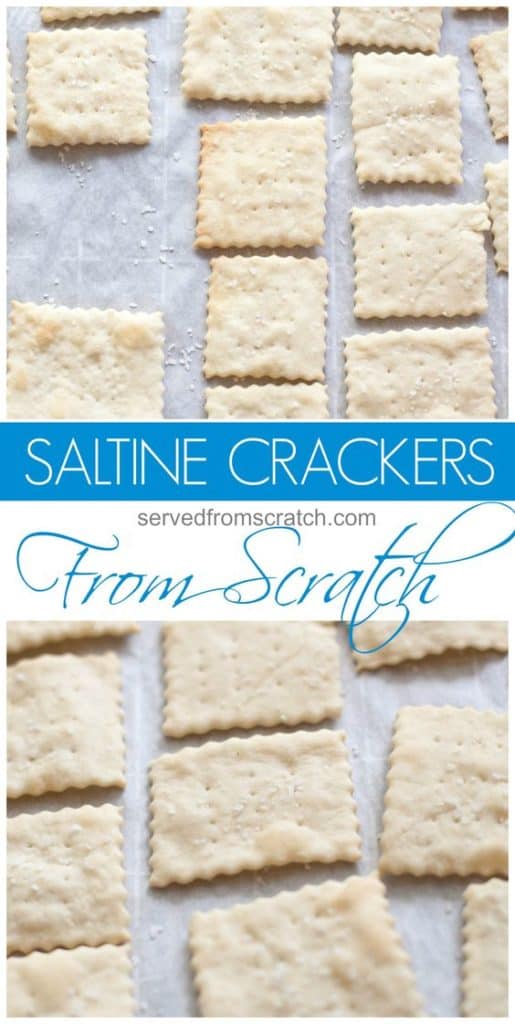
Skip the boxed cracker! Making your own homemade Saltines From Scratch is easier than you think, tastier than store-bought, and fun to make at home!
Next, try our Copycat Chicken in a Biskit Crackers!
Who doesn't love a good ol' classic that's made from scratch? These homemade Saltines From Scratch are exactly that! Who doesn't know and love these classic crispy, light soda crackers? So versatile, but also so surprisingly easy to make, but also so incredibly satisfying knowing that you made one of your favorite crackers from scratch!
Ingredients Needed
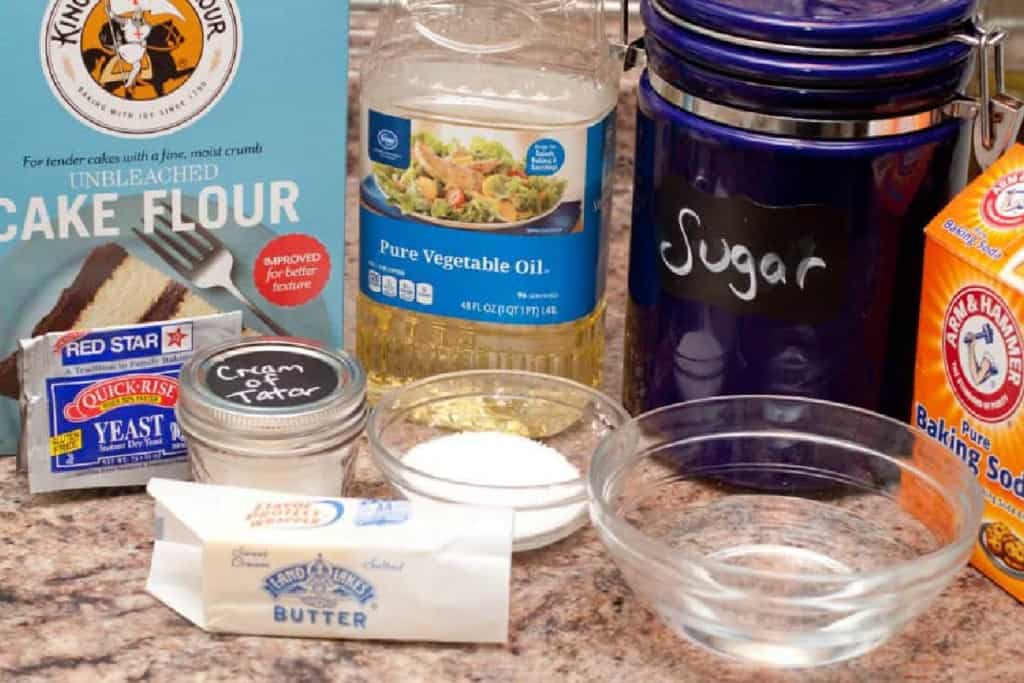
- Semonlina or Cake Flour - The most important part of getting the right texture for these classic soda crackers is to start with a flour of the right texture. All purpose flour isn't going to cut it, you need a flour that's ground extra fine like a cake flour or a fine semolina flour.
- Butter - Key not only for the texture of the cracker dough, but also to add the right flavor.
- Vegetable oil - Also key to getting the right texture of the dough.
- Instant yeast, Baking Soda, and Cream of Tatar - Your leavening agents which create the right amount of air within the crackers to create the signature texture.
- Sugar - Just a touch for flavor.
- Salt - For the dough and to finish with.
Pretty simple, right?
How to Make Saltines From Scratch
While of course it takes more time and effort to make homemade crackers the payoff is huge! Plus, they can be made in some pretty manageable steps.
- Make the dough
- Let it chill
- Roll out
- Bake!
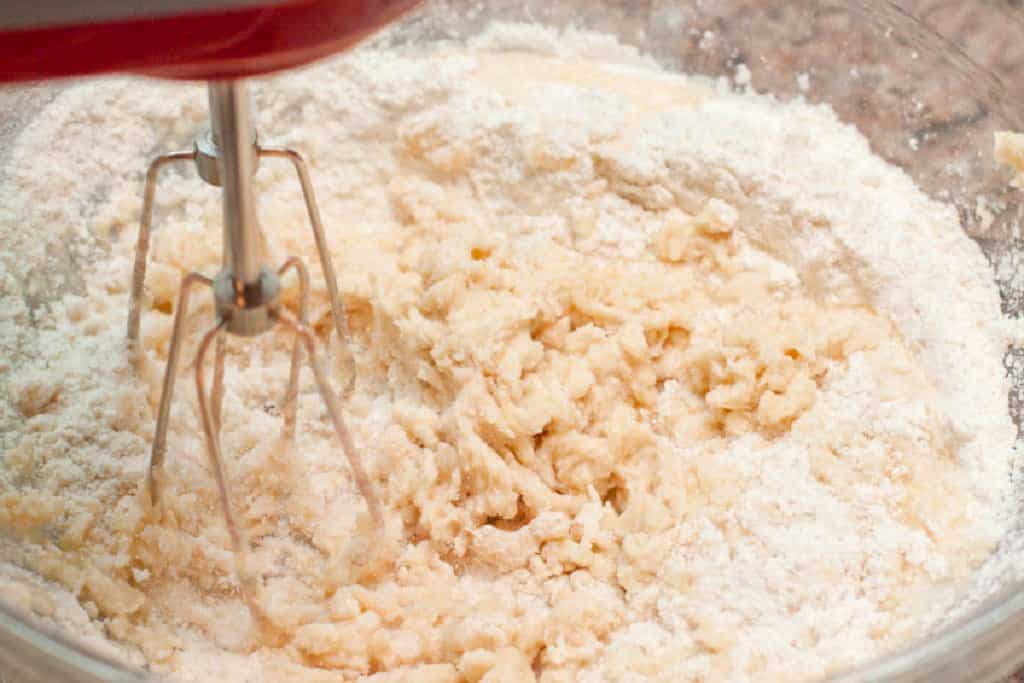
Make the dough
This requires melting butter in with water and oil, mixing the dry ingredients, and then mixing them all together. You can do this with a hand mixer or a wooden spoon.
Chill the dough
By chilling the dough, it will make it much easier to work with and roll out. I usually like to prep the dough the night before I plan to make them so that the dough is ready to go the next day.
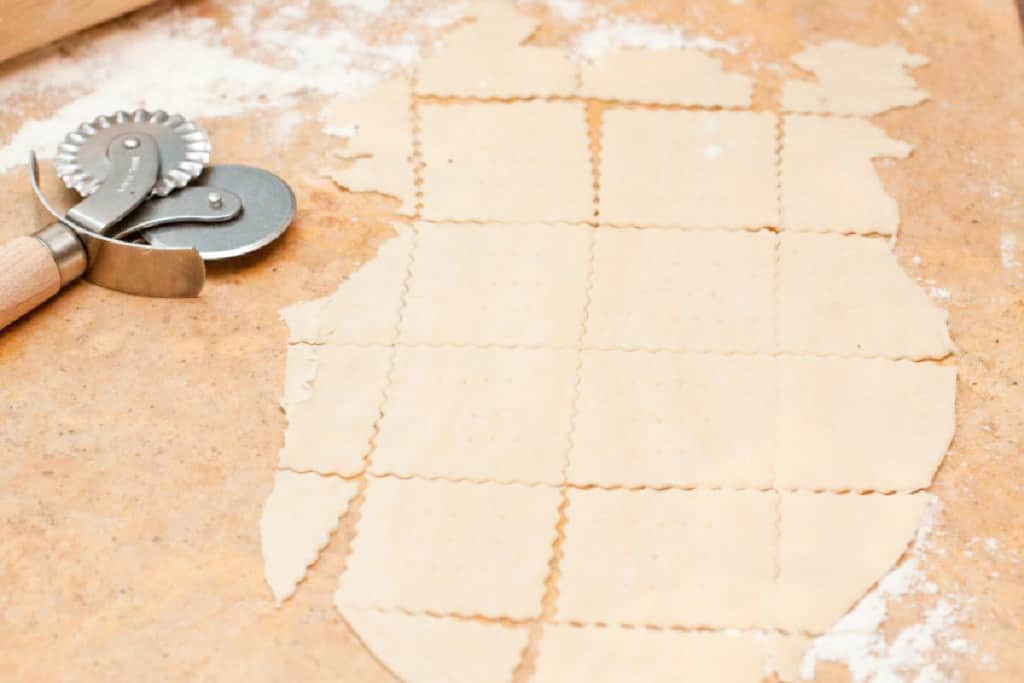
Roll out dough
This is key to getting the thin crispy crackers you know and love! You can of course use your favorite rolling pin to achieve this, but you can also use a pasta roller to get your dough really really thin. The thinner the cracker, the better, for sure.
Just like with homemade pasta, start thick and work your way thin, slowly as to not tear the dough. Then, back onto your floured surface and I even gave it another roll with the pin before cutting them with the pasta wheel cutter.
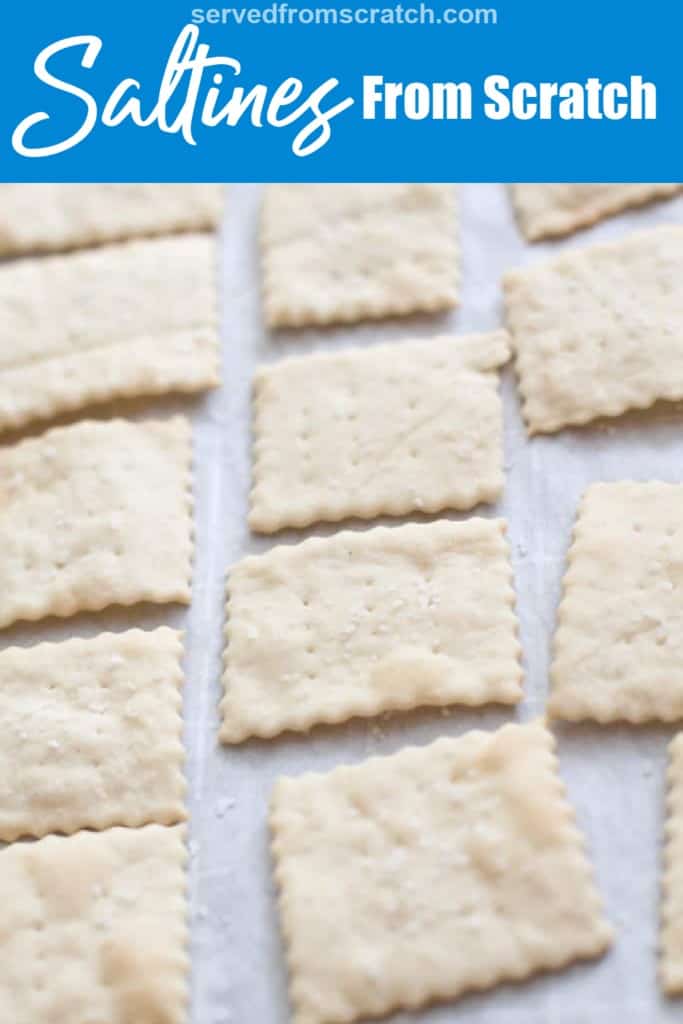
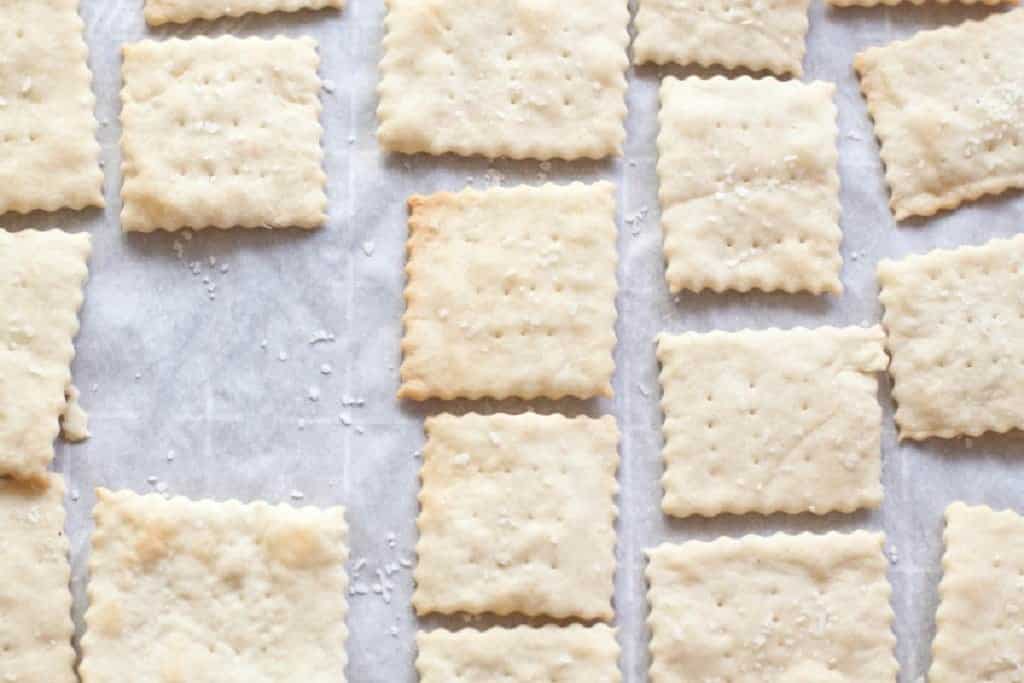
Then just some pricks with a fork and onto a parchment-lined baking sheet and a brush with a touch of water and a sprinkle of sea salt. They can be right up next to each other on the sheet, they won't expand at all. They'll actually shrink a little.
Tip: If you're able to roll the dough out very thin, you can also roll the dough right out on the parchment paper and cut the crackers right on the paper. Similar to how we make our Everything Bagel Rye Crackers.
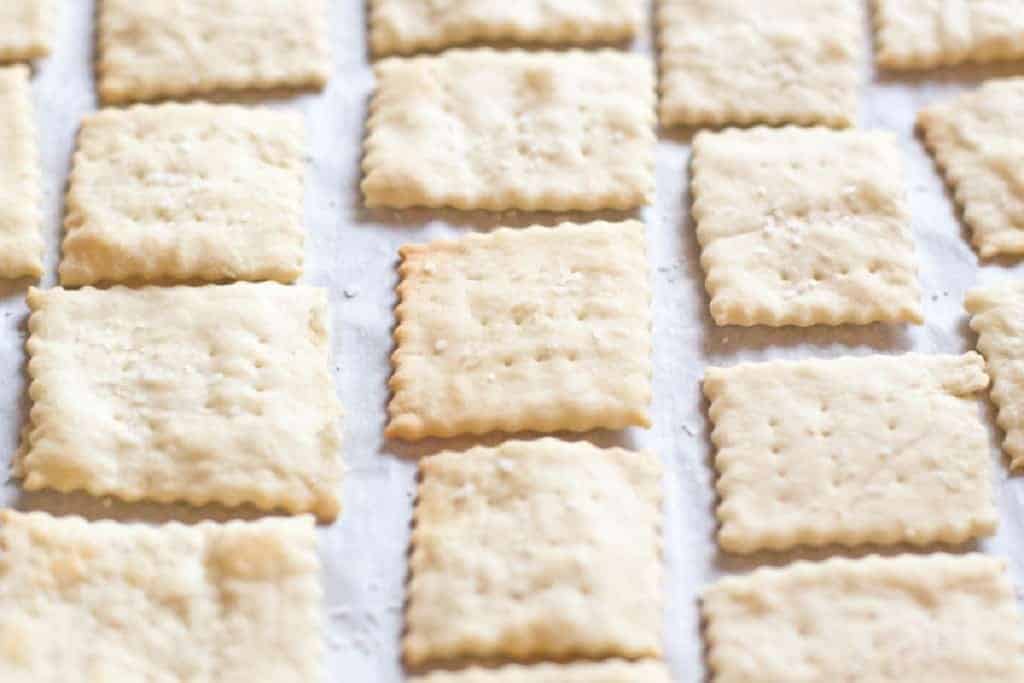
Bake!
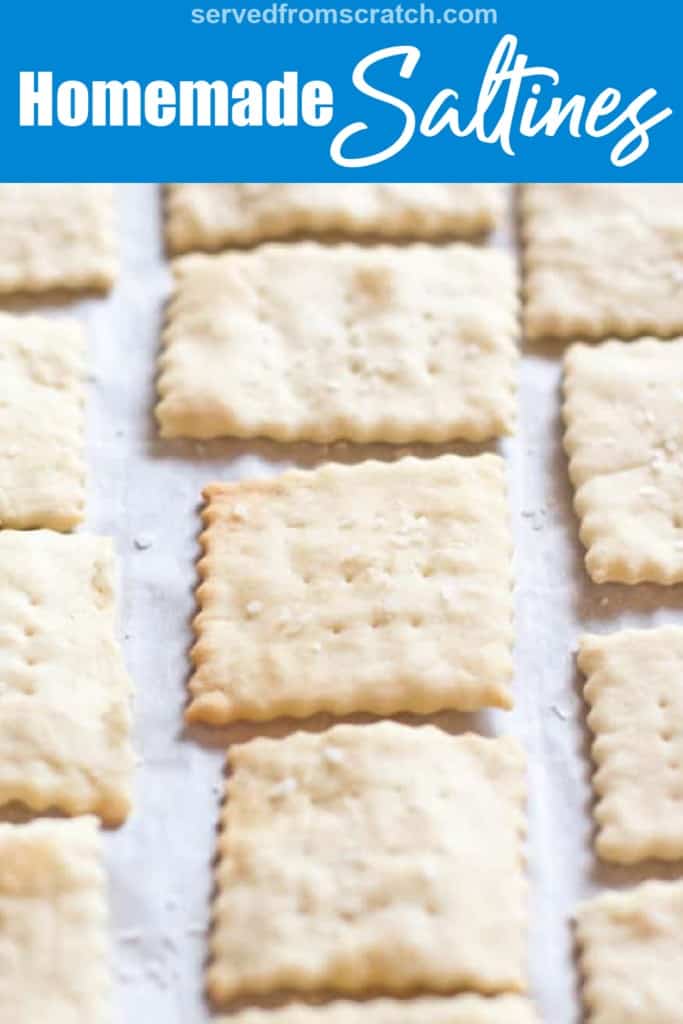
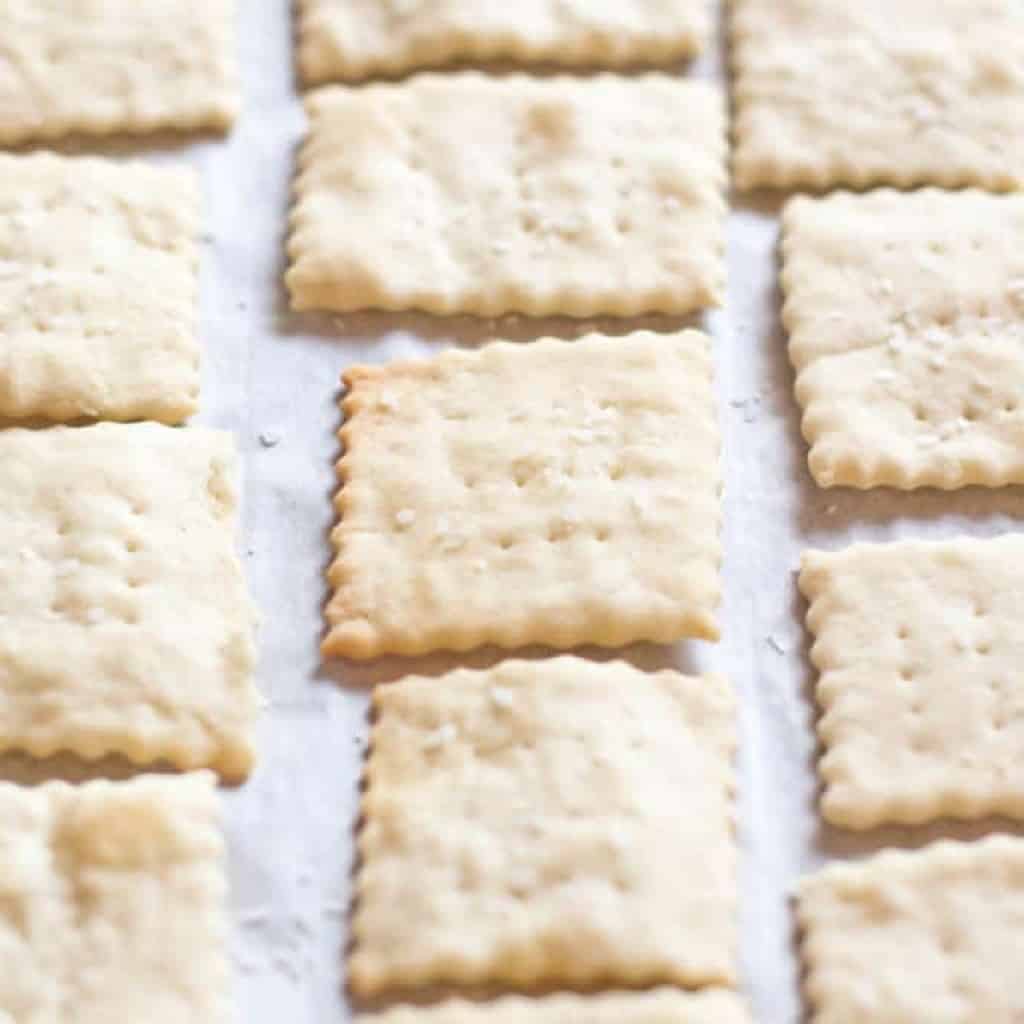
Baked at 400 degrees for 8-10 minutes (be sure to check them, they'll brown quickly!), and you have your very own homemade Saltines From Scratch soda crackers!
When I tried the first one, I'm not going to lie, I did a little dance then texted my husband, "OMG I made Saltines that taste like Saltines!" Even with the added effort, we will definitely be adding these guys to our regular rotation of crackers. I wanted to have them with some homemade soup, but they definitely didn't last long enough. Oh well, just an excuse to make more!
Perfect with a big bowl of soup or as the base for your favorite dip or other appetizers. These homemade soda crackers will add some from scratch flair to any dish you use them in or serve them with!
Enjoy! As always, if you make this recipe or any of my others, I love to hear what you think! Leave a comment below, email me, or you can find me on Facebook, Instagram, and Pinterest!
If you want to see more, be sure to sign up for my 5 Easy Ways to Start Cooking From Scratch!
Saltines From Scratch
Equipment
Ingredients
- 1 1/2 cups cake flour
- 6 tablespoons water
- 2 tablespoons softened butter
- 2 tablespoons vegetable oil
- 2 teaspoons instant yeast
- 1 teaspoon sugar
- 1/4 teaspoon baking soda
- 1/4 teaspoon cream of tatar
- 1/2- 1 teaspoon Sea Salt or Herb Salts for topping
Instructions
- Add flour, yeast, baking soda, cream of tatar, and sugar to a medium sized bowl. Whisk together.
- In a small sauce pan, add butter, oil and water and heat gently until butter is melted. Let cool to 120 degrees, or where it's still hot, but doesn't burn to the touch.
- Make a well in the whisked together dry ingredients and then pour in the butter. With an electric mixer, beat well on medium then on high until all the butter is incorporated and a dough begins to form.
- With your hands, knead together the dough into a ball. If the dough is too sticky, add a touch more flour at a time. If it's too dry, add a tiny bit of water at a time. It should be a nice soft ball of dough.
- Lightly grease the bowl and cover it with plastic wrap and let rest in fridge for at least 12 hours and up to 18 hours.
- When you're ready to use, take the bowl out of the fridge and let the dough come up to room temperature, about 15 minutes.
- Pre-heat oven to 400 degrees and line large baking sheets with parchment paper, or grease them.
- Remove dough from bowl and knead it for a couple of minutes until it is smooth and clay like.
- Divide it into 4 pieces and roll each piece out at a time. Use a pasta roller to get the dough as thin as possible - this will make for a much better, crunchy cracker.
- With a rolling pizza wheel or pasta cutter, cut out 2X2 squares. Transfer squares to the baking sheets. The squares can be right next to each other, squeeze as many as you can in, they will actually shrink in size as they bake. Do this with all of the remaining dough.
- With a fork, prick each cracker to get the classic "Saltines" perforations. Brush each cracker with a little bit of water and then sprinkle with salt / herb salt.
- Bake for 8 - 10 minutes, checking at 8 to ensure they're don't brown too much (unless you like a super crispy cracker like my husband does!)
- Remove from oven and let cool on tray.
- Store in an airtight container for up to a week - if you can hold back from eating them all that long!


Love this recipe! Changed oil to olive/avocado oil and brushed tops with butter before salting.Delicious! Thanks!
So great to hear, Sue! Thank you so much for sharing and taking the time to leave a review! 😀
Great recipe! 🙂 Instead of instant yeast, do you think an active sourdough starter might work?
Hi Joe! Hmm I've never tried that, so I'm not sure. But it will definitely adjust the flavor.