Pita Bread from Scratch
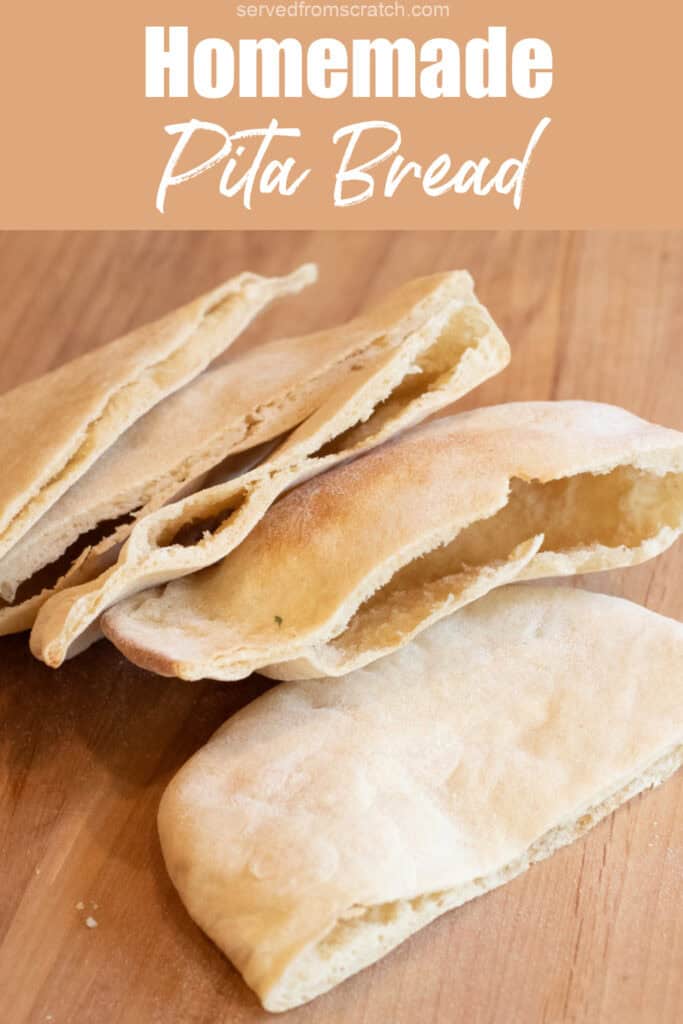
Skip the store-bought! You can make your own soft and chewy Pita Bread From Scratch at home with simple staple ingredients and just a little bit of time.
Be sure to use them to make Pita Chips From Scratch, too!

When you’re ready to add a fun new bread to your bread making repertoire, our Pita Bread From Scratch is a super fun one to make! Soft and chewy and perfect for all of your favorite pita sandwiches (and our favorite, chips!), homemade! With just a few simple panty ingredients, you can wow by making this classic at from scratch, at home!
What is Pita Bread
Pita Bread is a yeasted round bread that has been made for thousands of years in the Middle East and can be also found in Greece and throughout the eastern Mediterranean and can be used in a variety of ways in these different regions. In Greece you’ll commonly find it used whole for the popular Gyro. Or when pocketed, you can find it used for falafels or Mediterranean-inspired pocket sandwiches.
Ingredients Needed
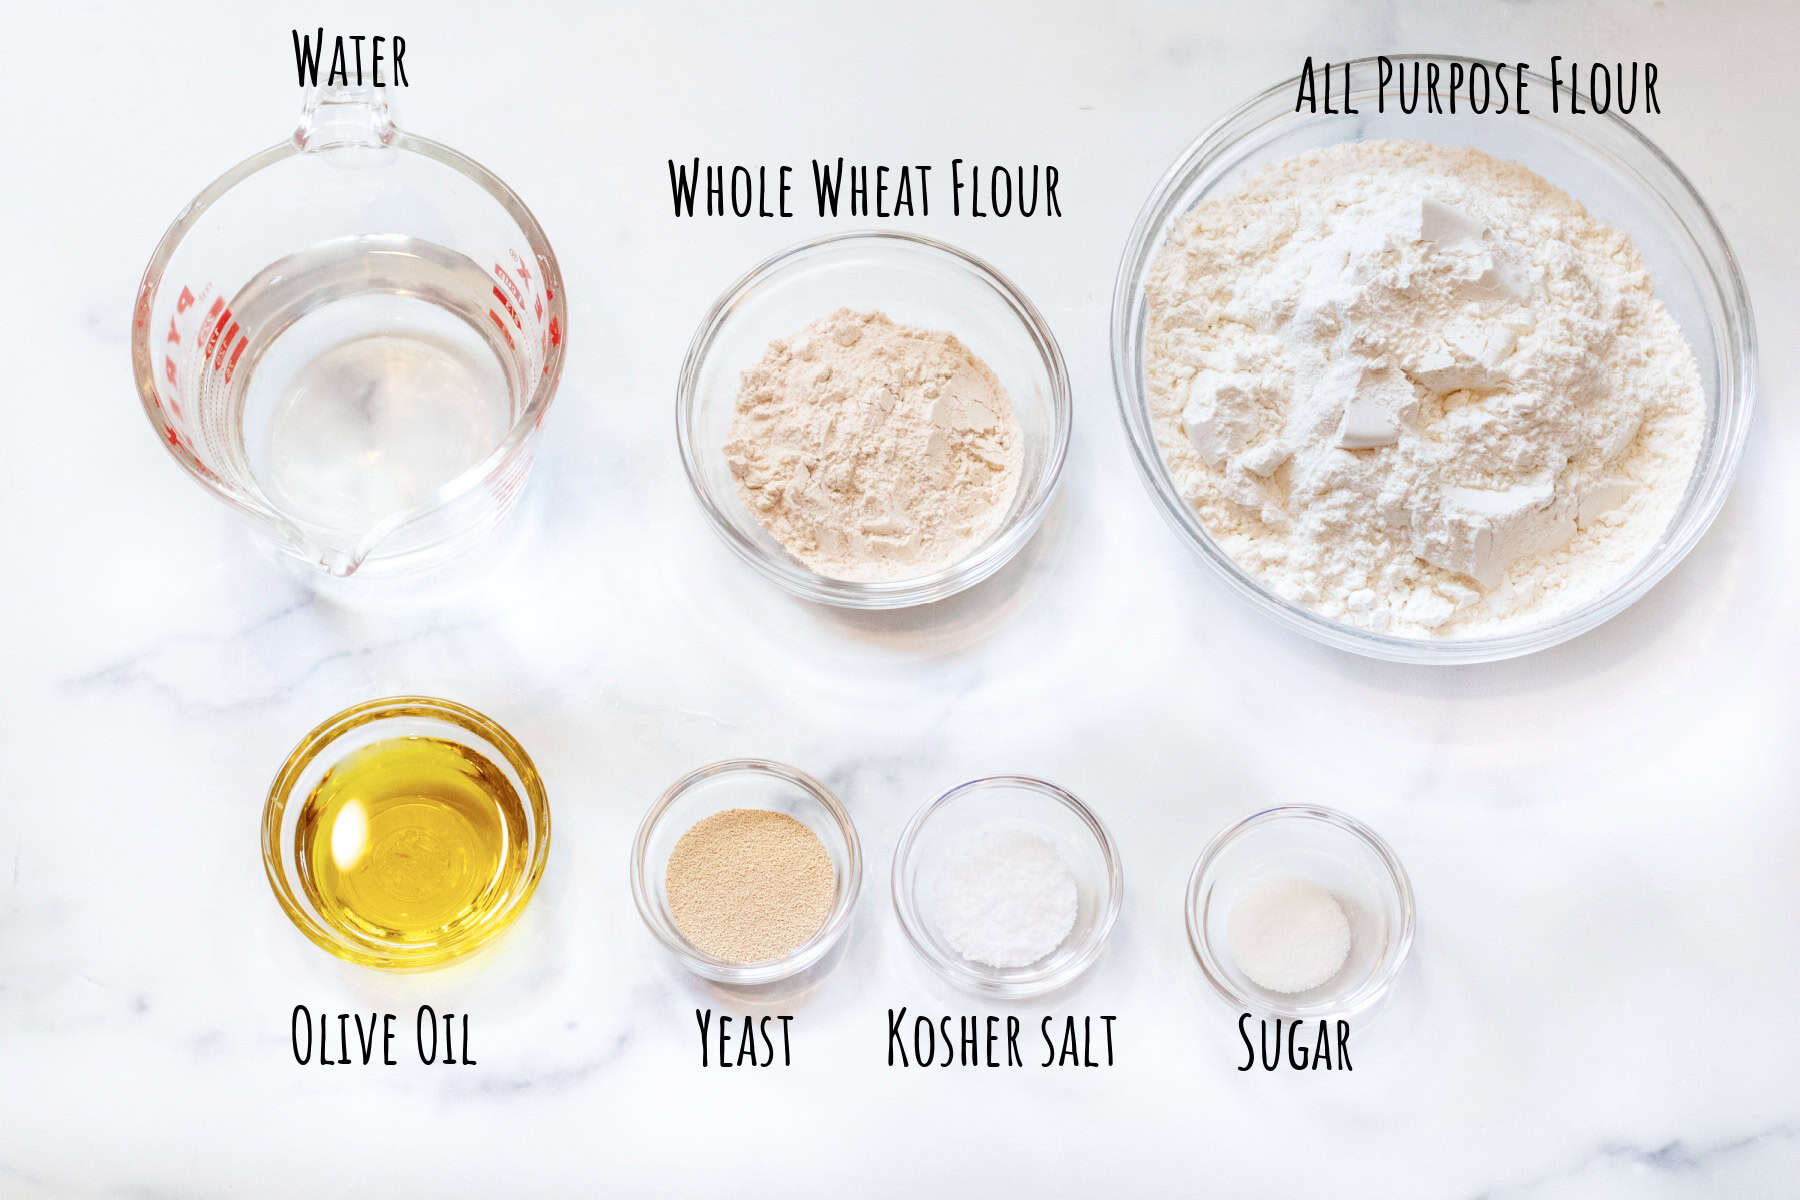
- All Purpose Flour – The primary flour base for this easy flatbread.
- Whole Wheat Flour – A necessary touch of whole wheat flour is required for the right flavor.
- Water and Olive Oil – The liquid for this easy pita bread recipe.
- Yeast – You can use either instant or active, whichever you have, just keeping in mind the need to activate the non instant yeast.
- Kosher Salt – Trust me, there’s nothing worse than an unsalted bread!
- Sugar – Just a touch to help activate that yeast.
Easy to Make
Activate the Yeast and Create Dough
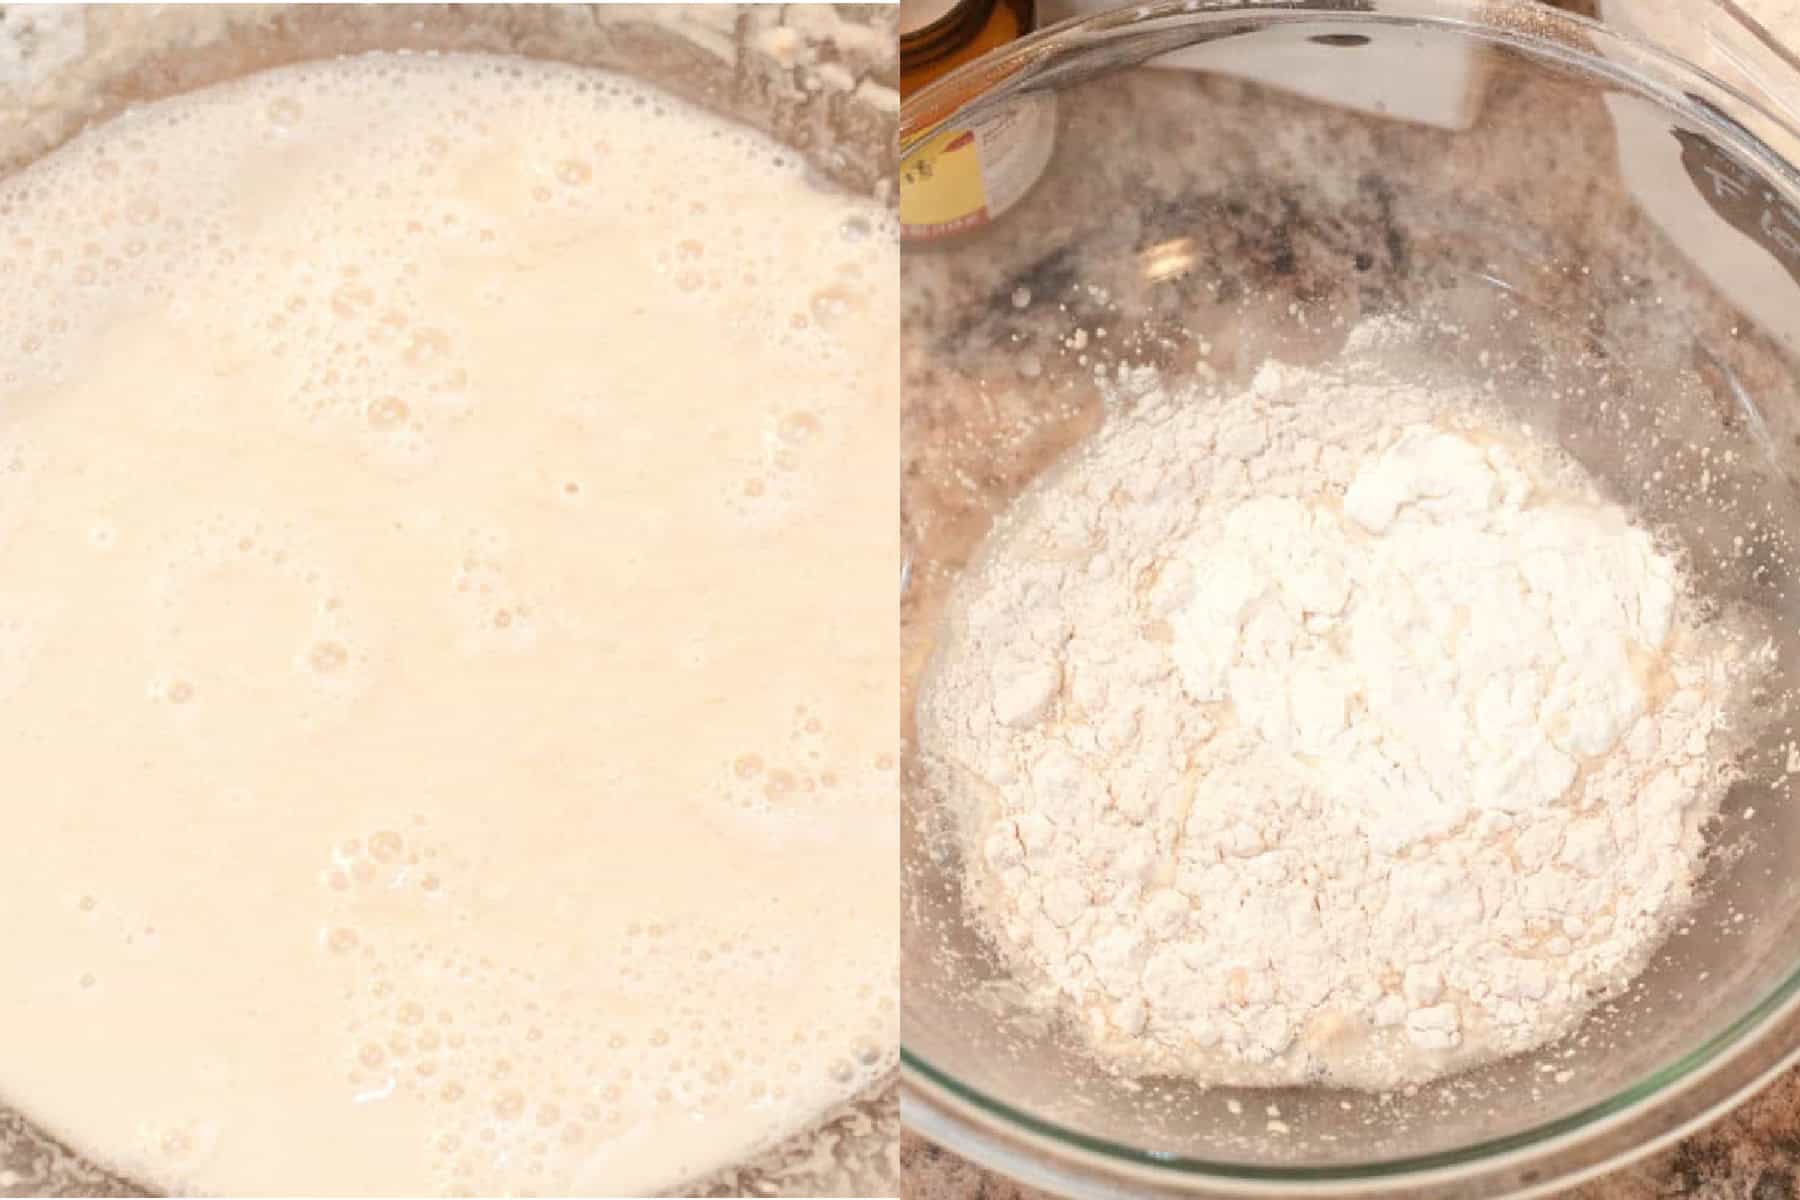
This easy Pita Bread From Scratch recipe can be made in either your handy stand mixer, or just in a bowl. No matter the route you take, the first step is to activate that yeast (unless you’re using instant yeast) and then slowly adding the flours to make a shaggy dough.
Knead and Proof
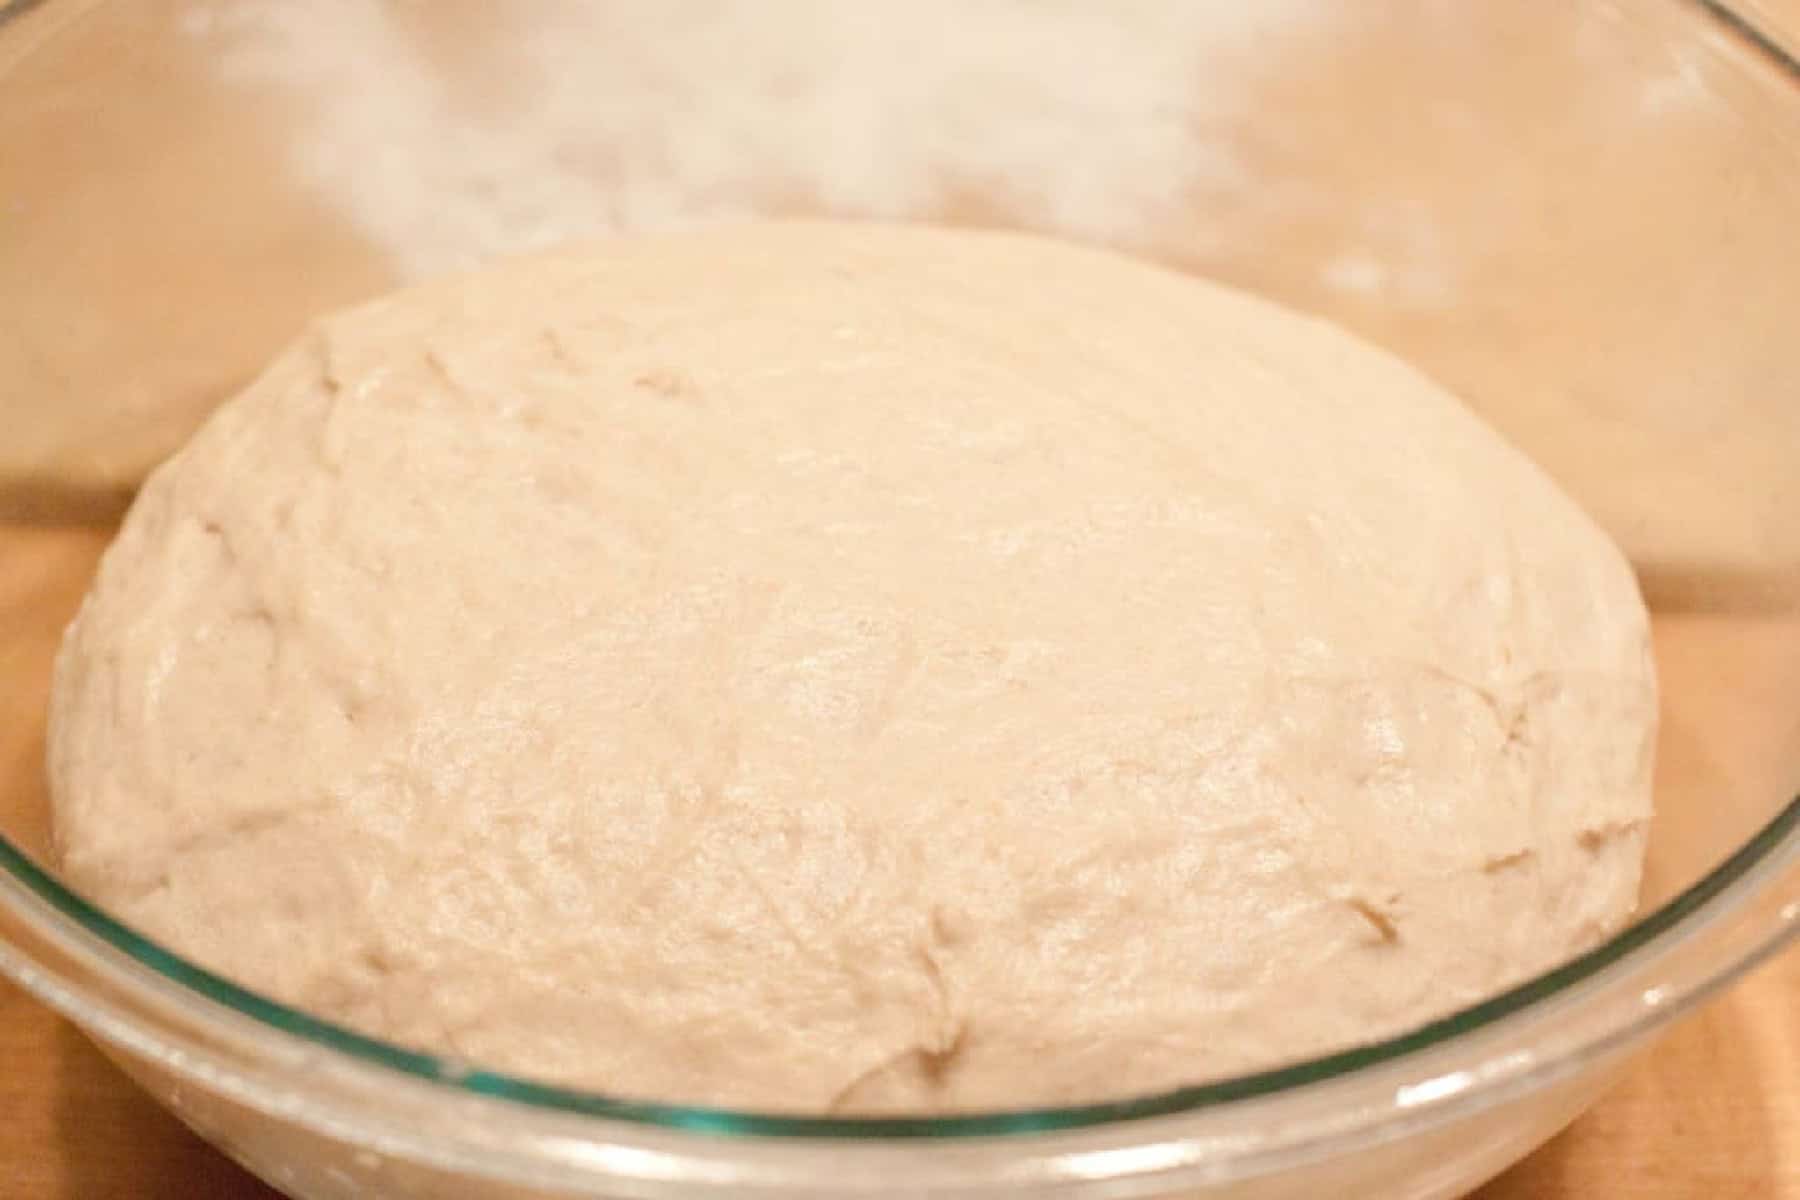
Once your shaggy dough is created, then either let your stand mixer do all of the kneading, or put some of your own elbow grease in to it and knead it yourself before letting that slightly sticky dough proof.
Separate and Roll
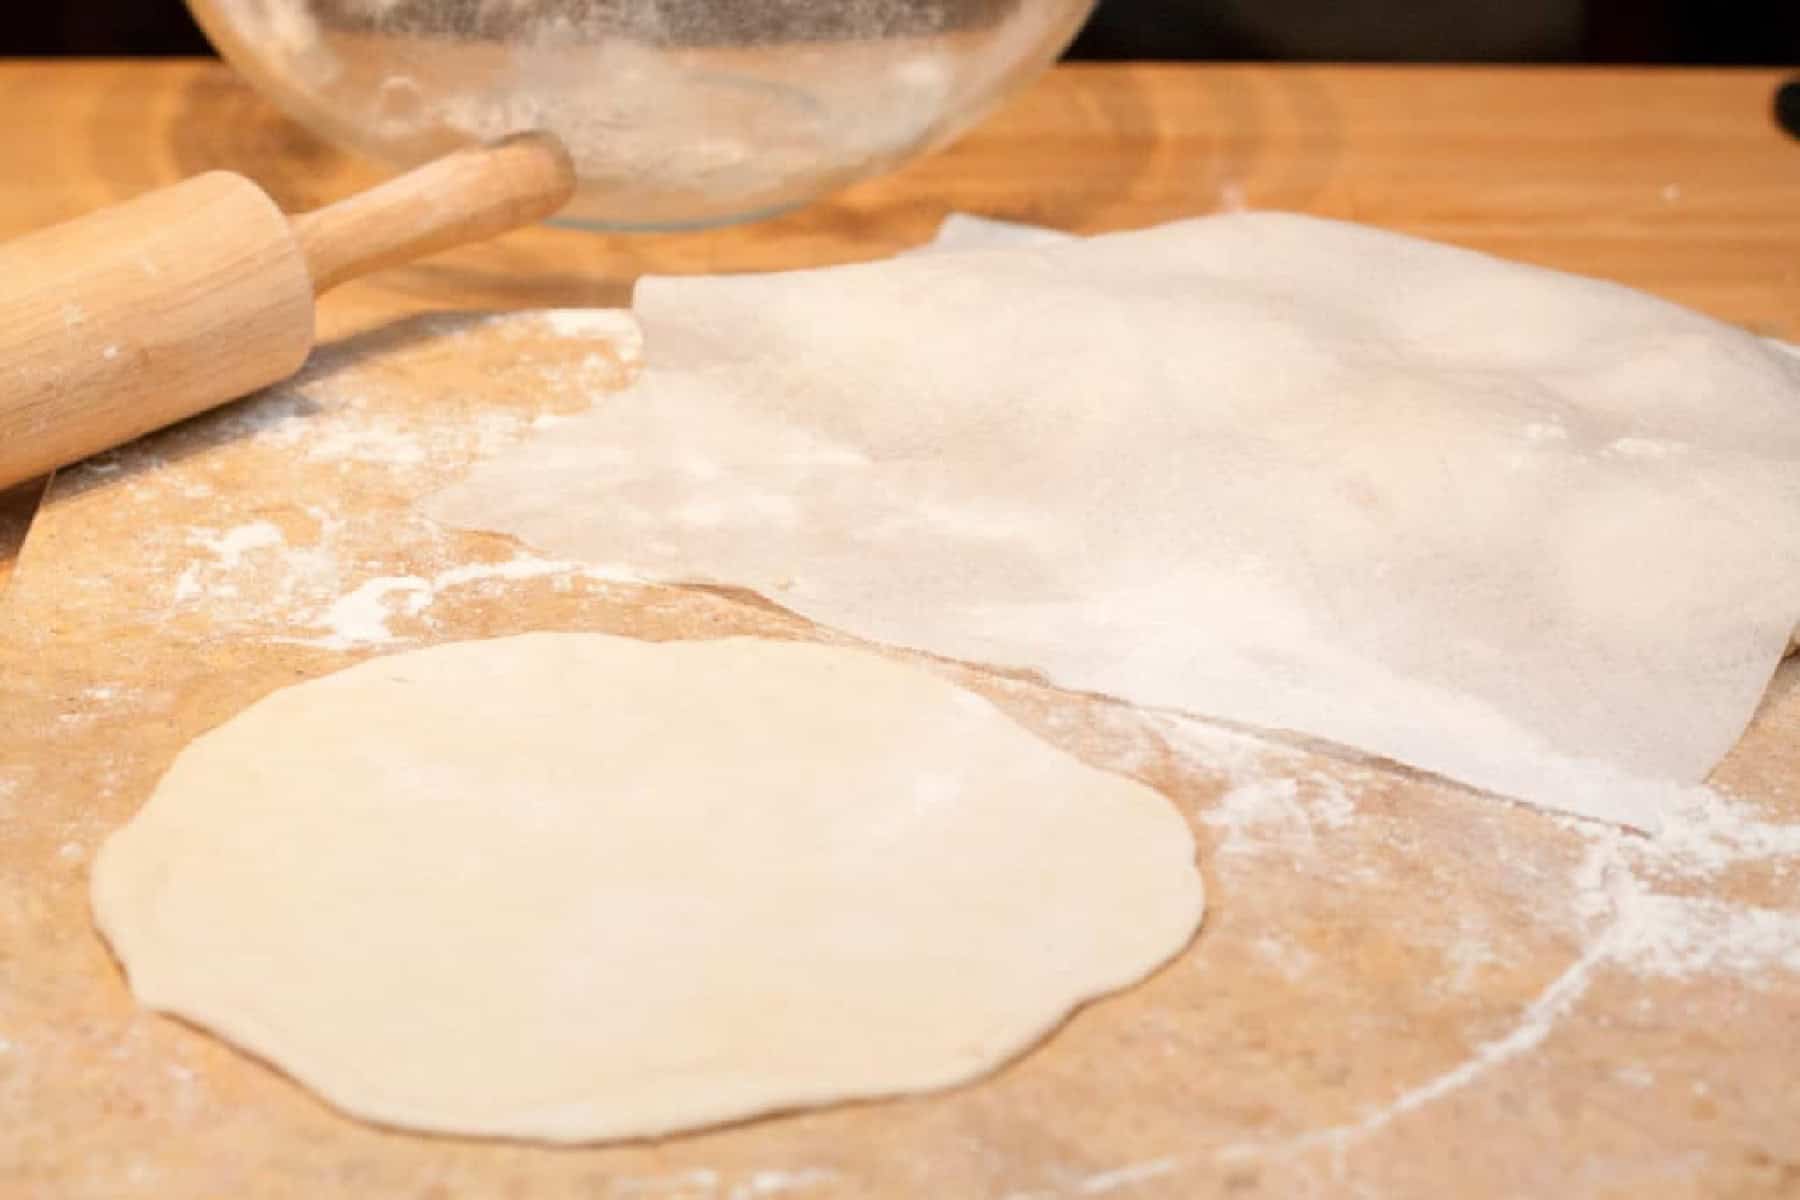
Once that dough has doubled then it’s time to separate it into rounds and roll them into thin rounds before baking.
Bake
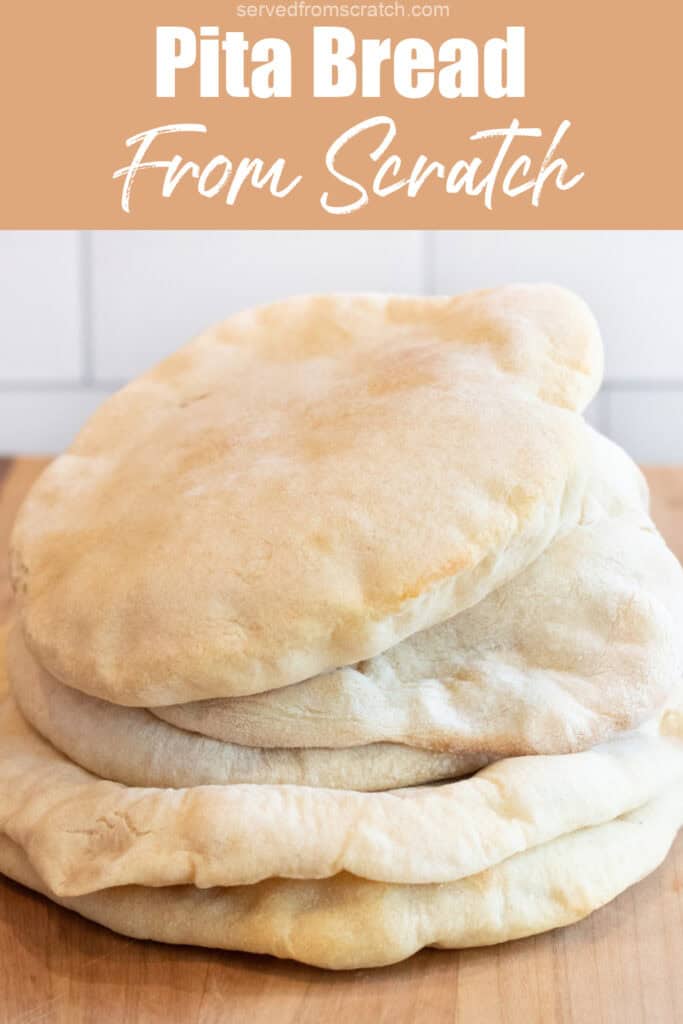
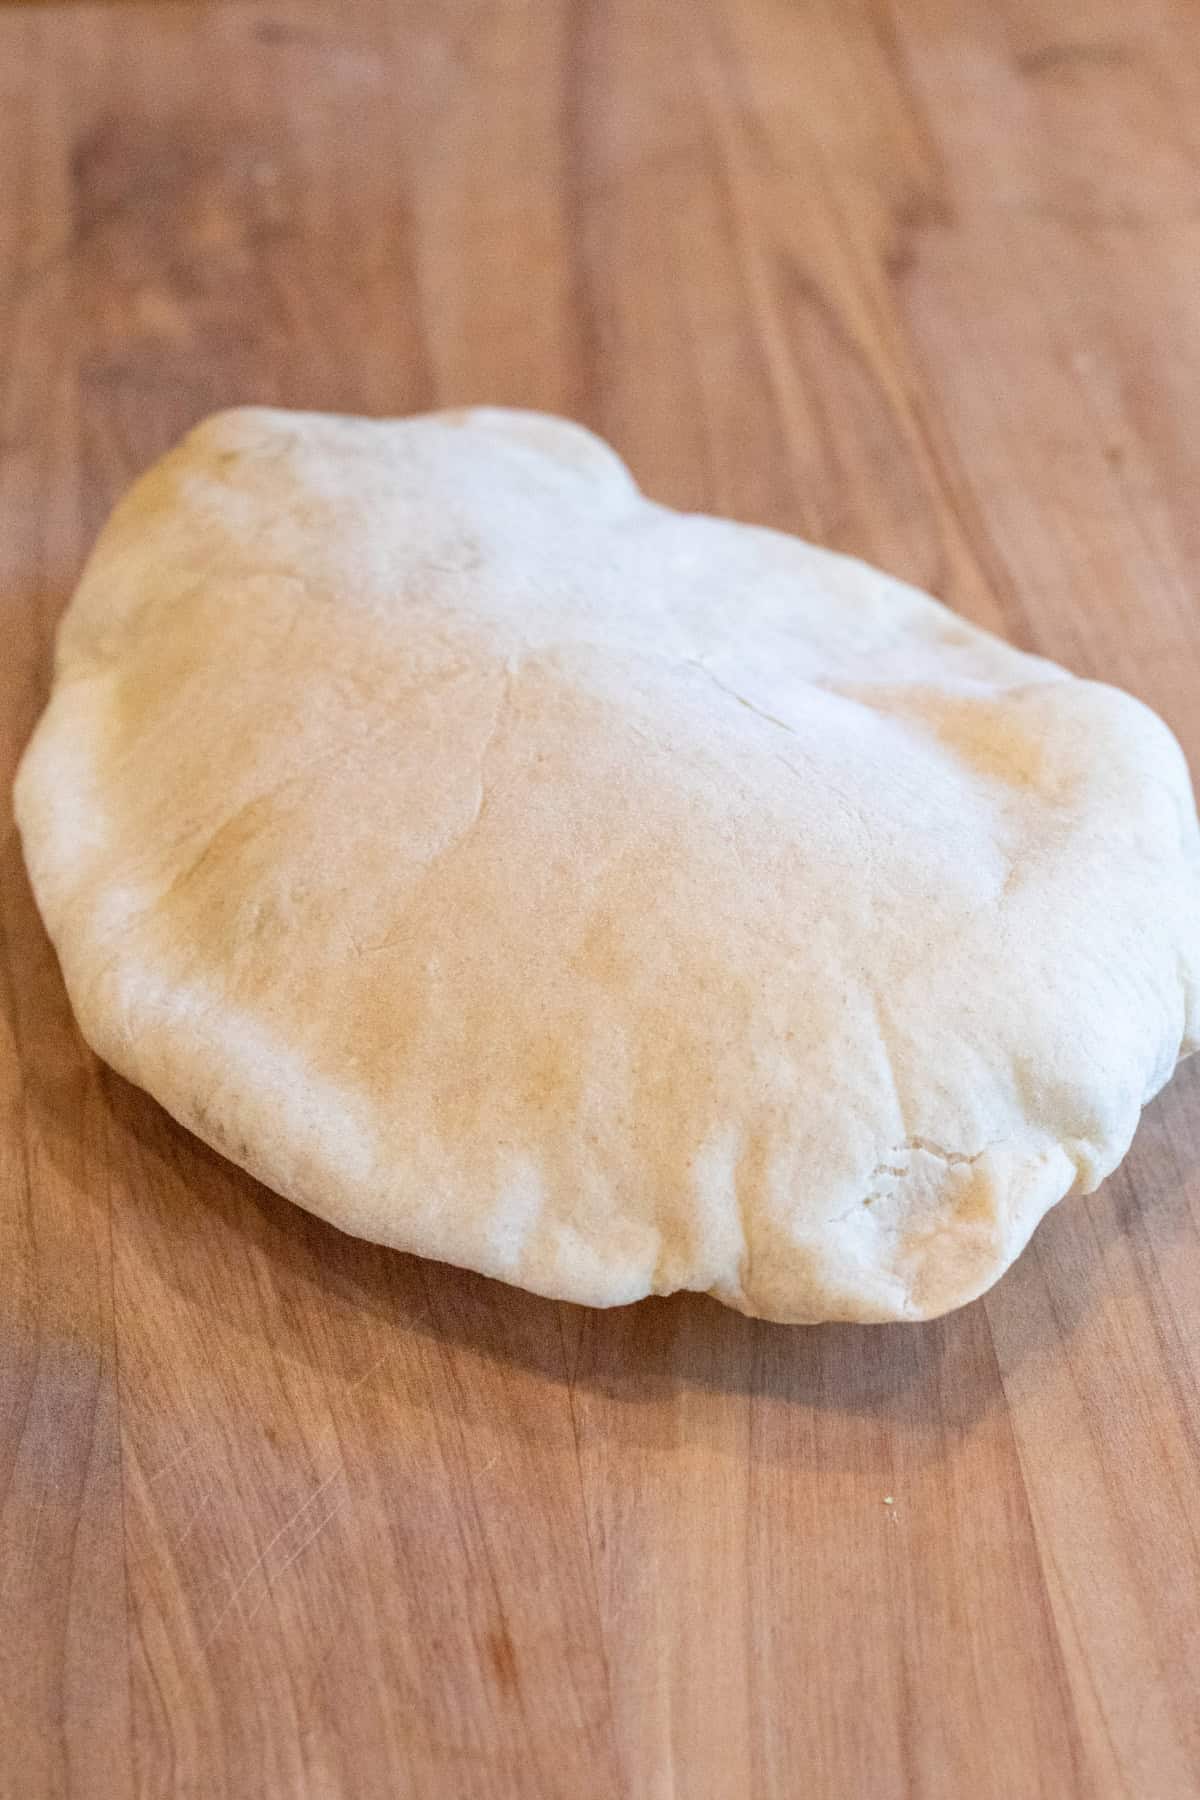
Gently place those dough rounds on your hot baking stone and then watch as they bake and puff up!
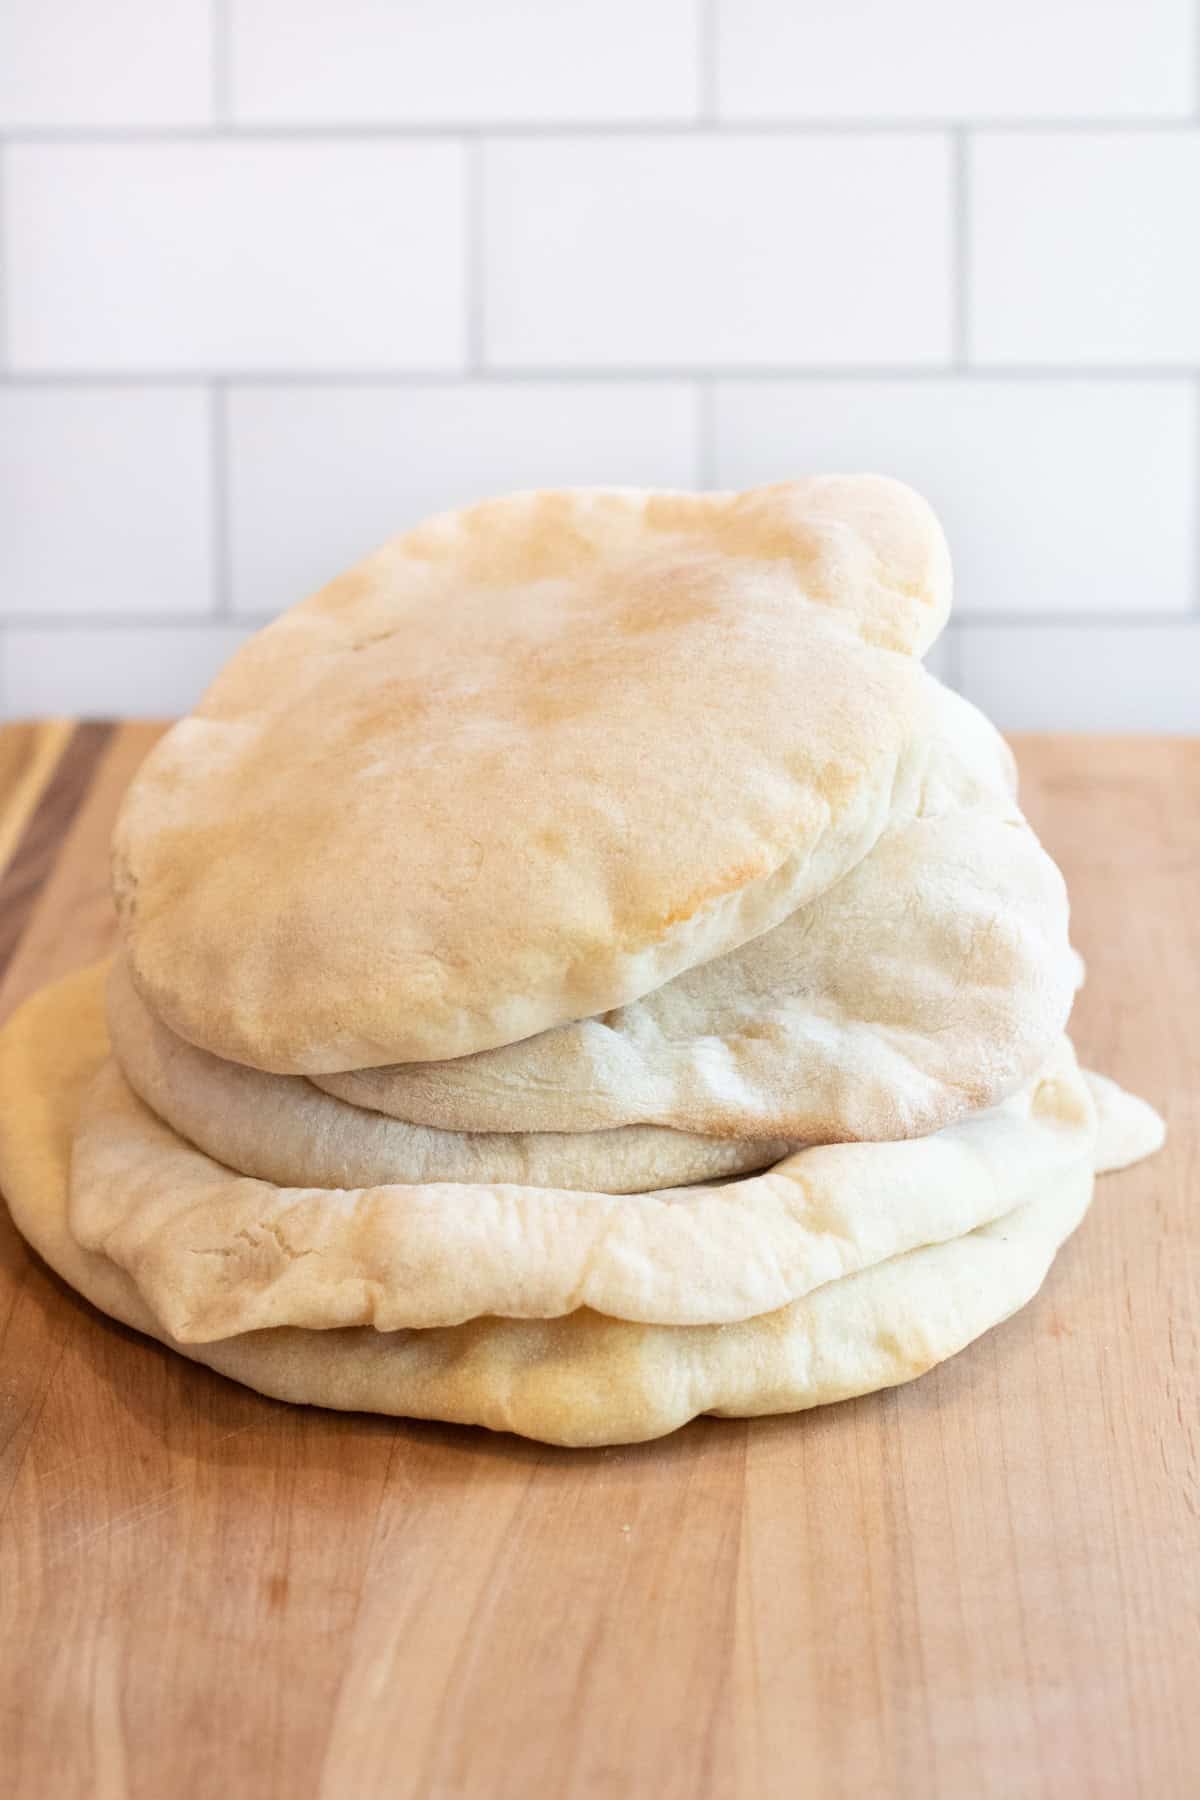
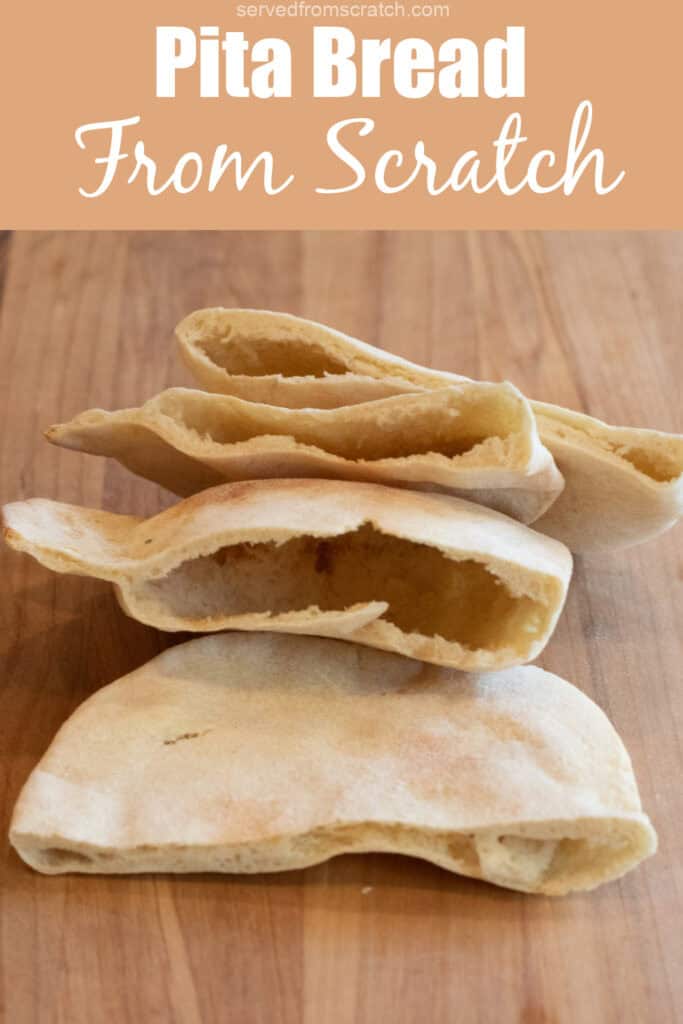
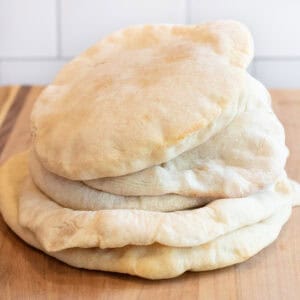
Into some beautiful, soft, slightly chewy Pita Bread From Scratch!

Eat them like they are with a tear and your favorite hummus, slice ’em in half and open them up for a pita sandwich, or turn them into some chips!
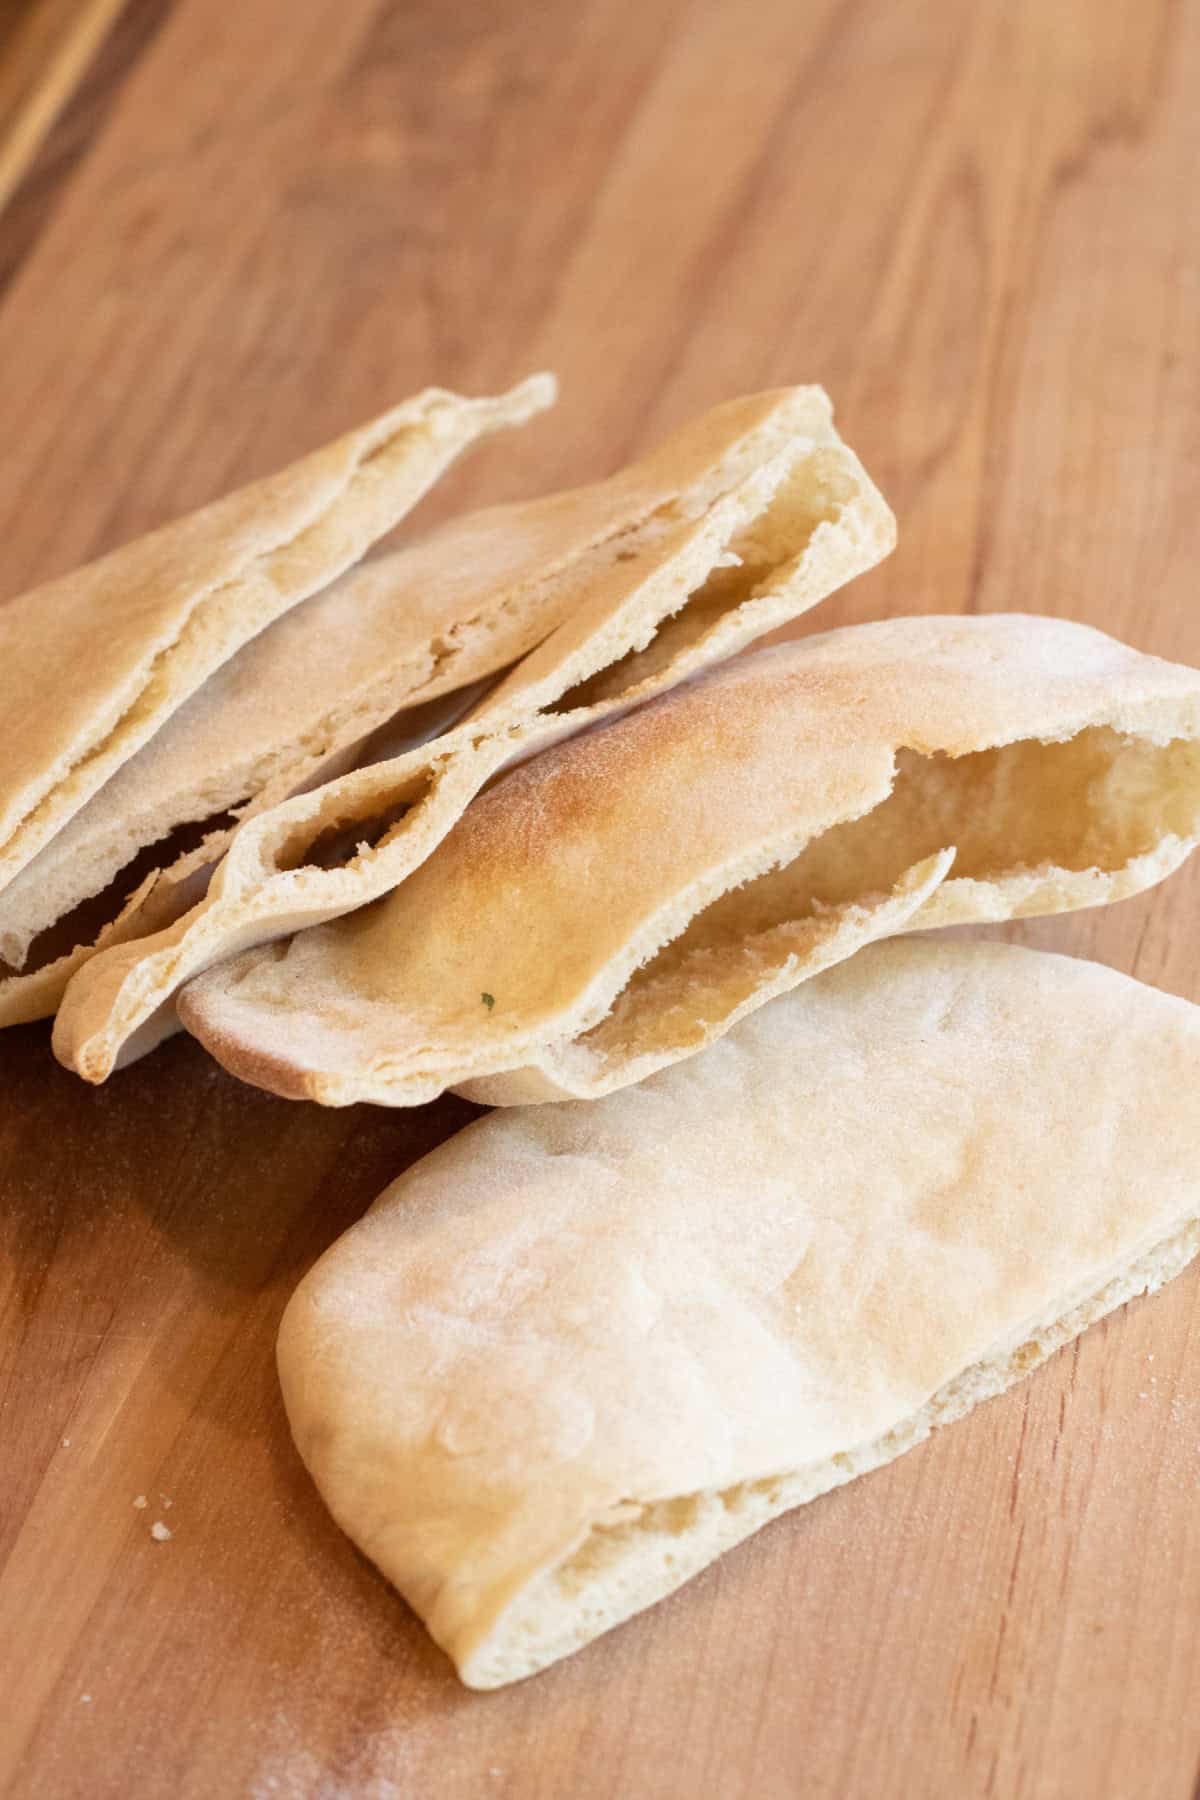
The possibilities are endless!
Enjoy! As always, if you make this recipe or any of my others, I love to hear what you think! Leave a comment below, email me, or you can find me on Facebook, Instagram, and Pinterest!
If you want to see more, be sure to sign up for my 5 Easy Ways to Start Cooking From Scratch!
Pita Bread From Scratch
Equipment
- Stand mixer optional
- or cast iron, or baking sheet
Ingredients
- 2 1/4 teaspoons active yeast 9 g
- ½ teaspoon sugar 2 g
- 1 cup warm water 90 degrees
- 2 tablespoons olive oil
- 1 teaspoon kosher salt 7 g
- 1/4 cup whole wheat flour 33 g
- 2 1/2 cups all-purposed flour 340 g
Instructions
- Activate Yeast: Add warm water to a large bowl or the bowl of a stand mixer. Add sugar and mix to dissolve and then sprinkle yeast on top. Let sit for 10 minutes until it becomes frothy to show that the yeast is activated. Put 1 cup lukewarm water in a large mixing bowl. Add yeast and sugar. Stir to dissolve. Add the whole-wheat flour and 1/4 cup all-purpose flour and whisk together. Put bowl in a warm (not hot) place, uncovered, until mixture is frothy and bubbling, about 15 minutes.
- Flours: Remove about 1/2 of a cup of all purpose flour and set aside (it does not have to be exact, just a scoop with the 1/2 cup is fine). Add oil and salt and mix well then add whole wheat and the remaining 2 cups of all purpose flour, about 1/2 cup at a time, mixing either on low speed with a stand mixer and dough hook or with a wooden spoon by hand. Mix in all of the flour and mix until all of the flour is incorporated into the dough.
- Knead: Once a shaggy dough has formed, turn the dough onto a clean, lightly floured surface to knead. Knead for 10 minutes, adding that 1/2 cup of reserved flour as you knead and it begins to become sticky. The dough should be soft and a bit moist. If using a stand mixer, mix on low and slowly add the reserved flour with the mixer on.
- Proof: Return the dough to the bowl and cover with plastic wrap. Let proof until it has doubled in size, approximately an hour.
- Punch down and separate: Once the dough has doubled, punch down the dough and remove the dough from the bowl and place on a clean, lightly floured cutting board. With a dough cutter, cut dough in half, then half again each of the halves, and halve those halves until you have 8 equal sized pieces of dough. Cover the doughs with a lightly dampened paper towel and let rest for 10 minutes.
- Prep Oven: Heat oven to 475 degrees. On bottom shelf of oven, place a heavy-duty baking sheet, large cast-iron pan or baking stone, remove other baking racks from the oven so you can easily add dough to your hot surface on the bottom shelf.
- Roll: Work on one piece of dough at a time and keep the others under a lightly damp paper towel. On the cutting board, use a rolling pin to roll out a 7-8 inch circle about 1/8 of an inch thick. Lightly flour your rolling pin if necessary. Repeat with all dough – which can be done while each pita is baking.
- Bake: Carefully lift the dough circle and place it quickly on the hot baking stone, cast iron, or baking sheet. Bake for 2 minutes or until the dough is nicely puffed. Turn over with tongs or spatula and bake 1 minute more. Repeat with rolled out dough rounds.
- Transfer warm pita bread to a napkin-lined basket or plate and cover so bread stays soft. Enjoy!


These sound delicious! And I used to be a professional baker so kneading them by hand is not a problem. (I don’t have a stand mixer at the moment.)
Easy delicious.. my new go to !
I love to hear it, Aksala! Thanks so much for sharing!
Do you have to use whole wheat flour? I don’t have any.
Hi Simone! No, you definitely don’t have to, although it does add to the texture and flavor.
Sorry if I missed this in the instructions or in the comments, but one placing on the cookie sheets for two minutes, are you also placing back in the oven?
Hi Nate! Oh no worries at all – you’re right the instructions are a little vague! Yes – you’ll want them back in the oven to cook for those 2 minutes and then flipped and cooked for another minute 🙂
Tracy, thanks so much for bringing these to Fiesta Friday! Talk about all from scratch! I’ve never attempted Pita, although I make a flatbread, but they’re on my list to do now that I’ve seen this! What a difference from store bought! HAppy FF!
I love the idea of making your own pitas, and the avocado salsa looks amazing.
Thank you!! I’m getting ready to (re) post the Corn Avocado Salsa soon, too! 😉
Ooooooooh… pita bread is just amazing!! It’s also expensive here, so making it from scratch is not only better for me, but cheaper 🙂 Plus…. chips!!! I can’t wait to make this and dip the chips into some hummus 😀 Thanks so much for sharing with Friday Favorites, we love having you join us! Pinned and yummed 🙂
Thank you!! It is expensive and so not that hard to make! I’m all about saving $ while knowing exactly what’s in it! 😉
You have to admit, this is pretty awesome. I mean, there’s bread and then there’s things like english muffins, pita bread and donuts . . . . which I consider to be somewhat sneakier. People who can make pita bread homemade and have it puff up like that have magic powers. Nice work! We have a pita chipper at the farmer’s market who sells this one variety that is just doused in lemon juice and garlic and my husband and I both agreed we cannot buy any more because they are gone like WAY too fast. Nice job here as usual !
Definitely a little sneakier, Sue! They were so fun to watch puff up and ohhh my lemon and garlic?! I will have to try try that next. It sounds amazing. Thank you so much! 😀
Tracy!! whatever will you do next?? Pita bread at home! I can’t wait to try this because I LOVE pita bread!! I can see myself stuffing it with some salad and meat for lunches!! YUM! I’ll save some for the Pita chips too 😀 Especially for movie night 🙂
Happy FF!! Thank you for sharing this recipe!
Awww Dini you are SO sweet! Oooh salad in the pitas would be amazinnnggg. I can’t believe I didn’t save any! Ha! Happy FF! 😀
These look so easy! I love making bread from scratch, but I’ve never tried pita bread. I’ll have to give it a shot! YUM.
Thank you!! I hope you do! It wasn’t as scary as I thought it’d be 😉 That’s for stopping by!