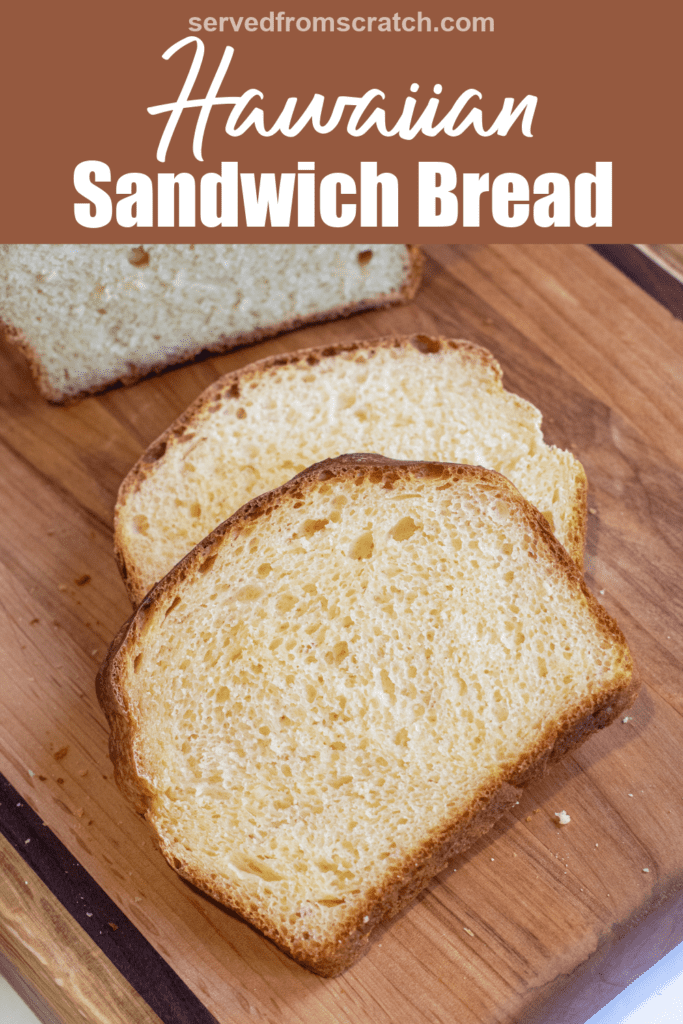
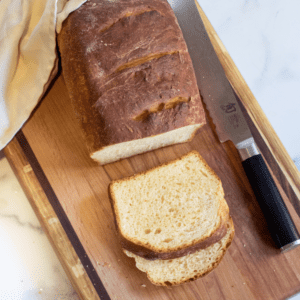
Add a little sweetness to your favorite sandwiches or take your French toast to the next level with our Homemade Hawaiian Sandwich Bread! This super soft bread is sweetened just enough to mimic the classic Hawaiian roll but is baked into a big beautiful loaf.
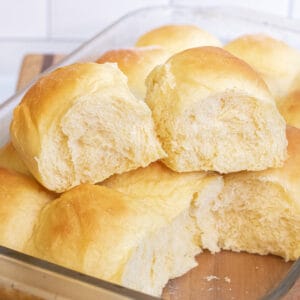
Make our Homemade Hawaiian Rolls, next!
In this bread and carb-loving household, homemade bread is king. My 5 year old especially loves to not only help make bread but she especially loves to help taste test and this new recipe is one of her favorites! Our Homemade Hawaiian Sandwich Bread is everything you love about the subtly sweet Hawaiian rolls, but made into a large loaf perfect for sandwiches!
What is Hawaiian Bread?
Also known as Portuguese sweet bread, Hawaiian Bread is also a yeasted bread sweetened with sugar and made with milk, eggs, and to make it "Hawaiian", we add some pineapple juice! Typically super soft and fluffy and made into rolls, you can also find it in the bread aisle of your grocery store in a sliced loaf. This is how my kids were introduced to it, and so naturally, this is how they requested we recreate it.
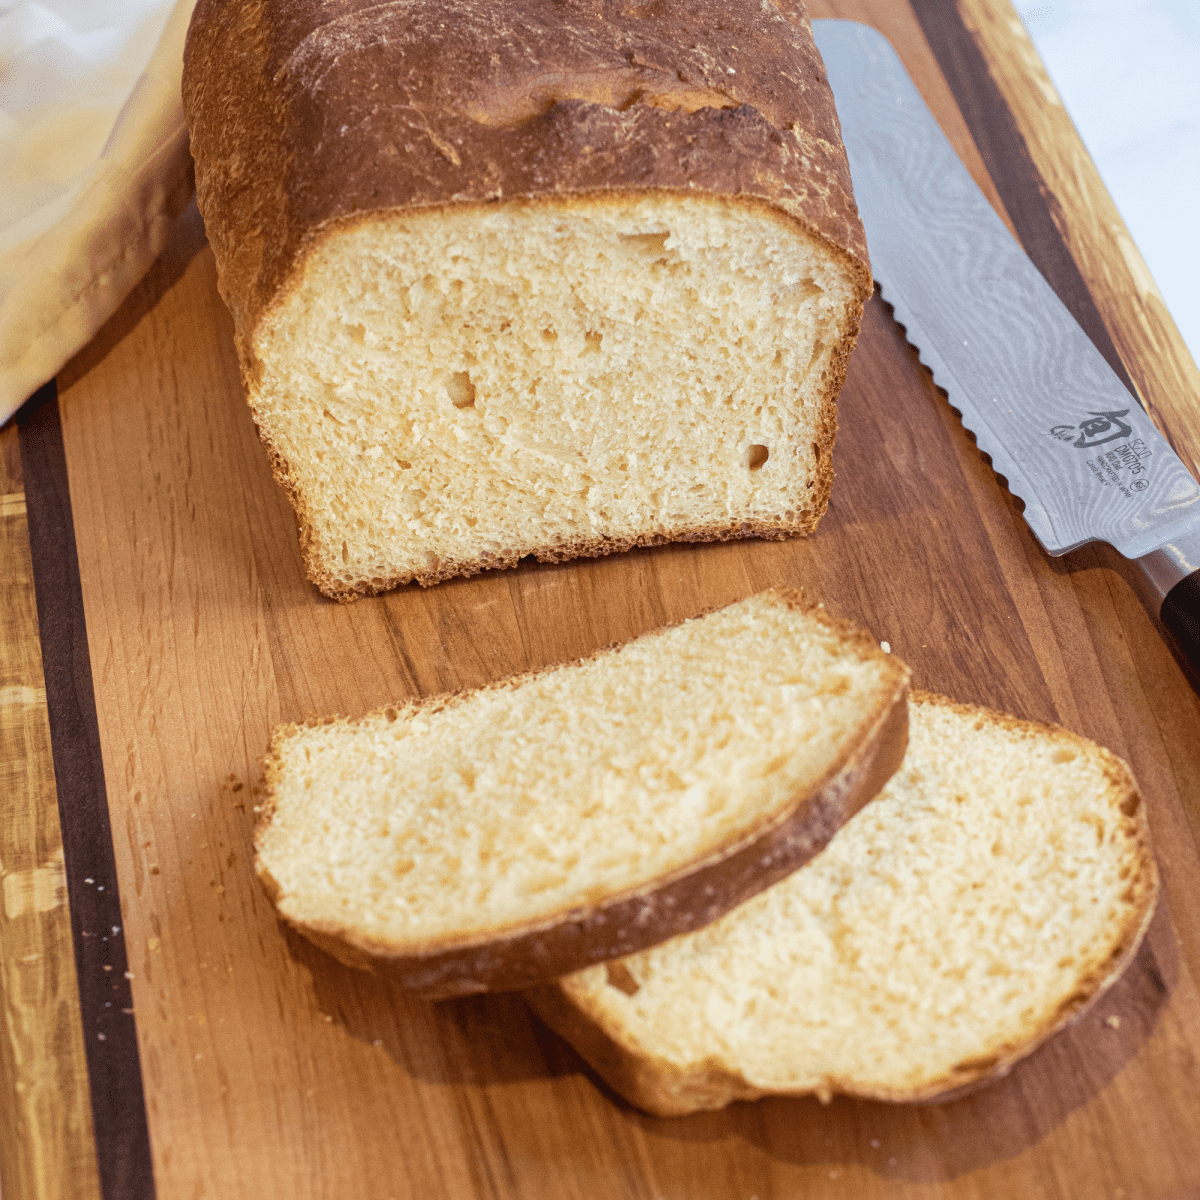
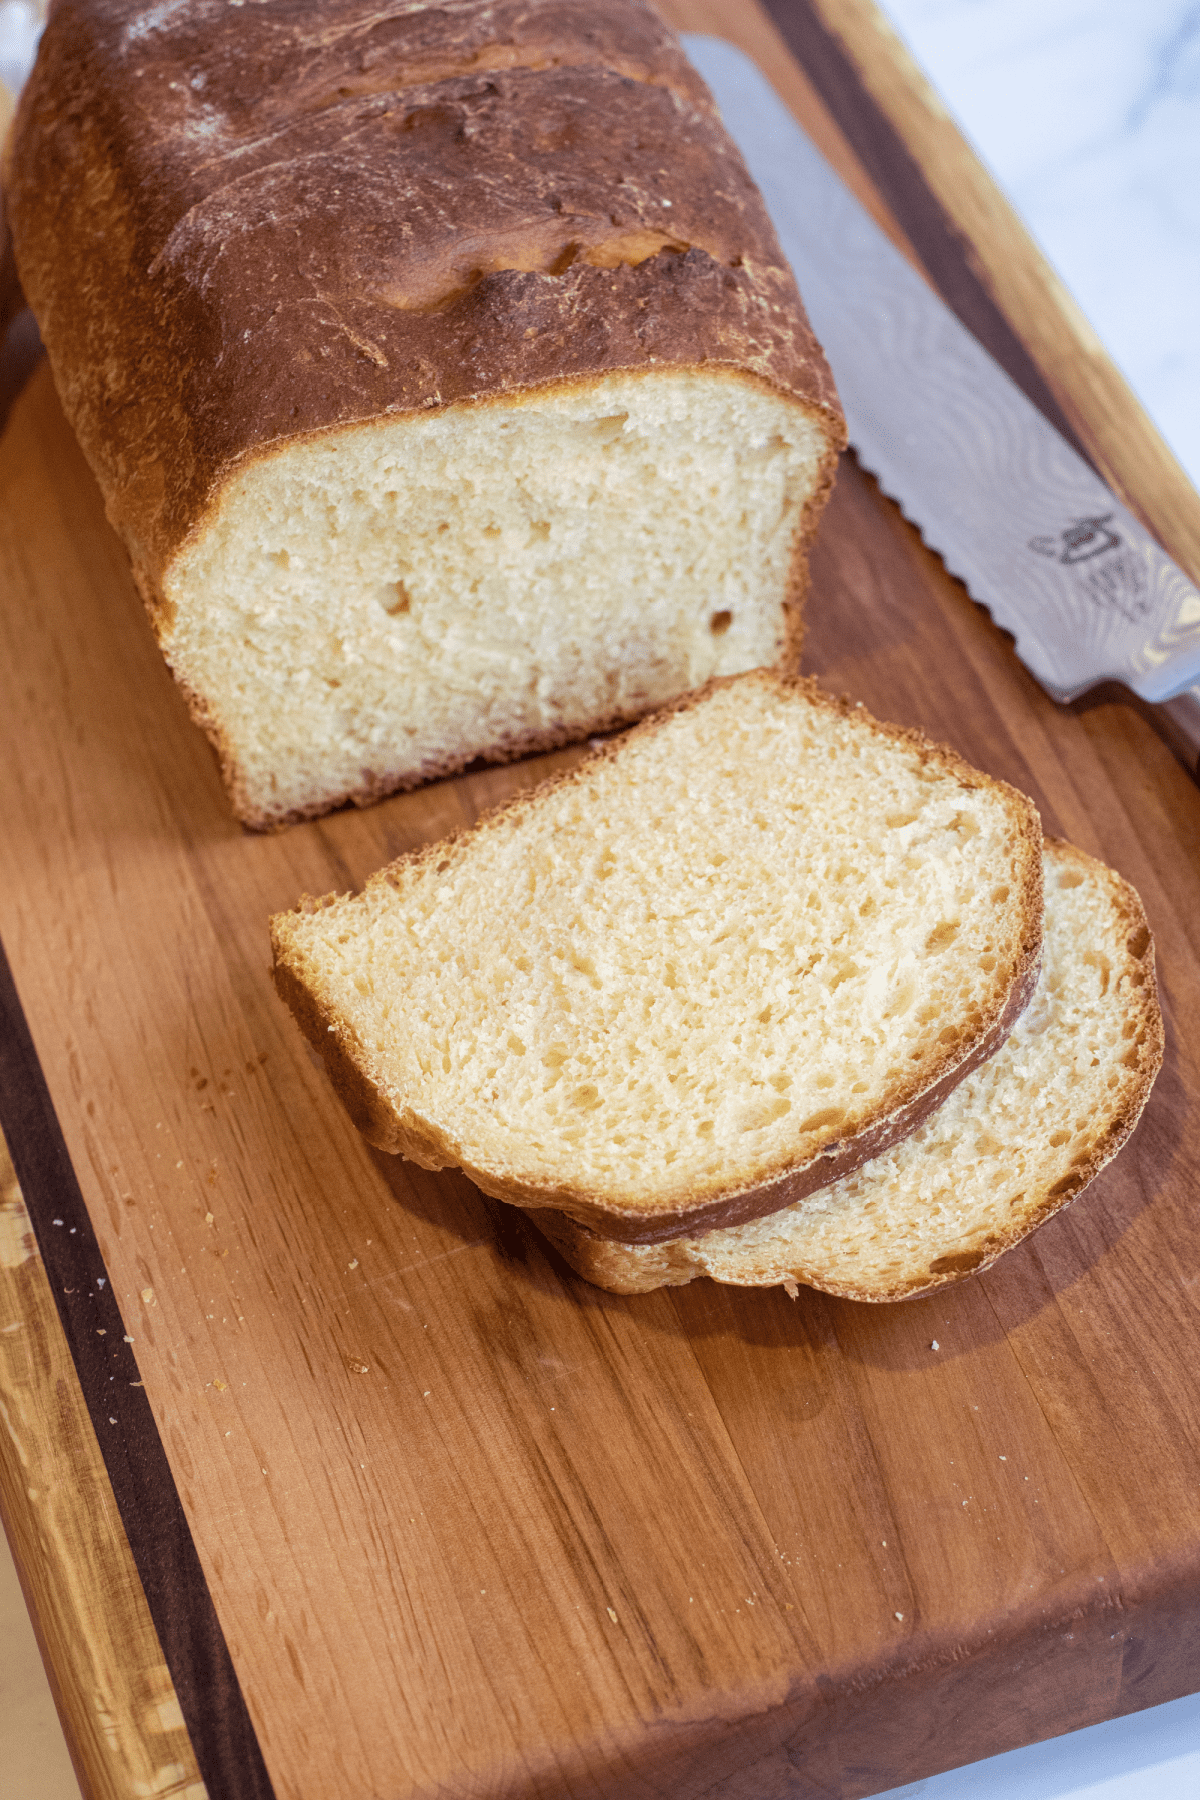
Our version has everything you love about Hawaiian bread. Subtle sweetness and an incredibly soft fluffy crumb that still has enough structure to make a great sandwich bread! Think of your favorite ham and cheese with just a hint of sweetness and pineapple flavor!
Ingredients Needed
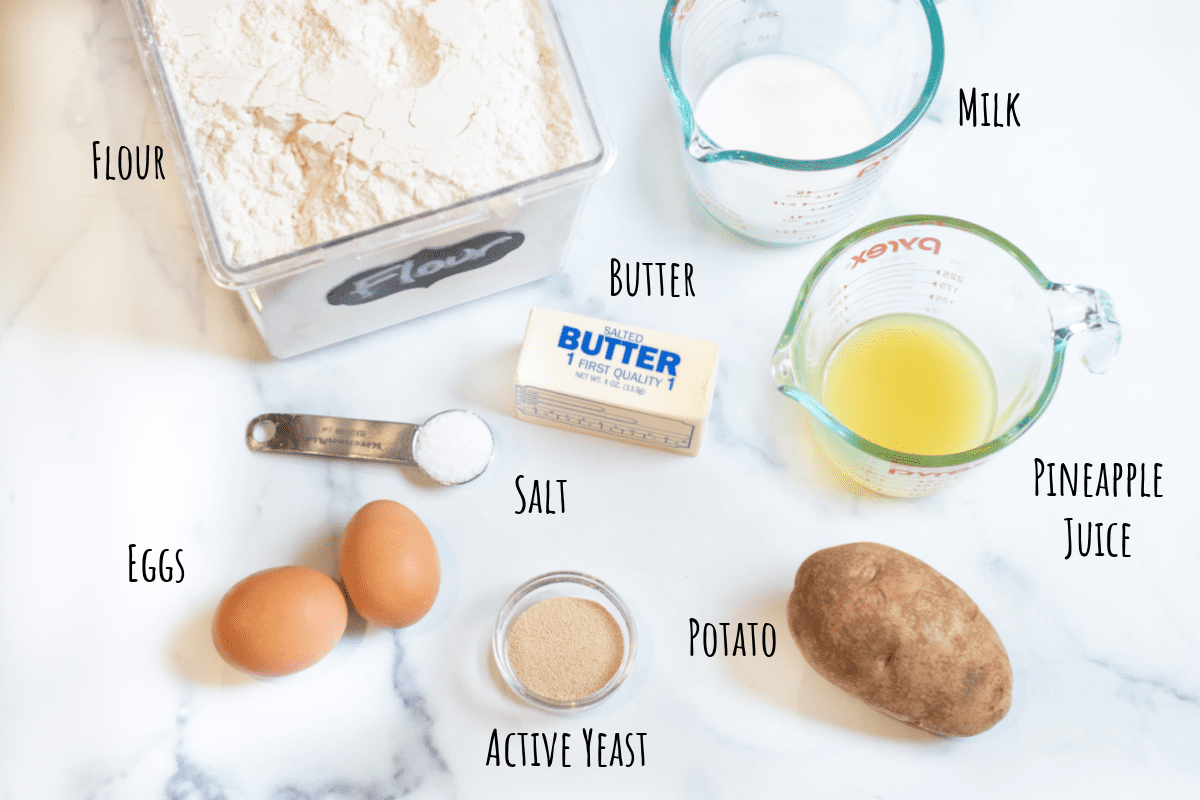
- Flour - Bread flour is our preferred flour, but we've also made this with all-purpose flour and it's great.
- Yeast - Active yeast is what we use, but you can also use an instant yeast and cut the activiation time.
- Sugar - White granulated is what works best for this recipe. While we normally prefer to use a natural sweetener, we've tried this recipe with using honey and it's just not the same.
- Pineapple Juice - The "Hawaii" for this Hawaiian sandwich bread!
- Eggs, Milk, and Butter - Classic ingredients for a Porteguese sweet bread.
- Potato - Our secret ingredient for this bread!
- Salt - Just a touch!
Bread flour vs. All-Purpose Flour: Either produces delicious results, but we find that the added protein from the bread flour provides just a touch more structure that creates a tighter loaf. With all-purpose flour, we found that sometimes the bread would rise and "spill" over the edge of the loaf pan. While nothing wrong with that, if you want a loaf that's a cleaner loaf pan shape, bread flour is the best for that.
Step-by-Step Instructions
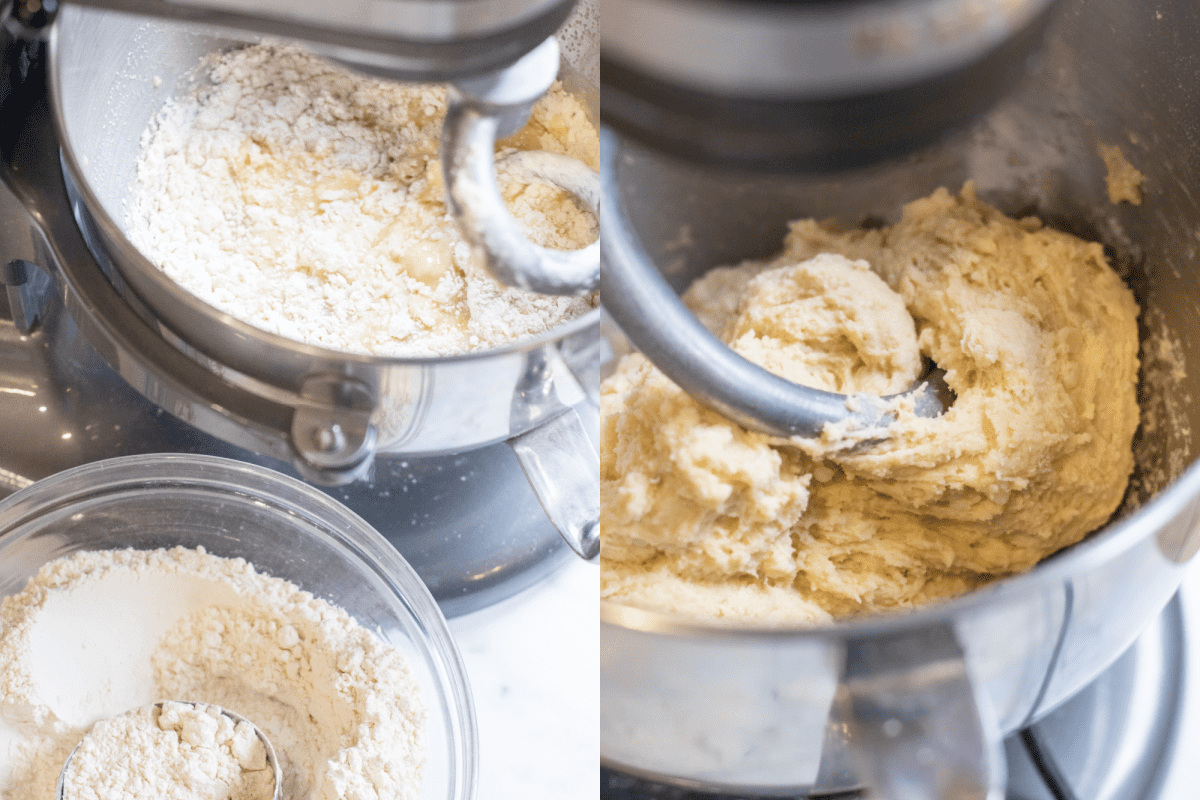
Make Dough
With a stand mixer, this dough comes together in no time. You can of course make it without a stand mixer, it'll just take a lot of elbow grease to mix it all by hand.
- Cook potato.
- Activate yeast.
- Add juice, potato, eggs, salt.
- Slowly add flour to mix until a sticky dough forms.
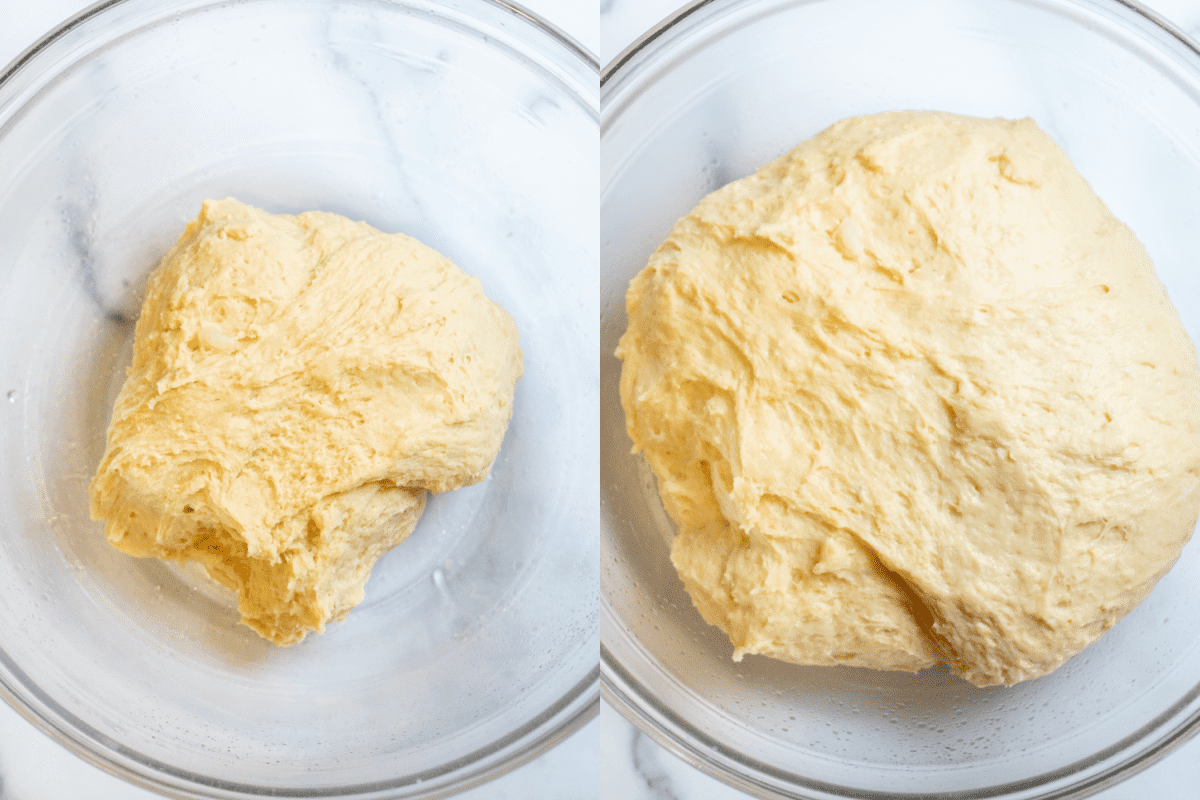
Let Dough Rise
Add that sticky dough to an oiled bowl and let it double.
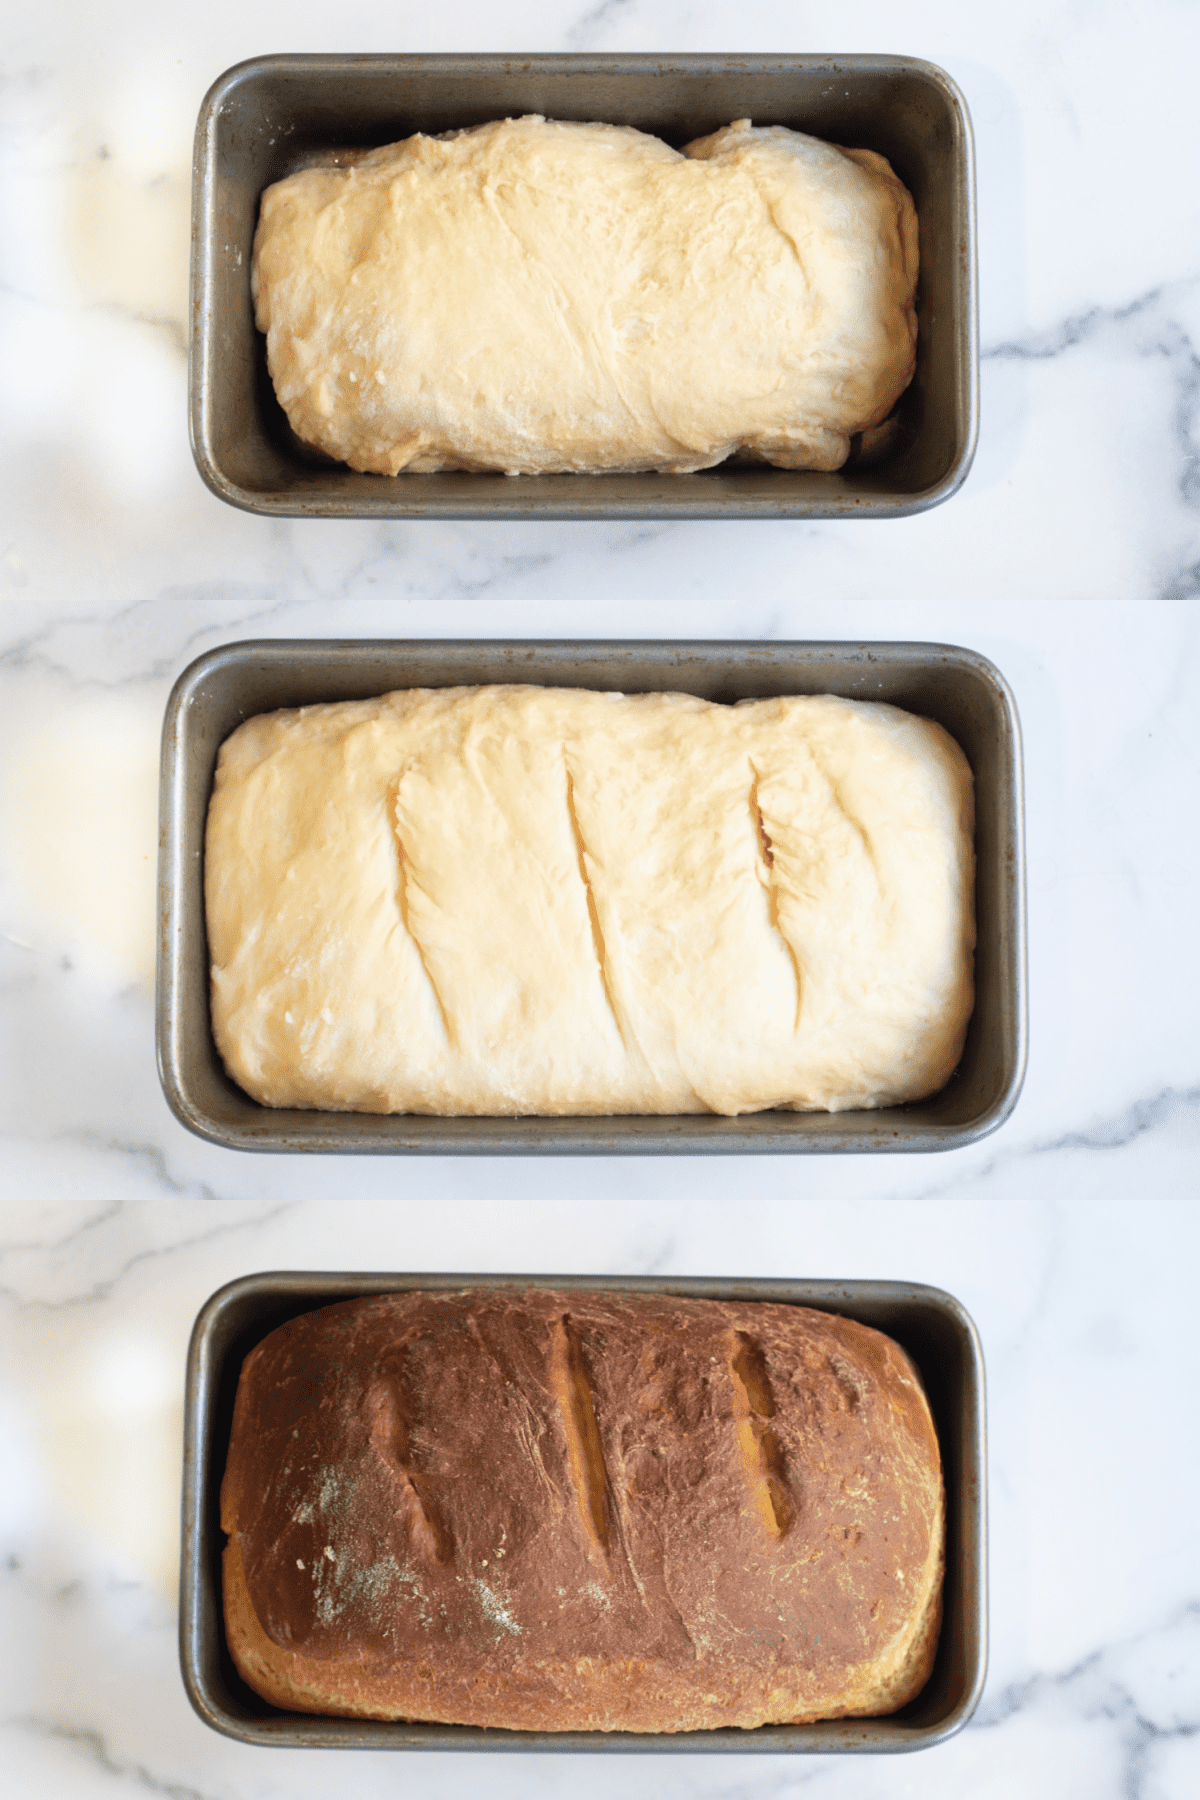
Second Rise, Score, and Bake!
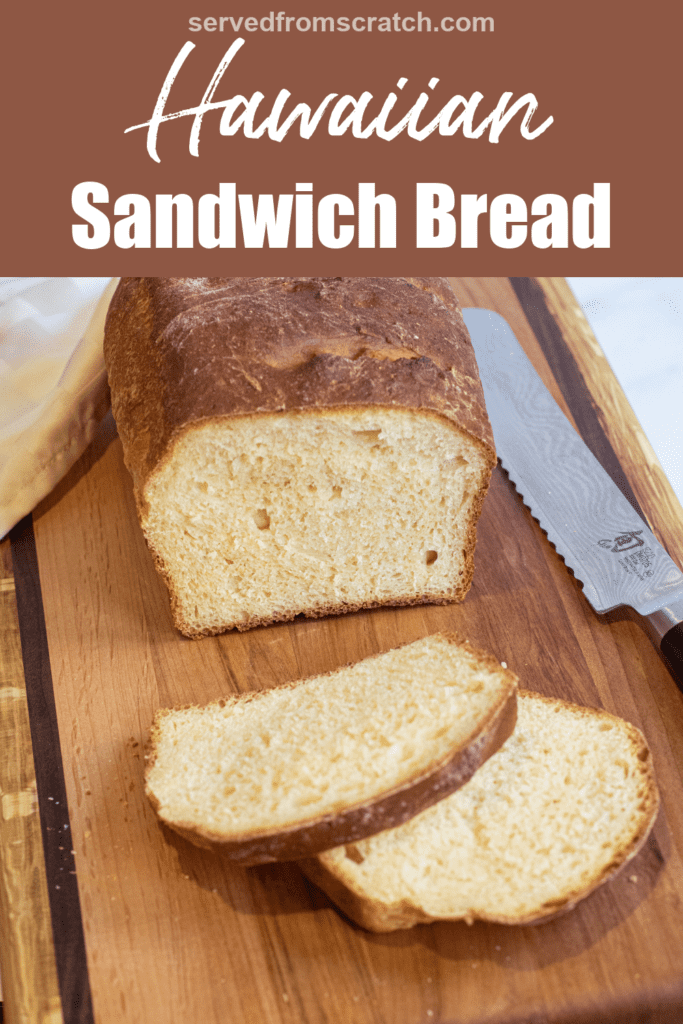
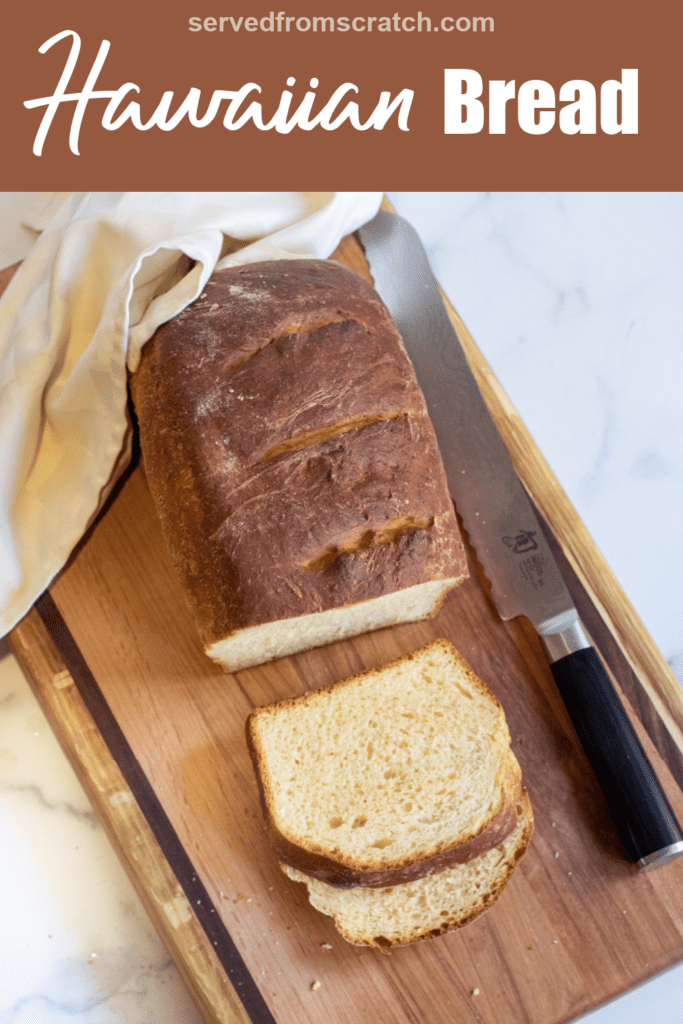
For the second rise, add that dough to your loaf pan and then let it rise again, just enough so that it fills out of the pan. Score the top of the bread and then bake!
Baking Tips
You don't even want to know how many loaves of bread we made to make sure that the flavor of Hawaiian sandwich bread is spot on, but also that texture. Here are some of our key notes and baking tips!
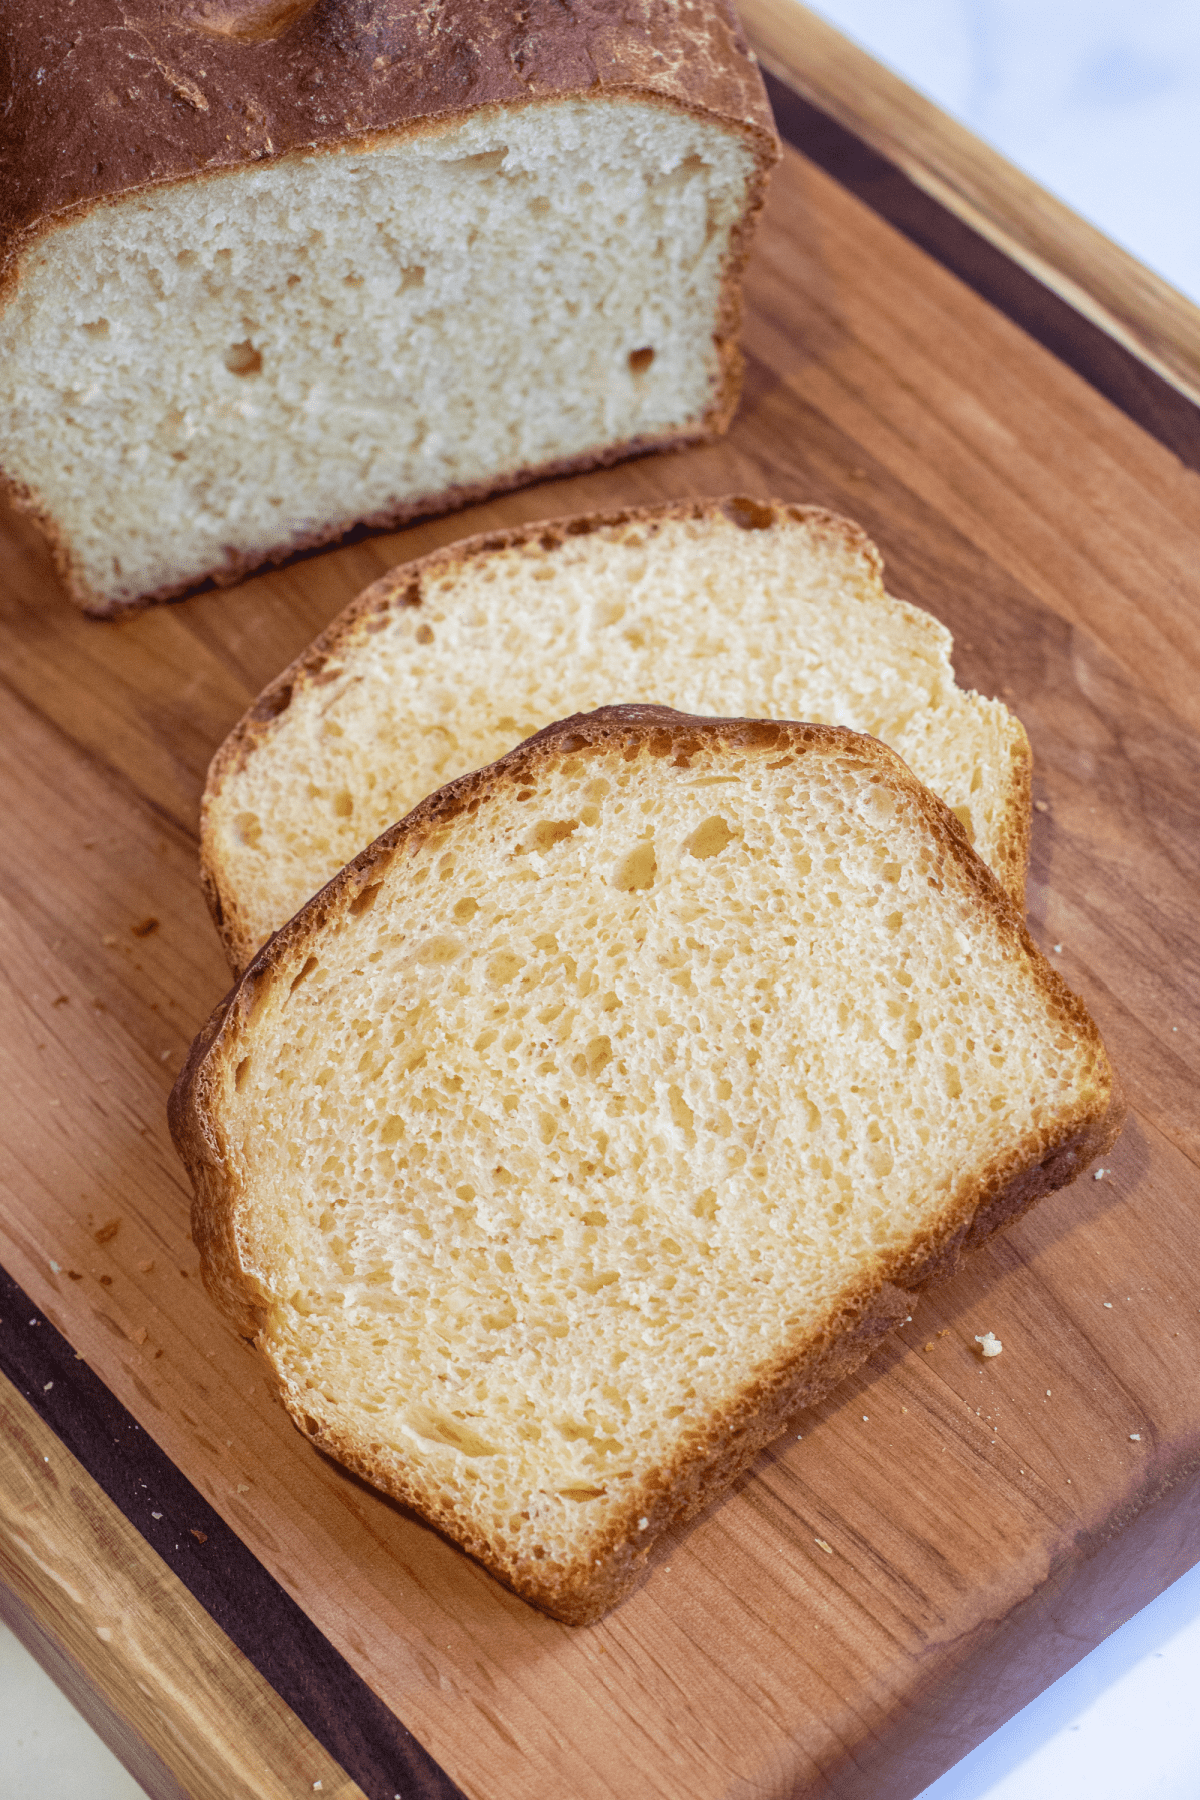
The potato and hydration to this dough are key to the soft, tight crumb. The potato and the bread flour both contribute to the structure. Make sure that the potato is really well mashed so that it incorporates well into the dough.
There is nothing worse than having a big beautiful loaf that is stuck to the pan. Make sure that your pan is well greased so you don't have any issues. We love our misto for this!
Scoring the bread is not just for looks! The purpose of scoring is to create a chosen space that will be a weak point to allow the bread to expand (rise) in the oven. Without the scores, the bread will rise and open in random places and can create an odd-shaped baked loaf. But make sure that you use your bread lame (or sharp knife) and score at about a 45-degree angle at least 1/4 - 1/2 inch deep.
This dough will brown fast because of the milk and sugar. We experimented a lot with bake time and temperature for this recipe and found that the most consistent results were a low temperature (325 degrees) for a longer time (65 minutes) to ensure that the bread is fully cooked and not too browned.
Because the dough will brown fast, you can't rely on the color for the doneness of the center of the bread, you can check by testing the internal temp with a thermometer. If the dough is fully cooked, for this bread, the temp should be at 190 - 200 degrees. When you tap the bottom of the loaf, it should sound hollow.
This is one of the most important steps to all bread baking. As hard as it is to resist that fresh baked bread smell, you need to let your fresh baked bread rest for at least 1 hour before you cut into it. If you cut into your bread too soon, it can make the crumb of your loaf gummy.
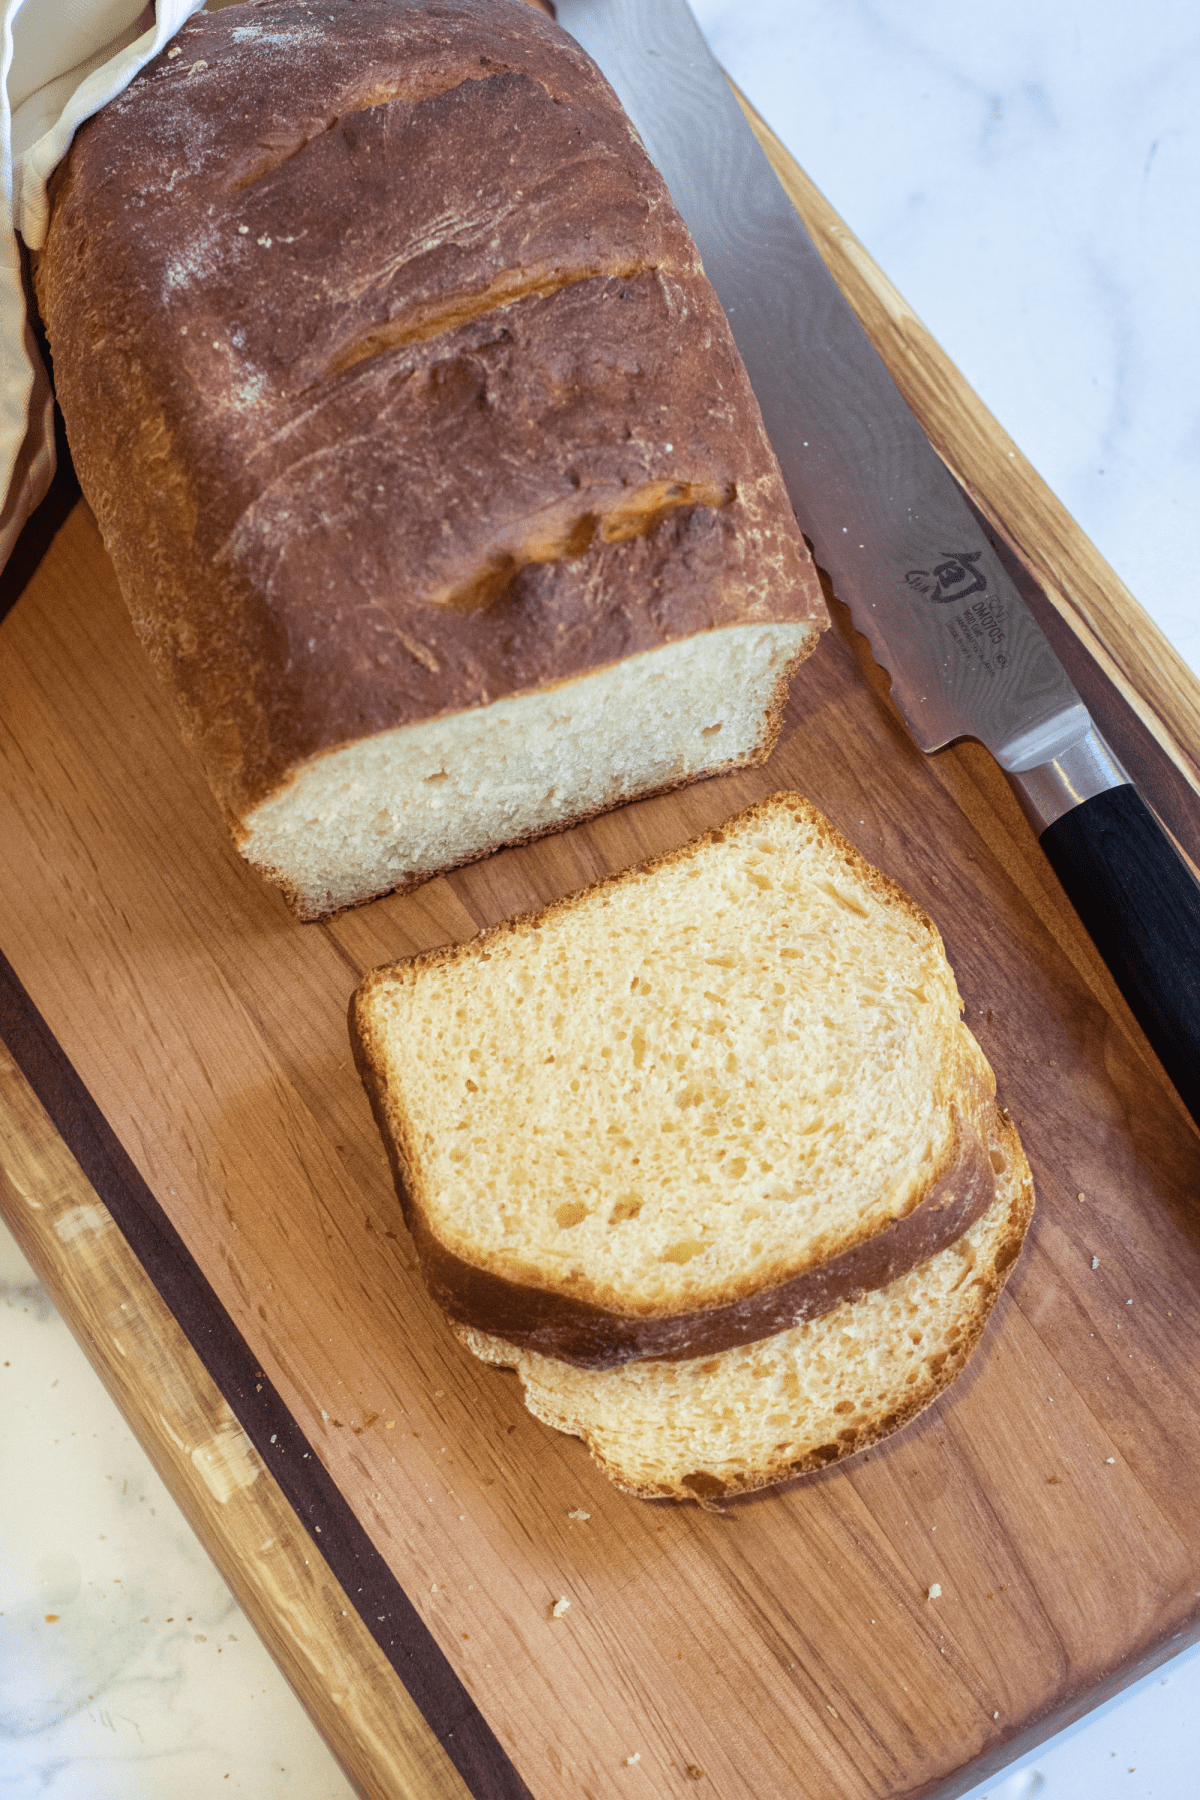
Homemade Hawaiian Sandwich Bread! So soft and just a touch sweet!
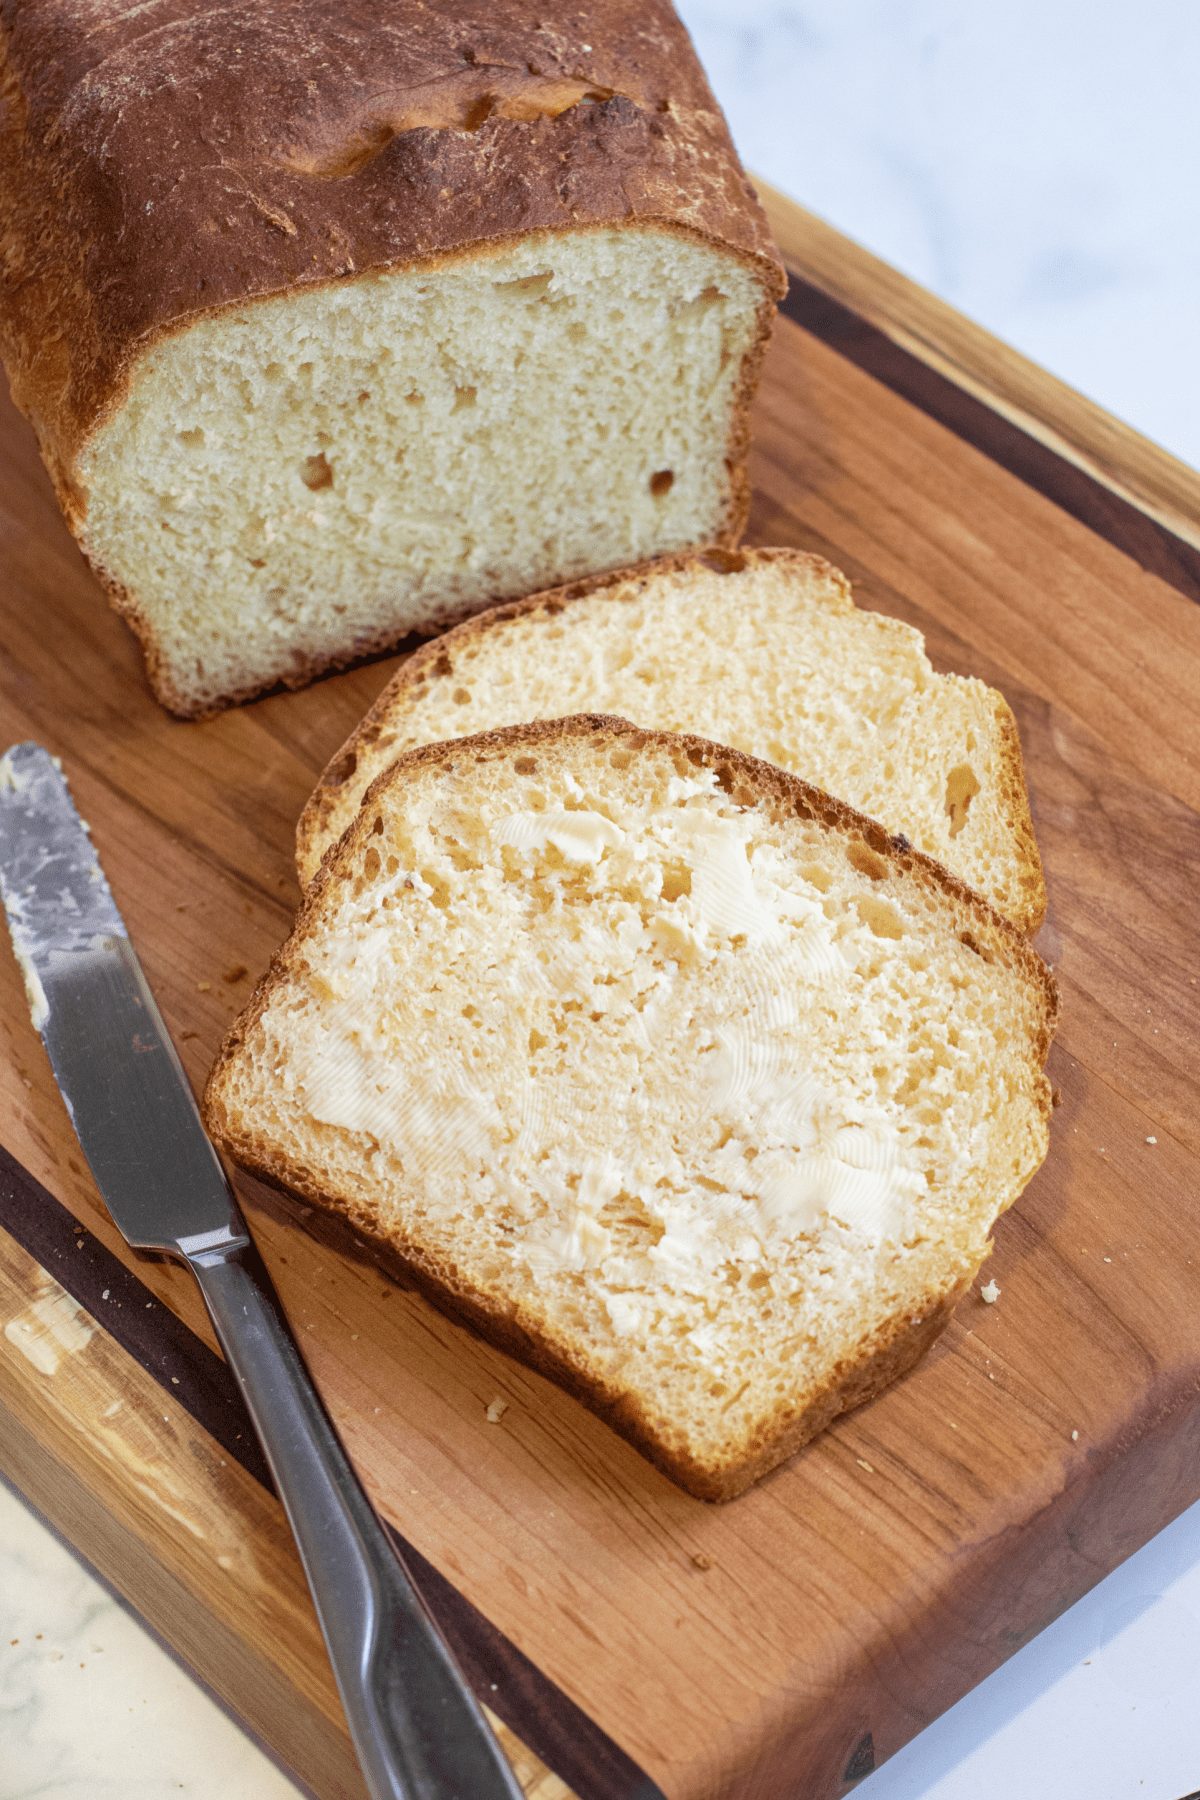
This Hawaiian bread is absolutely perfect for buttered toast and for thick-sliced French toast!
Not only that, but as indicated in its name, this bread makes the most delightful sandwich bread! Just imagine your favorite ham and cheese sandwich between two slices of this soft bread just the most subtle pineapple touch? Could there be a better pairing?
Other Favorite Breads
- Easy White Sandwich Bread
- Whole Wheat Honey Oat Bread
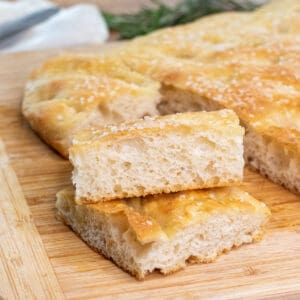
- No Knead Rosemary Garlic Bread
- Dan's Como Bread
- Vietnamese Baguettes
- Homemade Irish Soda Bread
Enjoy! As always, if you make this recipe or any of my others, I love to hear what you think! Leave a comment below, email me, or you can find me on Facebook, Instagram, and Pinterest!
If you want to see more, be sure to sign up for my 5 Easy Ways to Start Cooking From Scratch!
Homemade Hawaiian Sandwich Bread
Equipment
- bread lame optional
- Misto optional
Ingredients
- 461 g Bread flour approximately 3 1/2 cups spooned and leveled
- 70 g granulated sugar about 1/3 cup
- 117 g 2% milk warmed to 90-100 degrees 1/2 cup
- 10 g active yeast 2 1/4 teaspoons
- 80 g pineapple juice 1/3 cup
- 2 eggs
- 1 potato 2/3 cup mashed or 131 g
- 2 tablespoons salted butter melted
- 6 g salt 1 teaspoon
Instructions
- Add peeled and cubed potato to a small pot with water and set to high. Let boil for at least 10 minutes until potatos are fork tender.
- Add sugar and wamred milk to the bowl of a stand mixer and give a quick whisk. Sprinkle yeast on top. Let side for at least 10 minutes until yeast is activated and bubbly.
- Drain and mash potatoes with a potato masher or a fork.
- Once yeast is activated, add salt, eggs, melted (cooled) butter, mashed potato, and pineapple juice and mix on medium for 1-2 miutes until egg yolks are broken.
- Slowly add the flour about 1 cup at a time while dough is mixing on medium-low / medium. Once all of the flour is added, turn up to medium and let mix for about 1-2 minutes until a super sticky dough is formed.
- Lightly oil a large bowl and add sticky dough to the bowl. Cover with plastic wrap and let rise for 1-2 hours, until dough has doubled.
- Once the dough has doubled, grease a loaf pan. Sprinkle some bread flour around the edges of the risen dough and gently pull it away from the edges of the bowl. In the bowl, form it into a rough rectangle shape, then fold down the top 1/3, fold up the bottom 1/3 and then gather in the ends to make a short, thick log. Add the log, seam side down, to the greased loaf pan.
- Cover pan with a linen towel or napkin and let rise another 20-30 minutes, just enough so that the dough has filled out the loaf pan. Pre-heat oven to 325 degrees and move rack to bottom 1/3 of the oven, just one below the middle rack.
- Once dough has risen again, use a bread lame or very sharp knife to add three scores to across top of the bread loaf. Keep them at about a 45 degree angle and 1/4 - 1/2 inch deep.
- Place loaf pan to the bottom 1/3 rack and bake for 65 minutes.
- Remove from oven and gently remove bread from pan and let cool on its side on a cooling rack for at least 1 hr before slicing. Internal temp of dough should be at least 190 degrees and if you tap the bottom of the loaf it should sound hollow. If you slice earlier than 1 hr, you run the risk of creating a gummy center.
- Enjoy!


Huge family hit. Best Hawaiian, legit sandwich bread. Love it.
I have never tried Hawaiian bread and it was a revelation, it was so delicious!
So great to hear, Freya!!
I love Hawaiian bread! I could eat a whole loaf at one time! I have never tried making a loaf myself, but it seems pretty simple! Thanks for the share!
Enjoy, Liz!
This bread turned out Beautiful!! The rise, consistency, flavor & ohh the smell when baked!! The kids took some home. Asked my husband to make another loaf for our lunches this week!!
SO great to hear!! Thanks so much for sharing and taking the time to leave a review!