
Copycat Dave’s Killer Bread
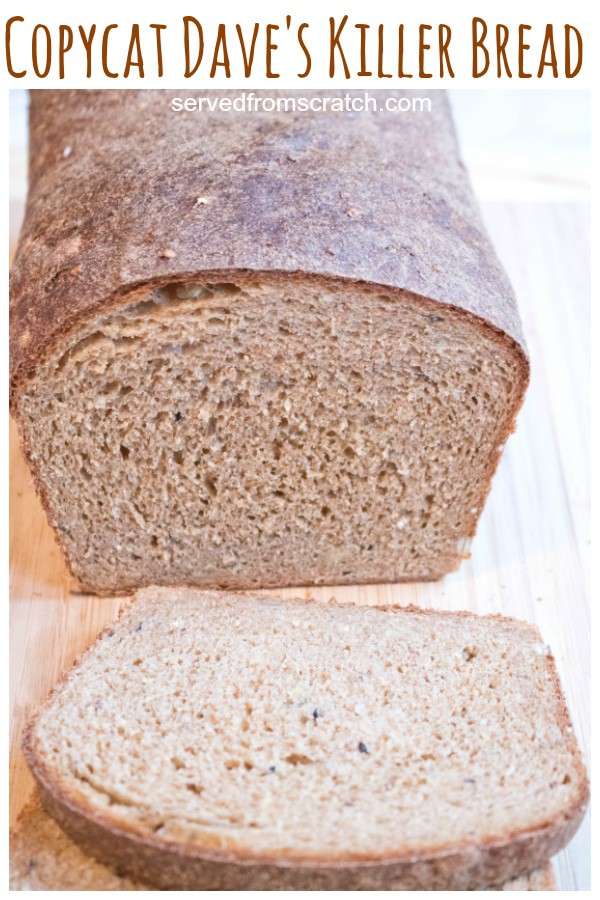
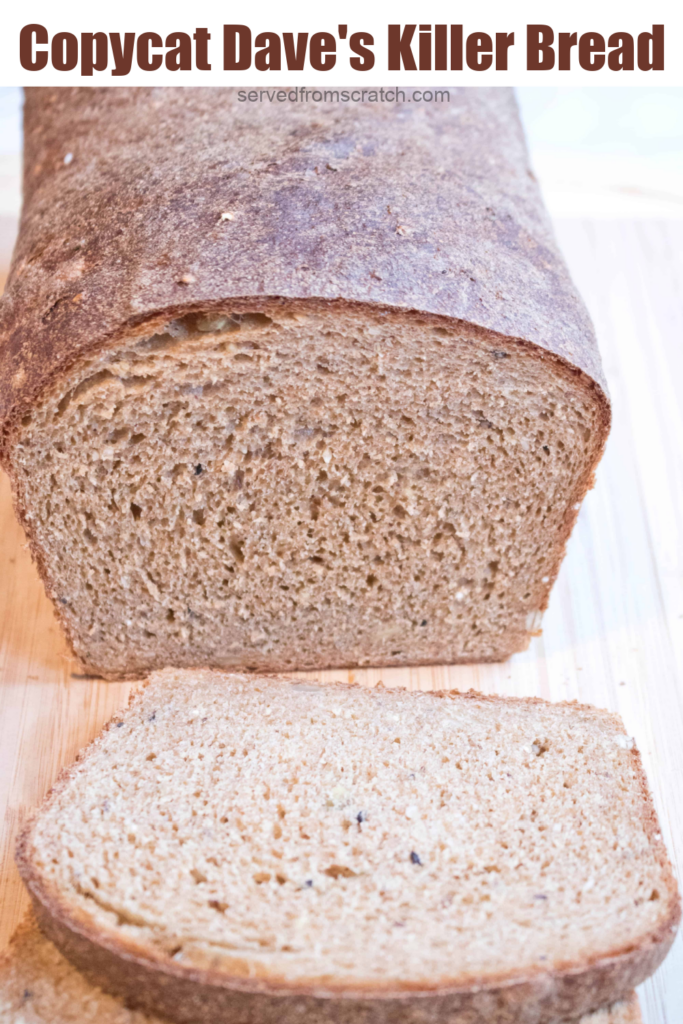
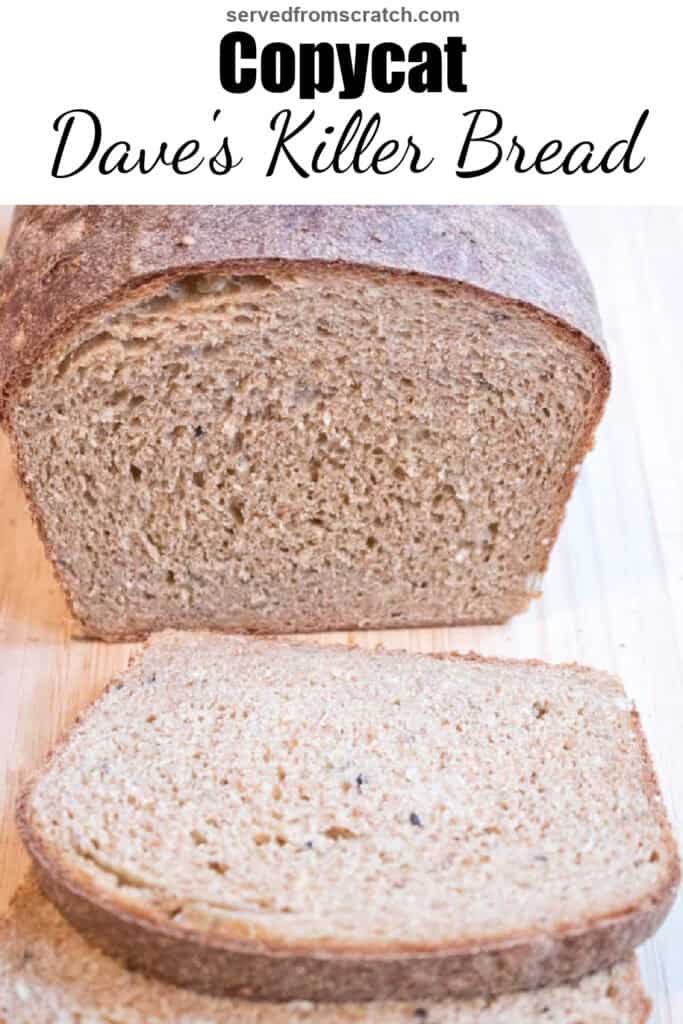
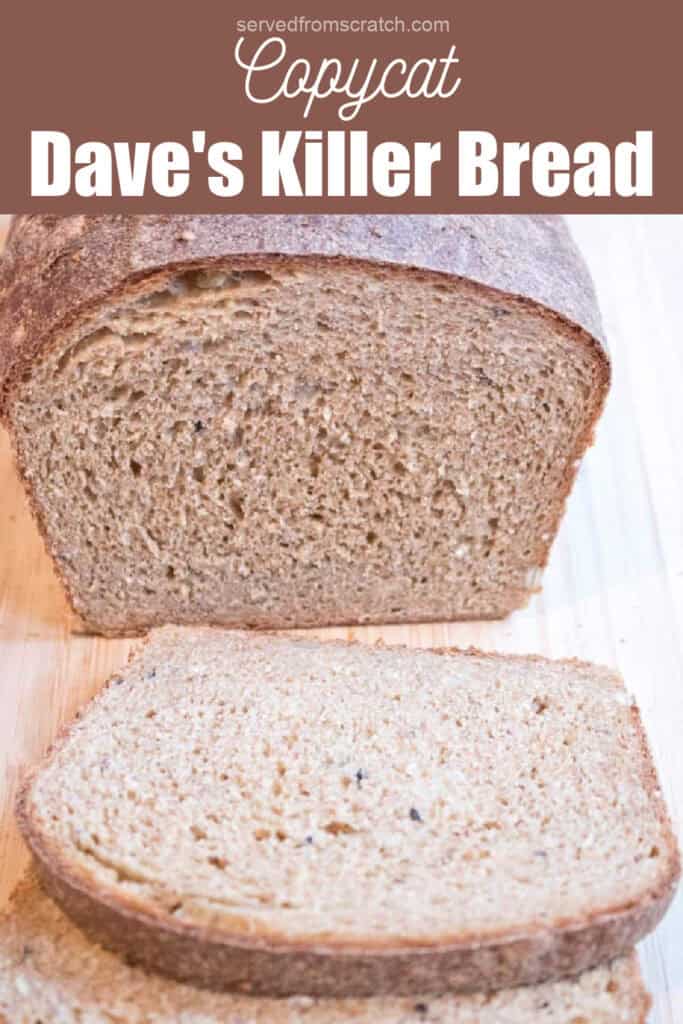
You can make your own super healthy, nutrition packed bread from scratch with this Copycat Dave’s Killer Bread recipe for the home bread baker!
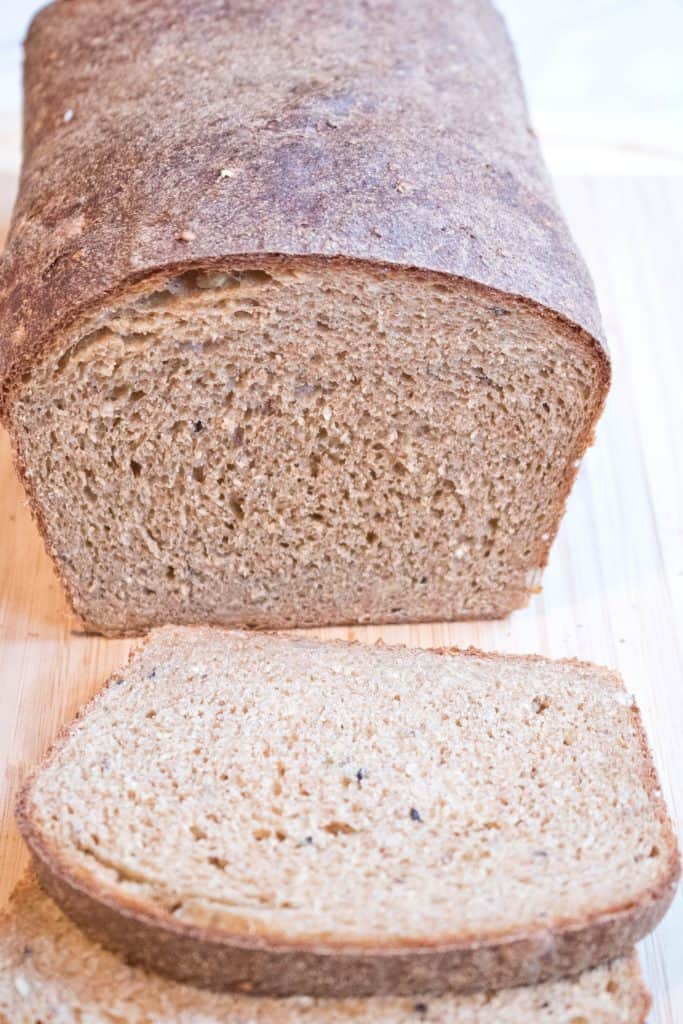
Here’s a reboot from the archives, friends! I originally made this recipe almost 3 years ago when I was pregnant with M. I made it quite a few times, but then a lot of you told me you were having difficulties with the recipe. So, I went back to it and played with it and adjusted it and made (and ate) a lot of loaves until I got it right.
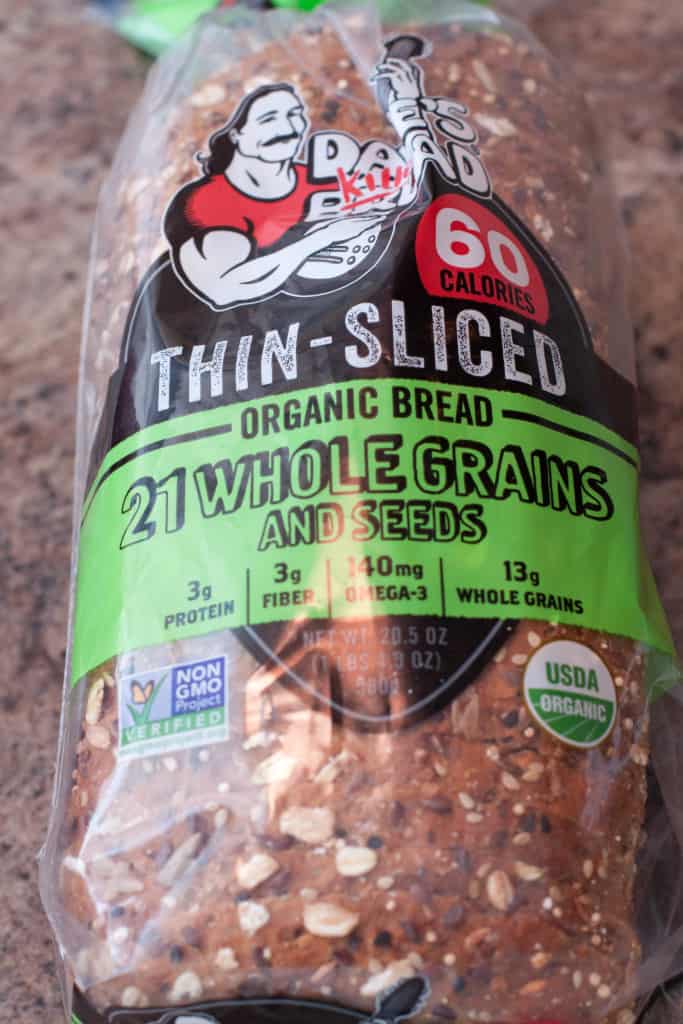
Now is it an exact copy of Dave’s? No. But is it a pretty delicious, nutritious close enough to make the at home Copycat Dave’s Killer Bread to make the home bread maker happy? Yup, I’m pretty sure it is.
Ingredients Needed
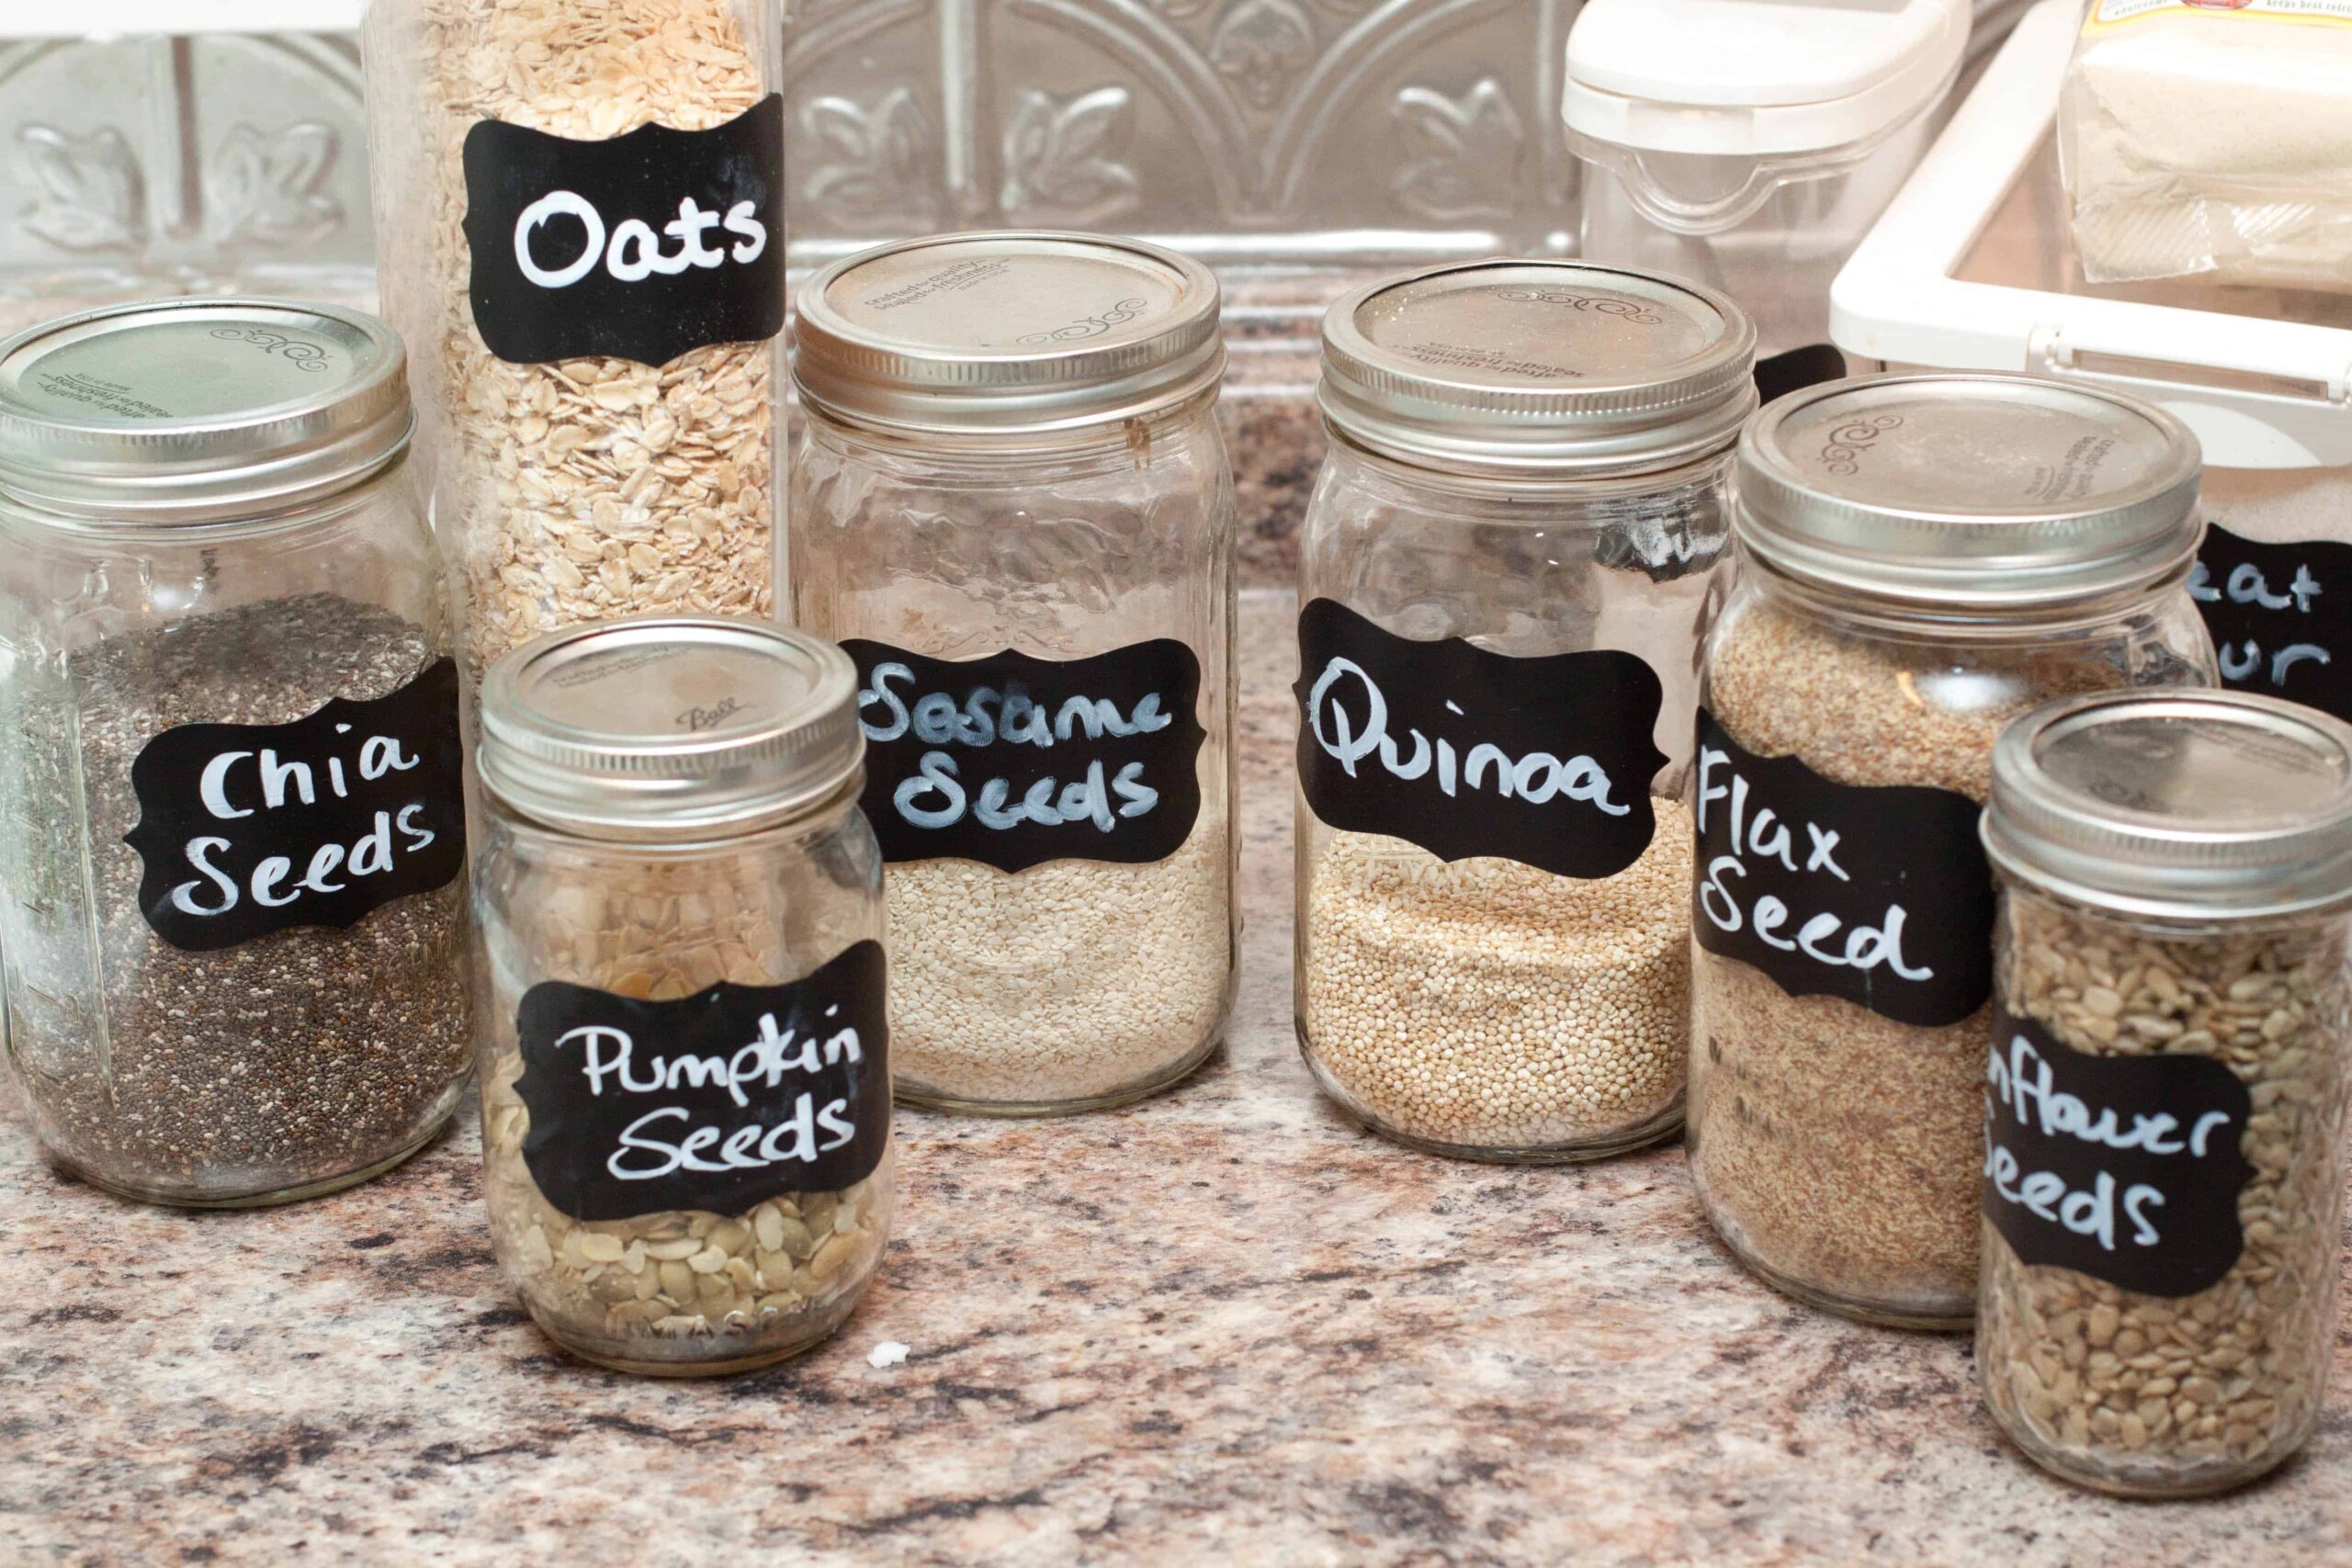
My deep love for all things gluten is pretty evident by all of the bread we make (and eat) in this house. From our Vietnamese Baguette, Dan’s Como Bread, No Knead Rosemary Garlic Bread, No Knead NY Deli Rye, and the latest, Whole Wheat Honey Oat Bread, suffice to say we love homemade bread in this house. But we also want to ensure that we’re still getting all the same nutrition that I was obsessed with while preggo with both the girls. I’m still nursing our littlest babe and I am a firm believer that what I eat 100% matters to as by way of my milk, I’m setting down fundamental building blocks to good nutrition to this tiny human. Therefore, I want all the nutritional bang for the buck I can get in my food.There’s no denying how nutritious Dave’s Killer Bread is. The 21 Whole Grains and Seeds is one of my (and M’s) favorites. So naturally, I wanted to figure out how to make it from scratch!From scratch, but still packing as much of nutritional punch as possible.
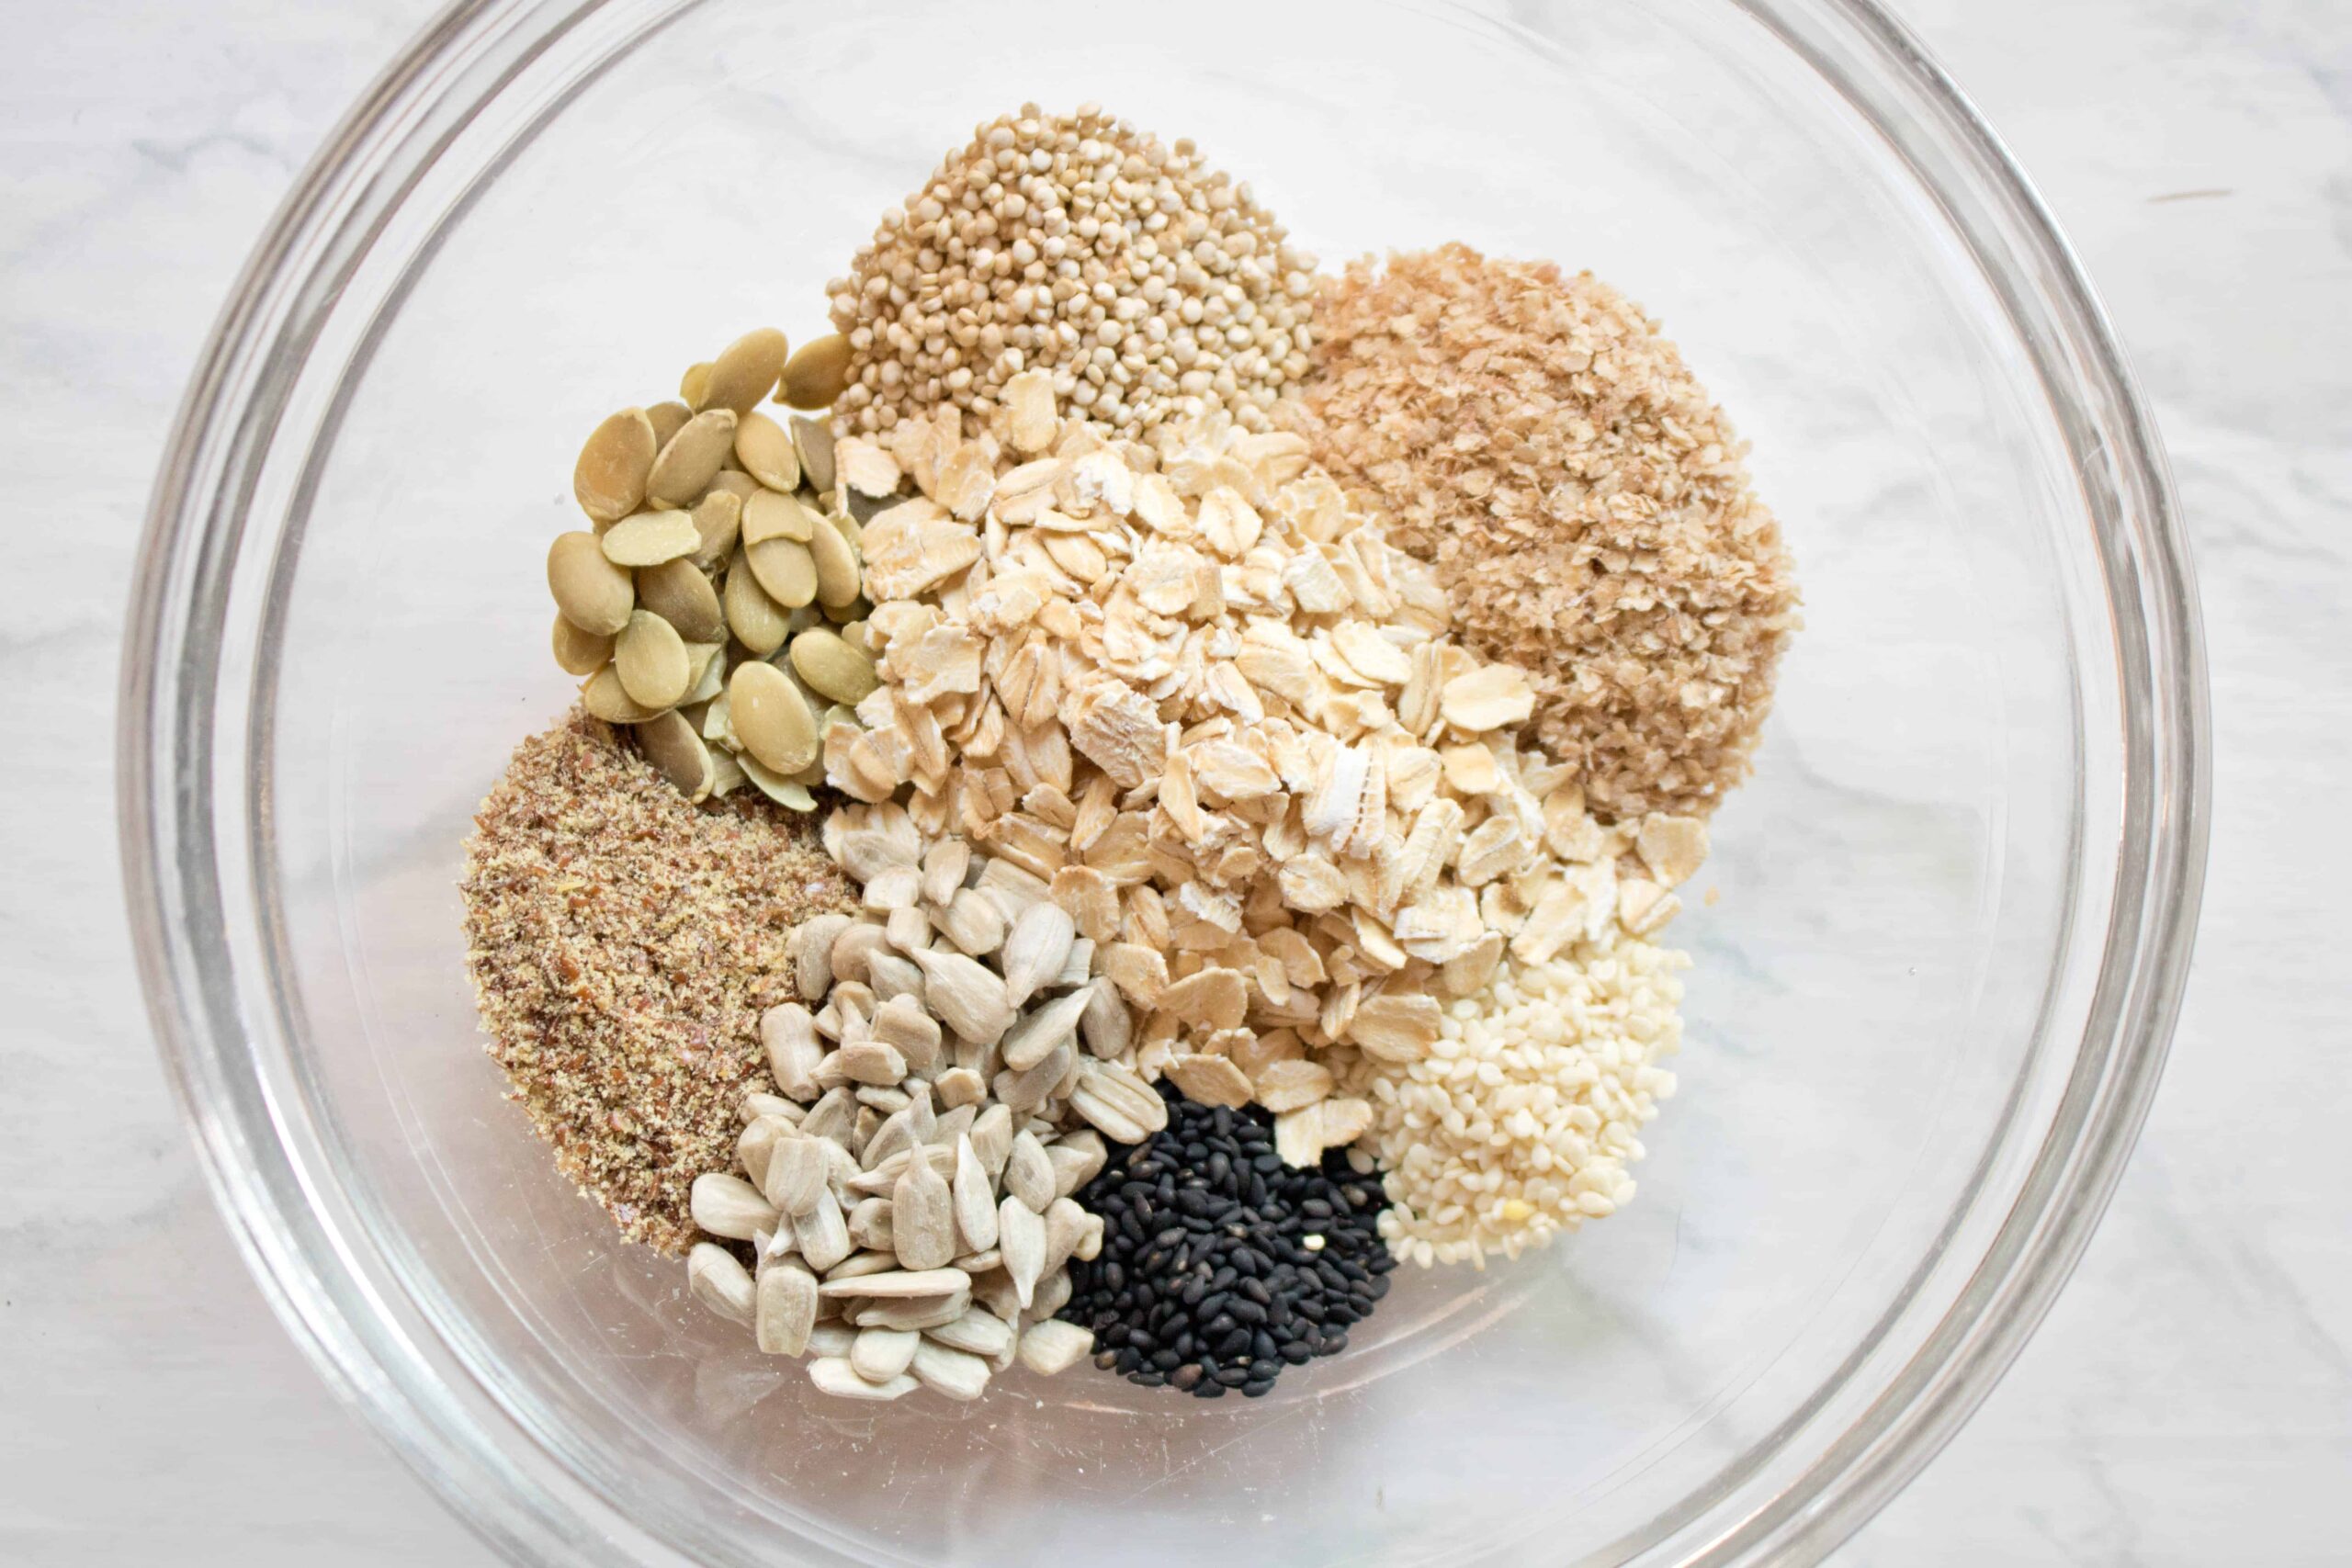
Enter: Oats. Pumpkin Seeds. Ground flax seed. Black sesame seeds. White sesame seeds. Sunflower seeds. Quinoa. Wheat germ. Chia seeds.
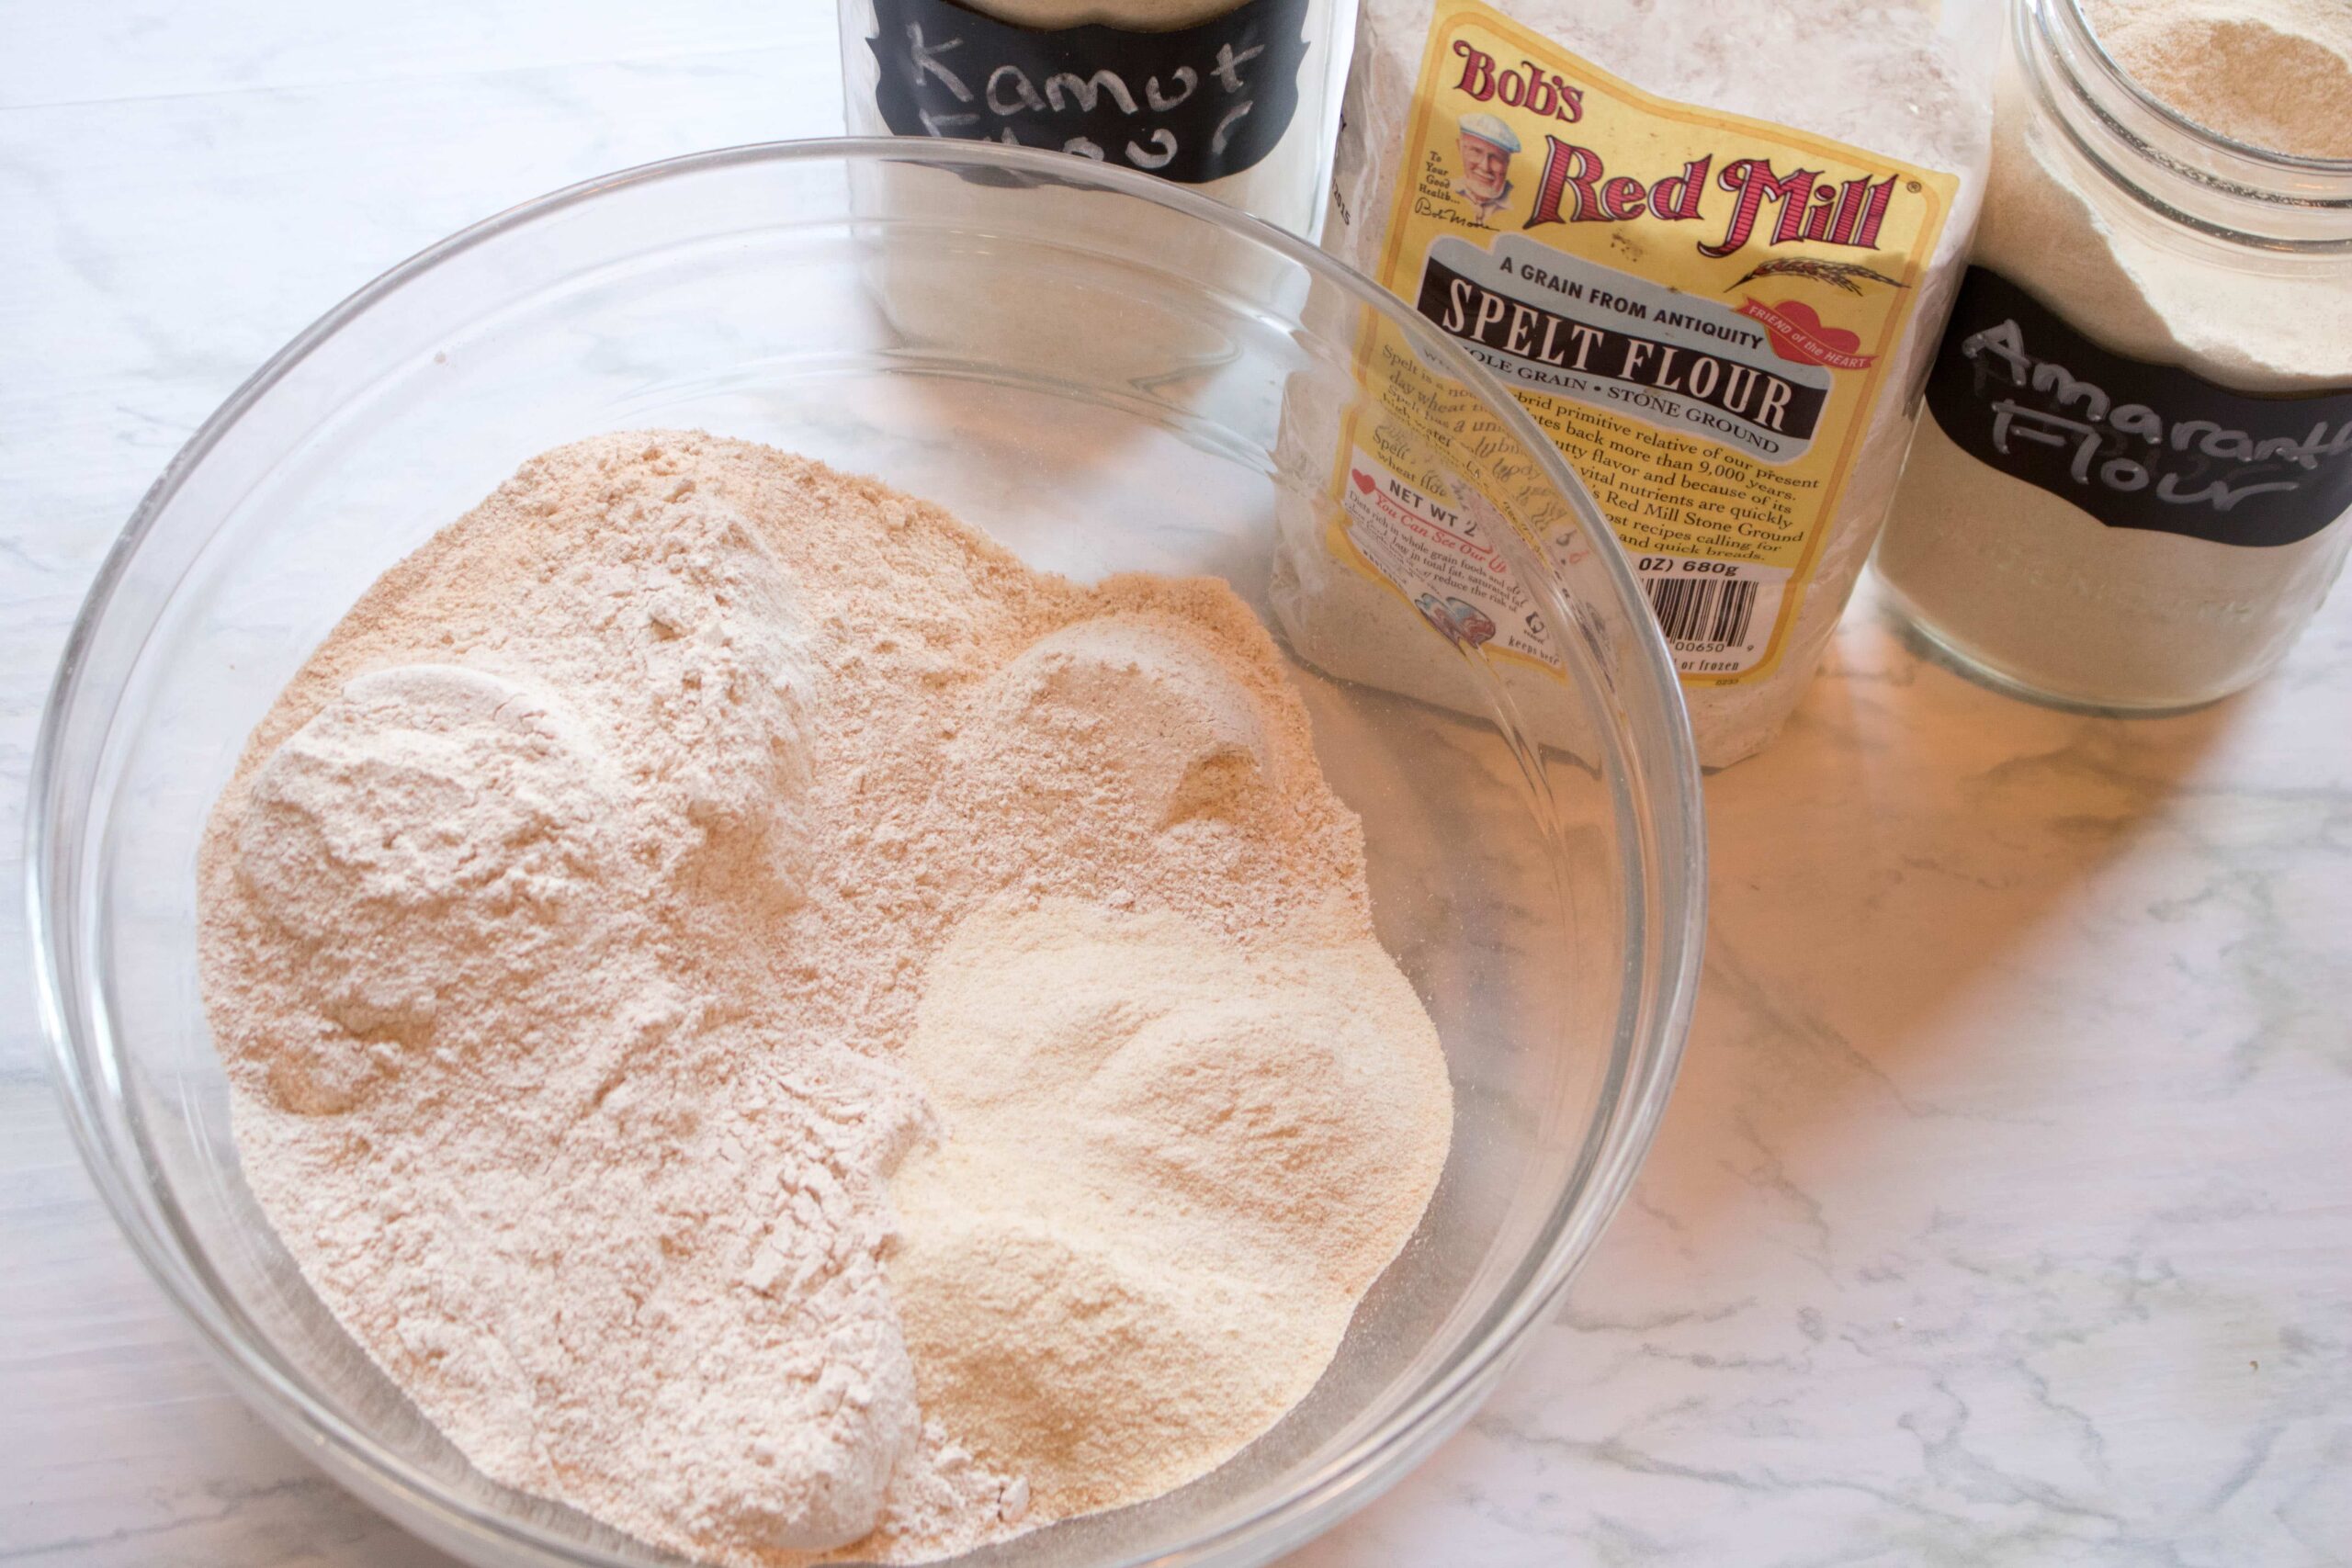
Whole wheat flour. Kamut flour. Amaranth flour. And finally, spelt flour. Ok ok, if you’re keeping track, that’s only 14 whole grains and seeds. But it gets to a point where if the ingredient list becomes so insane you’re going to be spending way more $ on the copycat than the the original.
Now I’m a pretty self proclaimed lazy baker. Hence all of my no knead breads. This bread though, this bread takes some work. Once you’ve activated your yeast, added your flours and then all of the seeds, you’re going to have a super sticky dough. Which is good. It’s what you want. It’s what you need. Because of the seeds that will suck out a lot of moisture from the dough, in order to get a nice soft crumb (center) of your loaf, you need two things: good hydration and a well kneaded dough.
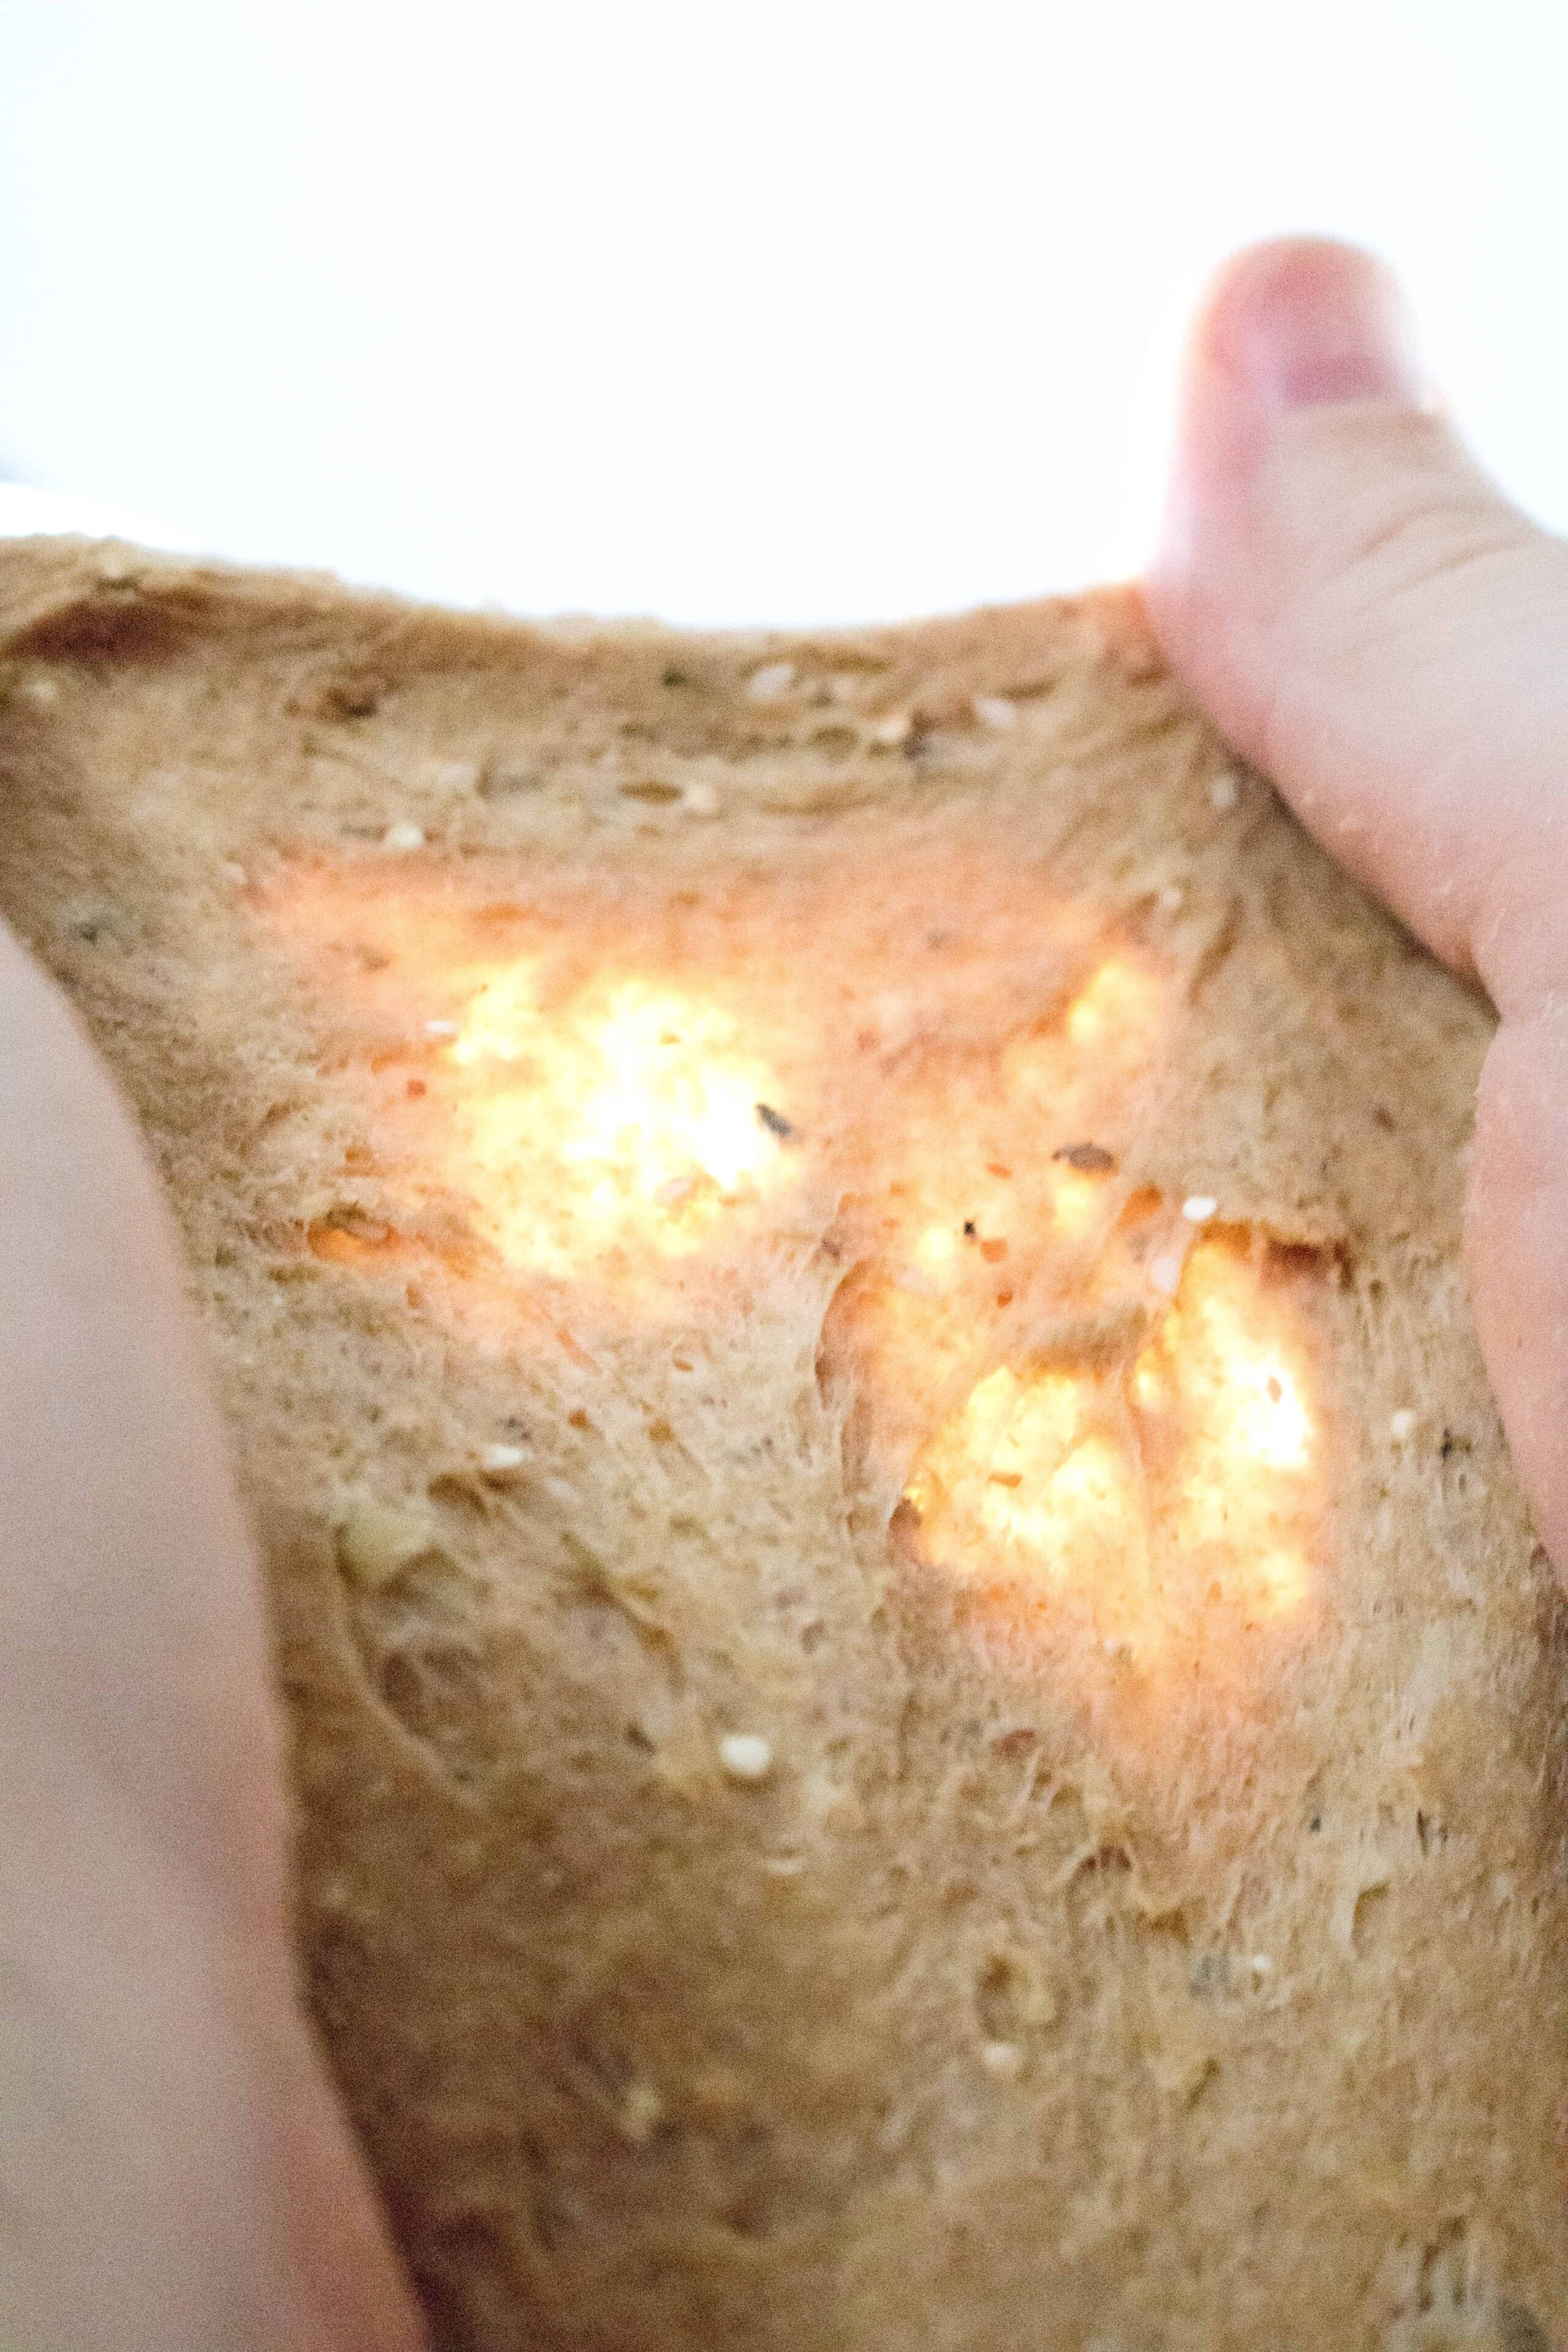
Knead it until it passes the “windowpane” test. This is when you know the gluten in the dough is well developed enough. Essentially, take a small ball of dough and then slowly spread your fingers apart while holding it, stretching it out until it’s like a windowpane that you can see light through, but that it doesn’t rip. If it rips, that means that the gluten hasn’t been worked enough and you have more kneading to do.
Now with this bread, because it’s mostly made up of whole wheat flour, which has less gluten than a standard white bread flour, you will need to work it longer to activate it. Again, your arms will be tired. You’ll want to just call it good. But don’t! You’ll end up with a super dense loaf!
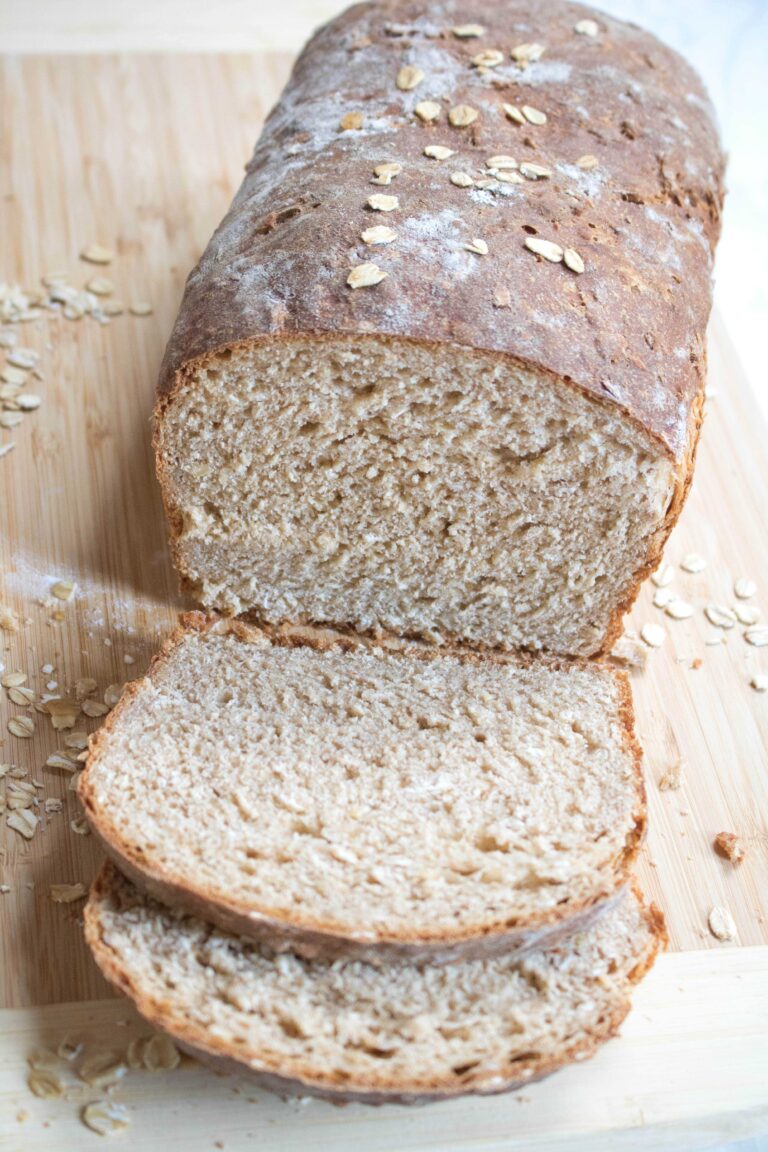
Instead, if you put in the work, you’ll get a loaf that has a lovely, soft, chewy center. Not quite as airy as Dave’s, but again, a pretty darn good Copycat Dave’s Killer Bread.

Then, thanks to Calorie Count I can see exactly how nutritional my copycat is! Sliced nice and thin (I got about 15 thin slices from a loaf), and no, it’s not as nutritious Dave’s 21 Whole Grains and Seeds, but for a homemade bread, this Copycat Dave’s Killer Bread is pretty darn nutritious and delicious.
Enjoy, friends! I hope you all have much more luck with this Copycat Dave’s Killer Bread recipe – as always, let me know! I love hearing from you!
Copycat Dave’s Killer Bread
Ingredients
- 2 1/4 teaspoons instant yeast
- 1 tablespoon molasses
- 2 tablespoons honey
- 2 cups warm water
- 3 1/4 cups whole wheat flour
- 1/4 cup amaranth flour
- 1/4 cup spelt flour
- 1/4 cup kamut flour
- 1 1/2 teaspoons salt
- 1 tablespoon ground flax seed
- 2 teaspoons dry unsalted pumpkin seeds
- 1 teaspoon black sesame seeds
- 1 teaspoon sesame seeds
- 2 teaspoons chia seeds
- 1 tablespoon quinoa
- 1 tablespoon wheat germ
- 2 teaspoons dry unsalted sunflower seeds
- 2 tablespoons old fashioned rolled oats
Instructions
- Add yeast to the stand mixer bowl and add warm water. Let sit for 3-5 minutes until yeast is activated and foamy.
- Meanwhile, in a large bowl, mix your flours and salt together. In a separate bowl, mix together all of the seeds, quinoa, wheat germ, and oats.
- Add honey and molasses and mix. Let sit another minute.
- Slowly add the flours and salt and using the dough hook, mix on medium until a very sticky dough forms. Add seeds and mix again until all are incorporated.
- Remove dough from mixer and on a lightly floured surface (preferably not a wood one, best case granite or marble), begin kneading. The dough will be VERY sticky – that’s good! Resist the urge to add a lot more flour and knead for at least 15 minutes until dough begins to soften and come together.
- To know when the dough has been kneaded enough and gluten has been activated, conduct “windowpane” test. Take a small ball of dough and hold with your forefingers and thumbs. Hold it up to a light and slowly stretch the dough – if it immediately rips, it needs to be kneaded more. You want it to stretch nice and thin so that you can see through it like a windowpane but it doesn’t rip. This will take at least 15 minutes of solid kneading. Don’t give up!
- Once it passes the windowpane test, add to a lightly oiled large bowl, cover with plastic wrap, and let rise until it doubles in size – approximately an hour.
- Pre-heat oven to 425 degrees and lightly grease a 9 X 5 loaf pan.
- When proofed, punch down and remove from bowl. Flatten to a large rectangle and fold in sides then roll into a log. Place in loaf pan, seam side down.
- Cover with plastic to let rise again. For best results, use a plastic bag to allow room for the dough to rise over the top of the pan. Put pan in bag and tie top then move the tied ends under the loaf pan.
- Let rise until almost doubled – about 30-45 minutes.
- Bake in center rack of oven for 35 – 45 minutes, until top is golden brown and when bottom of loaf it tapped, it sounds hollow.
- Let cool at least 30 minutes before slicing and enjoy!



Has any one tried to alter this recipe for a bread machine? Any advice would be appreciated!
Hi Jessica! I’ve never tried this recipe with a bread machine and haven’t used a bread machine myself so I don’t have many words of advice, unfortunately. However, King Arthur Flour has a great article about converting recipes to a bread machine! I hope this helps! https://blog.kingarthurflour.com/2018/04/30/how-to-convert-recipes-to-a-bread-machine/
If you make it, let me know how it turns out!!
I tried just 1/2 the recipe. The bread rose and fell so turned out too dense and kinda doughy (under-cooked). This has happened to me before when adding seeds to a bread machine. I’m new to baking so the article really helps! Thank you!
Hi Tracy! Question. Which type of yeast do you use in this recipe? It doesn’t specify and that might be why I failed. I used active dry yeast. Do you use instant?
Hi Jessica- good question! I use the same, active dry. But with a bread machine maybe using instant would work better? I’m glad that article helped and please keep me updated, I’m curious how it will work in a bread machine!
I can’t wait to make this recipe!
I just made this bread. I have a question – I don’t see in the in the instructions when to add the salt. I added the 1 tablespoon salt when I started kneading. The bread is delicious, easy to make, and baked up beautifully, but it is a bit too salty. Can you please clarify this instruction? Thank you!
Hi Janet! Thank you so much for stopping by and letting me know about the salt! Eek! It’s best to add it with the flours so that it gets mixed well with other dry ingredients. Once the dough is already created it may not distribute the salt well and that’s why you may have gotten salty pockets. But also- I had another typo! Oh my I must have been very tired when I wrote this. It’s actually only 1/2 tablespoon of salt! Give it another try and let me know what you think – although I’m sure you’ll find it much less salty! Enjoy!!
So much goodness and nutrients in one loaf! This bread is perfection!
The bread looks just perfect. I especially love how the toasted slice looks. Cant wait to try this 🙂
What a fantastic looking bread… I need to start baking more bread!! YUM!
Thanks, Ramona!
Sounds warm and delicious. My husband will love this! I’m always looking for new bread recipes to try for him.
Thanks, Tina! It’s definitely a hearty one, great for the winter!
I’ve been wanting to make more of my own bread and this one sounds like a fantastic place to start! It looks so beautiful and wow, all those different grains! Also, yes, preggo brain is real… So is new mommy brain, just so you’re prepared 😉
Hahaha thanks, Kathryn! That’s what everyone tells me – it never goes away 😉
Wow! I love the combination of seeds, flours and flavors in this dish…I’m sure it makes for a delicious loaf!
Thanks Sarah! Delicious and nutritious!
This looks fab, I’m not really much of a baker but I like bread like this quite substantial and full of flavour, nice job!
Thanks, Brian!