NY Deli Rye Bread
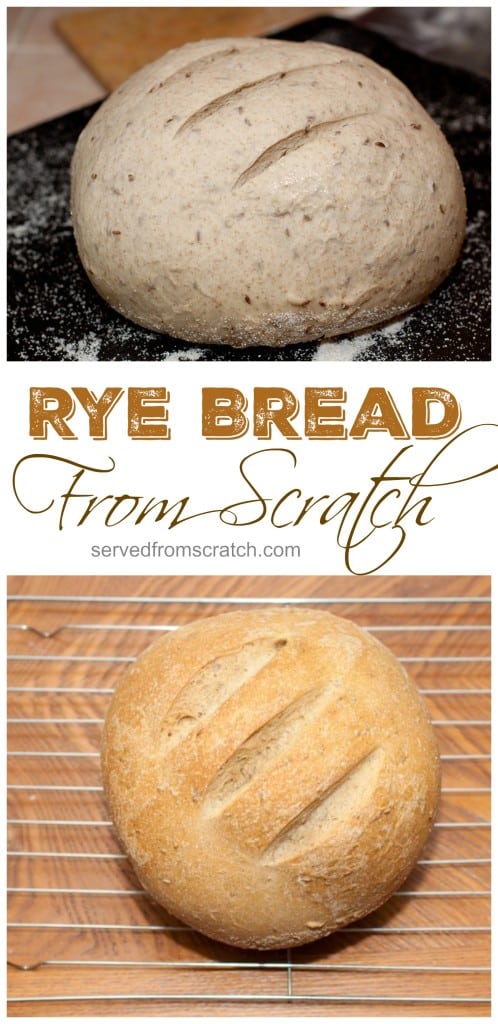
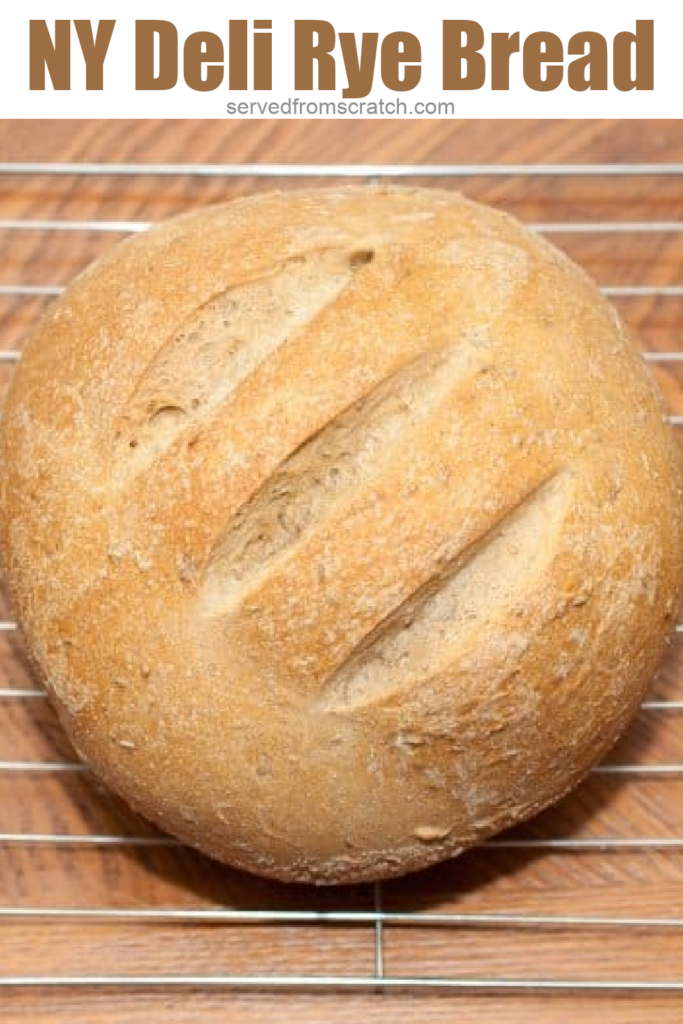
With some time and patience, it’s easier than you think to make your very own delicious No Knead NY Deli Rye Bread at home!
What a lovely 3 day weekend. If only all weekends were so long. We had a perfect blend of productivity and fun. Our gardens are all planted, our backyard finally looks like a backyard, my house is clean, we got errands and shopping done, and we still squeezed in a BBQ. It’s just what we needed before our summer gets crazy. This bread though is certainly one of the highlights of this weekend… whoa this bread. Not only was it super easy (just time-consuming), but hot damn it really does taste like a NY Deli Rye Bread.
This recipe is so easy. Thank you kitchen aid mixer and the incredible Smitten Kitchen for another amazing recipe. This bread does take quite a bit of time, but, it’s not the babysit type time, it’s the cover and leave to do its thing time, so I scrubbed floors, did laundry, weeded, and took Nigel for a walk between all the risings.
Ingredients Needed
You’ll likely need to do a special shopping trip to get everything you need, but again, trust me, it’s worth it.
- Flours – Rye Flour and Bread Flour
- Instant Yeast
- Sugar – White granulated. Brown would add a molasses flavor.
- Barley Malt Syrup – You could also just add more sugar or use honey, but I prefer the flavor of the barley malt syrup.
- Caraway Seeds – The heart of the rye bread flavor!
- Kosher Salt
- Vegetable Oil
- Cornmeal
Step-by-Step Instructions
- Make the Sponge
This is what helps take this recipe to the next level by adding more flavor and texture.
Create Flour Mixture for the Sponge
Then let it all ferment for an hour (or 4, dependent upon the time you have and/or flavor you want to develop).
Create the Dough
After you’ve let the sponge do its thing, then it’s time to mix it all into a dough.
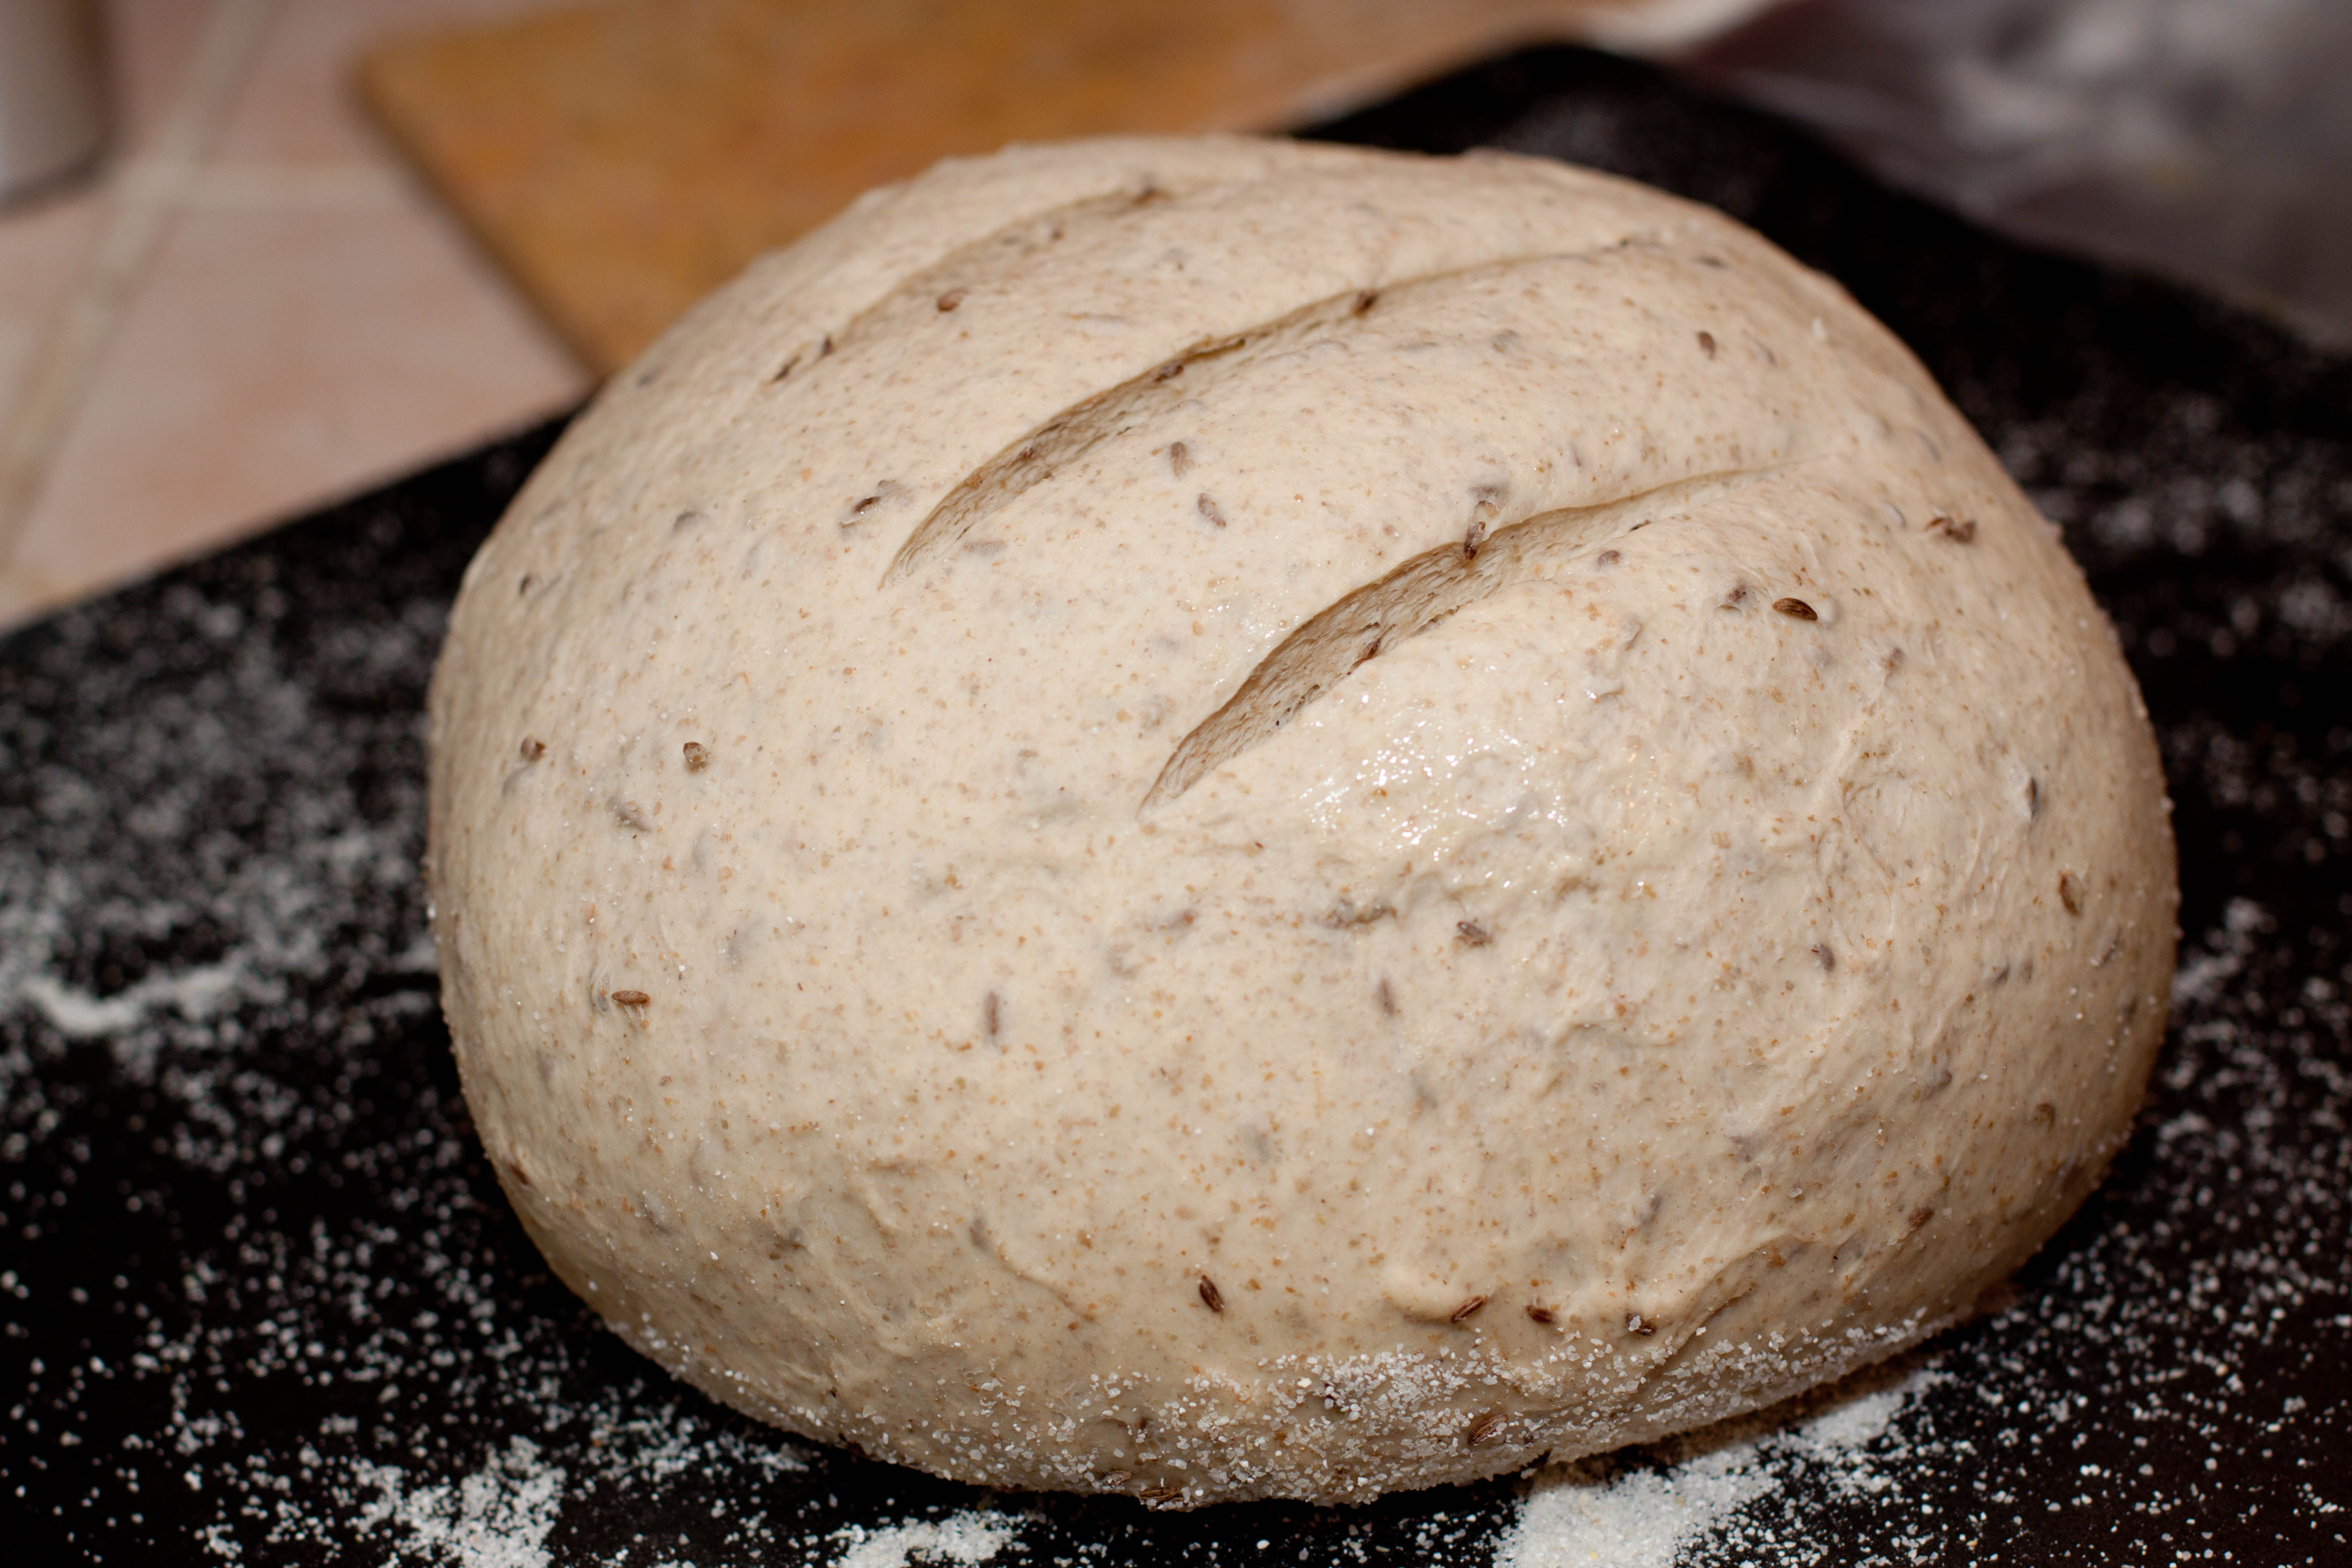
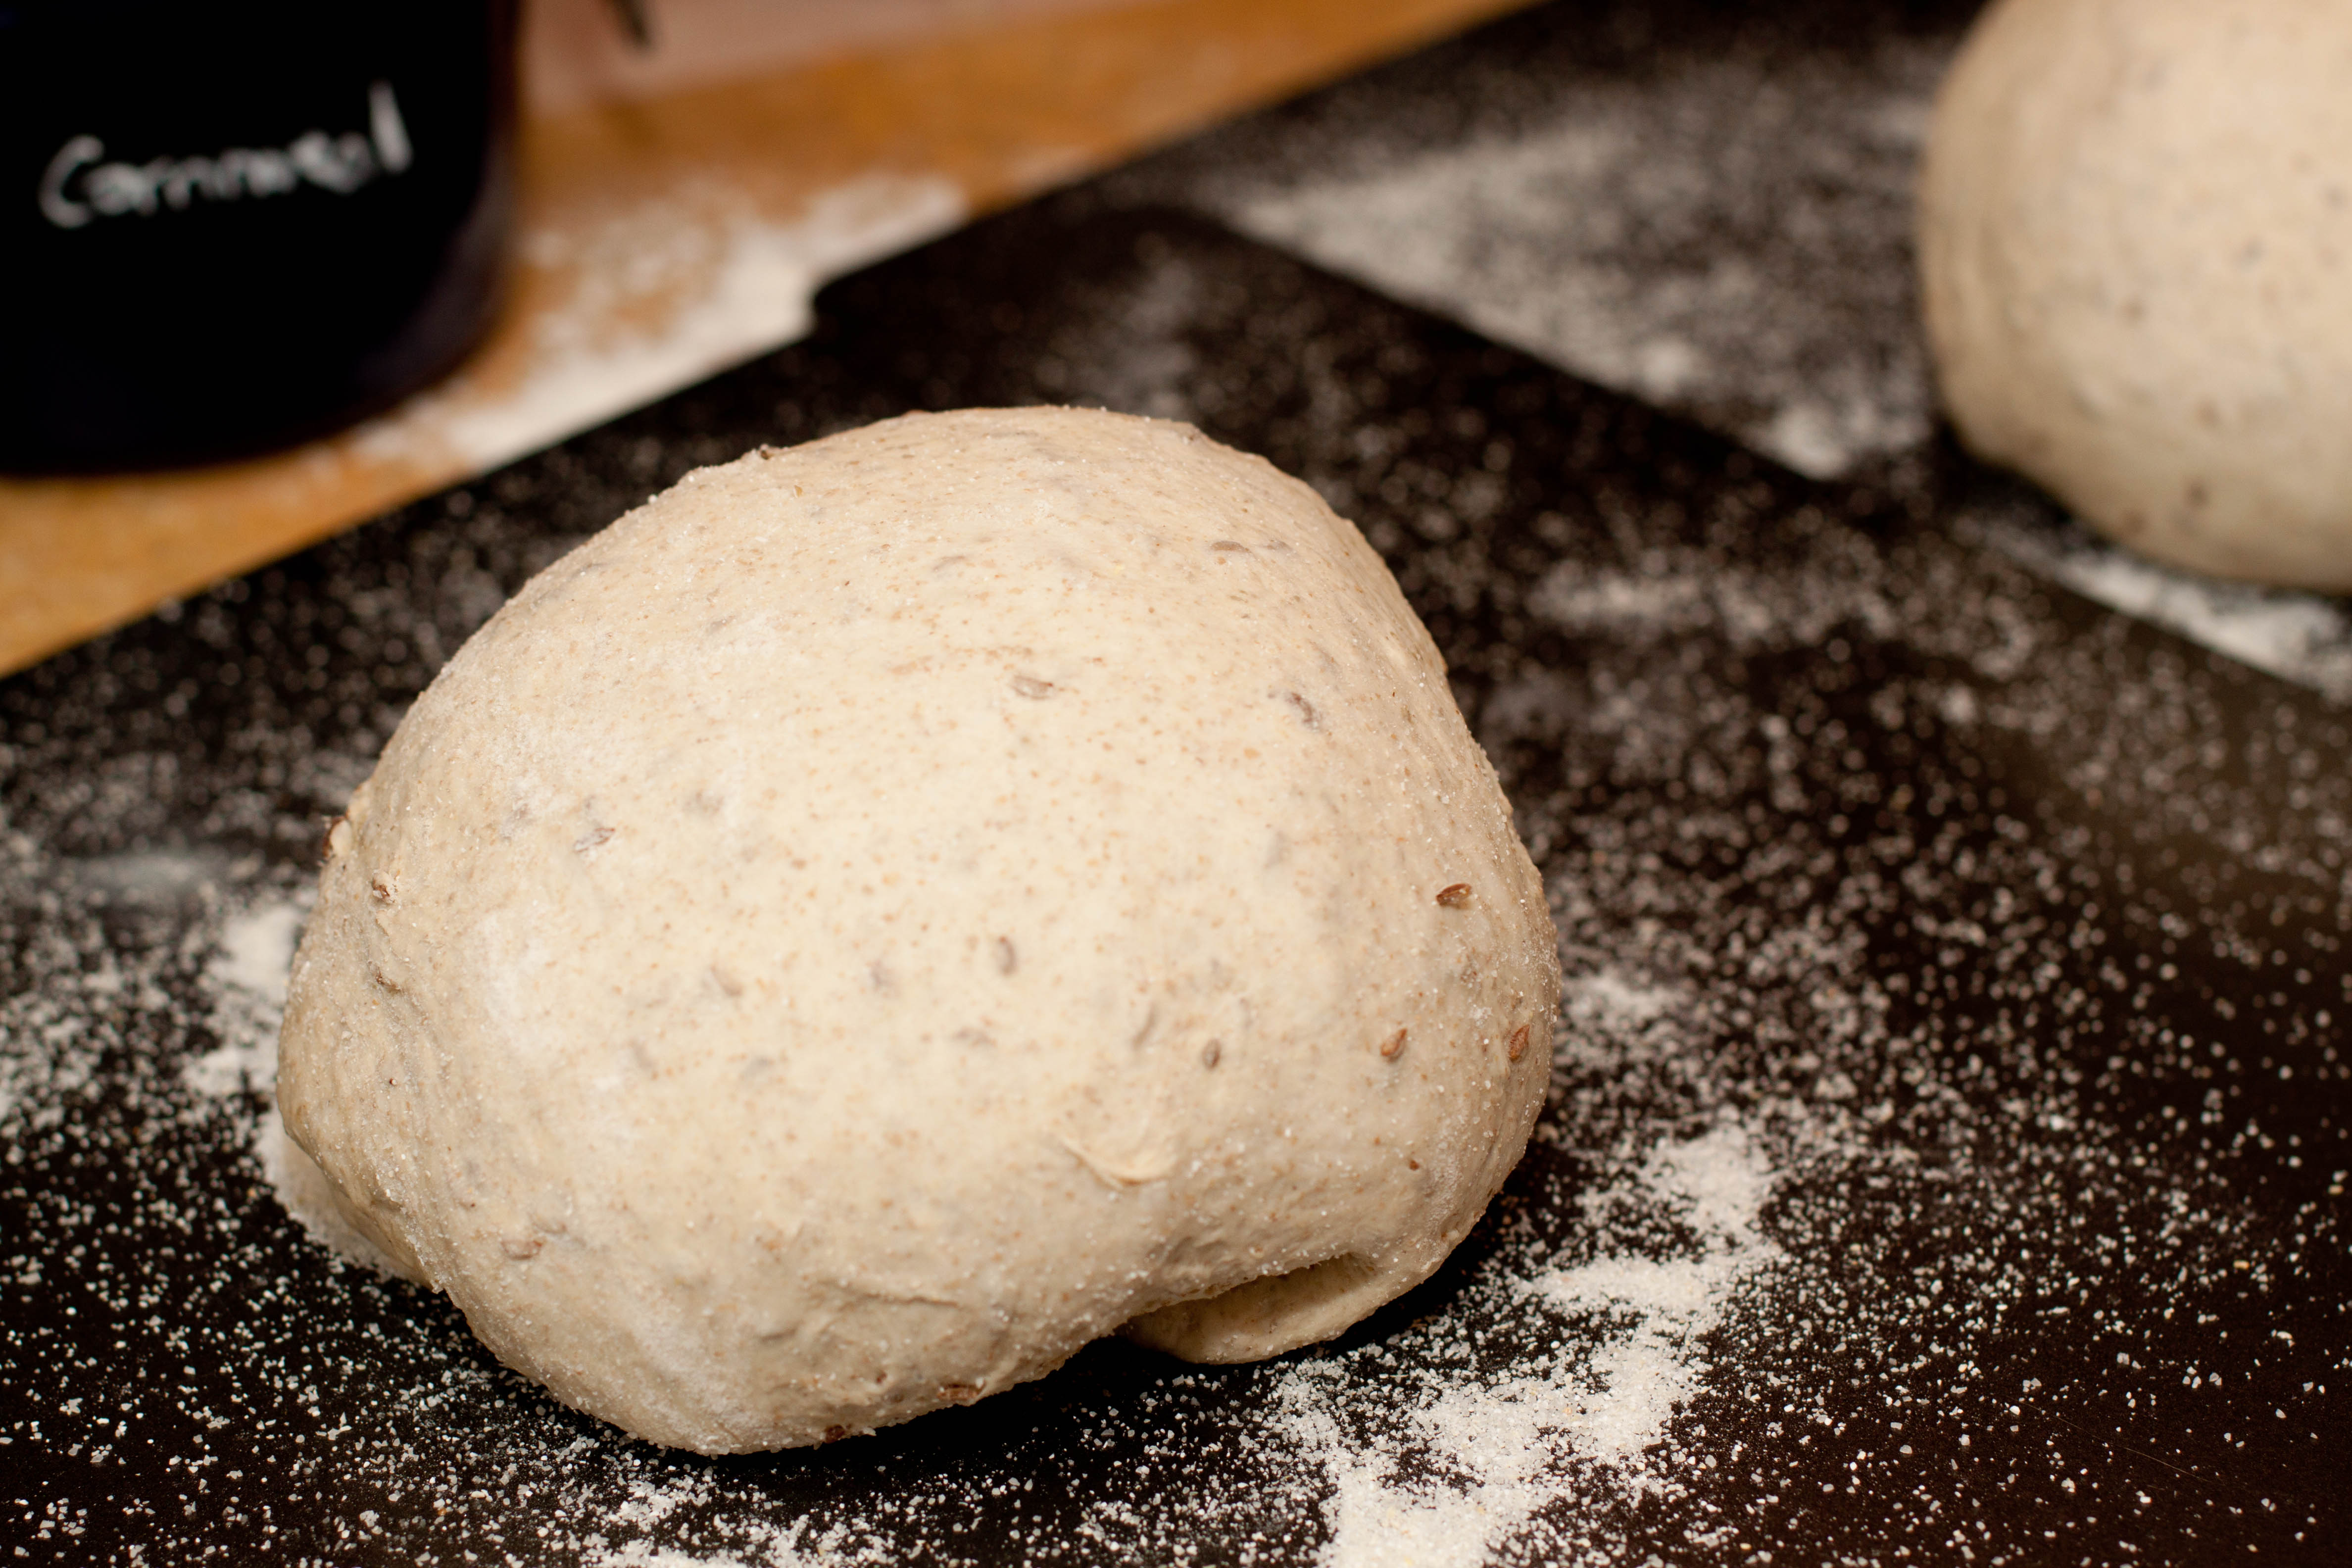
Let It Rise
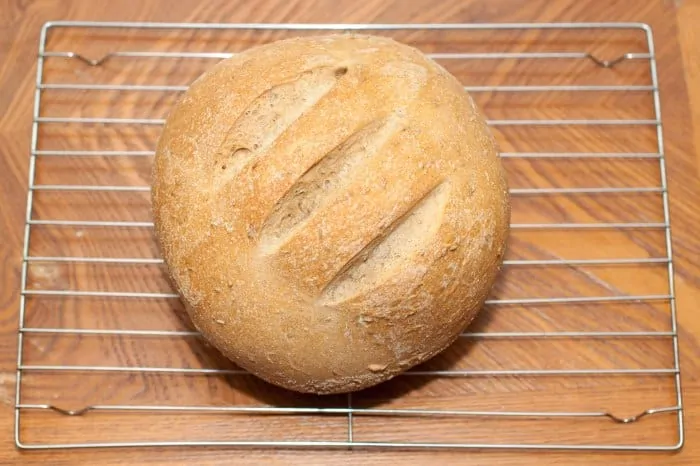
There are 3 rises, each an hour or two. Then look at how pretty the dough is when it’s ready for the oven!
Bake!
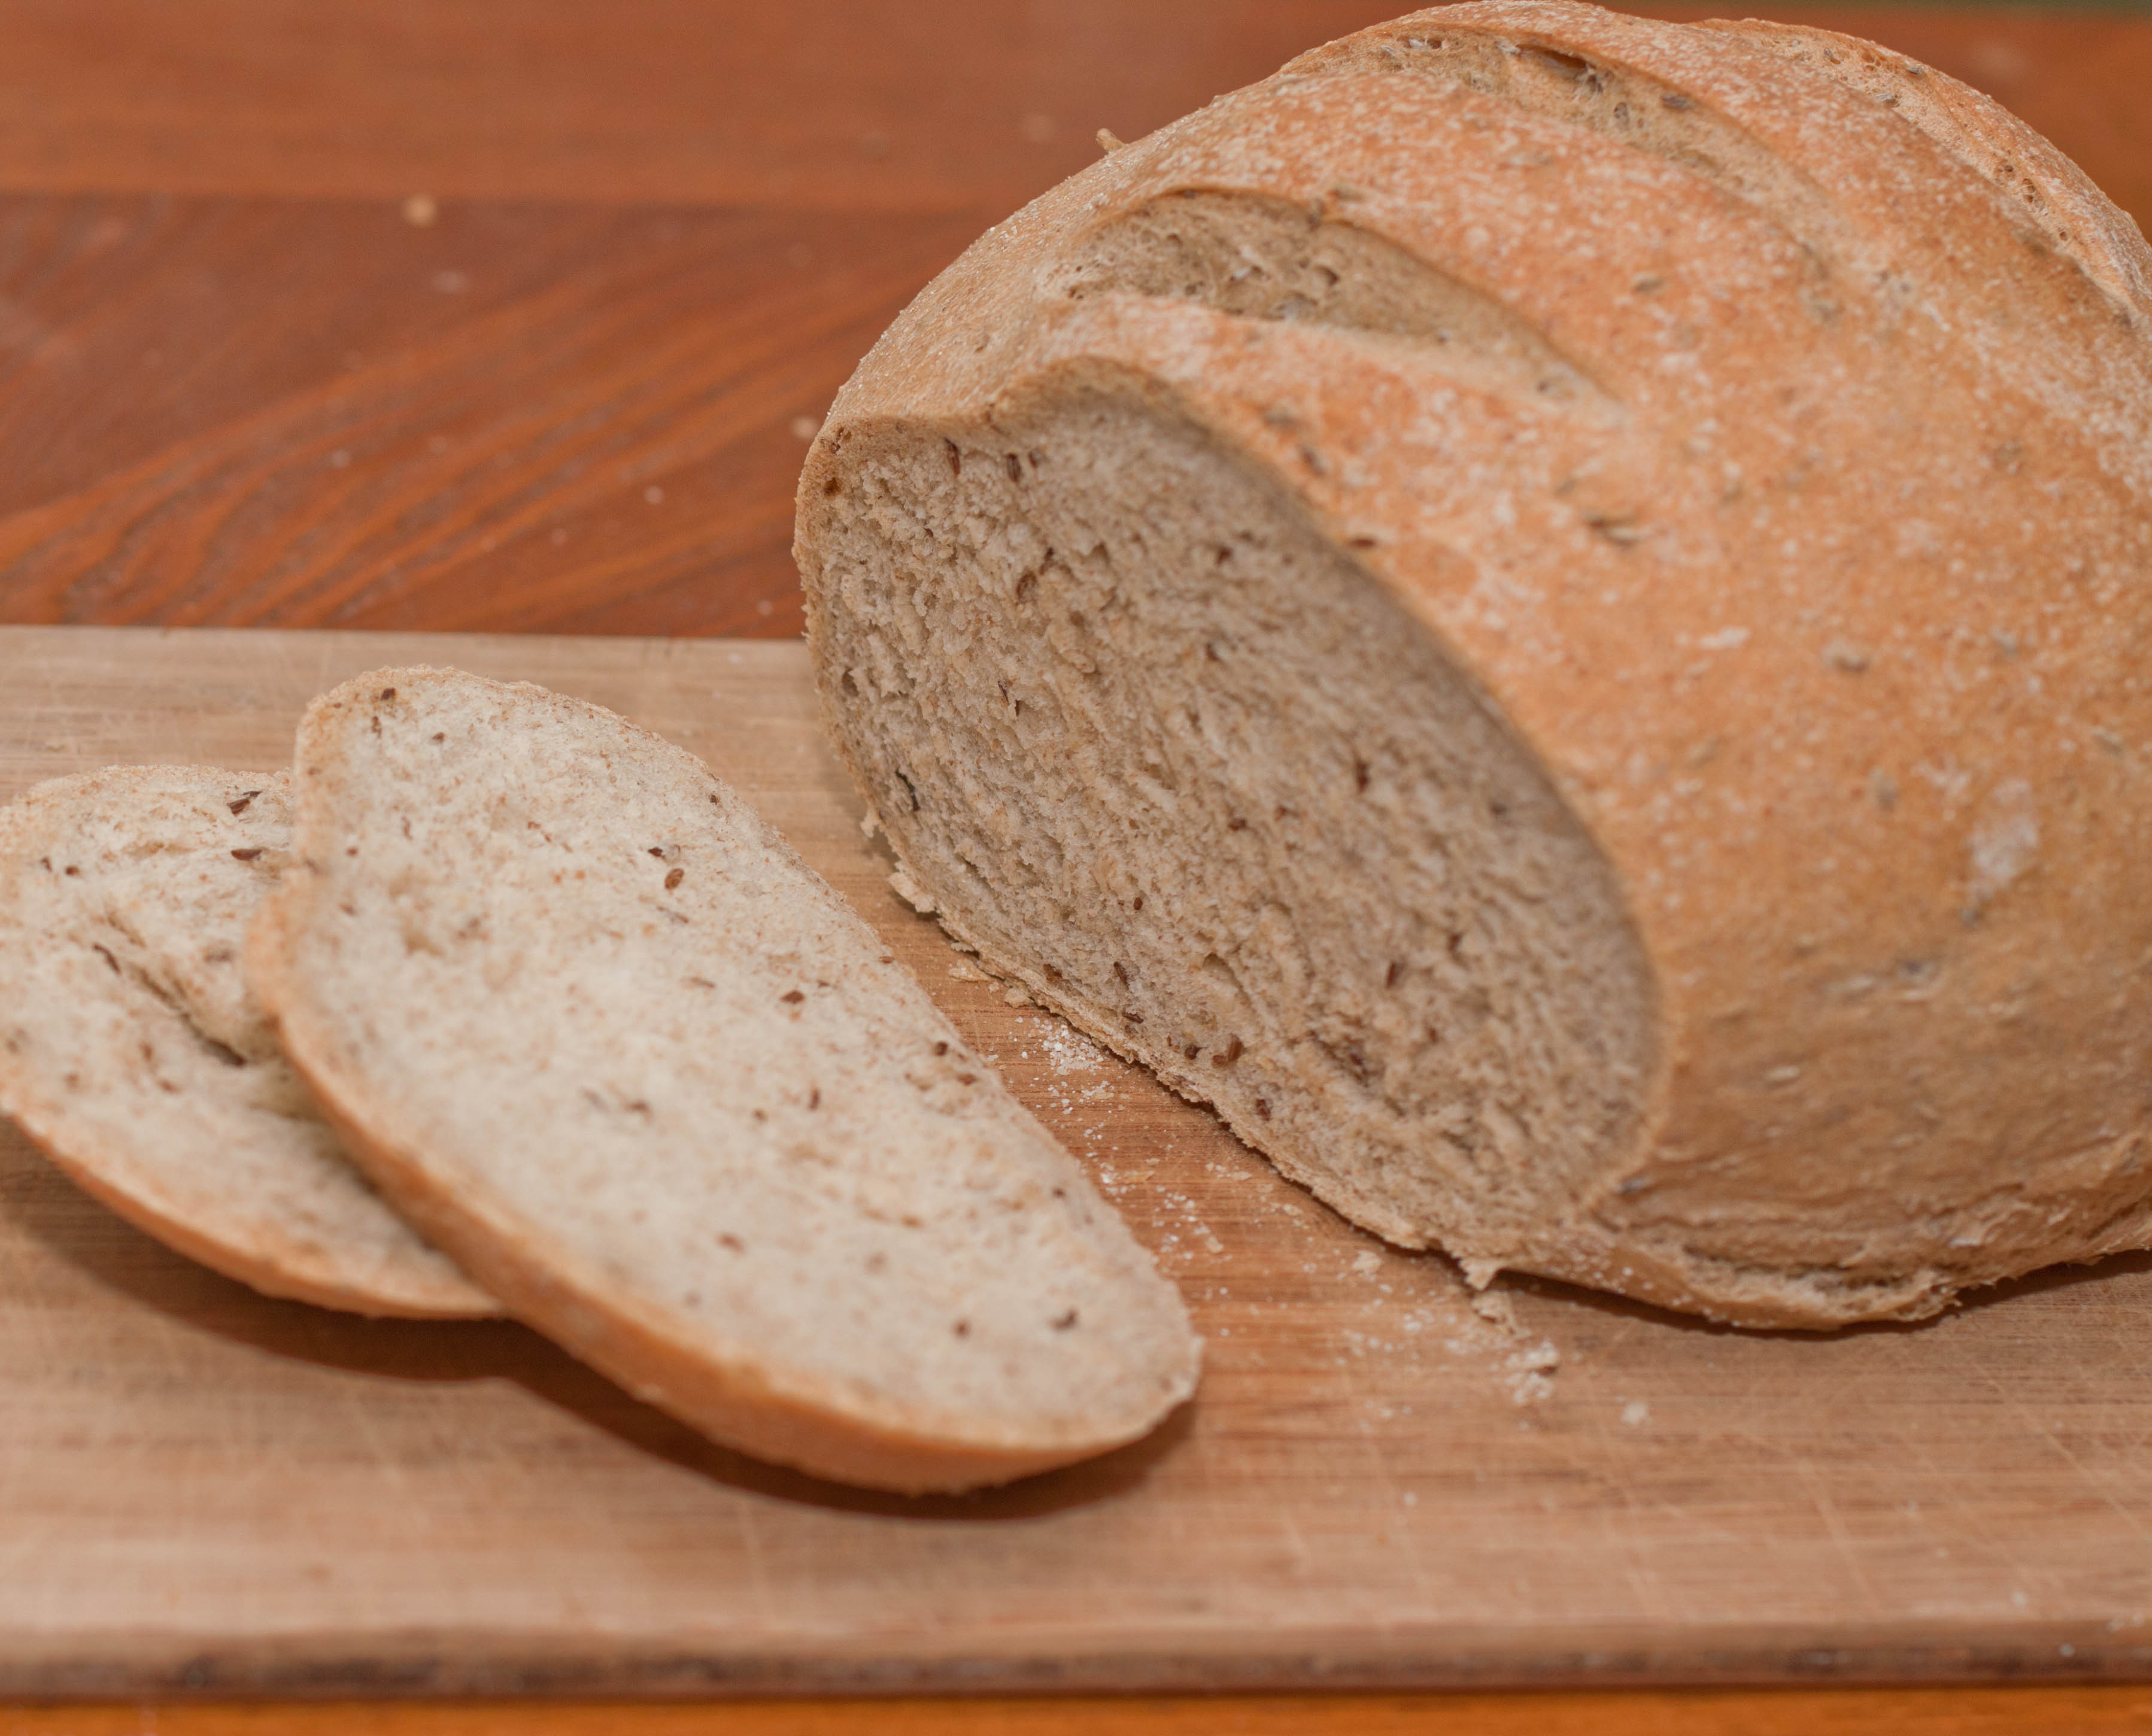
It took great restraint to not cut into this bread the minute it was out of the oven, but it’s important to resist that urge! Starch retrogradation is occurring as the bread cools – slicing into that bread too early can interrupt that causing a gummy crumb texture.
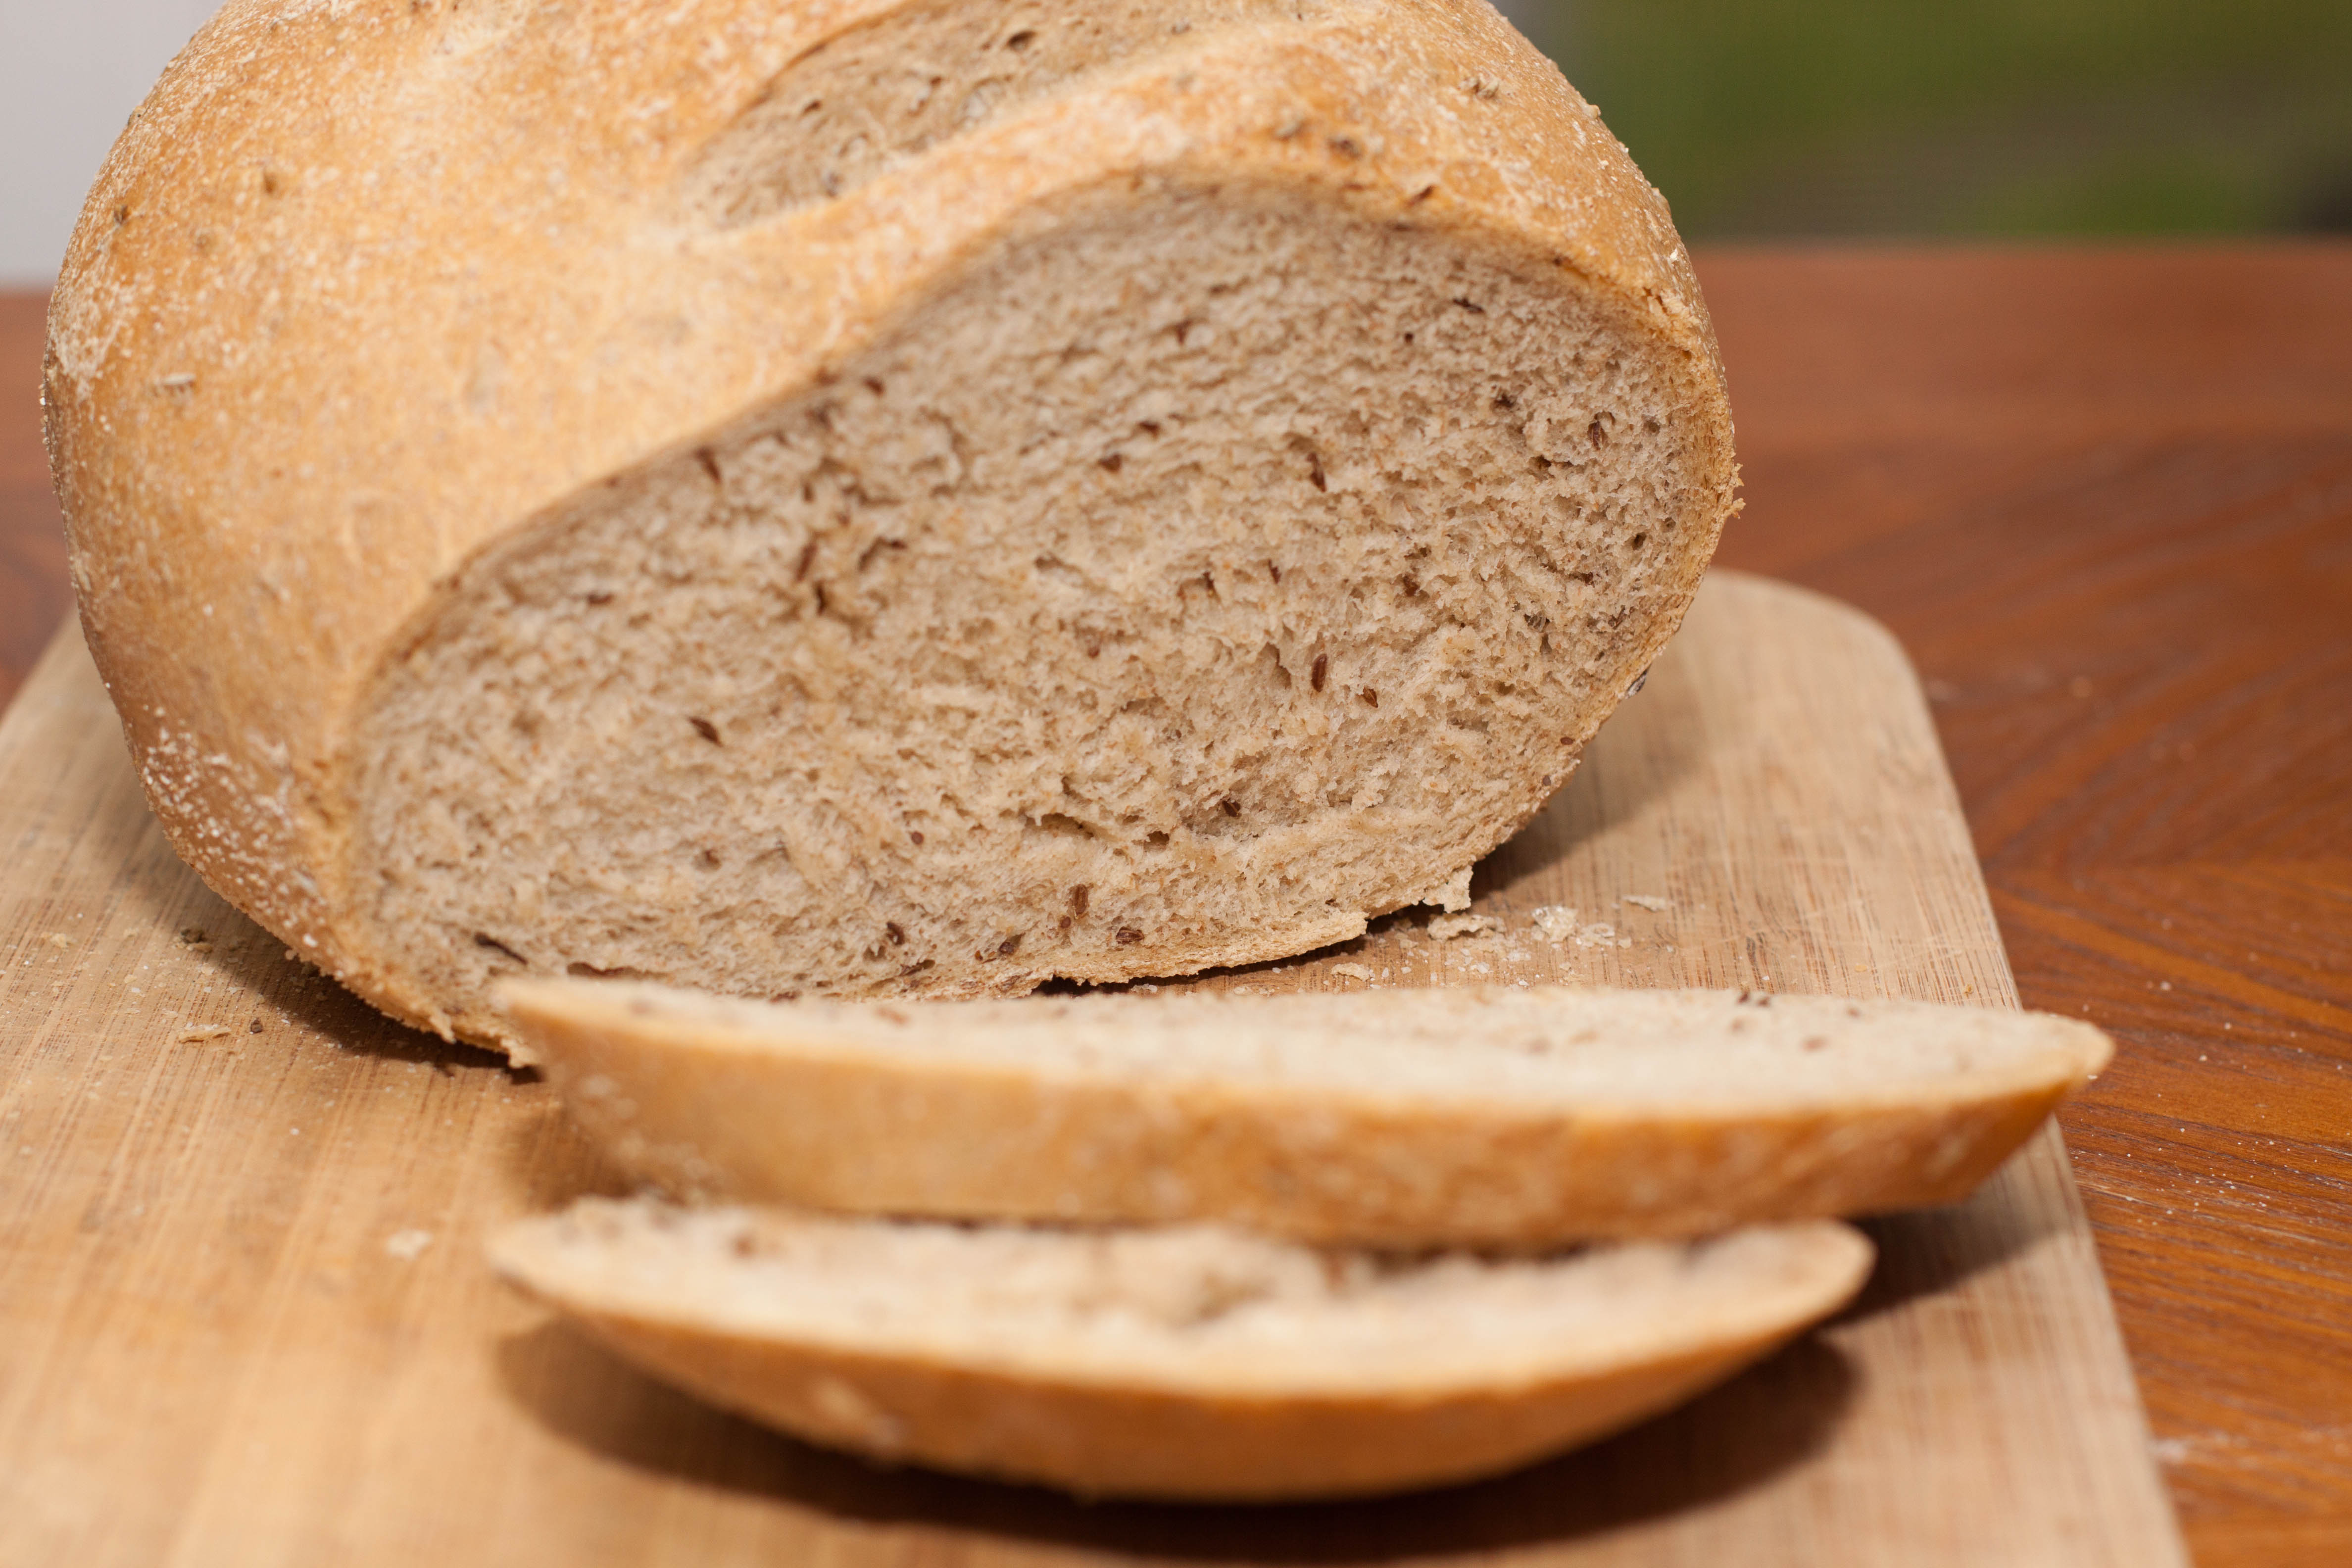
But when it was ready, it had the perfect airy texture with all the lovely rye and caraway seed flavors you’d expect from a rye. It is soooo good. This bread was one of the last pieces to our from scratch reubens!! 😀
Other Homemade Bread
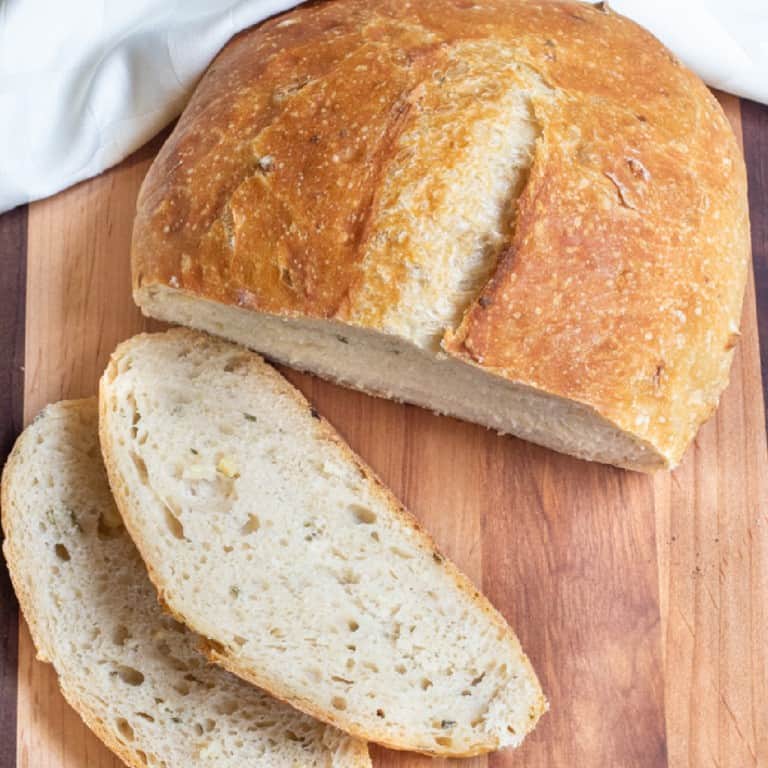
- Dan’s Como Bread
- English Muffins From Scratch
- Copycat Dave’s Killer Bread
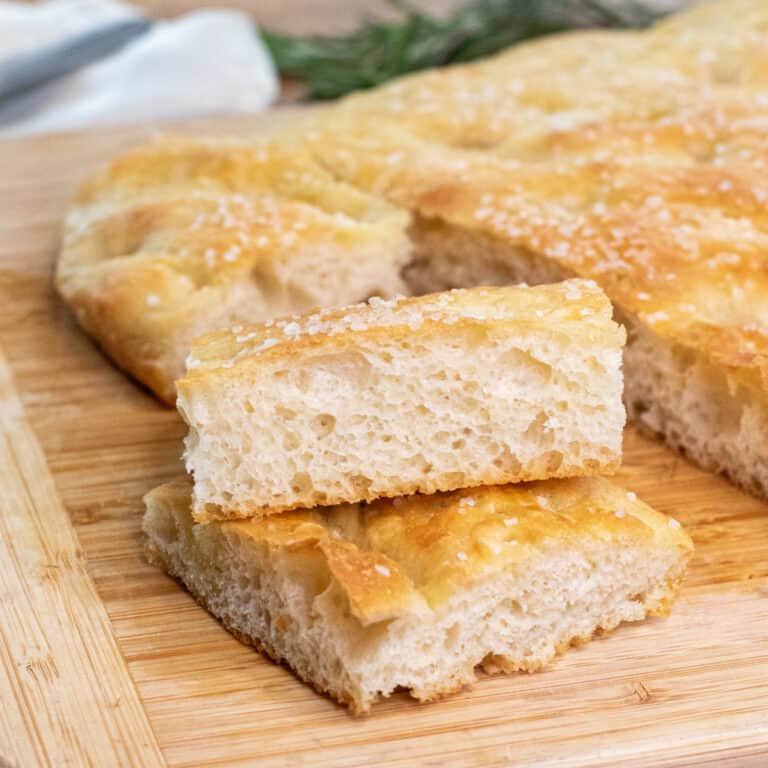
- No Knead Rosemary Garlic Bread
- Easy White Sandwich Bread
- Whole Wheat Honey Oat Bread
- Easy Dinner Rolls From Scratch
- Easy Crusty French Baguette
Enjoy! As always, if you make this recipe or any of my others, I love to hear what you think! Leave a comment below, email me, or you can find me on Facebook, Instagram, and Pinterest!
If you want to see more, be sure to sign up for my 5 Easy Ways to Start Cooking From Scratch!

I tried a version of Rye Bread with seeds mixed in, and it added such a nice crunch and depth to the texture. It made the bread feel even more wholesome and flavorful.
I have tried 4 other rye bread recipes and yours is the best! Not too hard to make and it’s delicious!
Thank you!
I’m living a white sugar-free life! Can I substitute coconut sugar or maple syrup for the white sugar in this recipe without completely compromising the flavor and texture of the bread?
Good for you and the white sugar free life! Hmm… coconut sugar will definitely work better than maple syrup, but it will add a slightly different flavor. I haven’t tried replacing the sugar, but I think that increasing the malt barley would work also without really adjusting the flavor.
what exact ingredients does the the sponge consist of? Everything but flour?
Hi Gloria, the sponge is made of bread flour, rye flour, instant yeast, sugar, barley malt syrup or honey, and water. Find the full recipe here!
What is the purpose of the second baking sheet, or stone, in the oven?
The bread turned out great. My only problem is that this is a “you have to be at home” bread because of the multiple risings. It would be much more convenient if it could have an overnight rise but maybe it wouldn’t taste as good then. Thanks for sharing the recipe..
Hi Anne! I agree- it is a needy dough, but unfortunately that’s what helps develop a lot of the flavor!
I can’t get bread flour where I live – can I use APF instead? Also, you say to bake this on the lowest shelf in the oven – does it matter if it’s a gas oven, where the heat comes from below? I’m not too familiar with electric ovens so I’m not sure if the heat also comes from below in those… thanks in advance!
This bread is delicious! The only problem I having is that it doesn’t rise enough. I have to let the dough Rise in the refrigerator overnight due to chronic pain. I let it rise the first time for three hours or so, kneed it, let it go through the second rise and then refrigerate it overnight. The bread tastes delicious, the crumb is perfect, nice and crusty on the outside too. I asked you last Christmas how to do the refrigerated overnight rise but did not receive a response so I winged it. I hate to have to find another receipt as yours is such a hit.
My bread turned out dark and hard (almost burnt) and I have an oven thermometer to verify the temp. I didn’t even leave it in for the full time. Is 450 and 400 degrees accurate?
Oh no! So sorry to hear that Phil – yes those are accurate, but my oven often just 30 at 400 (after the 15 min) is all that’s needed. How was it after the first 15 minutes before you turned it down and how long did you bake at 400? Taking it out when it starts to get a golden brown is best and then checking temp – I’m sorry that happened before the recipe time!
So I says to myself; “Self can it be this easy? ” All those other failures led me here. I am picking up rye flour this week end. I have been trying for NY Rye for years. It looks like it. Wish me luck. Thank you for sharing this recipe. If it works I will adore you fovever.
Oooh I hope it does work for you, Barbara!! Let me know how it turns out!
I made this the other day and it was perfect. Only needed 30 mins at 400°. I’m making another one to freeze and bring to Thanksgiving. Great recipe.
Hi Tracy
I sent this question on Christmas but I think it was in the wrong section.
I just love baking my own bread and I am always looking for new recipes.
Rye bread is my fav bread. I plan on making this next week as a surprise gift for my son, rye is also one of his favs!!
Due to chronic pain I have to do this n two days.
Would you please tell me the best way to do this?
Thank you!!
I can hardly wait to taste this bread!!😋