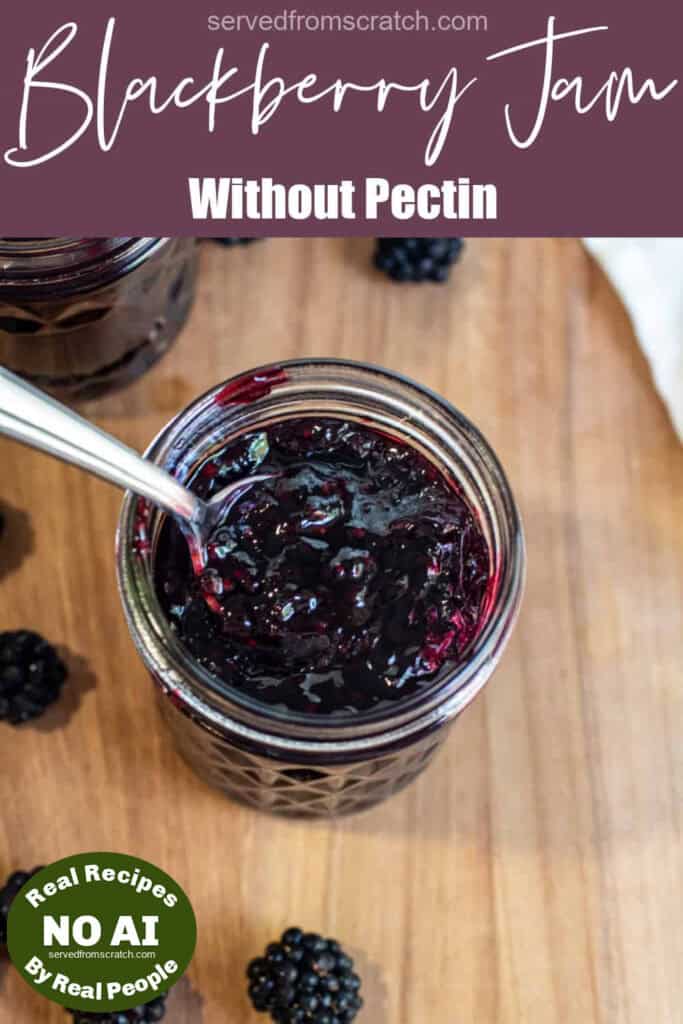
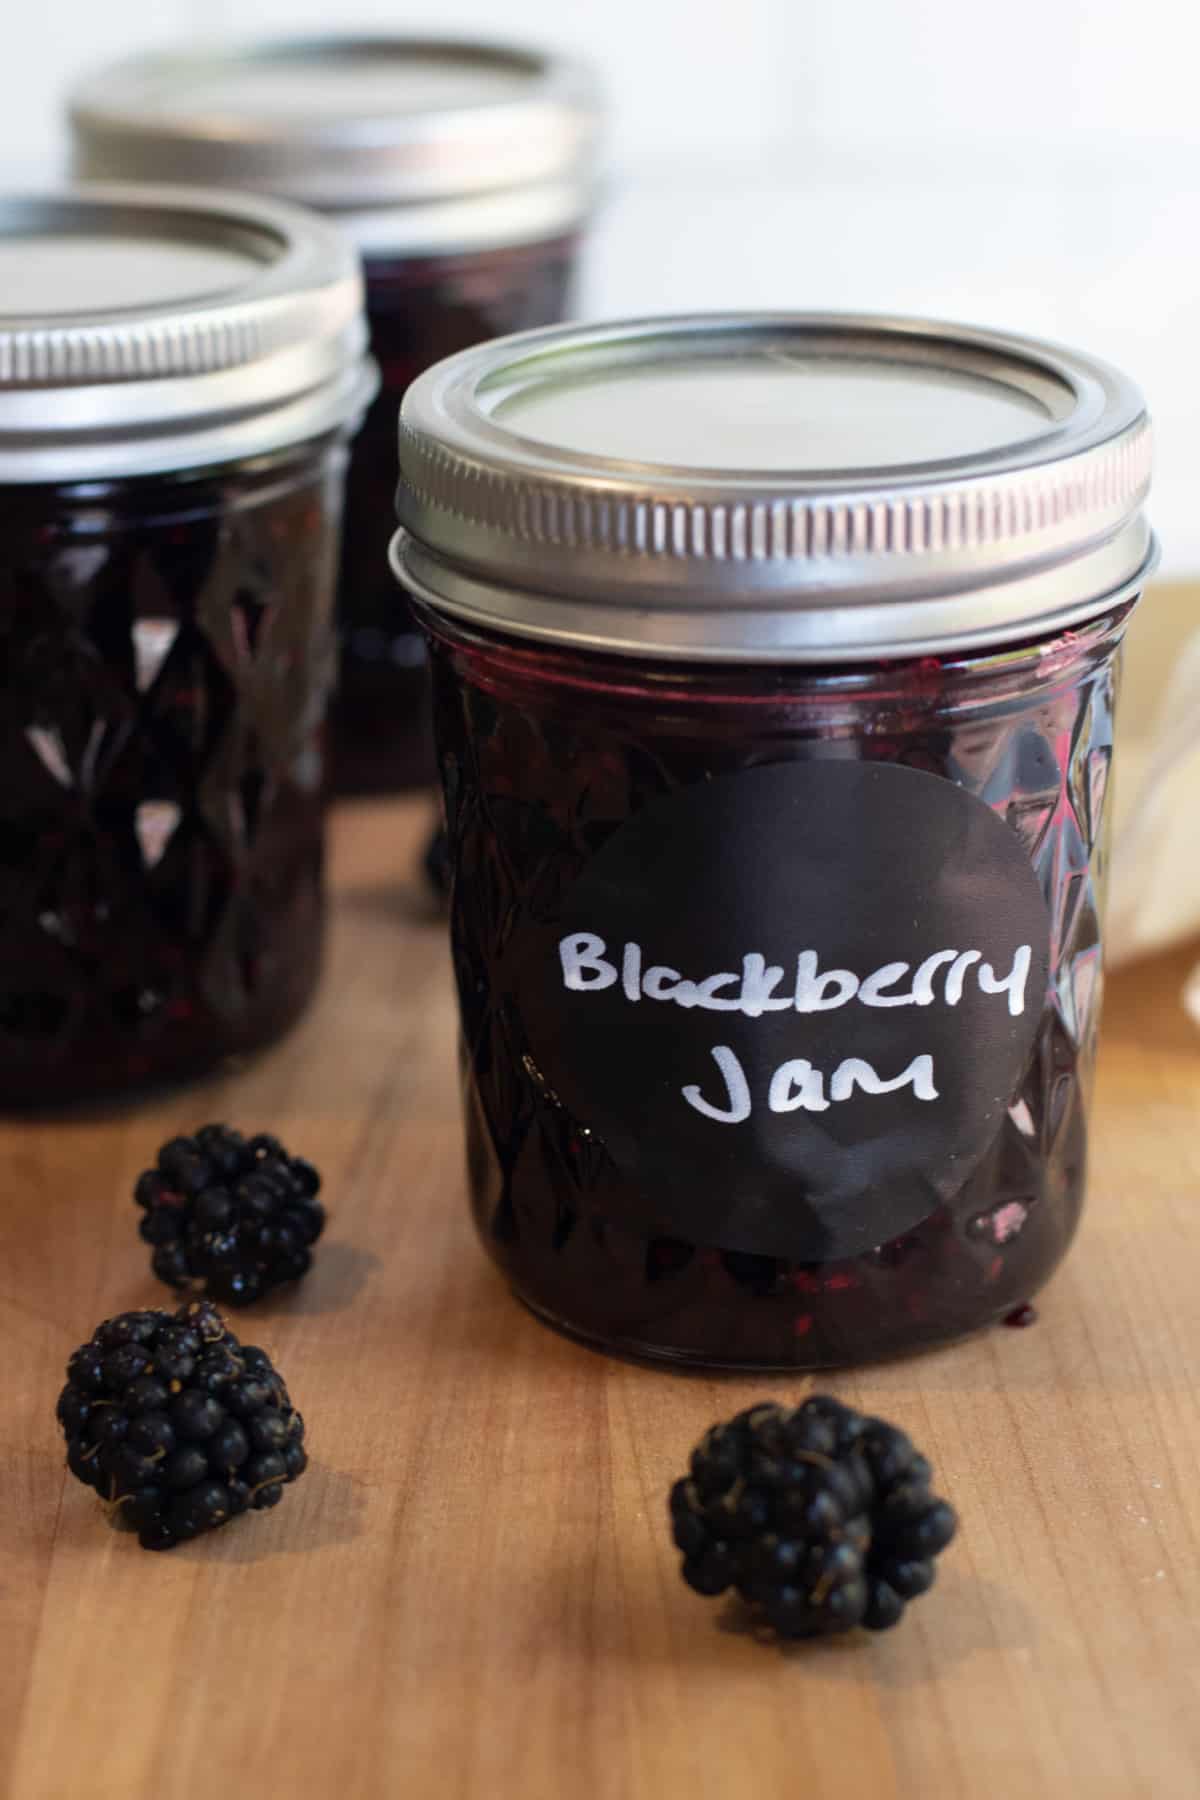
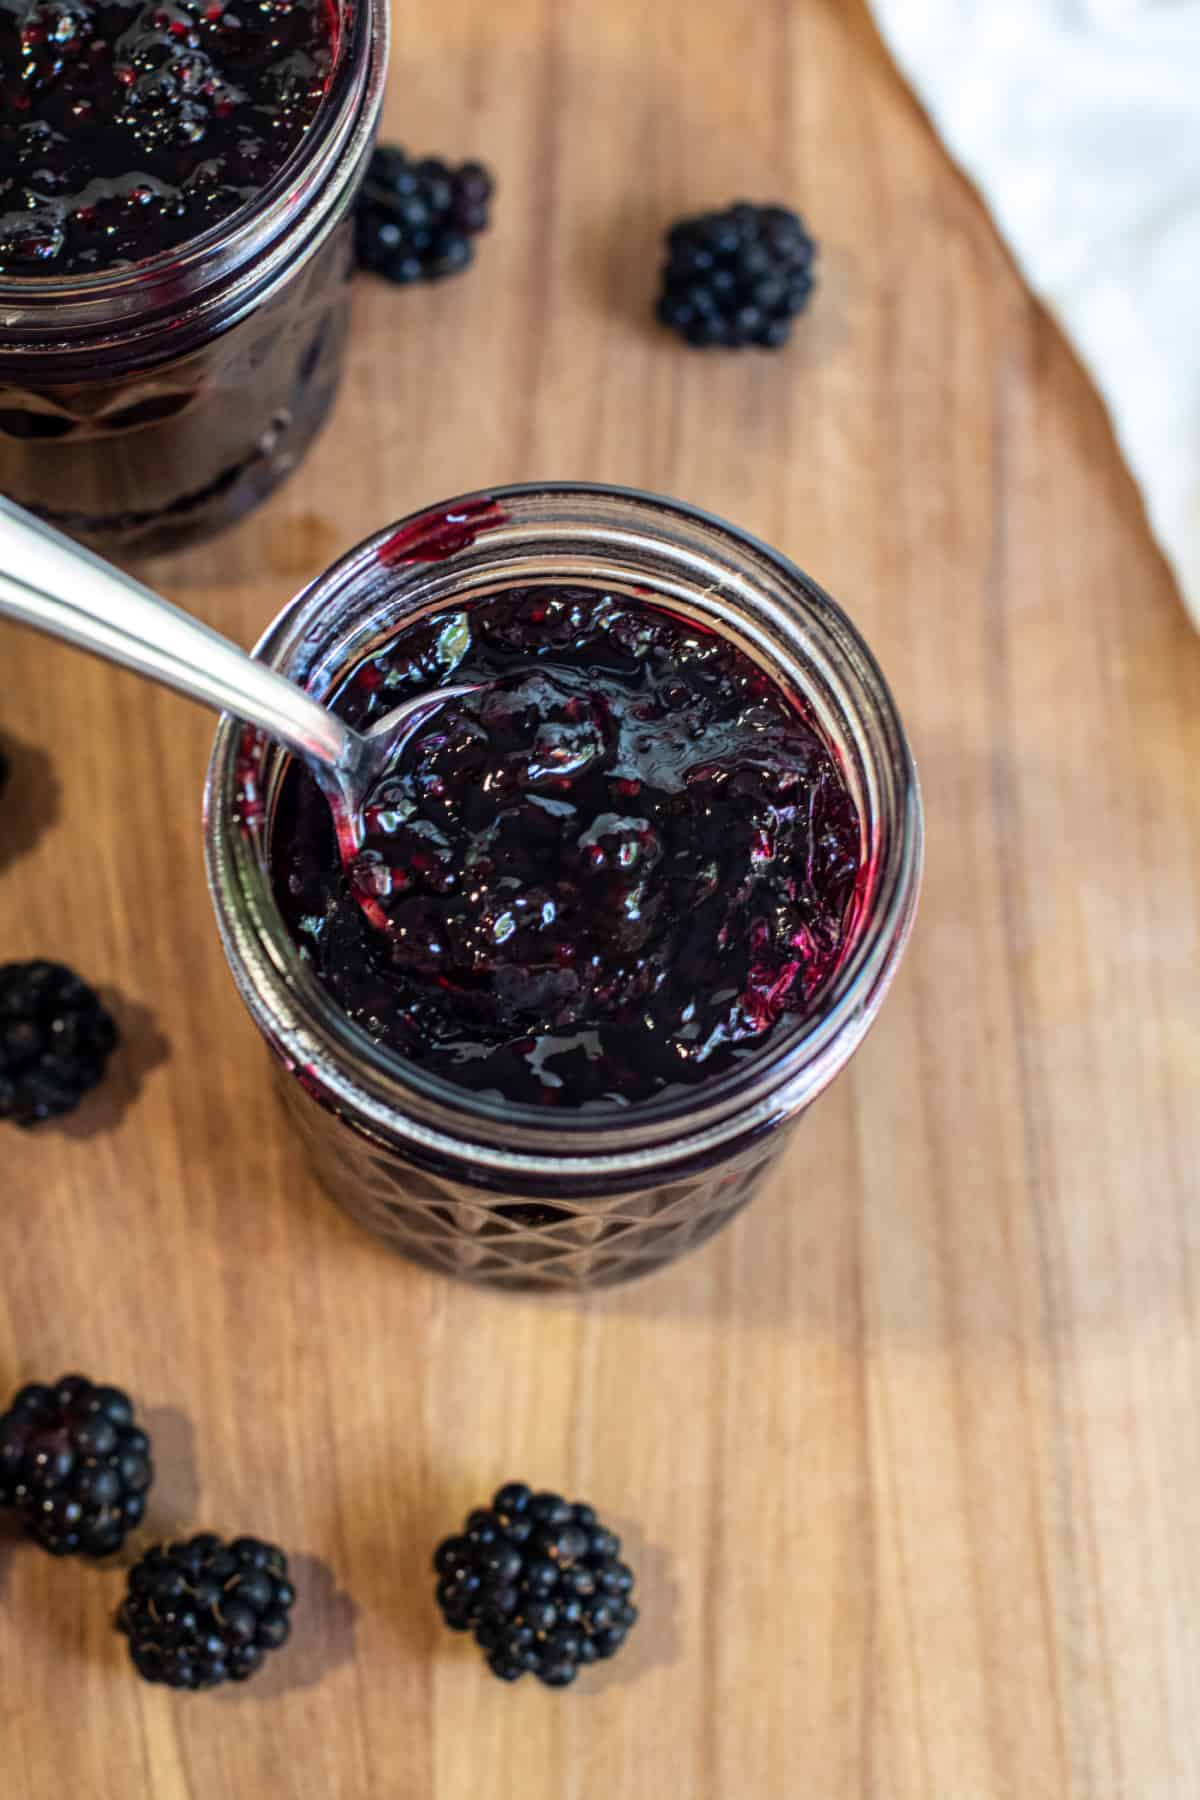
Blackberry Jam – Without Pectin
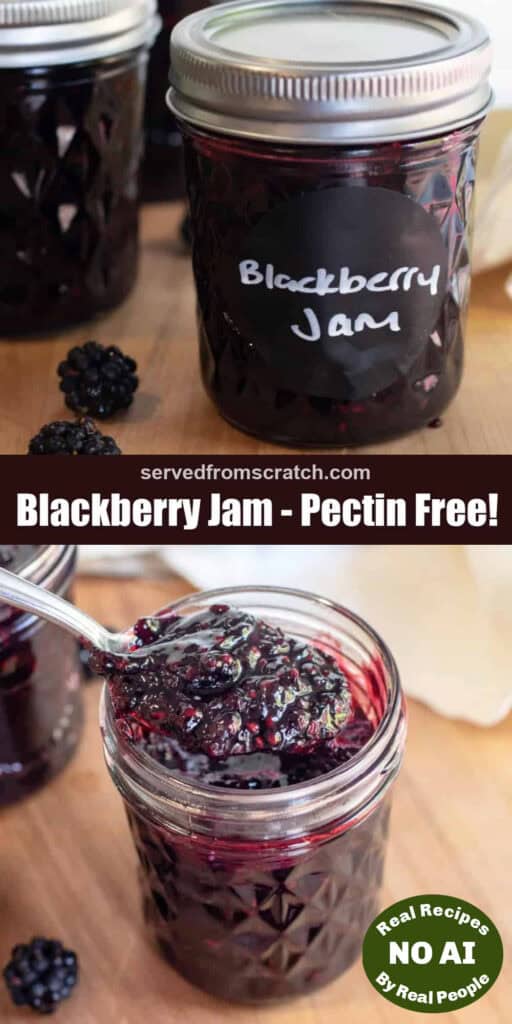

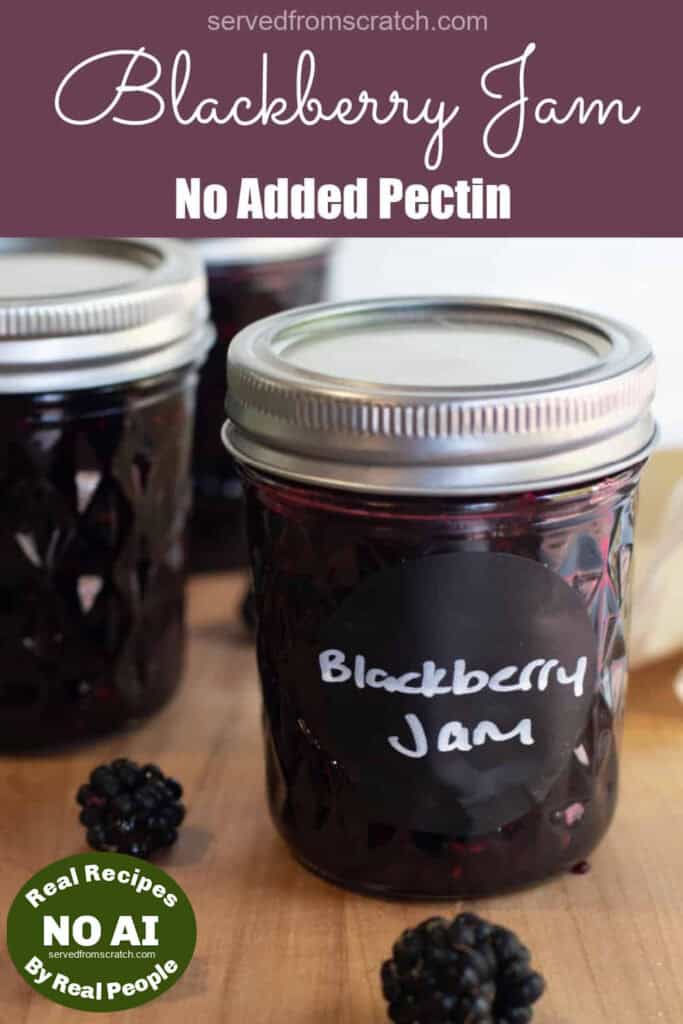
Put those fresh summer blackberries to good use! Our homemade Blackberry Jam recipe (without pectin) is low sugar, preservative-free jam that’s easy to make and perfect to can for some fresh summer berry jam all year long!
Next, try our Blueberry Jam!
Is there anything more summery than a summer berry jam? I look forward to this time all year long because fresh fruit picking is one of my family’s favorite summertime activities. Especially when it means a fresh summer berry jam to can so we can enjoy a little bit of summer all year long! We have been making our homemade Blackberry Jam – Without Pectin, for years and it was finally time to share it with you all!
Jam vs. Jelly
This is a homemade blackberry jam recipe, which means in our house, we serve Peanut Butter and Jam Sandwiches, not jelly.
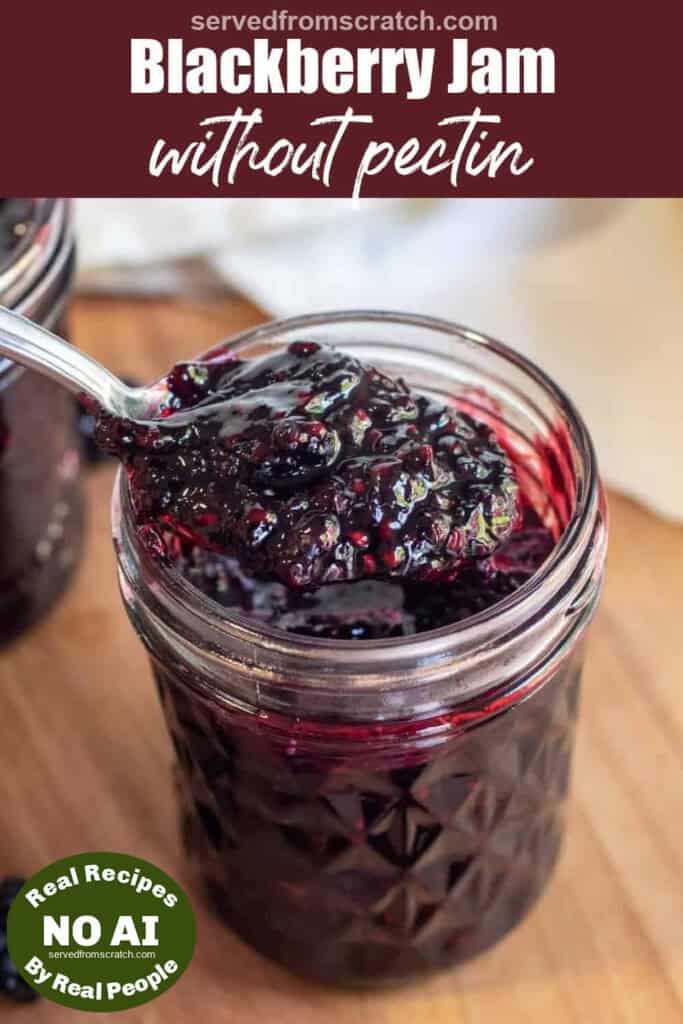
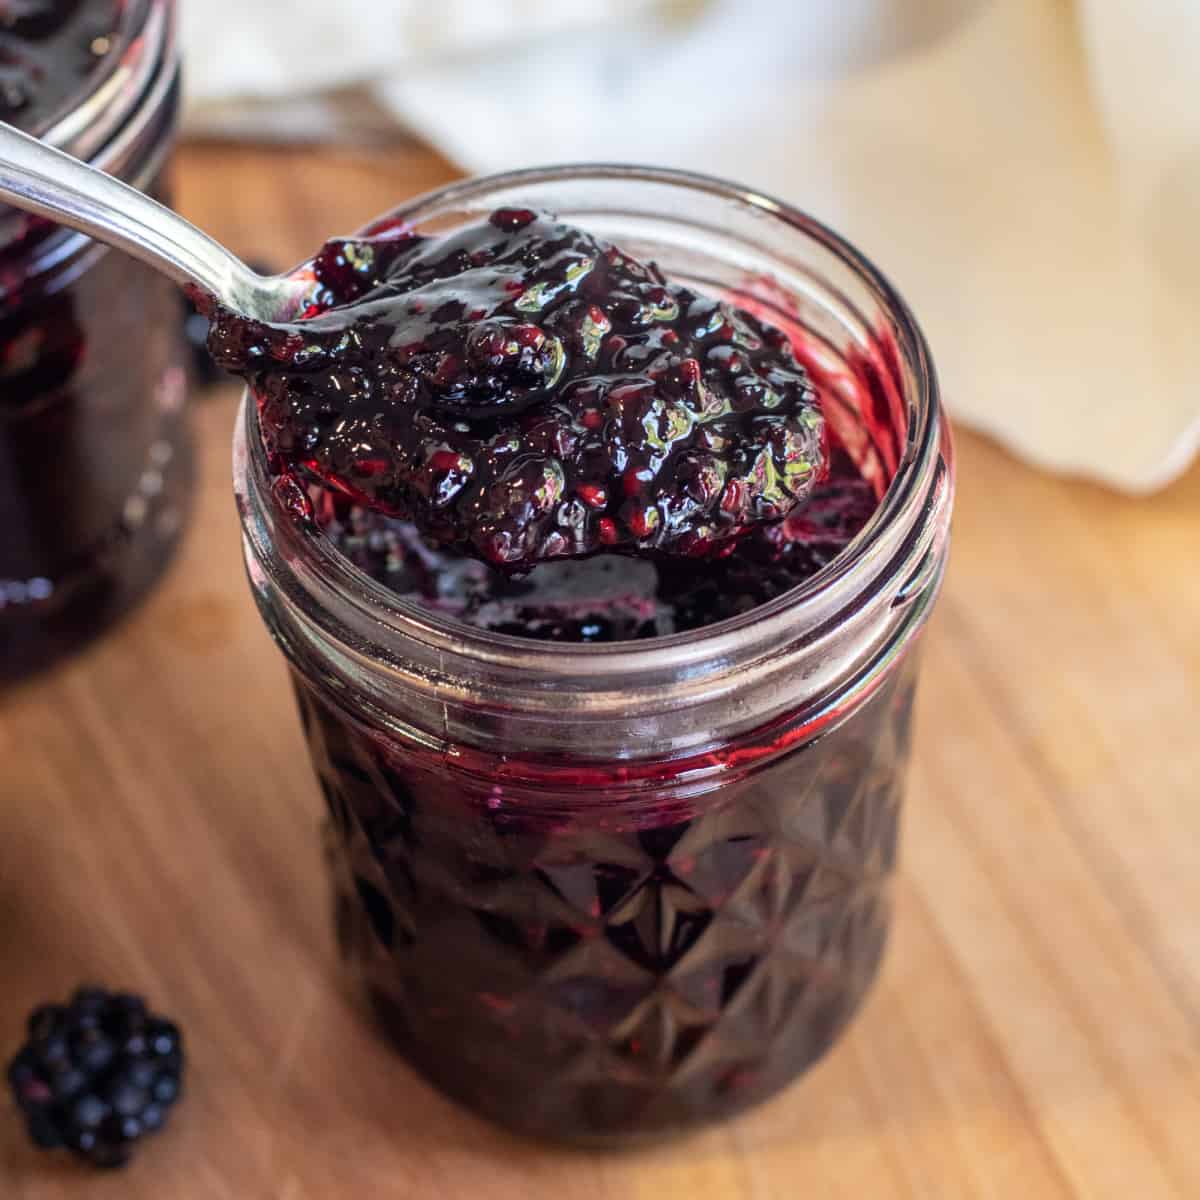
What is the difference between Jam and Jelly? Jam is made with the full fruit while Jelly is made just with the fruit juice. Both are made with sugar and acid but jams tend to be a little bit looser than jelly. Also, especially for our homemade jams, I love a little chunk of that fresh fruit in there, and this low sugar blackberry jam is no exception.
Ingredients Needed
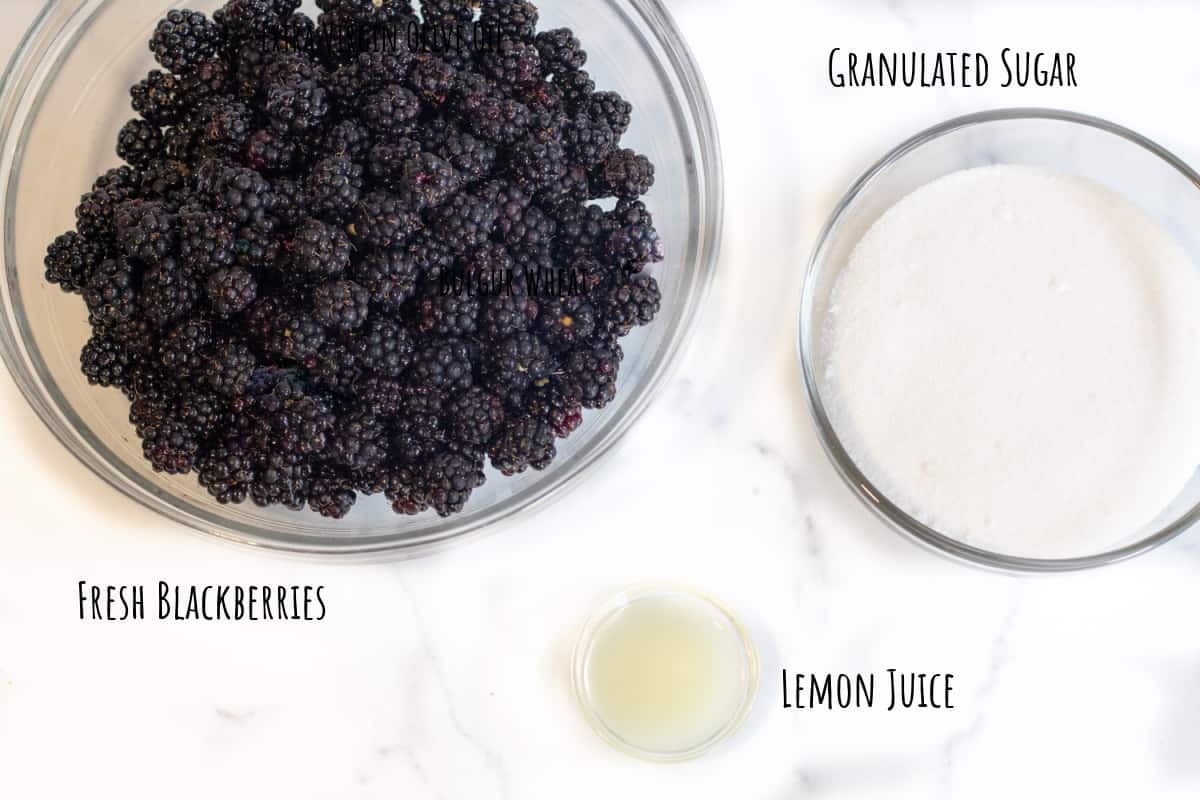
- Fresh Blackberries – If you’re lucky enough to have access to some wild blackberry bushes then you already have an abundance to use!
- Sugar – Not a ton, compared to many other jam recipes you’ll find. We prefer to let the natural sweetness and flavor of the berries shine! To cut out white sugar, you can also use maple syrup or honey. You will need less honey than sugar and it will need to cook longer, but you can use it. See recipe notes for full instructions.
- Lemon Juice – While the berries have enough acid to allow this homemade blackberry jam to be canned, the added lemon juice helps not only to enhance the berry flavor but also to allow this summer berry jam to gel without the use of added pectin.
That’s it! Just three simple ingredients are all you need to have your own homemade Blackberry Jam!
What is Pectin?
Pectin is a soluble fiber that’s found naturally in many fruits and vegetables. It is used as a preservative to gel jam, jellies, and candies. The powdered pectin you can buy in the store is made typically made from the fruit rind. The benefit of using pectin are that it greatly reduces the cooking time. The downfall is that it’s a processed preservative and that using it will actually reduce the flavor that can be developed from the slow-cooking process that will naturally produce pectin.
While you need pectin for the jam to gel, you don’t need the store-bought kind, especially for a high pectin fruit like blackberries. The naturally occurring pectin in these summer berries is released with the addition of acid, sugar, and heat. The acid (lemon juice) is what will help “pull” the pectin from the fruit while it simmers. The sugar will “pull” some of the water away from the pectin and this is what allows the pectin molecules to gel. Yay, science! Here’s an article with a lot more detail about the process if you’re interested. But in short, pectin + sugar + acid, that’s all you need to make a nice thick homemade jam.
Low Sugar Jam
This homemade blackberry jam is a recipe that is very low in sugar. It has enough for all of the science of natural pectin jam to work, but it also means that it needs a wee bit longer to cook. But one of the things I dislike about store-bought jams, most of the time, is that they are just way too sweet. We want to taste the naturally delicious flavor of the berry in the jam, not just the sugary sweetness. In most jam recipes you’ll find a 1:2 sugar to berry ratio, some even (shockingly) use a 1:1 ratio of sugar to berries. Low sugar jams are usually about 1:4, but even that was too sweet for us. Again, one of the best parts of adding your own from scratch flair to your everyday foods, is you are in complete control! You can add as much or as little sugar as you want to your summer berry jam.
Incredibly Easy to Make
Making your own summer berry jam is so easy, as long as you have a little time and patience.
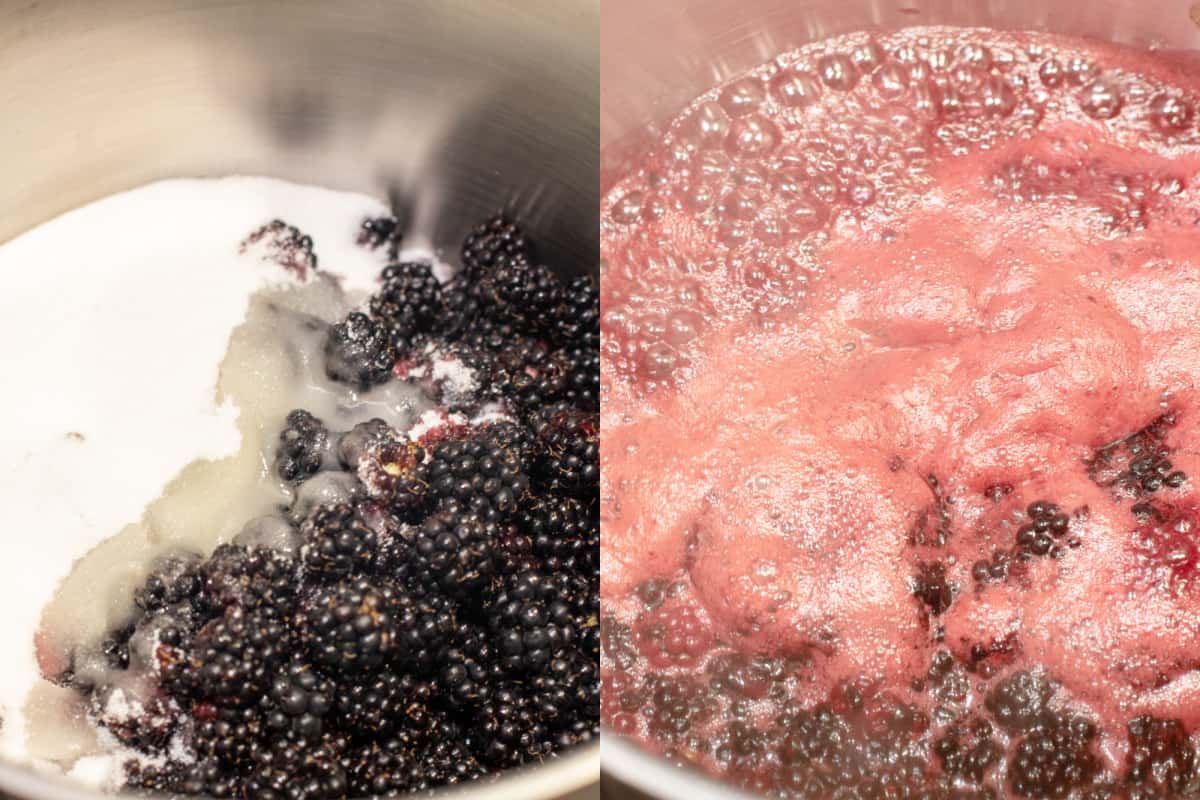
First, add all to a pot, give it a little mash, and bring to a gentle boil.
Be sure to use a good-sized pot because the homemade jam will foam quite a bit during cooking. That’s normal and will just need a good stir.
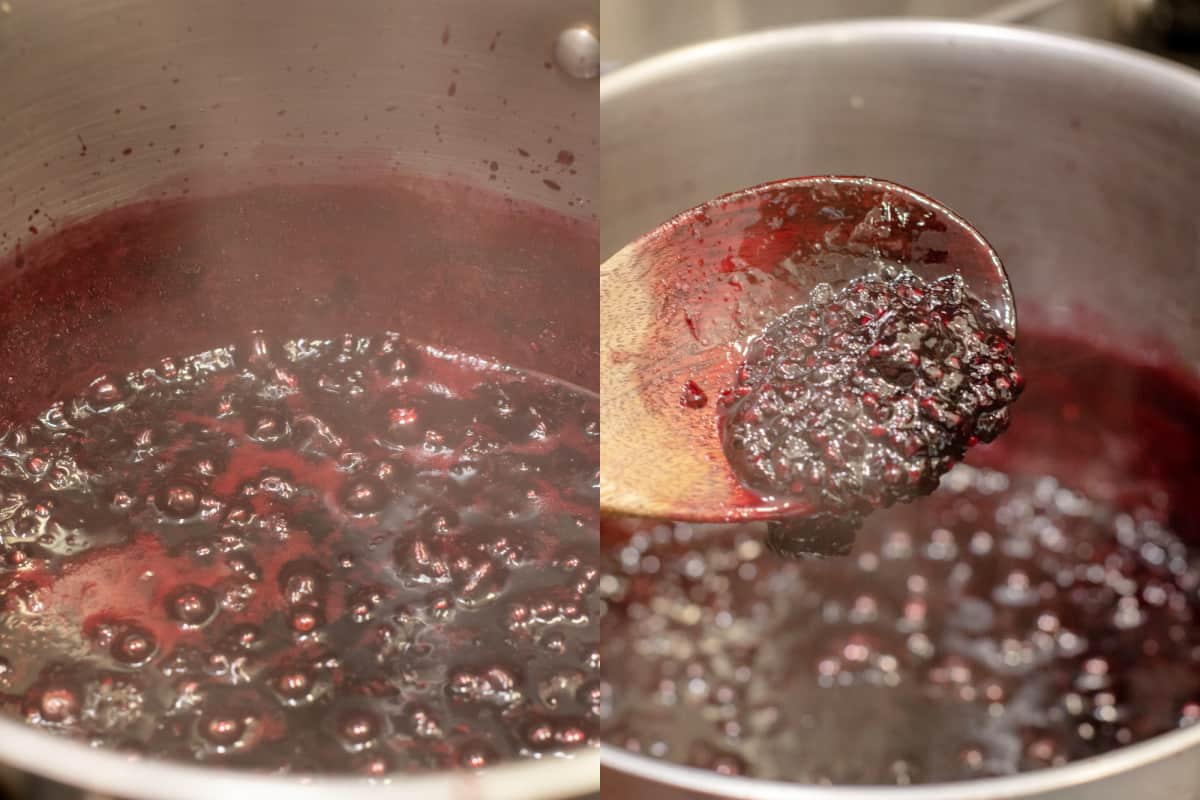
Next, just let it simmer so that it cooks down, the pectin is released, and the blackberry jam begins to gel and thicken. The amount of time this takes will depend on how much sugar you decide to add. For this low sugar jam, it takes about 40-45 minutes to fully gel.
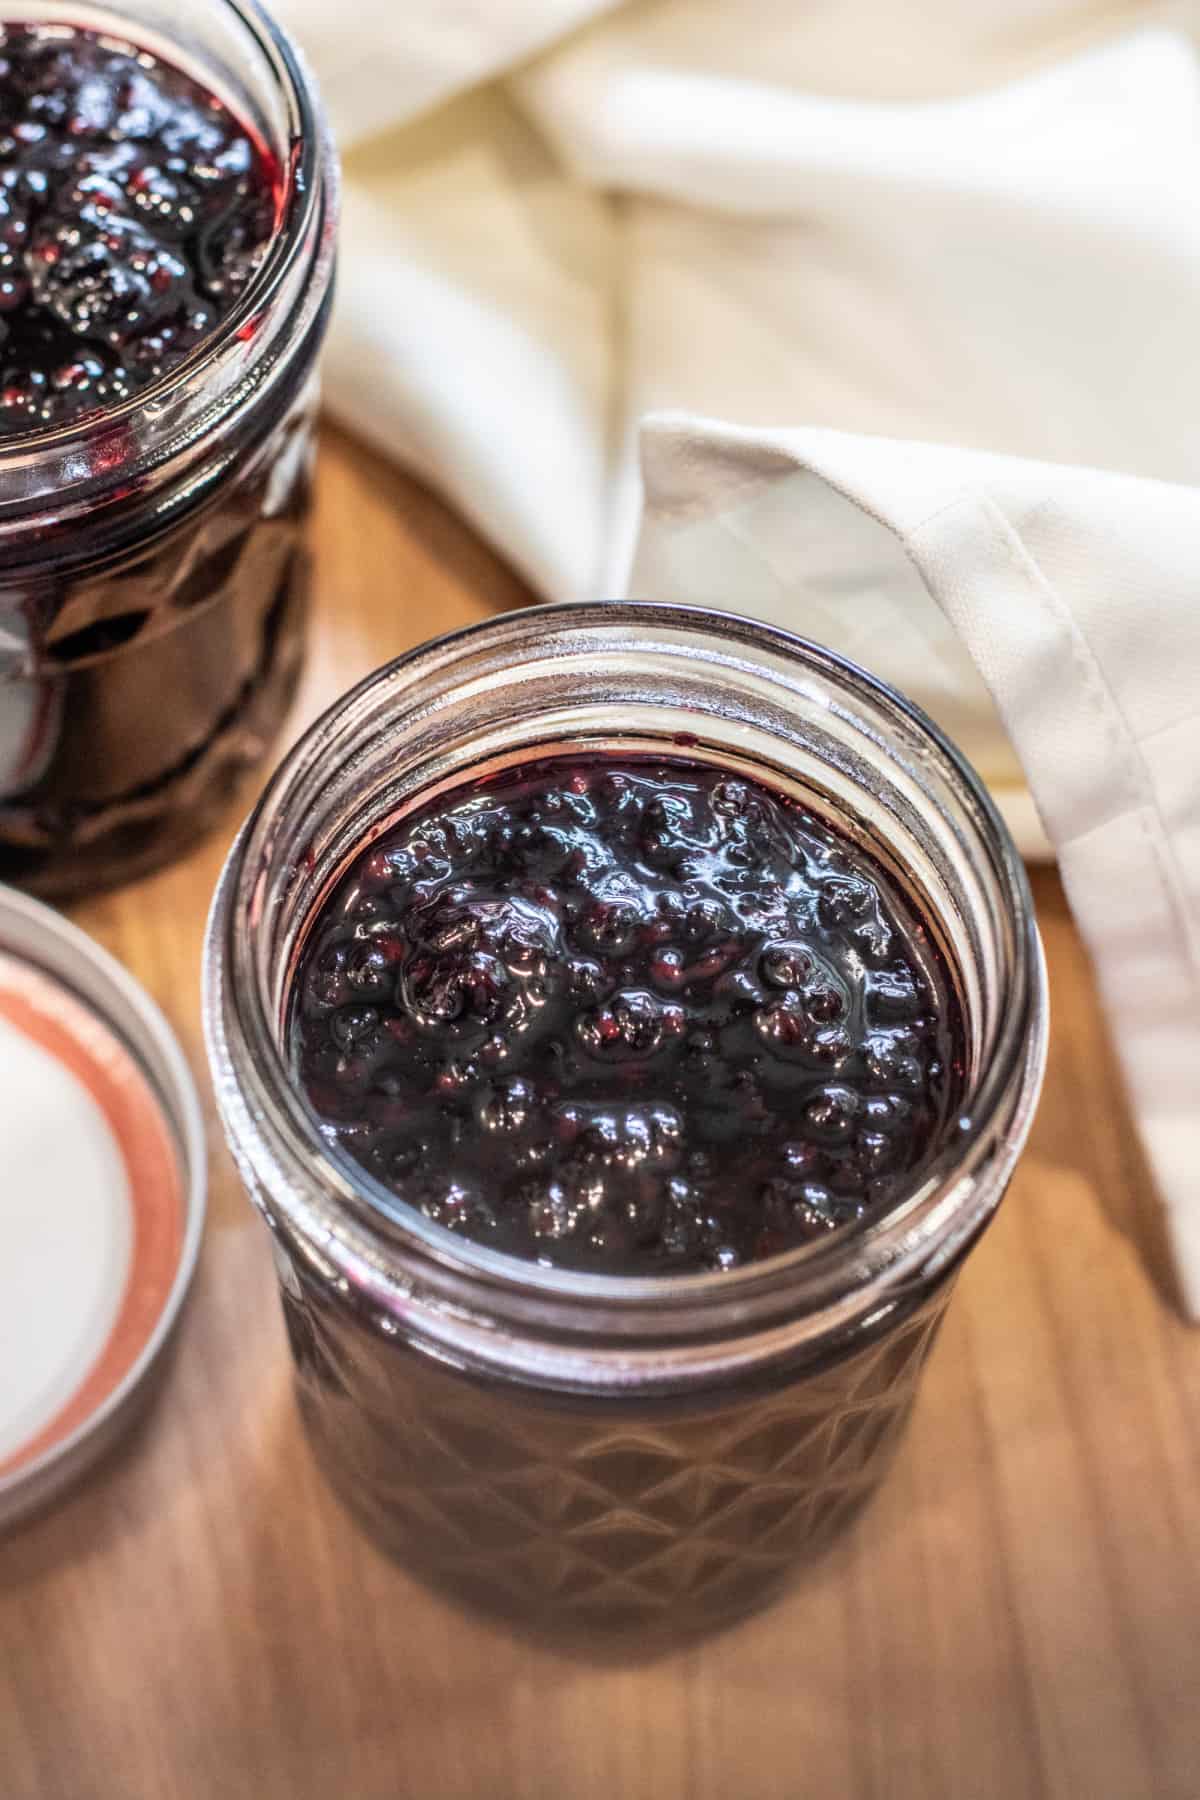
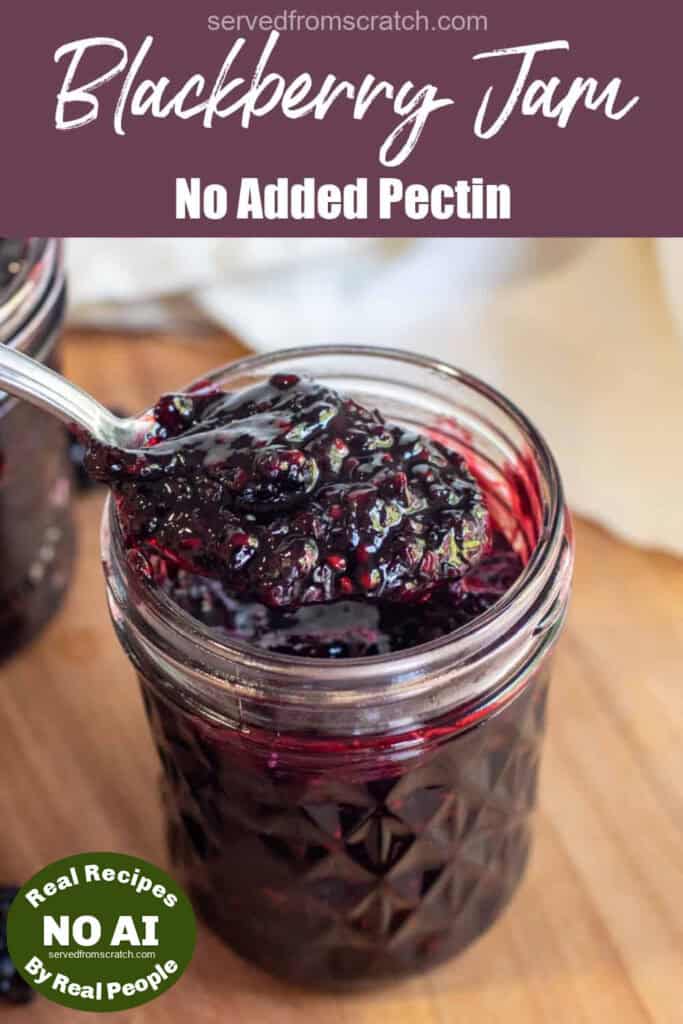
Once it’s done, you’re ready to add to your canning jars and preserve that little bit of summer to enjoy all year long!
Enjoy this jam on some of our homemade bread like our English Muffins From Scratch or Homemade Hawaiian Sandwich Bread (which makes the most amazing toast). Or top our Banana Waffles with it or Strawbery Banana Oat Pancakes with a dollop!
Canning Fresh Jam
You can use the water bath method for this jam. Always be sure to sterilize your jars, use fresh lids, and then boil in a water bath for 10 minutes. Our preferred canning jars for jam are these 6 oz jars.
While you’re at it, give our Blueberry Jam and Homemade Cherry Jam a try, too!
FAQs
Yes. But if you do, add the frozen berries into a bowl and add the lemon juice. Let it all macerate (soften) in the lemon juice before adding it to a pot with the sugar to boil.
No! This is totally unnecessary, in my opinion. Plus, a good rule of thumb is to not can any dairy. However, this amount will really not make much of a difference, also adding butter to help with the foaming is an unnecessary addition, when all you need to do is use a larger pot and watch the jam to stir it when it foams.
The best way is to use an instant-read thermometer to test to see if the jam has reached 221° F. You can also use the gel test by placing a ceramic plate in a freezer when you start to cook your jam. When you want to test, add a teaspoon of the jam to the plate and return it to the freezer for 3 minutes. At the end of the 3 minutes, push the jam with your finger, and if the top wrinkles a bit when pushed, then it’s done.
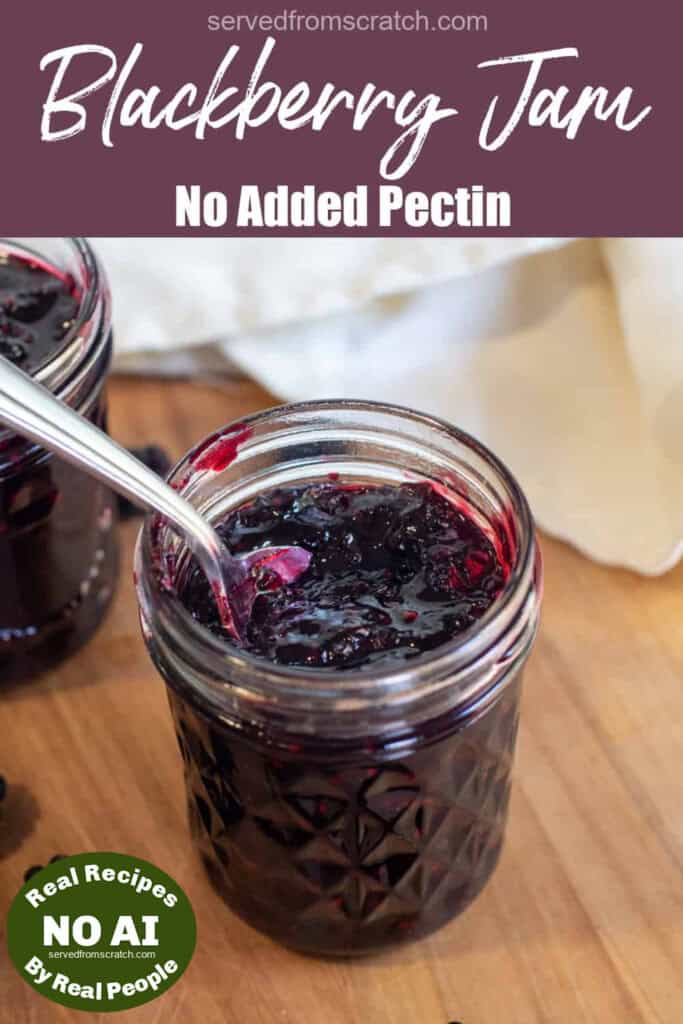
From the 6 cups of fresh blackberries, once cooked down, this recipe produces about 18 oz of blackberry jam. We store it in 3 6 oz jars.
If you don’t want to can this recipe, then this jam will last about 3-4 weeks in the fridge and up to 3 months in the freezer.
Happy final weeks of Summer! Soon it’ll be back to school and cooler weather, but you can reminisce with this fresh summer berry jam all year long!
Enjoy! As always, if you make this recipe or any of my others, I love to hear what you think! Leave a comment below, email me, or you can find me on Facebook, Instagram, and Pinterest!
If you want to see more, be sure to sign up for my 5 Easy Ways to Start Cooking From Scratch!

Blackberry Jam – Without Pectin
Equipment
Ingredients
- 6 cups fresh blackberries
- 1 tablespoon lemon juice bottled
- 1 – 1 1/2 cups granulated sugar
Instructions
- Add berries, lemon juice, and sugar to a large pot and heat to medium. Use a fork or a potato masher to gently mash down the berries to release some of their jucies.
- Heat on medium, bring to a gentle boil, and then turn the heat down to medium-low to simmer. The berries will foam, just stir occasionally to reduce the foam.
- Let simmer until the jam begins to gel, or when the temperature of the jam reaches 221° F.
- Add to canning jars and can with a water bath or store in fridge or freezer.
Easy recipe, tastes great
So happy you enjoyed it, Theresa!
Made this recipe with fresh blackberries we picked yesterday!
So good!!
Also picked some peaches and wondering if you have a recipe for a peach jam that would be similar.
I’m new to canning and jam making, so I would love some guidance from anyone experienced who can help.
Thank you!
Can you double this recipe and get the same results?
Most people including myself don’t like the seeds in blackberry jam or maybe taking out the seeds it becomes jelly? What is your felling on this? Thanks for a reply
Hi Jerry! You still make this recipe and have it be a bit more jam like and also remove the seeds by using a food mill or a fine mesh sieve to get the juice and some of the pulp, but leave behind the seeds. I would do this in batches a few minutes after simmering, before it comes to a boil. Then return it all to your pot, bring it to a boil and then let it simmer to thicken!
Use the seeds you took out, and put in small pot. 1 cup seeds 1 cup sugar and 1/2 cup water. cook the seeds only for 5 minutes and straning seeds for a Great syrup over
vanilla ice cream!
Oooh yum!!!
This was great! I made it with fresh picked marionberries and boysenberries. They were really sweet, so even the cup of sugar made it sweeter than I’d choose – but my it’s delicious on buttered toast. Thank you!
Oh yum! Thanks for sharing, Heather!
Can you strain it to remove seeds? Can you blended to make it smoother?
Hi Anita! You could, this would make it more of a jelly than a jam. I haven’t tried removing seeds or blending, but you could blend and strain before cooking. Enjoy!
this was perfect for my homemade lemon cookies! I felt like they needed an extra flavor. I searched my fridge and freezer and I found frozen blackberries I bought the other day! I looked up a recipe for jam and this one was easy to use. I already had quite a bit of lemon juice left over from the cookies. I used frozen but I didn’t realize that you were supposed to add the blackberries into a bowl with lemon juice first. it was amazing and my family loved it! it might’ve turned out a little thin but that’s on me. 🙂
I made the recipe, I like chunky jam, however… I may have cooked for too long. The chucks were not really chucks and the seeds were loose everywhere. I decided to pass it through a screen, used a little of hot water to rinse the biomass and put it back to boil for a little bit. It became a jelly. 🤷♀️