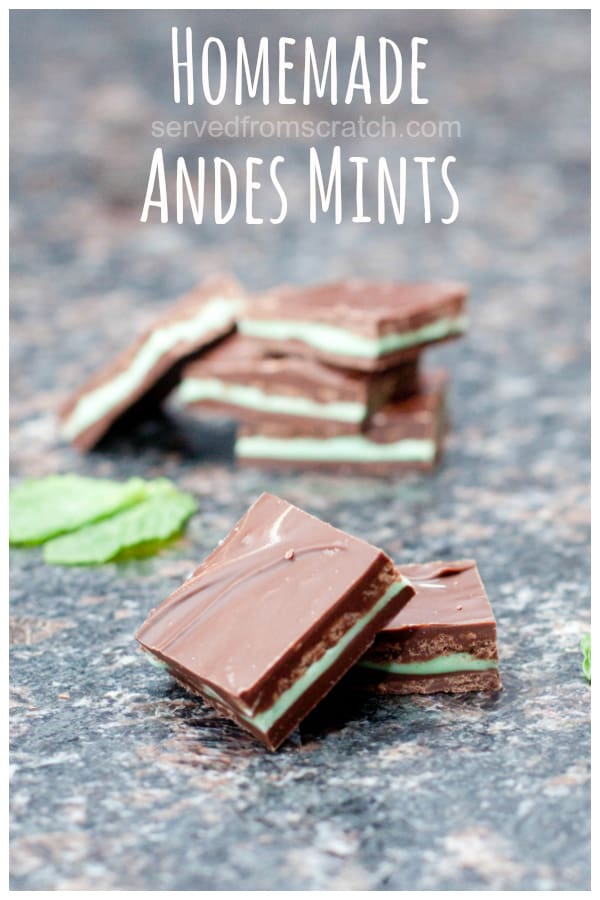
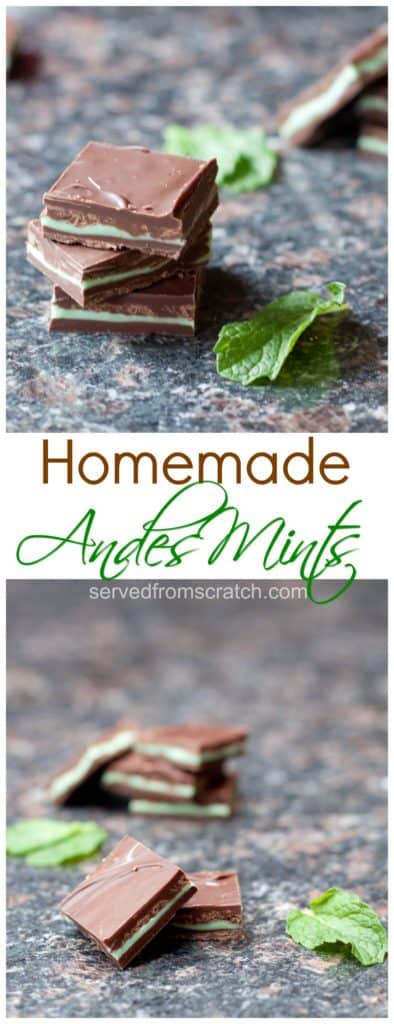

With just 4 ingredients and 30 minutes, you can make the classic chocolate and mint candy and make your own Homemade Andes Mints!
Next, use them in our Andes Stuffed Sugar Cookies!
4. That's the number of times that I have made this recipe in the past month. That's how much I love it and perfected it. I give you... dun dun dun... Homemade Andes Mints!
Video
Ingredients Needed
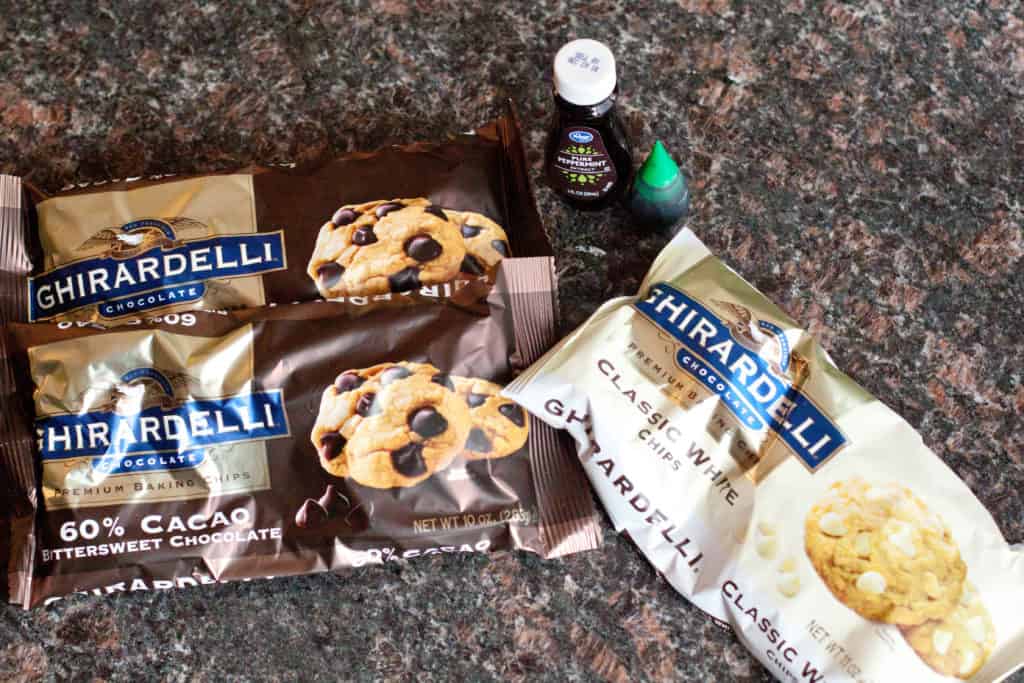
Only 4!
- Chocolate Chips - These Ghirardelli Chocolate Chips are my favorite at 60% cacao. You could use something darker, or even semi sweet.
- White Chips - We also love these Ghirardelli White Chips.
- Green Food Coloring - For that green color!
- Peppermint Extract - The Mint, in Andes Mint.
Step-by-Step Instructions
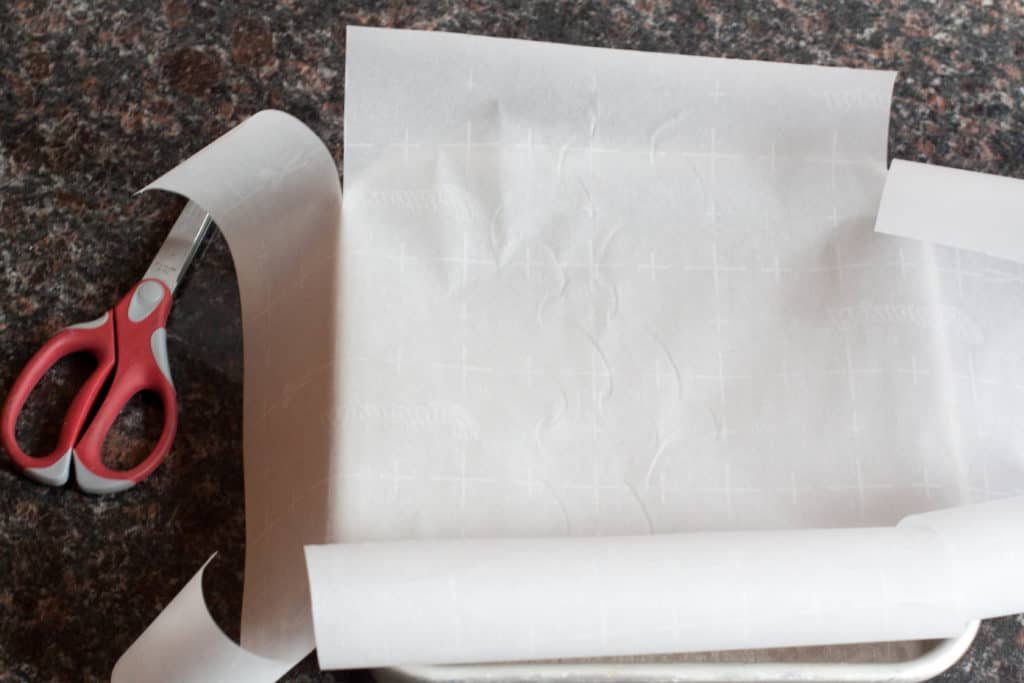
First step, Melt the chocolates (dark and white) in the oven (instead of a double boiler) by separating them into their own oven-safe bowls. This way they'll be ready at the around the same time. While they slowly melt, prep the parchment paper for the pan. I used a square 9X9 pan, but you could also use either a small jelly roll pan or standard-sized one and double the recipe.
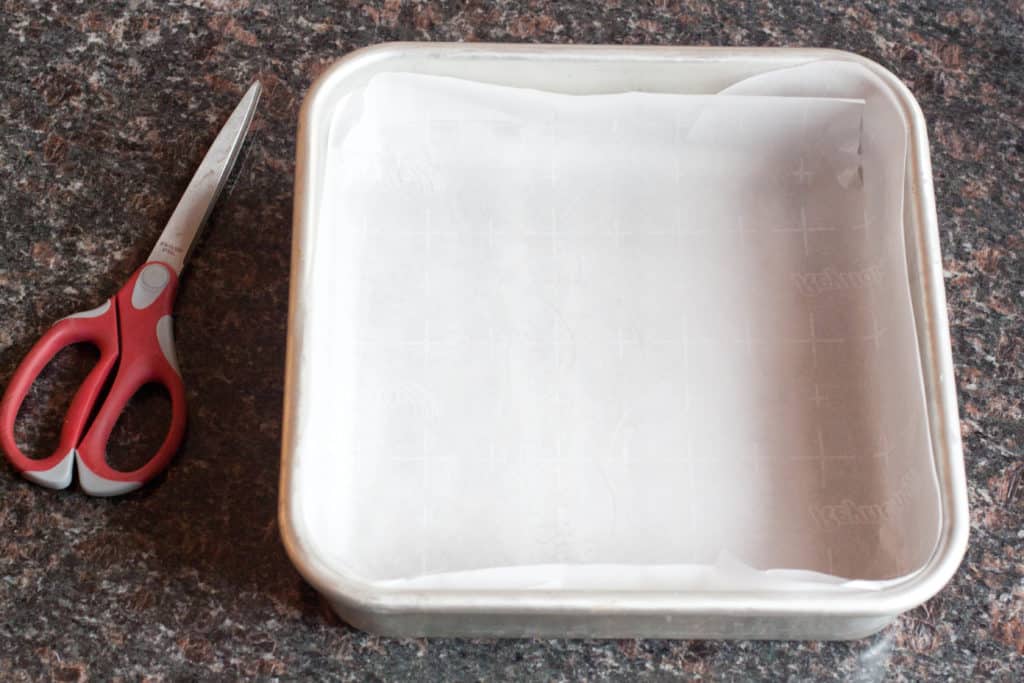
Tip: Line your pan with parchment paper and then cut the four corners to fold down the edges and trim the edges down.
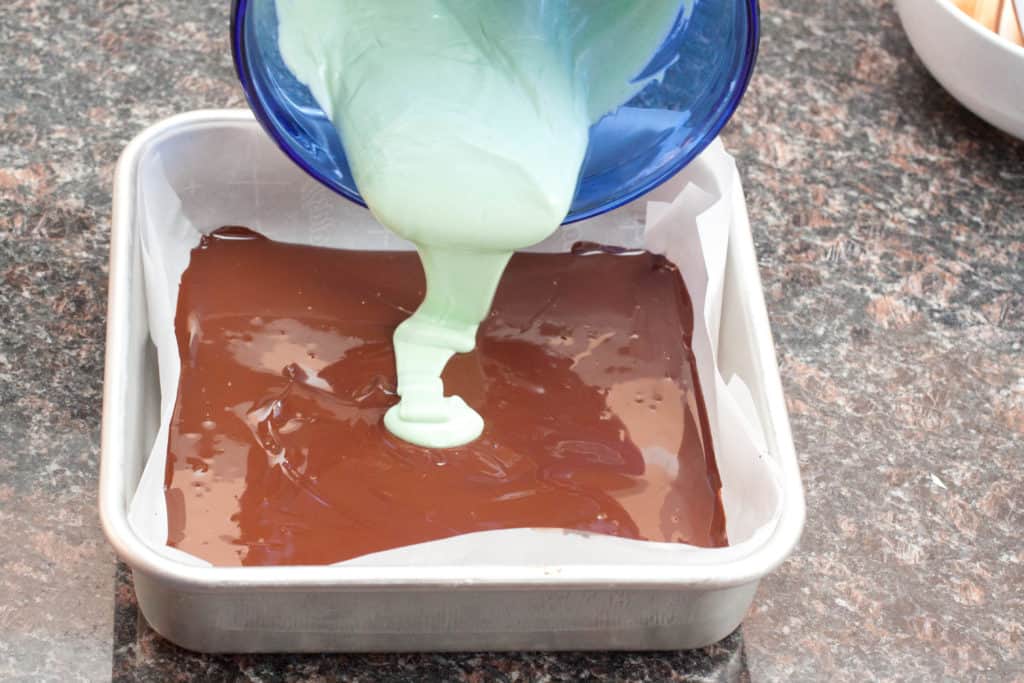
Second Step: Once the chocolates are ready (which will really depend on your oven, see recipe notes), they're ready to layer! For the first layer, I took out one of the chocolate bowls, added 1/4 teaspoon of peppermint extract, gave it a good mix, and then poured it into the pan.
Third Step: Now here is the 'hardest' part of the recipe. Adding the second white chocolate layer has to be done at just the right time. But once it's ready, and out of the oven, it just needs to be mixed with 1/4 teaspoon of peppermint extract and 4 drops of green food coloring. When it's ready, you pour the second green layer on top, spread it out over the first layer, then gently spread it, being careful to not mix the still melted first layer.
Tip: You have to wait until the right time. Waiting until the first layer fully cools and hardens means that the second layer wont stick to it. But adding the second layer too soon will result in the two chocolates just mixing. What worked best for me is 2 minutes after I did the first layer. This took about another minute.
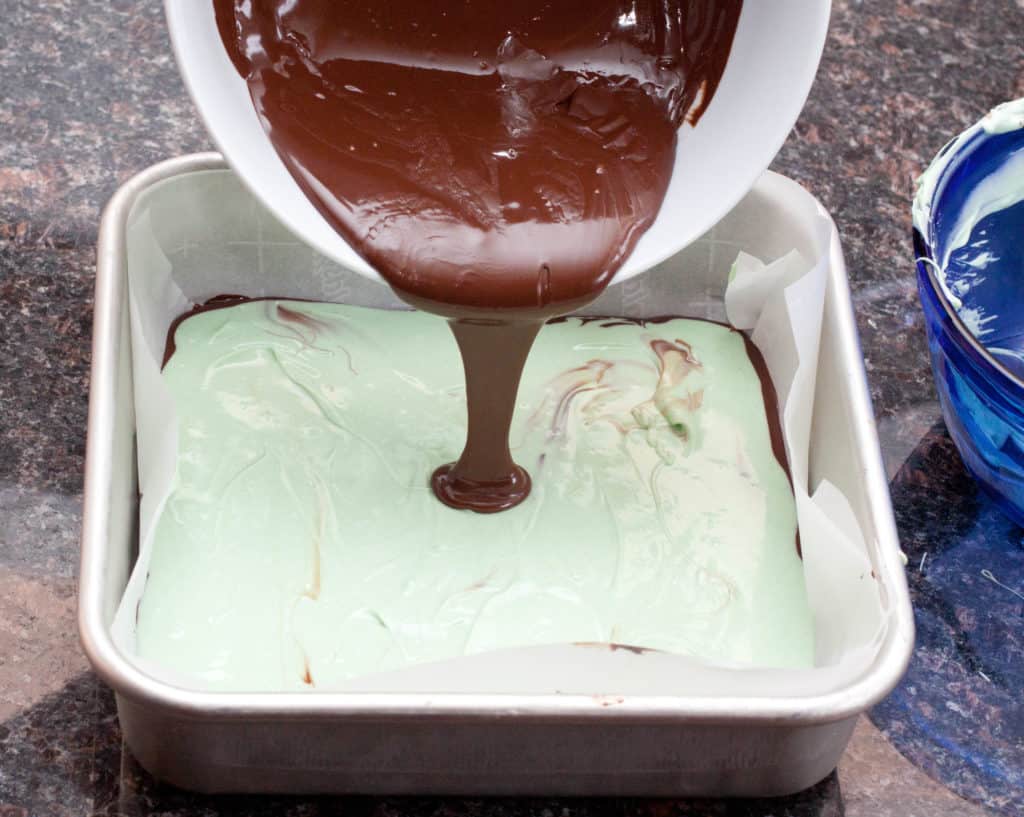
After 2 minutes of adding the middle layer, I took the final bowl of chocolate out of the oven, mixed in the peppermint extract, and then poured it on top. Left to cool (not in the fridge) and you're good to go!

Fourth Step: Adding the third and final layer was the same process as above and then let it all set.
You definitely want a good spatula for this:
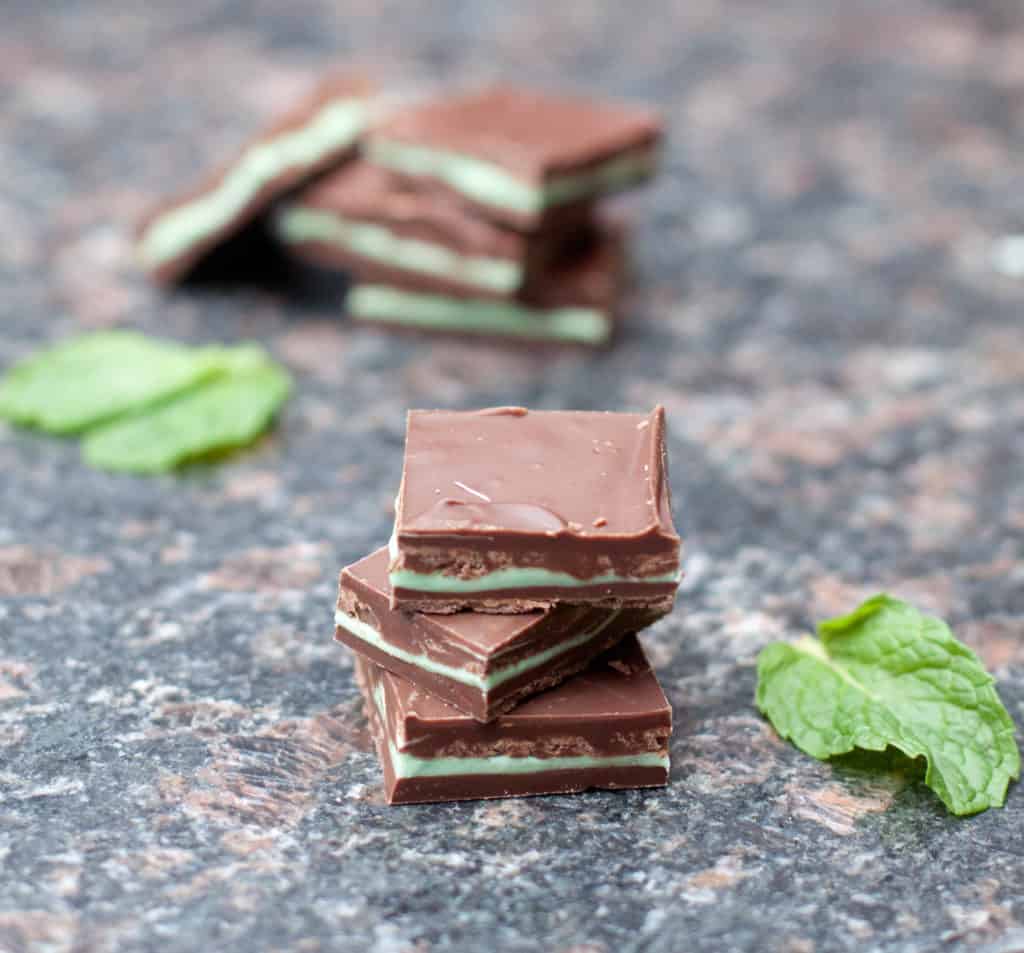
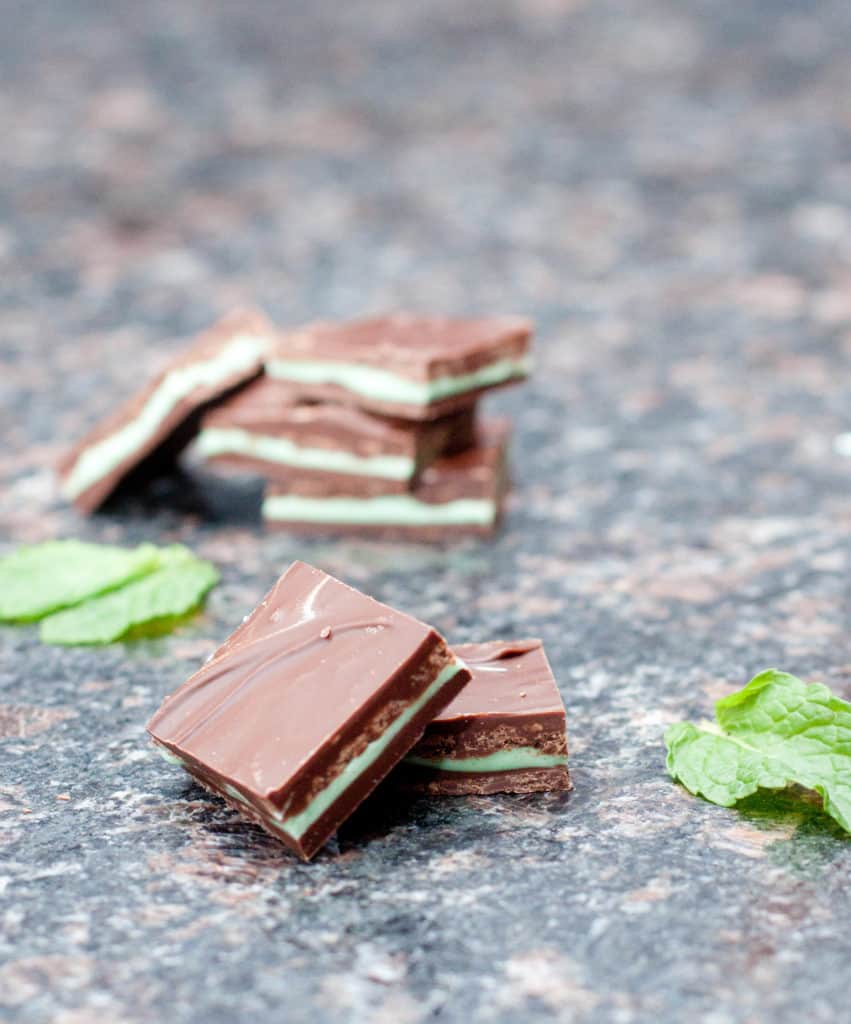
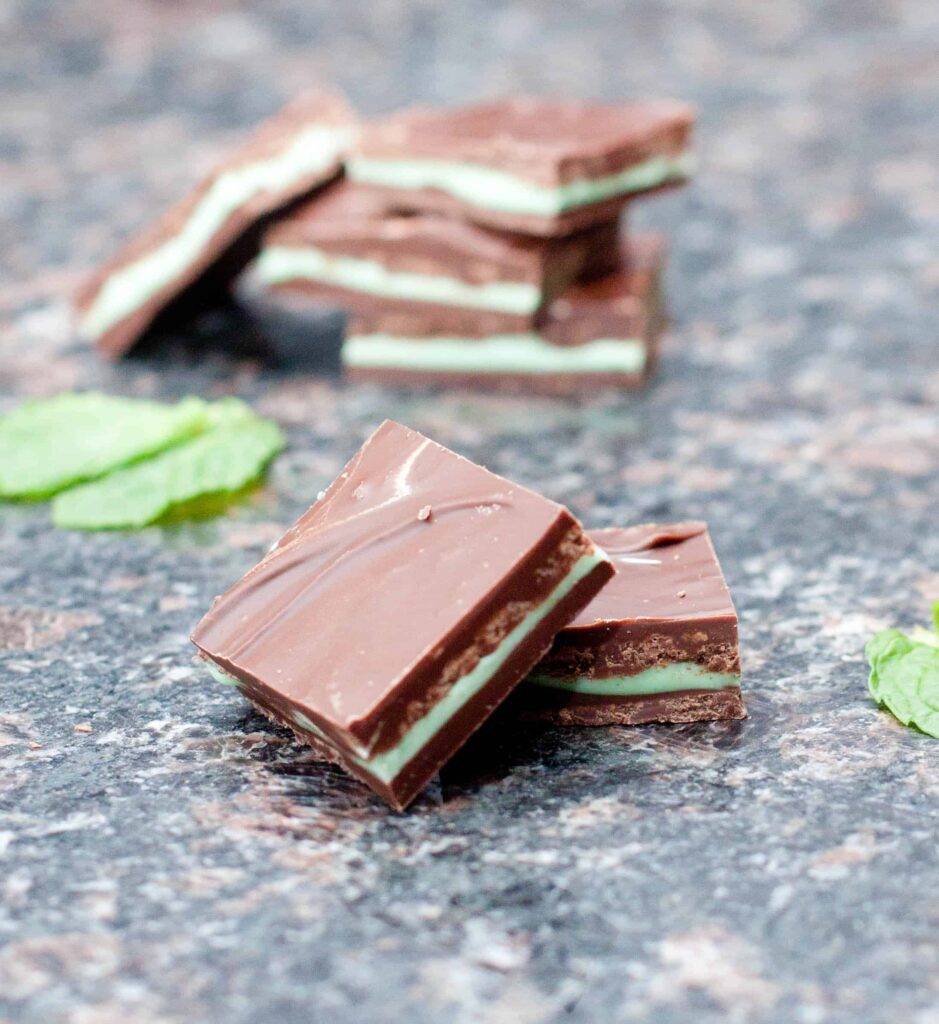
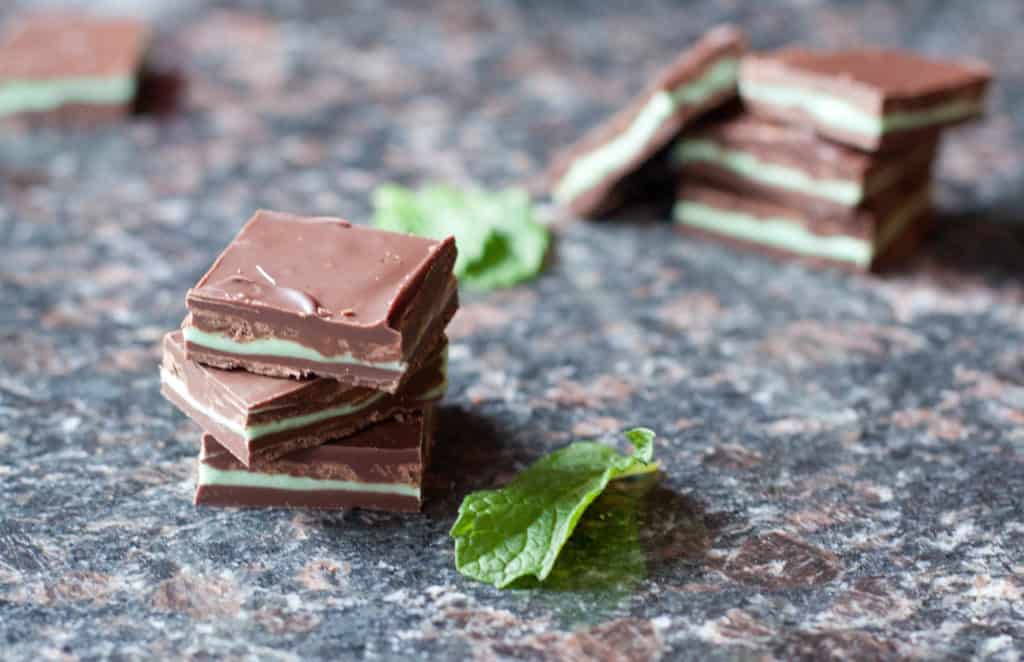
The layering may not be perfect, but the taste nearly is!
Our Other Favorite Candies
Copycat Butterfinger Candy Bites
Corn Syrup Free Peanut Brittle
I love these for one of my favorite, and easiest cookie, Andes Stuffed Sugar Cookies!
Or, if you just want to eat them on their own (like I did working at an Italian(ish) Chain Restaurant in my early 20s... get it. These are GOOD. And one of my favorite homemade candies to make!
Enjoy! As always, if you make this recipe or any of my others, I love to hear what you think! Leave a comment below, email me, or you can find me on Facebook, Instagram, and Pinterest!
If you want to see more, be sure to sign up for my 5 Easy Ways to Start Cooking From Scratch!
Equipment
Ingredients
- 12 oz dark chocolate chips - divided or milk or semi, whatever you'd like!
- 7 oz white chocolate chips or vanilla candy melts
- 3/4 teaspoon pure peppermint extract - divided
- 4 drops of green food coloring
Instructions
- Pre-heat oven to 200 degrees and then set to warm.*
- In 3 small to medium oven safe bowls, add 6 oz of each of the chocolate chips and the 7 oz of white chocolate chips to separate bowls and place in oven.
- Line either a small jelly roll pan or a 9X9 baking dish with parchment paper. Cut the four corners of the parchment paper to line pan or dish evenly and trim to fit.
- After about 15-20 minutes, remove one of the chocolate bowls, add 1/4 teaspoon of peppermint extract, and mix well.
- Pour into dish and smooth to an even layer.
- After 2 minutes, or before the chocolate layer cools and goes matte take out white chocolate bowl, add 1/4 teaspoon of peppermint oil and 4 drops of food coloring and mix well.
- Gently pour white chocolate over the first layer and smooth evenly with a spatula over the chocolate layer, careful to not mix the two layers.
- Wait another 2 minutes an then take the final bowl out of the oven and then mix with last 1/4 teaspoon of peppermint oil and gently pour over middle layer and evenly smooth out.
- Let cool at room temperature until the top of the last chocolate layer completely turns from glossy to matte.
- Remove parchment paper from pan to a cutting board, and with a very sharp knife, cut into long strips and squares or rectangles of desired size.
- Enjoy!


Hello Tracy, I made your Andes Mint recipe.. Tasted great.. One question.. I found that the edges were cooling at a different rate then the center so it was hard to figure out exactly when to add the next layer. Either to early or to late.. Obviously the center would seem to be thicker than the edges but when done and cut into squares there was not that much difference in Thickness. How would you suggest to work around this ??
Thank You!!
Hi Sylvia! Hmm yes you do want to make sure that you don't mix the layers, but you also don't want them to set TOO much on their own because they'll be separate bars. As long as the center isn't still melty gooey so that the next layer wont mix, you'll be good!
These taste JUST like the ones my mom used to make and I had failed with about six other recipes. Thank you! A keeper!
Hi Rachel! I'm so happy to hear that! Thank you so much for sharing!
Hi! I am making these today! Do all three layers need peppermint extract? I was thinking to just do the middle layer since I don’t have as much extract needed. Thank you!
Of course! They won’t have as strong a mint flavor, but will still be good! Enjoy!
Can these be made with Creme de Menthe Syrup? It's not an extract, it's a green mint syrup.
These look so good. Love to add it to my Christmas Hamper. Great Idea for Gifting Hampers.
Great idea!
Love the chocolate mint combo! These look delicious!
It's a classic combo!
Thead look so good. I know my niece and nephews would love these candies.
They make great gifts!