Smoked Turkey
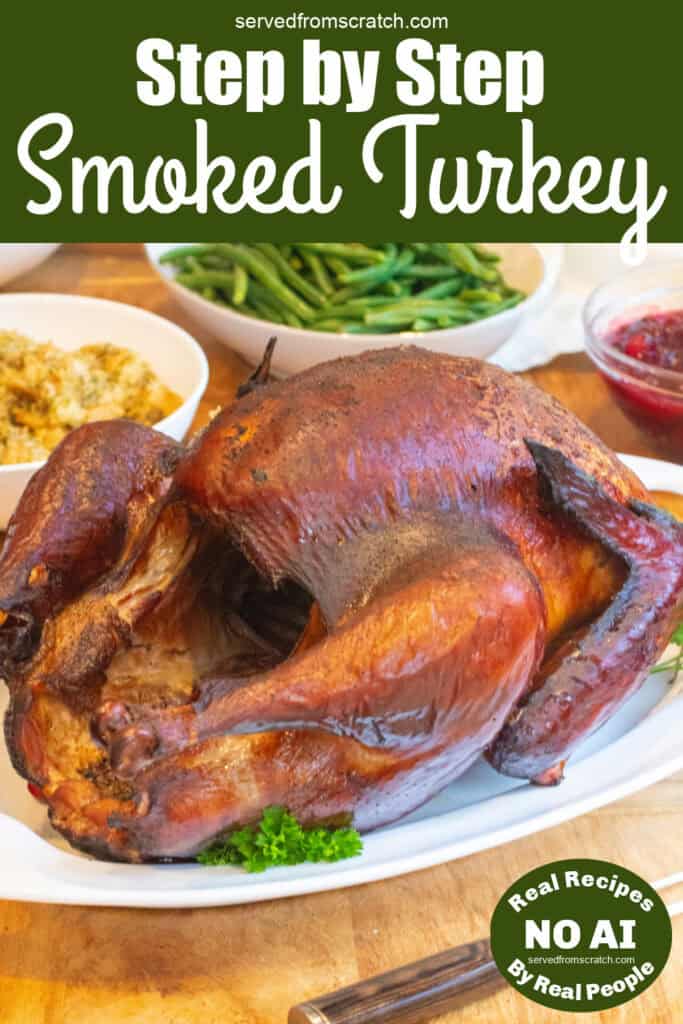
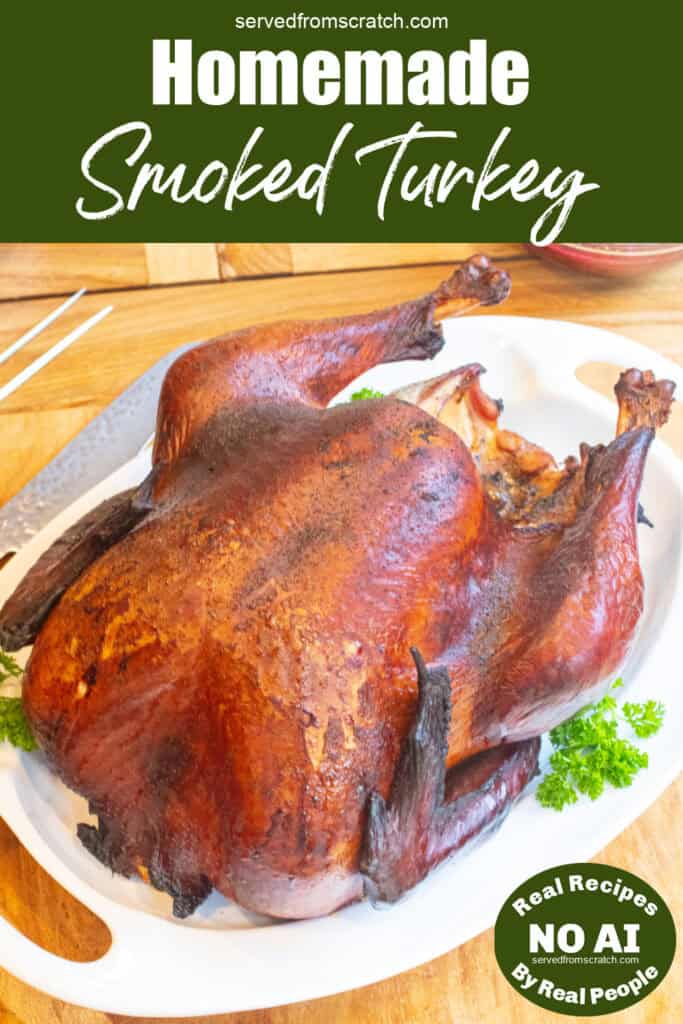
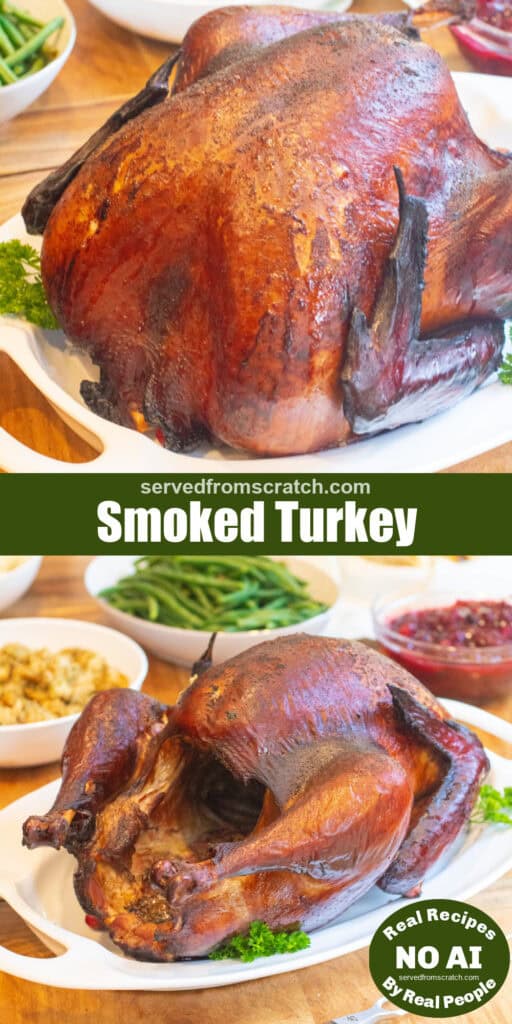
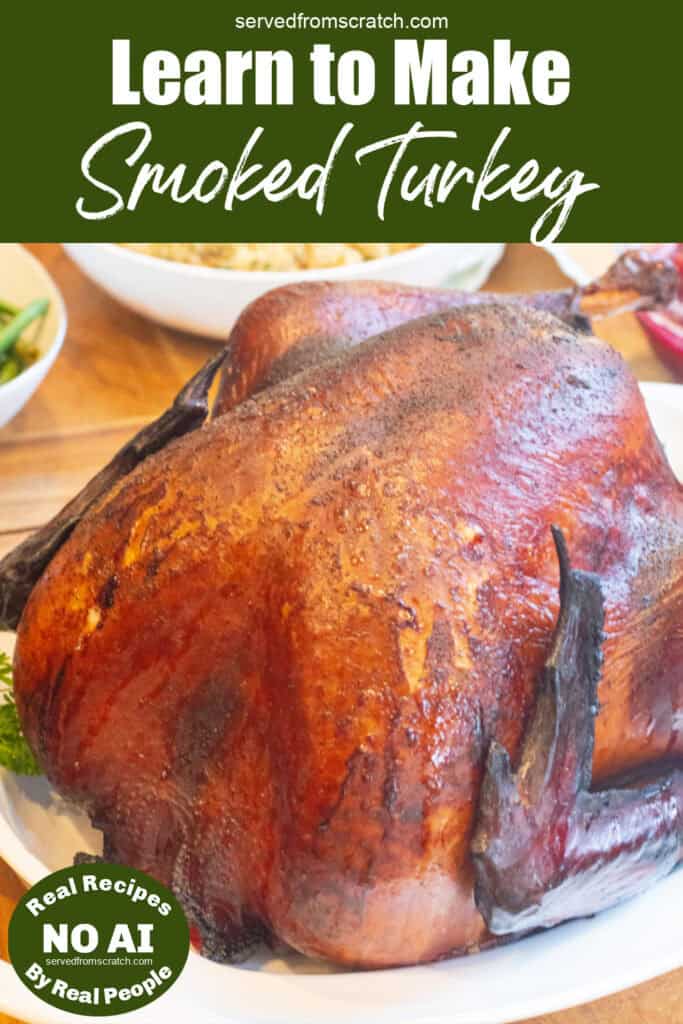
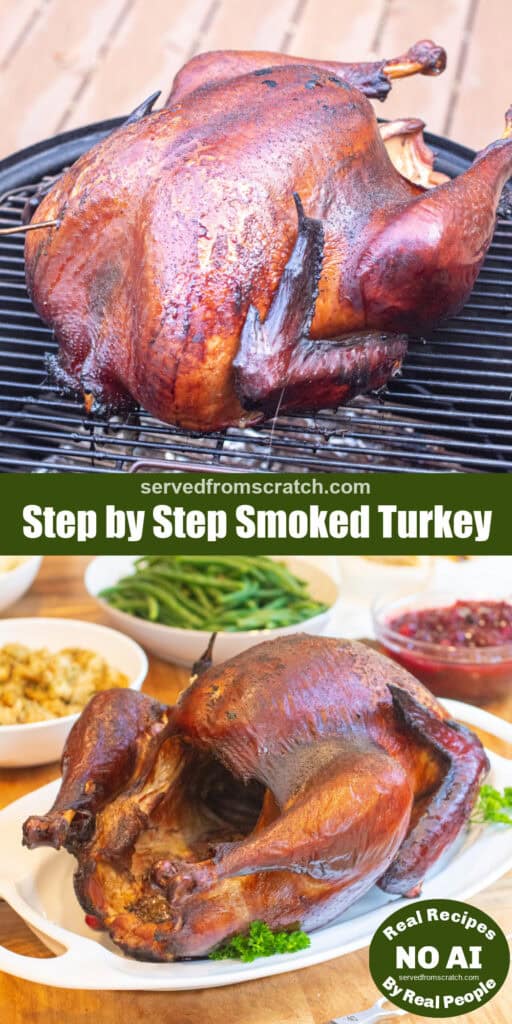
Save precious oven space and learn how to make Smoked Turkey for your holiday meal! Our recipe breaks down every single step, tool, and method to make the most flavorful, perfectly cooked turkey in your smoker!
Be sure to save leftovers for our White Bean Leftover Turkey Chili!
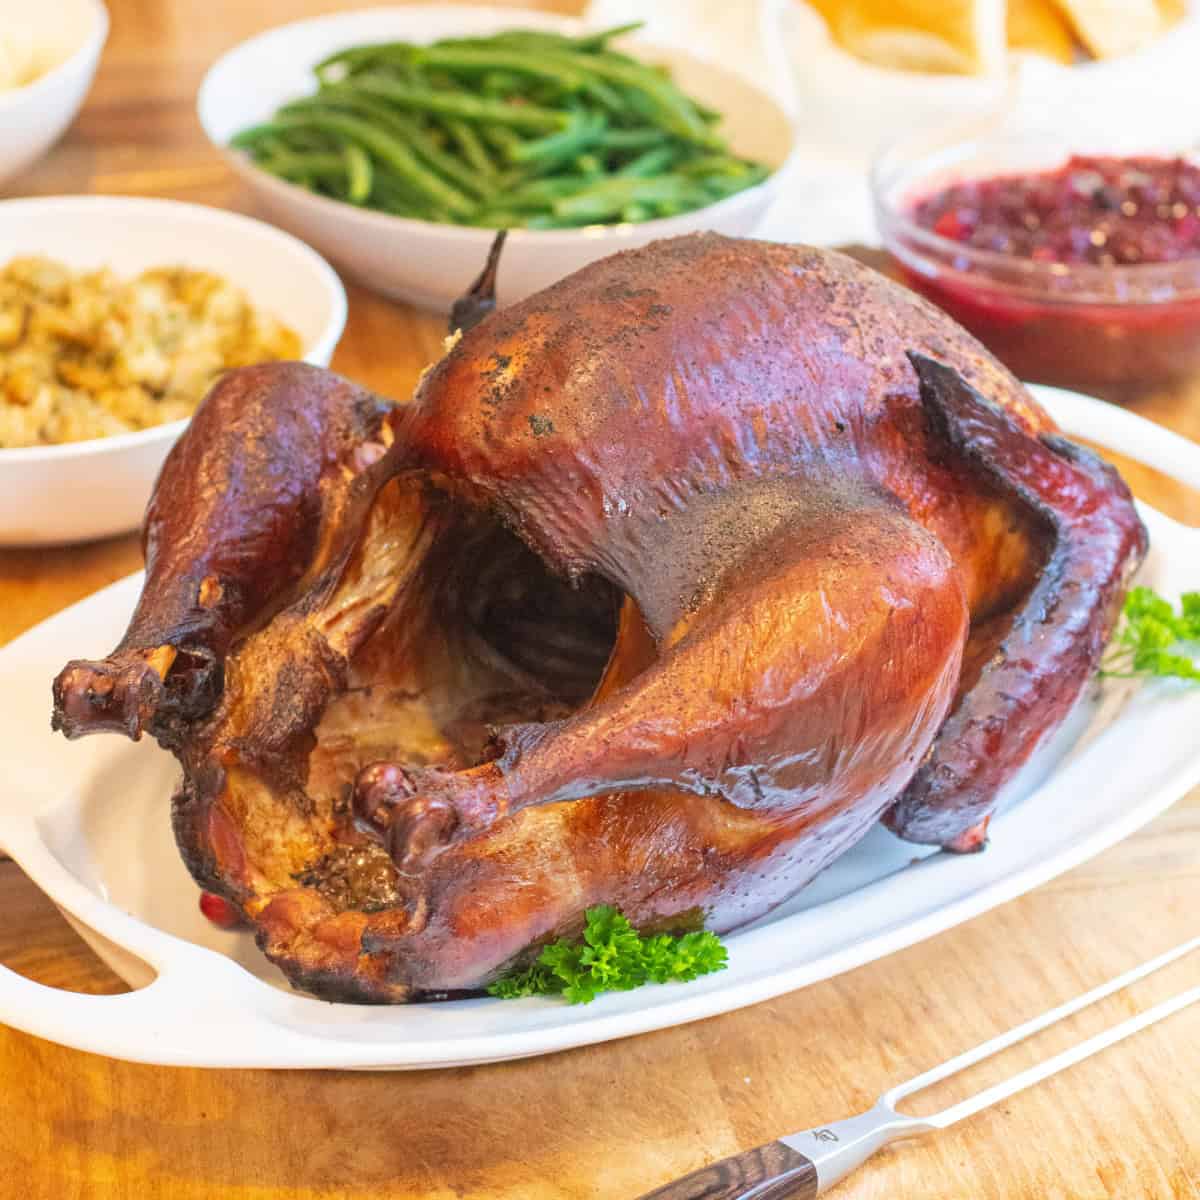
It’s our go-to holiday turkey recipe, finally ready to be shared! The smoker is my husband’s domain, and he has been working on his Smoked Turkey recipe for years. He’s nailed down every detail and step so you can make your own absolutely delicious, flavorful smoked turkey! If you’ve always wanted to try to smoke your own turkey, or have been ready to try a new method for an even more delicious bird, this recipe is for you!
Ingredients Needed
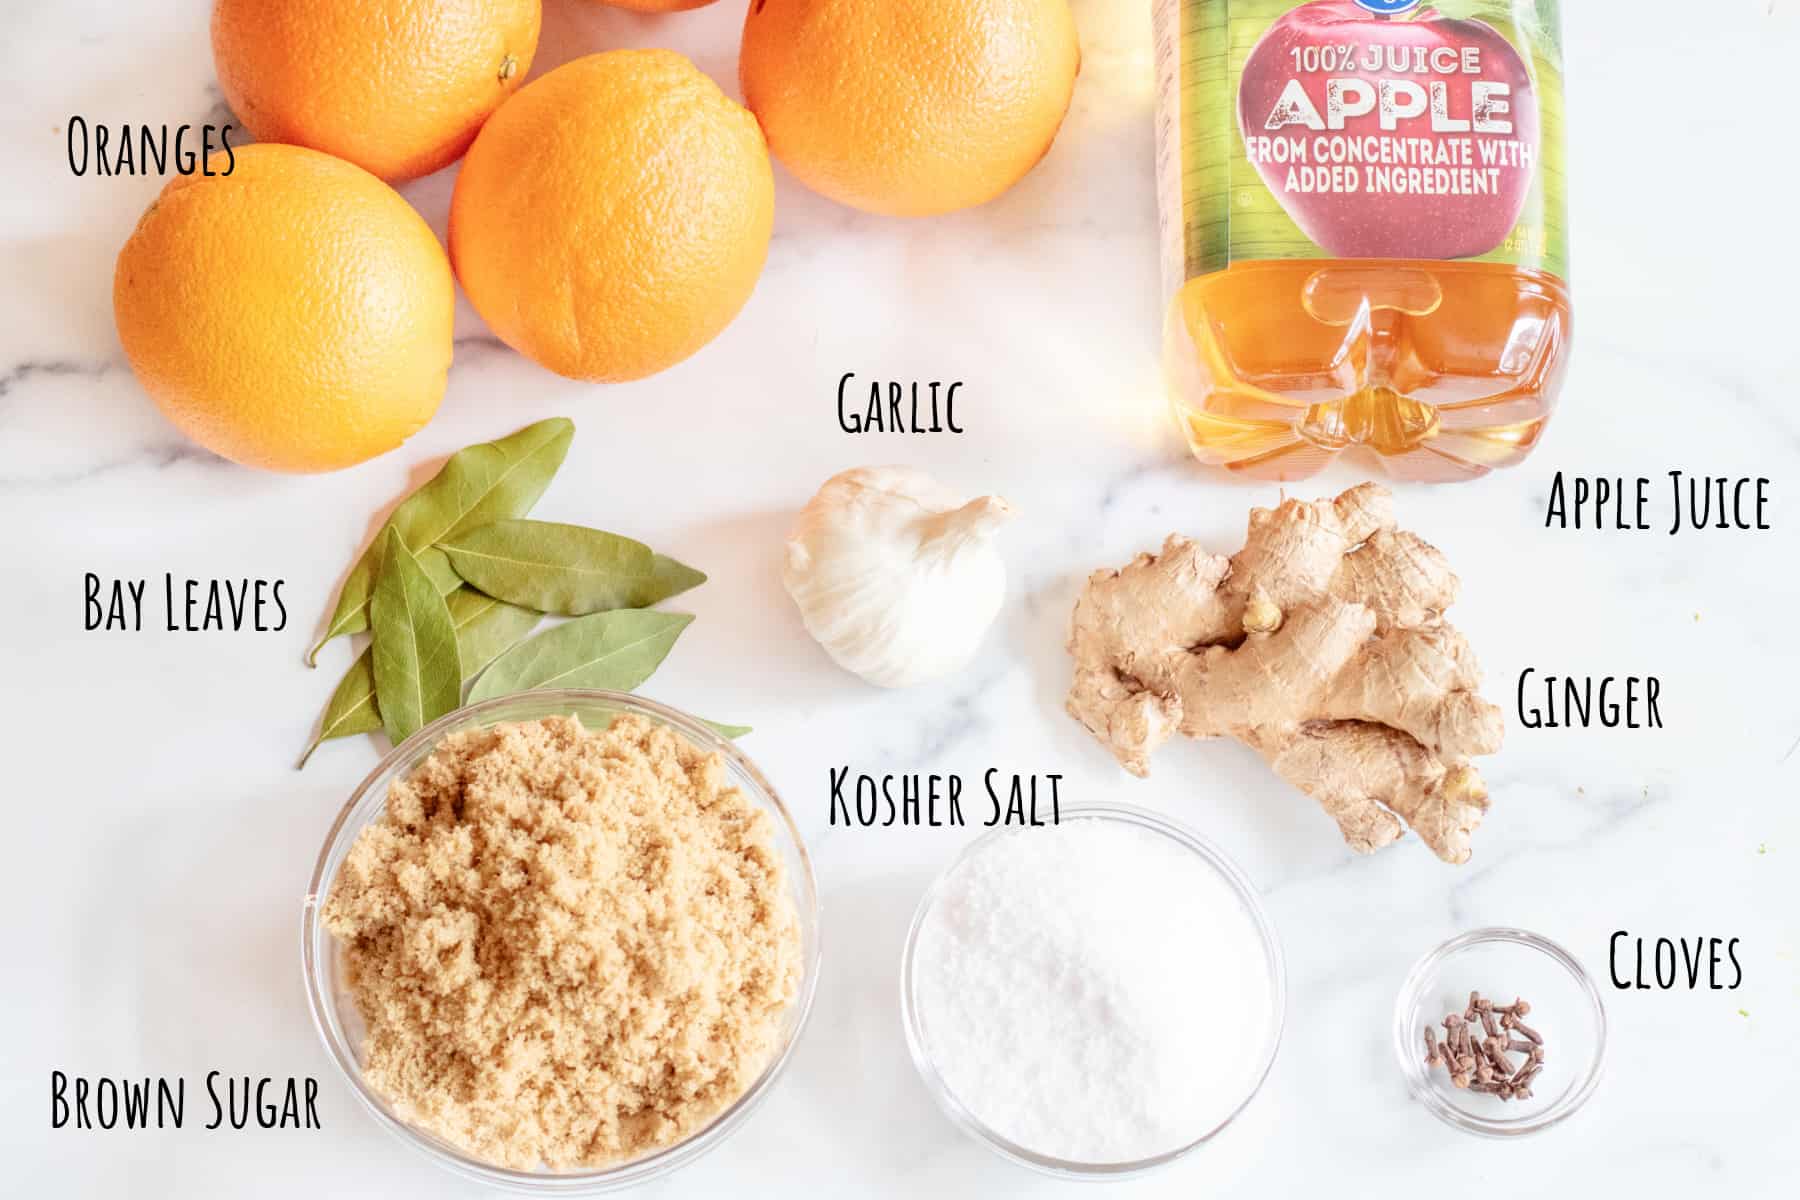
- Oranges and Apple Juice – The sugars from the juice add flavor, promote browning and caramelization, and balance the saltiness.
- Brown Sugar – To add sweetness to help balance the saltiness of the brine.
- Kosher Salt – A key component of a good brine!
- Garlic, Ginger, and Whole Cloves – Fresh and sliced garlic and ginger and whole cloves add savory and warm aromas and flavors to the turkey!
- Bay Leaves – The earthiness of the bay leaves complements and balances the sugar and salt of the brine.
What is a Brine?
A brine is a salt-based method of locking in moisture and imparting flavor. Brines can be either wet or dry. Wet brines, like the one used for this turkey and often other poultry, typically require a brining period of 4-24 hours. Dry brines are often rubs that are applied to the outside of the meat and have a 30-minute to 2-hour application before cooking. The salt initially draws moisture out, but when salts begin to absorb into the fibers, they bring moisture back in and hold onto it and are less likely to release it during the cooking process. We use a Wet Brine for our Smoked Turkey because wet brines are generally best used when cooking leaner meats (like turkey) that are more likely to dry out during cooking.
Why Brine?
Salt Brining is better for moisture retention because the salt works to hold the moisture in and is a more natural process than alternatives like broth injections.
Equipment Needed
(Amazon affiliate links)- You can find all of my kitchen essentials here!
Food-Grade Bucket – Necessary to brine your bird! This will allow all the space you need for up to a 20 lb turkey. A bucket with a screw-top lid is preferred. You can also use a cooler or a stockpot (if your pot is big enough and your bird is small enough!)
6-quart stockpot – 6 quarts at least to be sure it fits all of your apple juice for the brine.
Smoker – We have and love the Weber Smokey Mountain 18″ but you can also make this Smoked Turkey in your Traeger, Smokey Joe, or Big Green Egg. Any smoker will work or this can all be done in a large Weber grill, but instead of building charcoal and wood in our described method, you would use a snake method or a gas grill with a smoker box.
Wood Chunks– We use wood chunks instead of chips because chunks offer a longer period of smoke and therefore consistency in cooking. Wood chunks also require fewer pieces of wood, less maintenance, and less effort to keep the turkey in smoke because chips tend to burn off faster. For this recipe, we use Apple Chunks as they offer a slightly sweeter smoke that complements the brine and doesn’t overpower it. Cherry would also work. We advise against Pecan, Oak, and hickory, as they will likely overpower the flavors built in your brine.
Charcoal – Do NOT use self-starting charcoal. It will ruin your meat, as the flavors of the starter in those briquettes are slowly released into the smoker. We use Kingsford Blue because there are no additives; it burns predictably and cleanly, and therefore offers a consistent result that is most reflective of your brine and wood choices. We love a Charcoal Starter to help with this process!
ThermoWorks Signals BBQ – This unit is very helpful and has target-based alarms so you can make sure to pull your food off when it’s ready and apply corrections to the smoker to ensure your temps are as consistent as can be. If you don’t use this kind of unit, you will need another meat thermometer to monitor the temperature of your turkey. Our go-to is our Instant Read Thermometer.
ThermoWorks Billows– This fan tool will allow you to more easily control the internal temp of the smoker by controlling airflow inside the smoker without having to adjust vent openings. You can set your target temp with the ThermoWorks Signals BBQ, and it will run a fan as needed to control the airflow. Not required, of course, but if you have the means and do a lot of smoking, this is well worth the money as it gives you more freedom and reassurance knowing that the temperature and airflow will be controlled regardless of the weather conditions and time of day. With it, you will need some high-temperature tape for the vent holes, but the Billows unit does come with some.
Roasting Pan with Rack – This will be needed when the turkey is done brining and will need to dry out. You can use a large baking tray with a rack, too, but a roasting pan with handles is much easier to carry and move.
Other Considerations
Time: Smoked Turkey takes time! Trust us, it is worth the effort, but it is also not something you can decide you want to take on the day before Thanksgiving. Not only do you need time to defrost your turkey (usually about 5 days in the fridge), but then it’s another 24 hrs of brining/drying time and about 10 hrs of smoking time.
Space: You’ll need the space to put a 5-gallon bucket in a fridge, unless you live somewhere that stays consistently below 36 degrees F (but not too far below freezing). This, of course, takes up a considerable amount of space; it’s best if you are fortunate enough to have an additional garage fridge.
Temperature: This is extremely important. Not only for the temperature of the turkey when it’s fully cooked (165°F), but also important – and vital to food safety – while brining, drying, and how quickly the turkey is cooked while on the smoker. It’s crucial that during the brining and drying of the raw turkey, the temperature never goes below 40°F, and it’s also important that within the first 4 hrs of smoking, the turkey gets above 225°F.
Step-by-Step Instructions
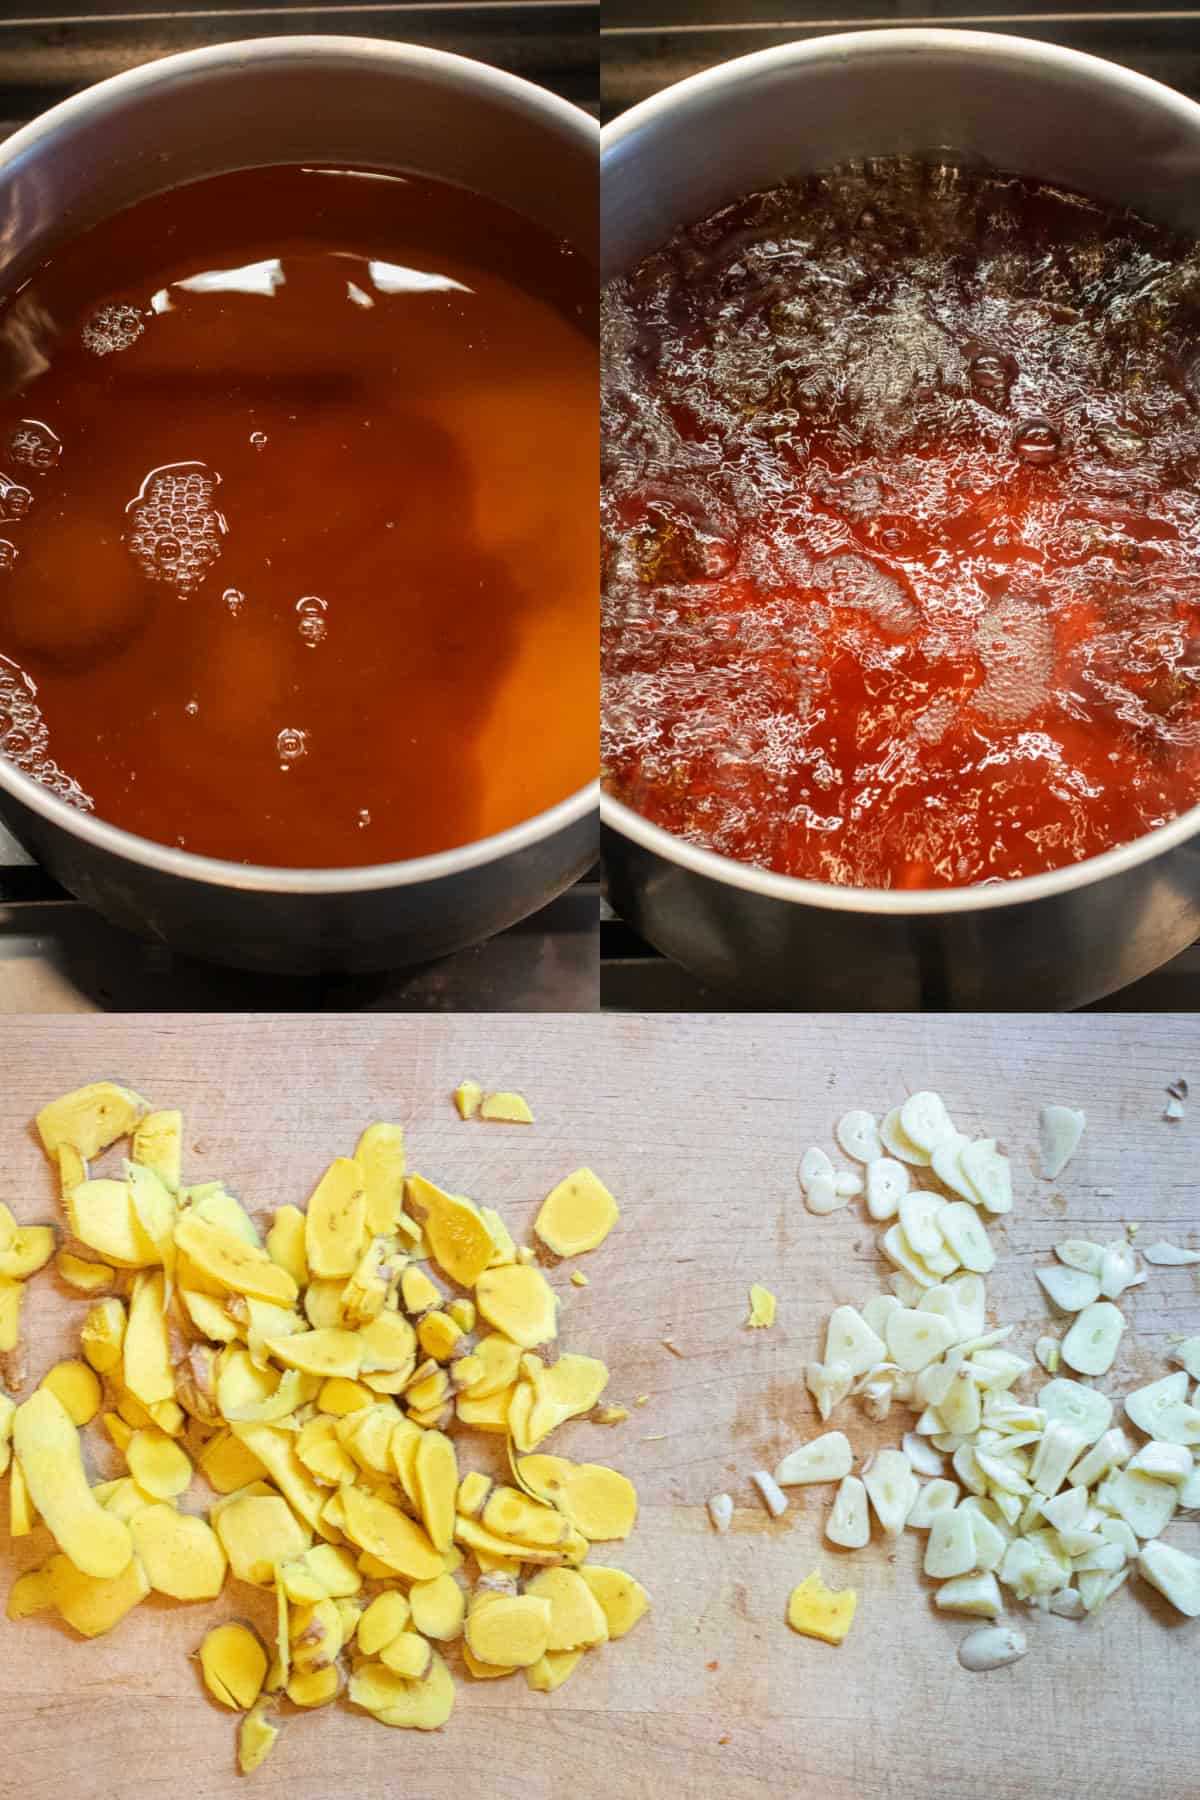
Make the Brine
Add juice and sugar together in a large stock pot and bring it to a boil. Meanwhile, slice the ginger and garlic. Slicing the garlic and ginger allows for better infusion of flavor. Let the juice and sugar cool almost completely before assembling, as it is unsafe to add hot liquid to raw turkey as a brine because it can cause bacterial growth.
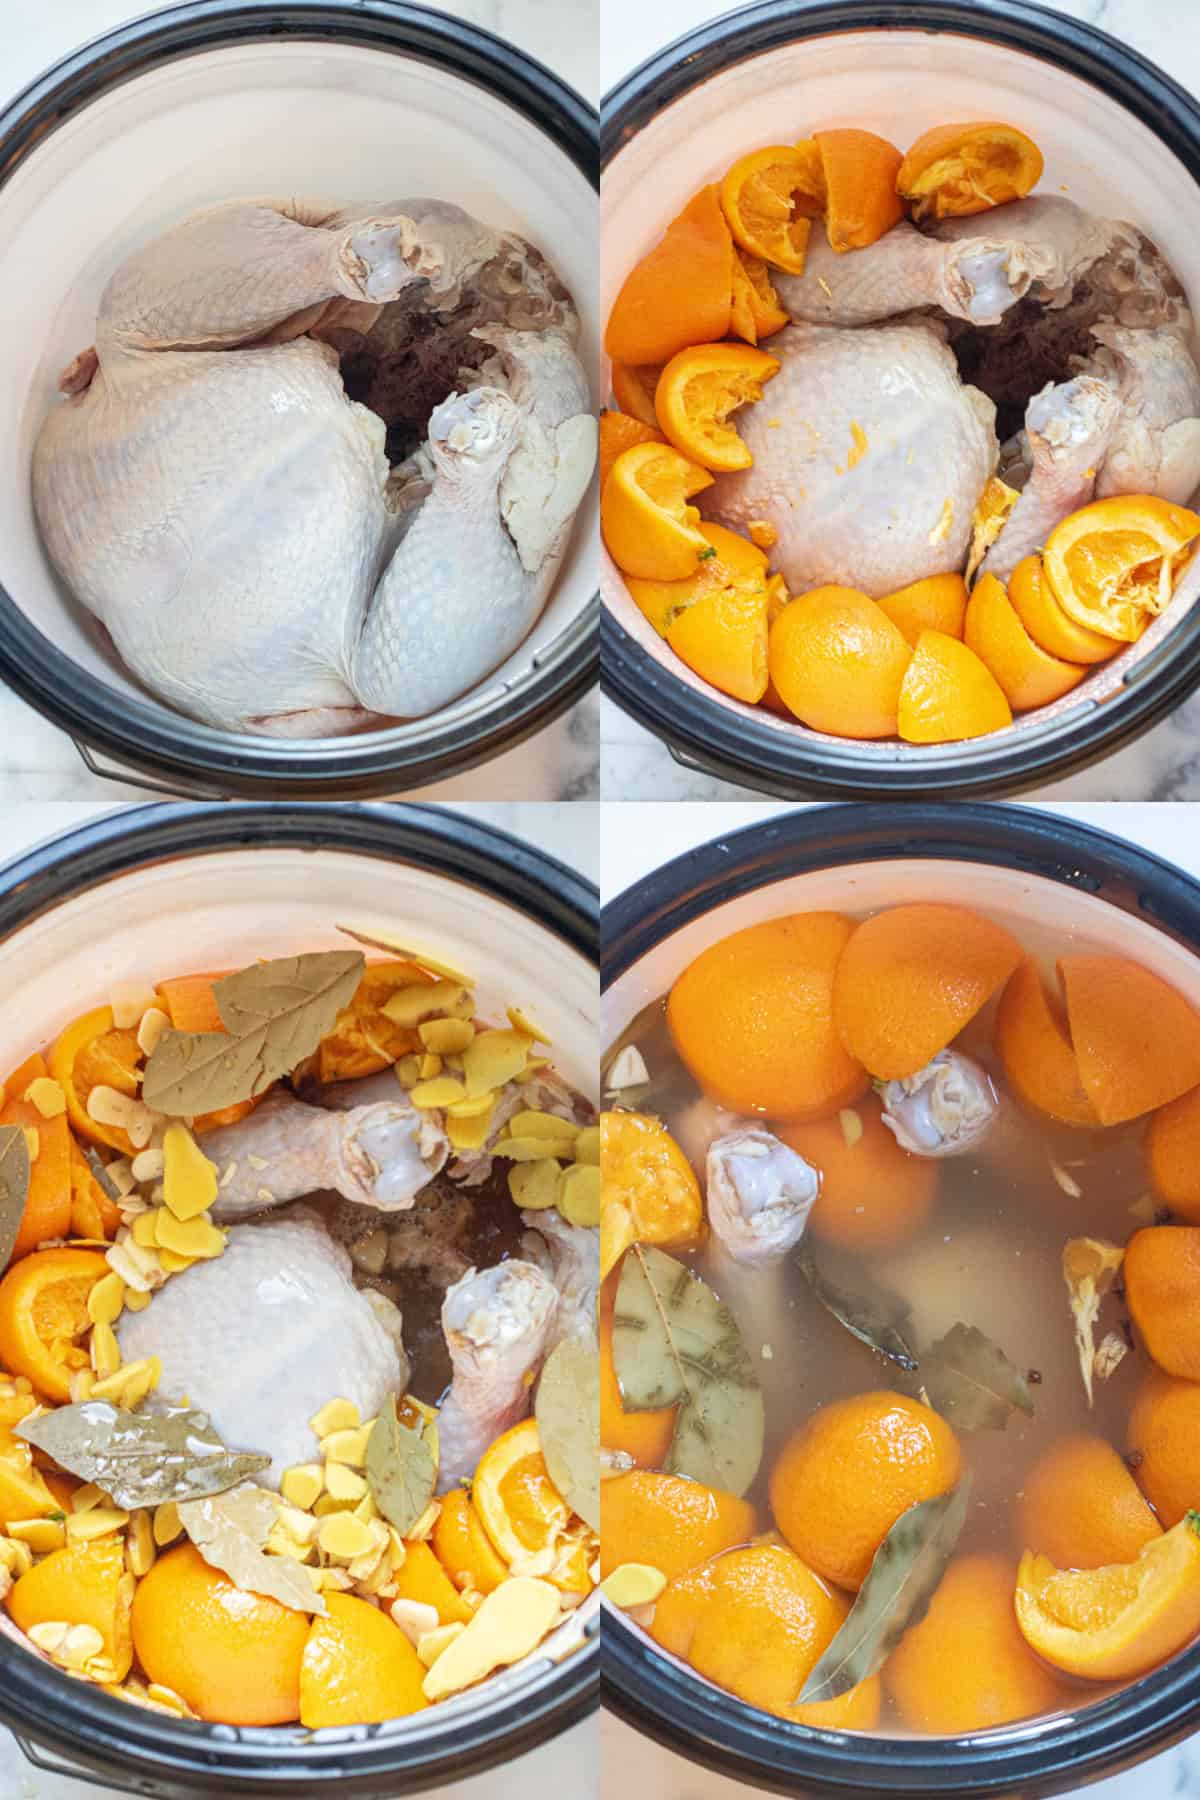
Brine!
Once the juice and sugar are cool, it is ready to brine the bird. Add the bird to your food-grade bucket, legs up, and then squeeze the orange quarters onto the turkey and drop the rinds right in. Add the ginger, garlic, cloves, and bay leaves, and then (very gently; be careful/aware of splashback) add the cooled apple juice. Top it all off with cold water before sealing and placing in the fridge.
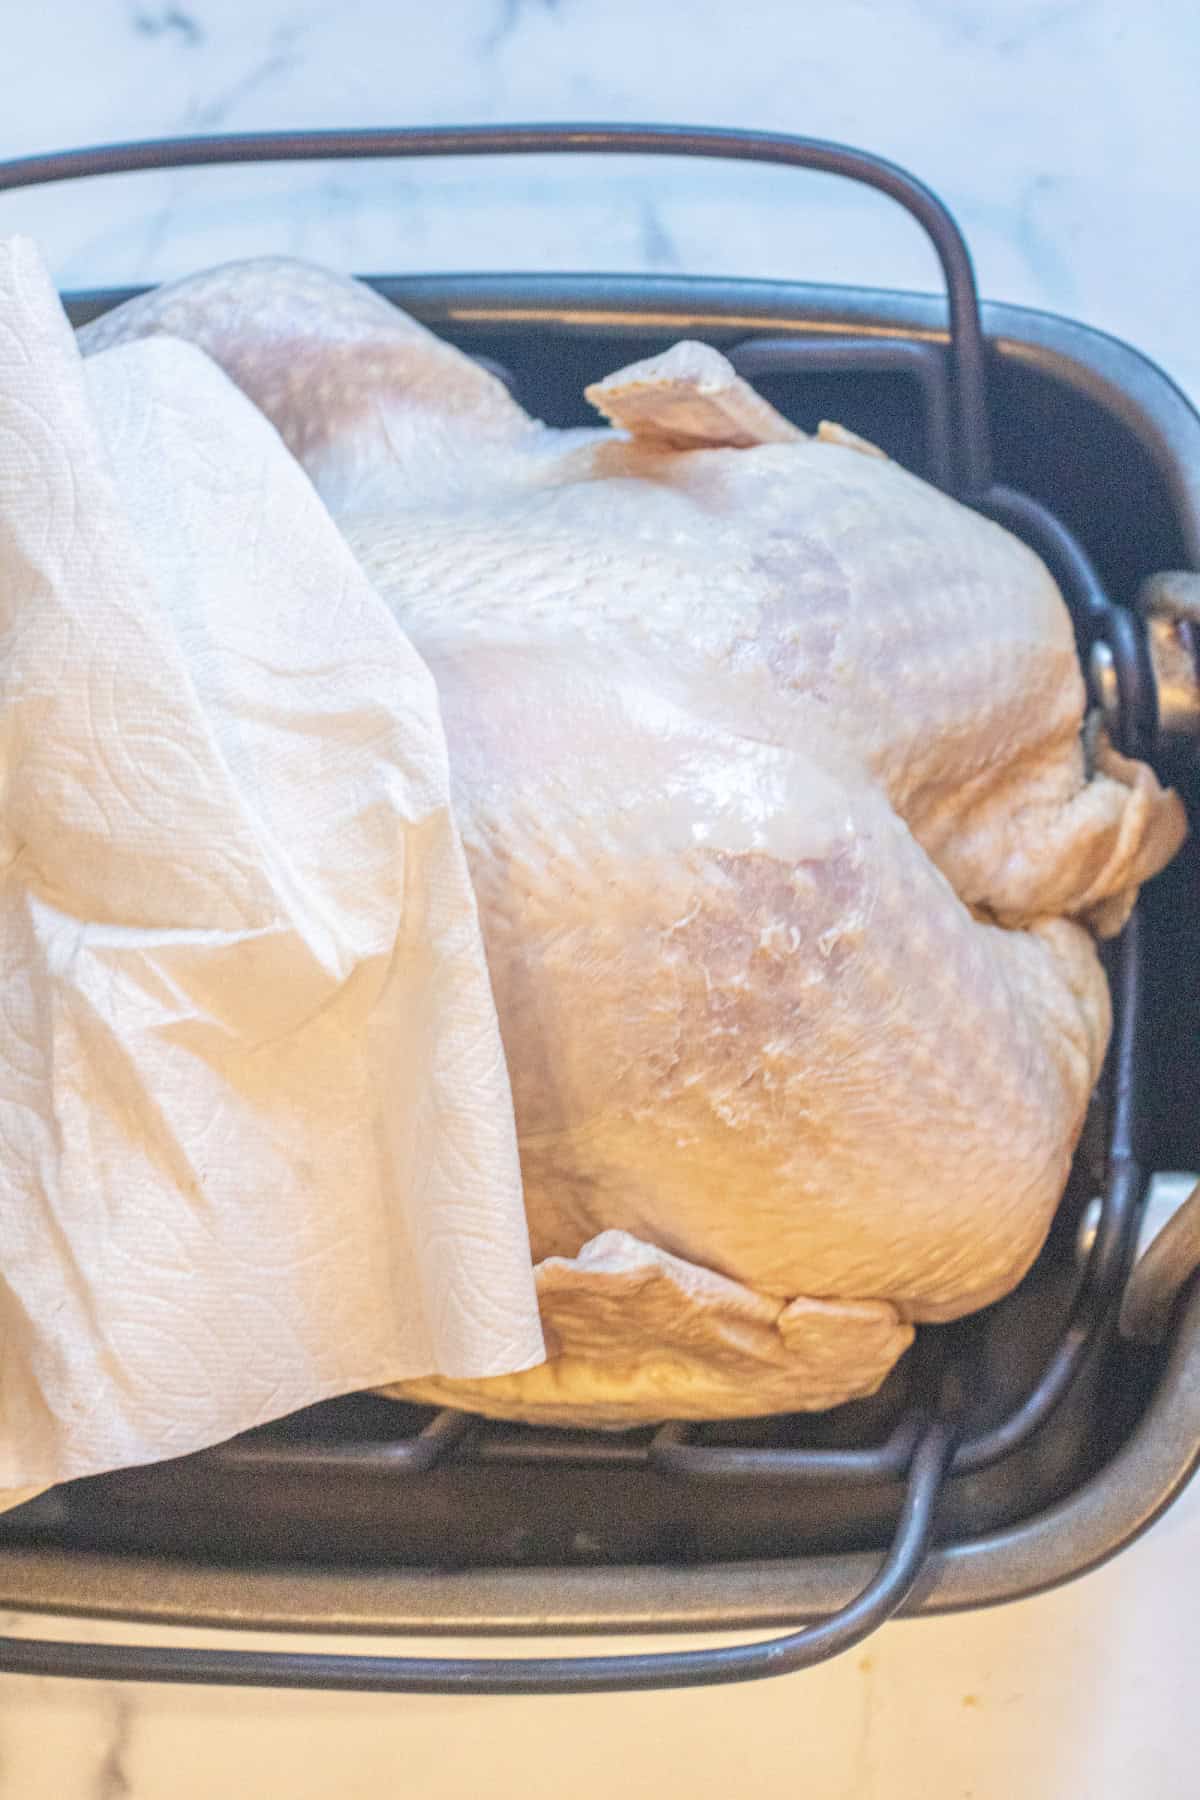
Dry
After the 12 hr brine, gently remove the bird from the bucket and place it on a roasting pan with a rack. Pat it dry to allow the bird to air-dry (uncovered on the bottom rack) in the fridge for 12-24 more hours to dry.
Why Dry?
Drying the turkey after the wet brine helps in a few ways:
1. Improves heat transfer: This promotes more even cooking.
2. Crispy Skin: Ensures a super crispy skin!
3. Color: It promotes a better Maillard reaction and caramelization of the skin for that beautiful deep brown color.
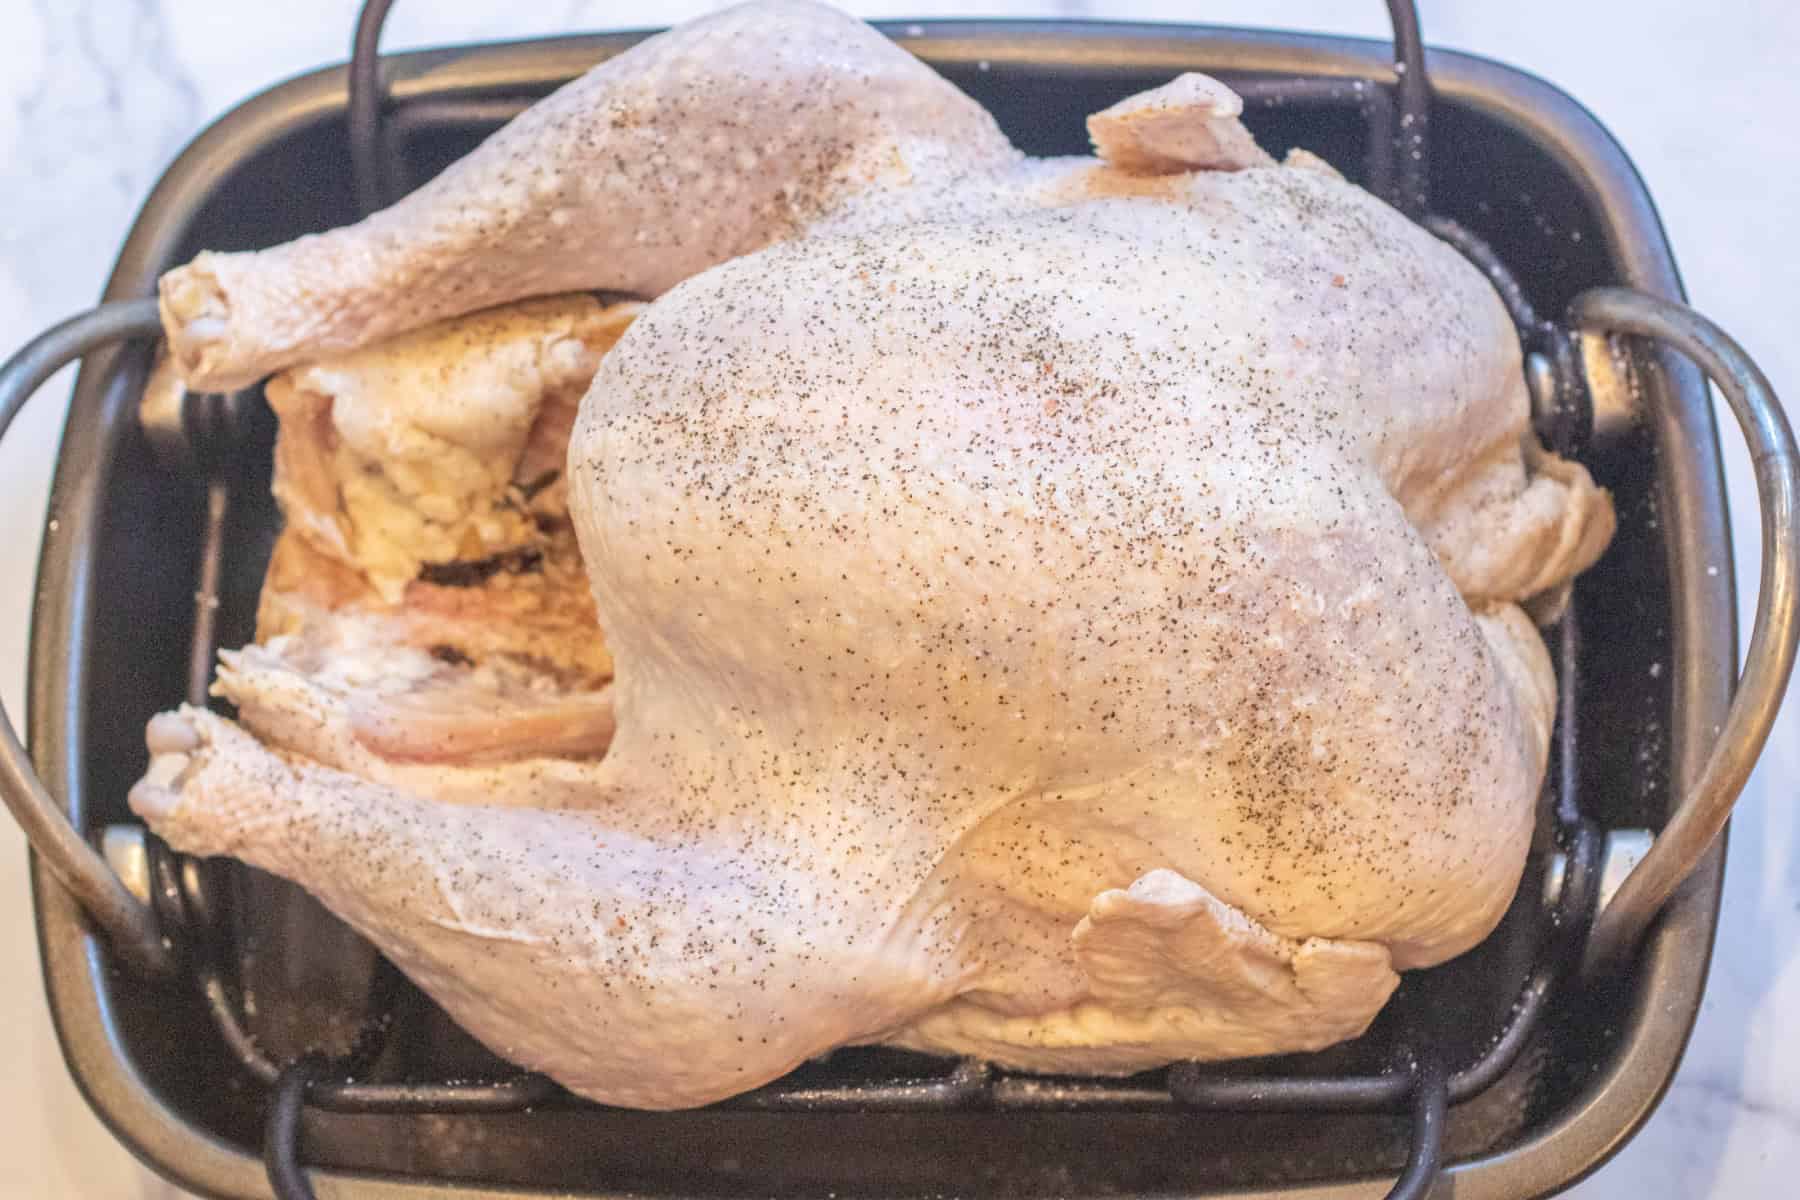
Once dry, season it with salt and pepper, and you’re ready to go.
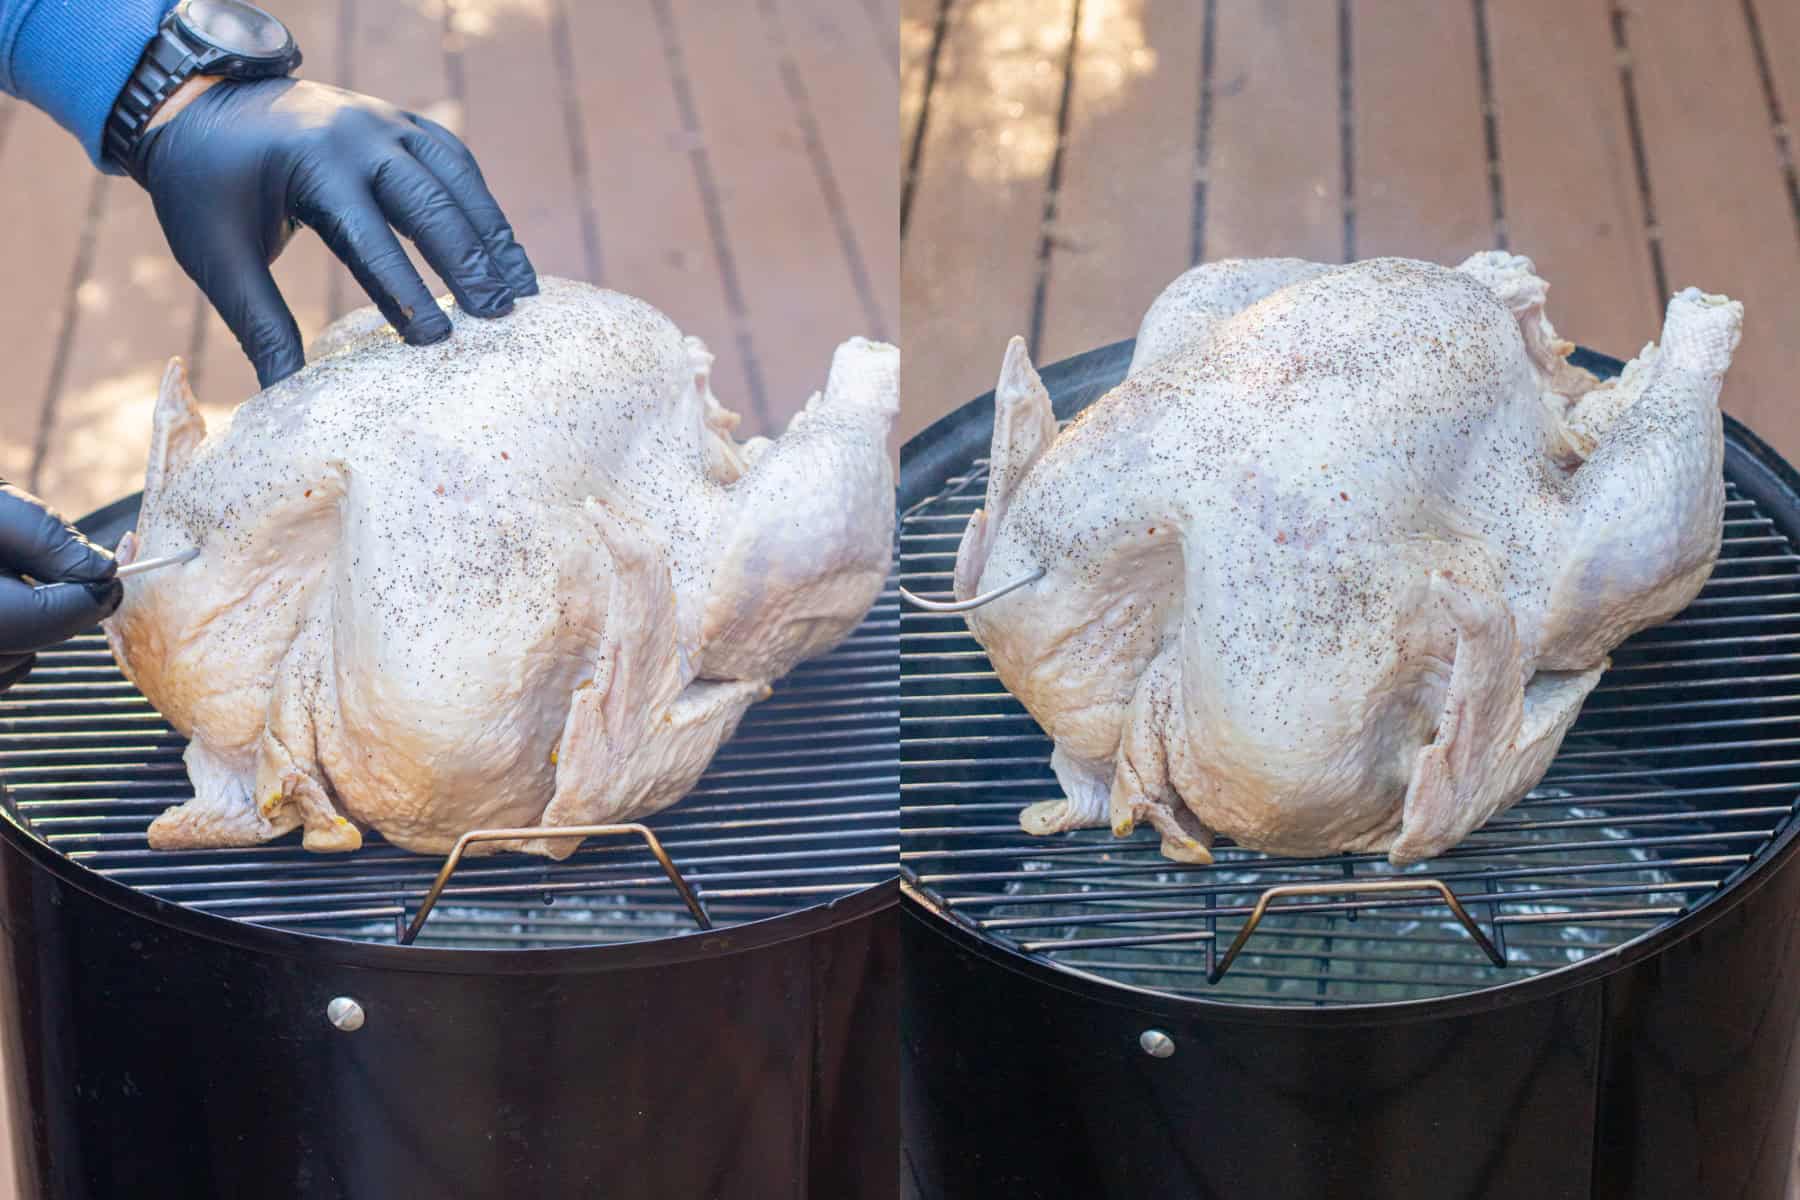
Smoke!
Once your smoker is ready, it’s time to add your beautifully brined and seasoned turkey to it to be cooked.
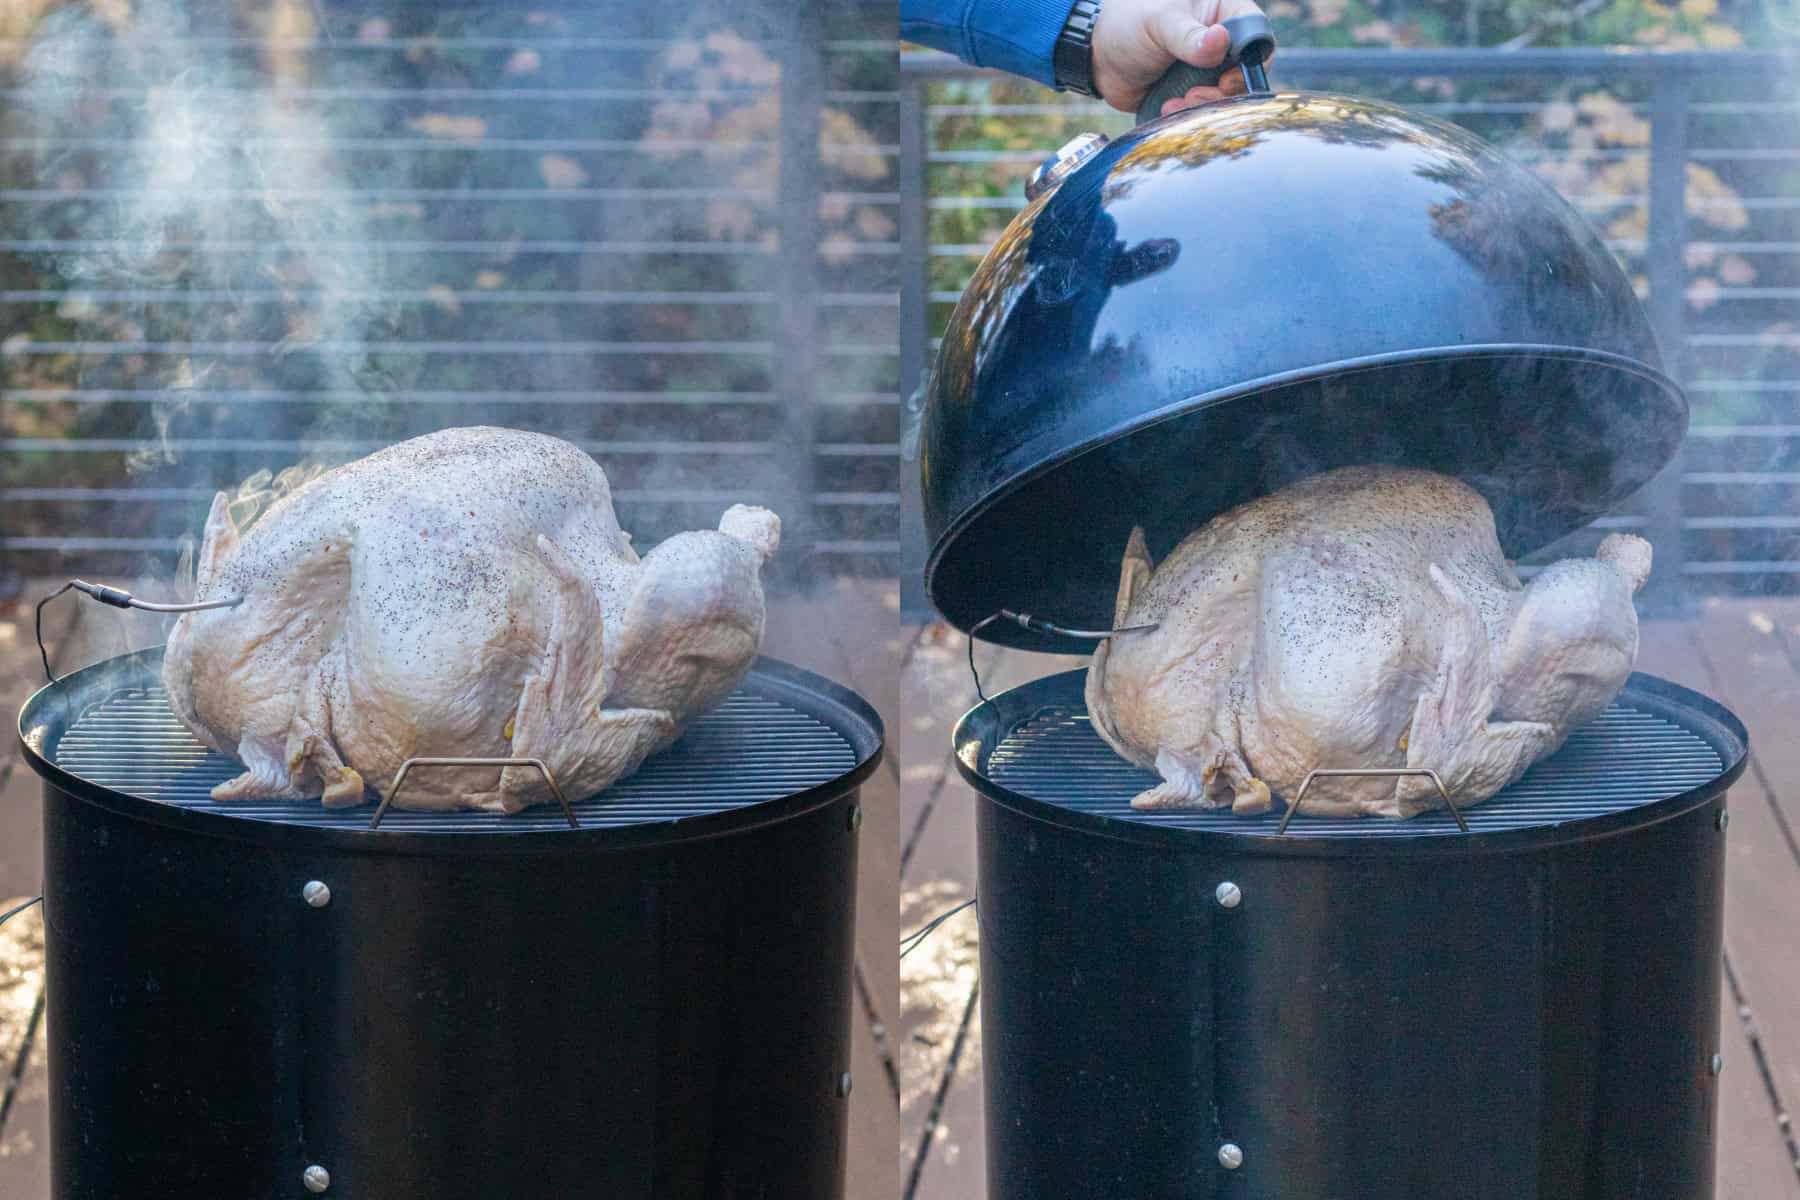
Cover it and let it do its thing!
Smoking Temps
*For a moister bird (and our preference), the smoker temp should be kept at 225℉, and the bird will cook for about 30 – 40 min per pound.
*For a slightly crispier skin but slightly drier meat, keep the smoker temp at 275℉ and cook for about 20 -30 min per pound.
*For the quickest cook, crispiest skin, but a much drier bird, keep the smoker temp at 325℉ and cook for about 15 – 25 min per point
Important Safety Considerations
Stuffing any meat that goes on to a smoker greatly increases your risk of Salmonella. The stuffing will act like a sponge for all of the raw juice from the turkey, and therefore you would need to make sure that the stuffing was fully cooked to 165℉ as well. Plus, the stuffing works as an insulator and will greatly affect your cooking times/evenness/consistency. Instead, make our Holiday Dressing From Scratch or our Copycat Boxed Stuffing Mix From Scratch!
Be sure to let the boiled part of the brine cool completely before adding it to the turkey. Not letting it cool can potentially cause the growth of bacteria in your brine bucket.
From brine to smoke, maintaining proper temperature is vital for food safety at all stages of this process. While the bird brines, it must be kept below 40℉, whether by refrigeration or ice packs. While cooking, it’s important that the temperature of the turkey does not stay between 40℉ and 224℉ for more than 4 hrs.
It is very important to be aware of splashback when you’re adding the brine to the bucket with the raw turkey. To prevent splashback, pour the liquids in extremely slowly, and to also prevent any spread of foodborne germs from the raw turkey in the splashback, add the liquid to the brine bucket in a space that is free and clear of any clean dishes or other food.
For the best results, dry the turkey uncovered, or at most, loosely covered with foil. Leaving a turkey uncovered in a fridge is safe, as long as proper measures are taken to prevent cross-contamination. Keep it on a rack/pan and place a baking sheet underneath to catch any liquid that may drip off of the bird. Also, always store on the bottom rack of the fridge and do not let it come in contact with other foods in the fridge.
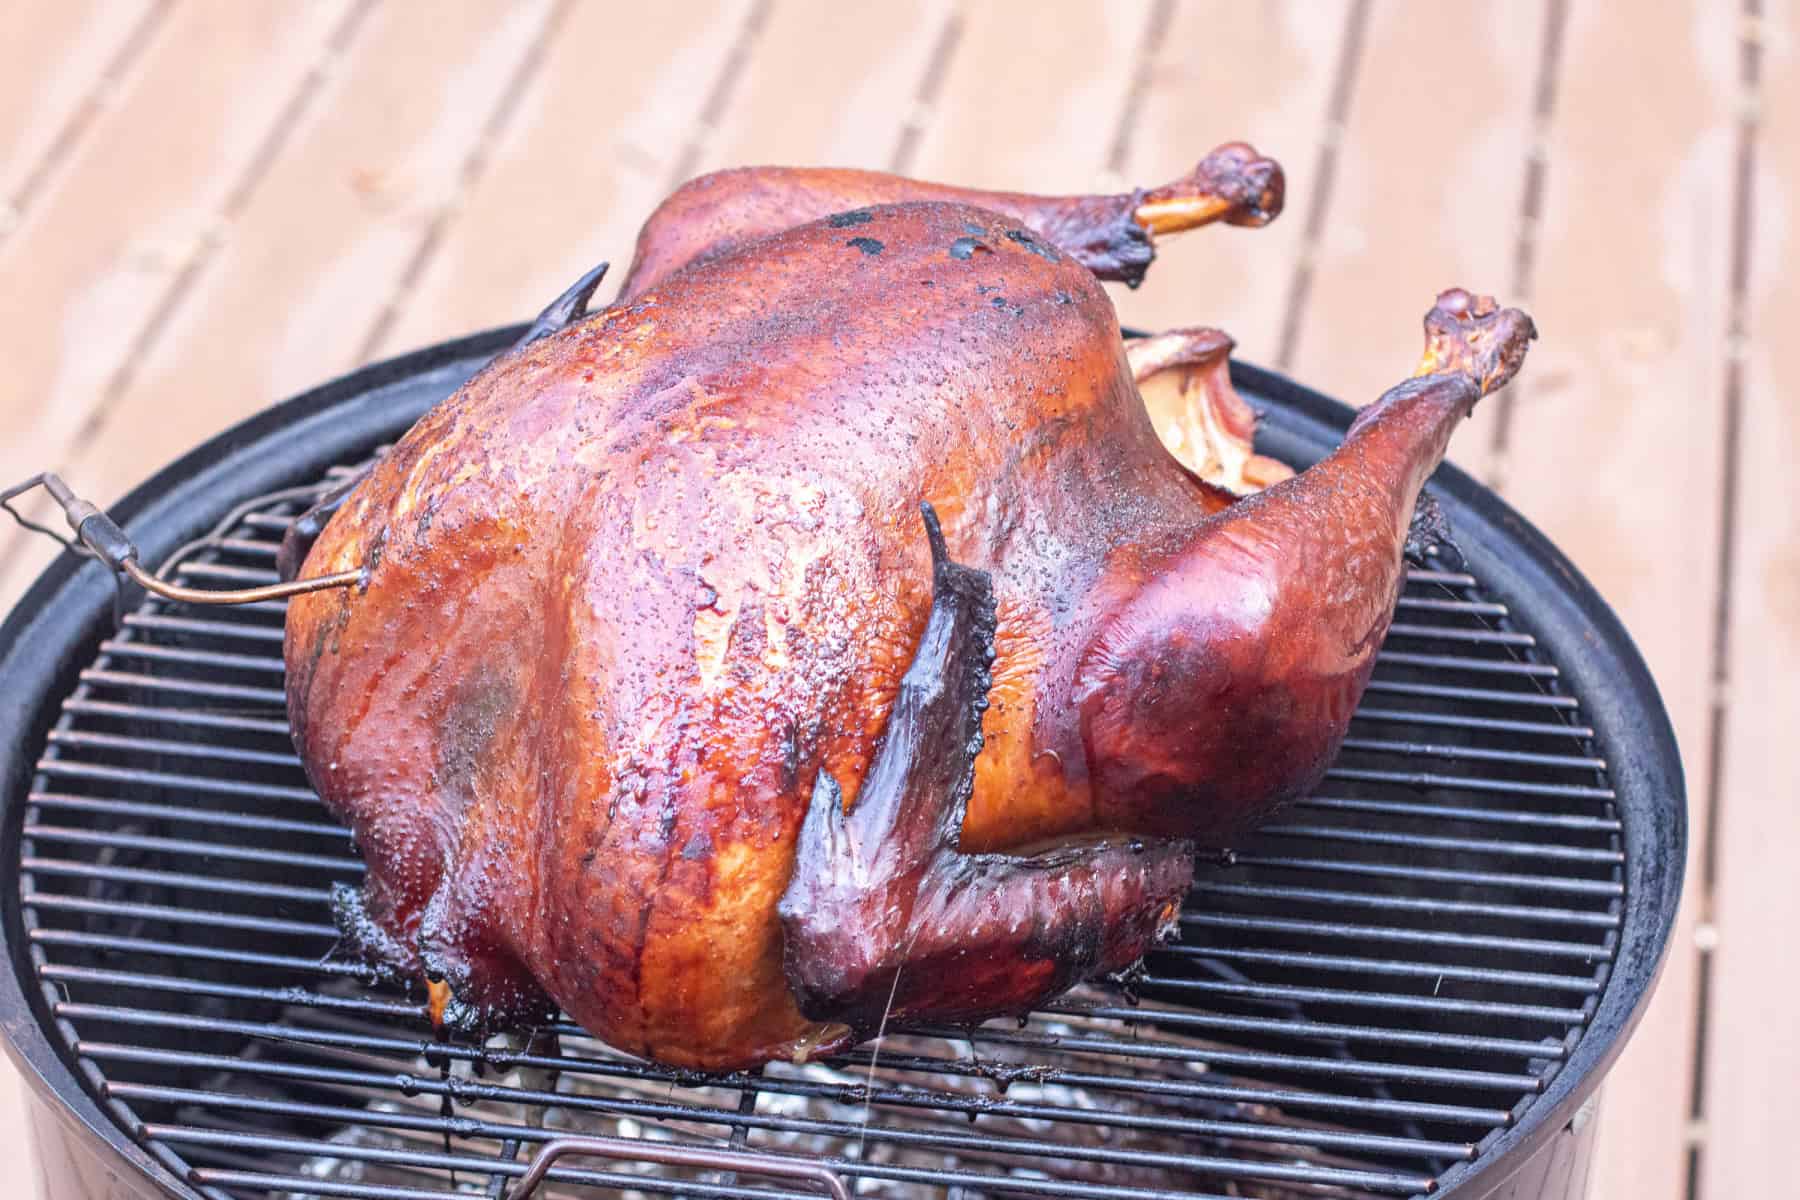
After about 10 hrs, our Smoked Turkey is done! I mean, look at the crispy skin. And the smoke flavor? It’s to die for. And you absolutely cannot skip making our White Bean and Leftover Turkey Chili with it!
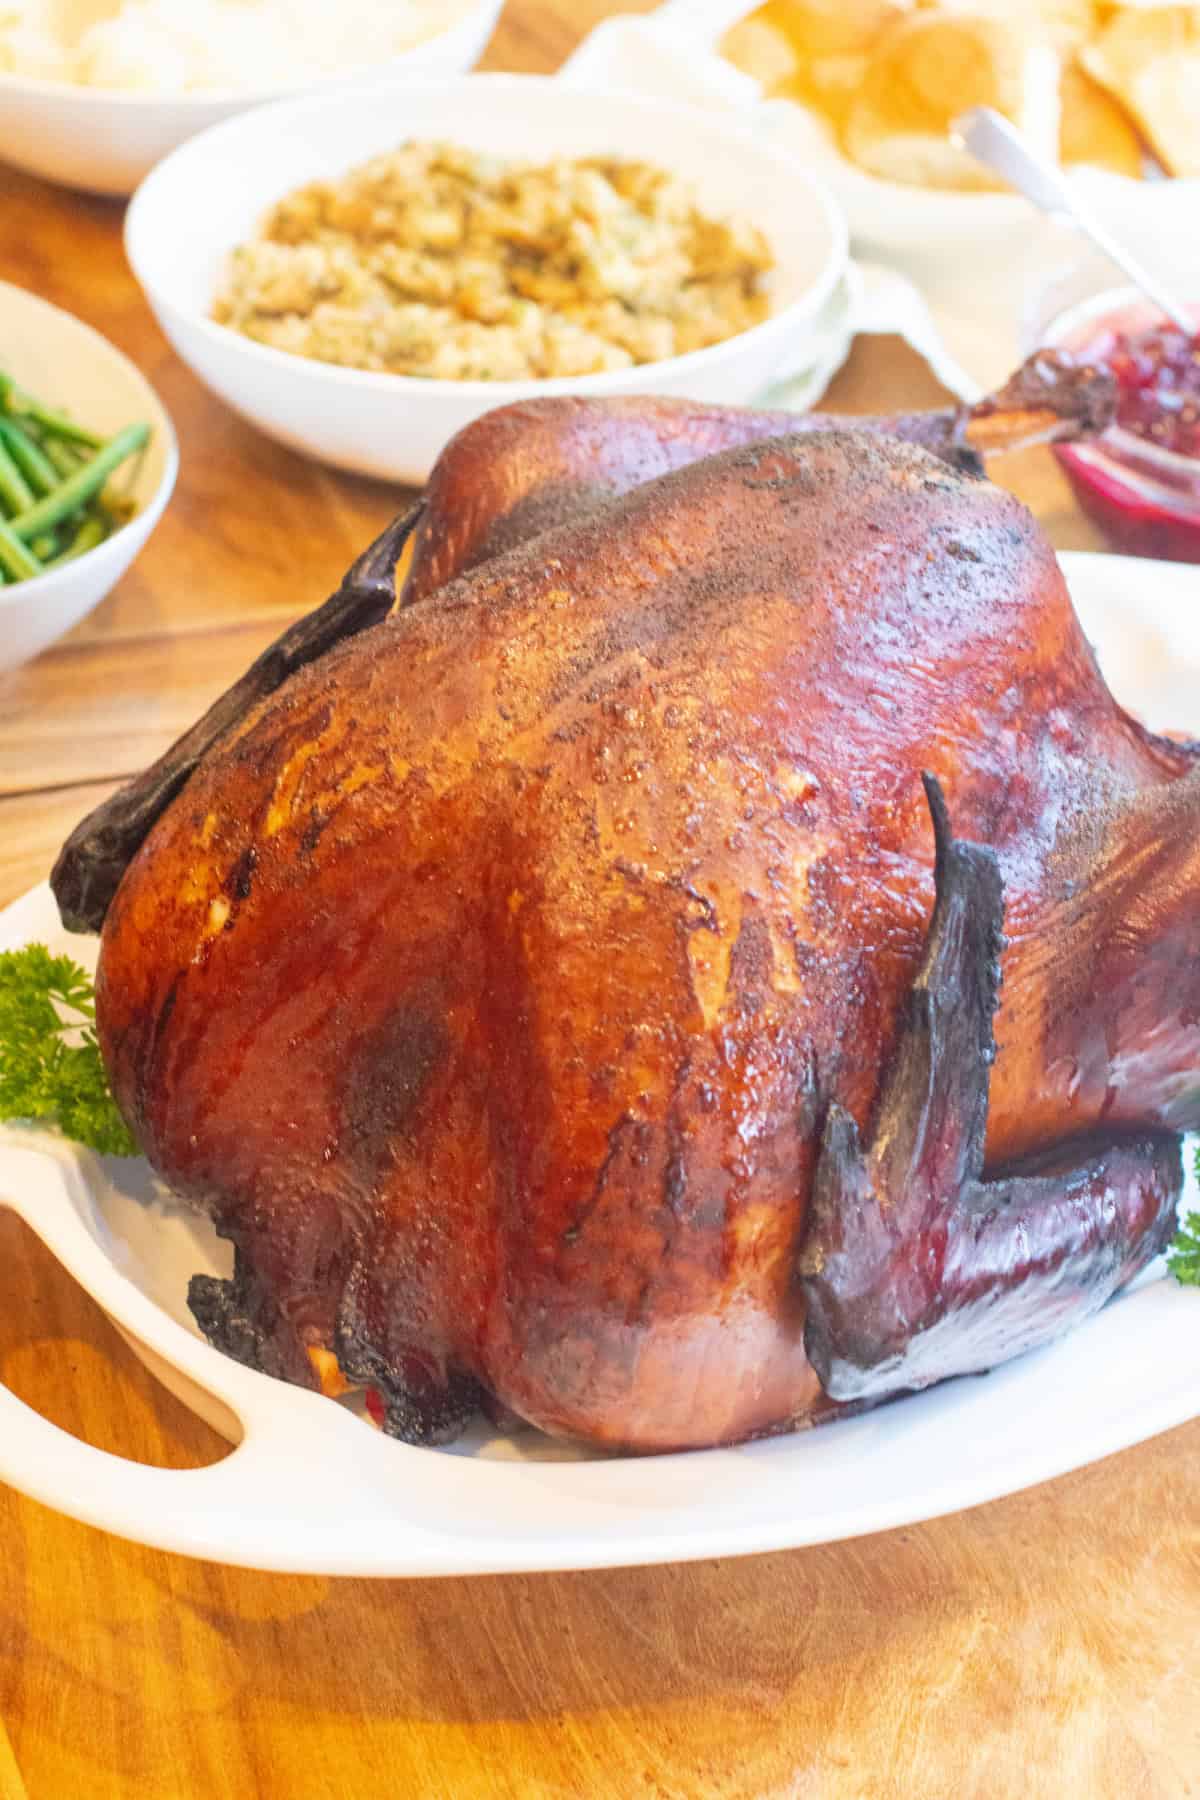
This beautiful Smoked Turkey is ready to be the star of the show of any meal!
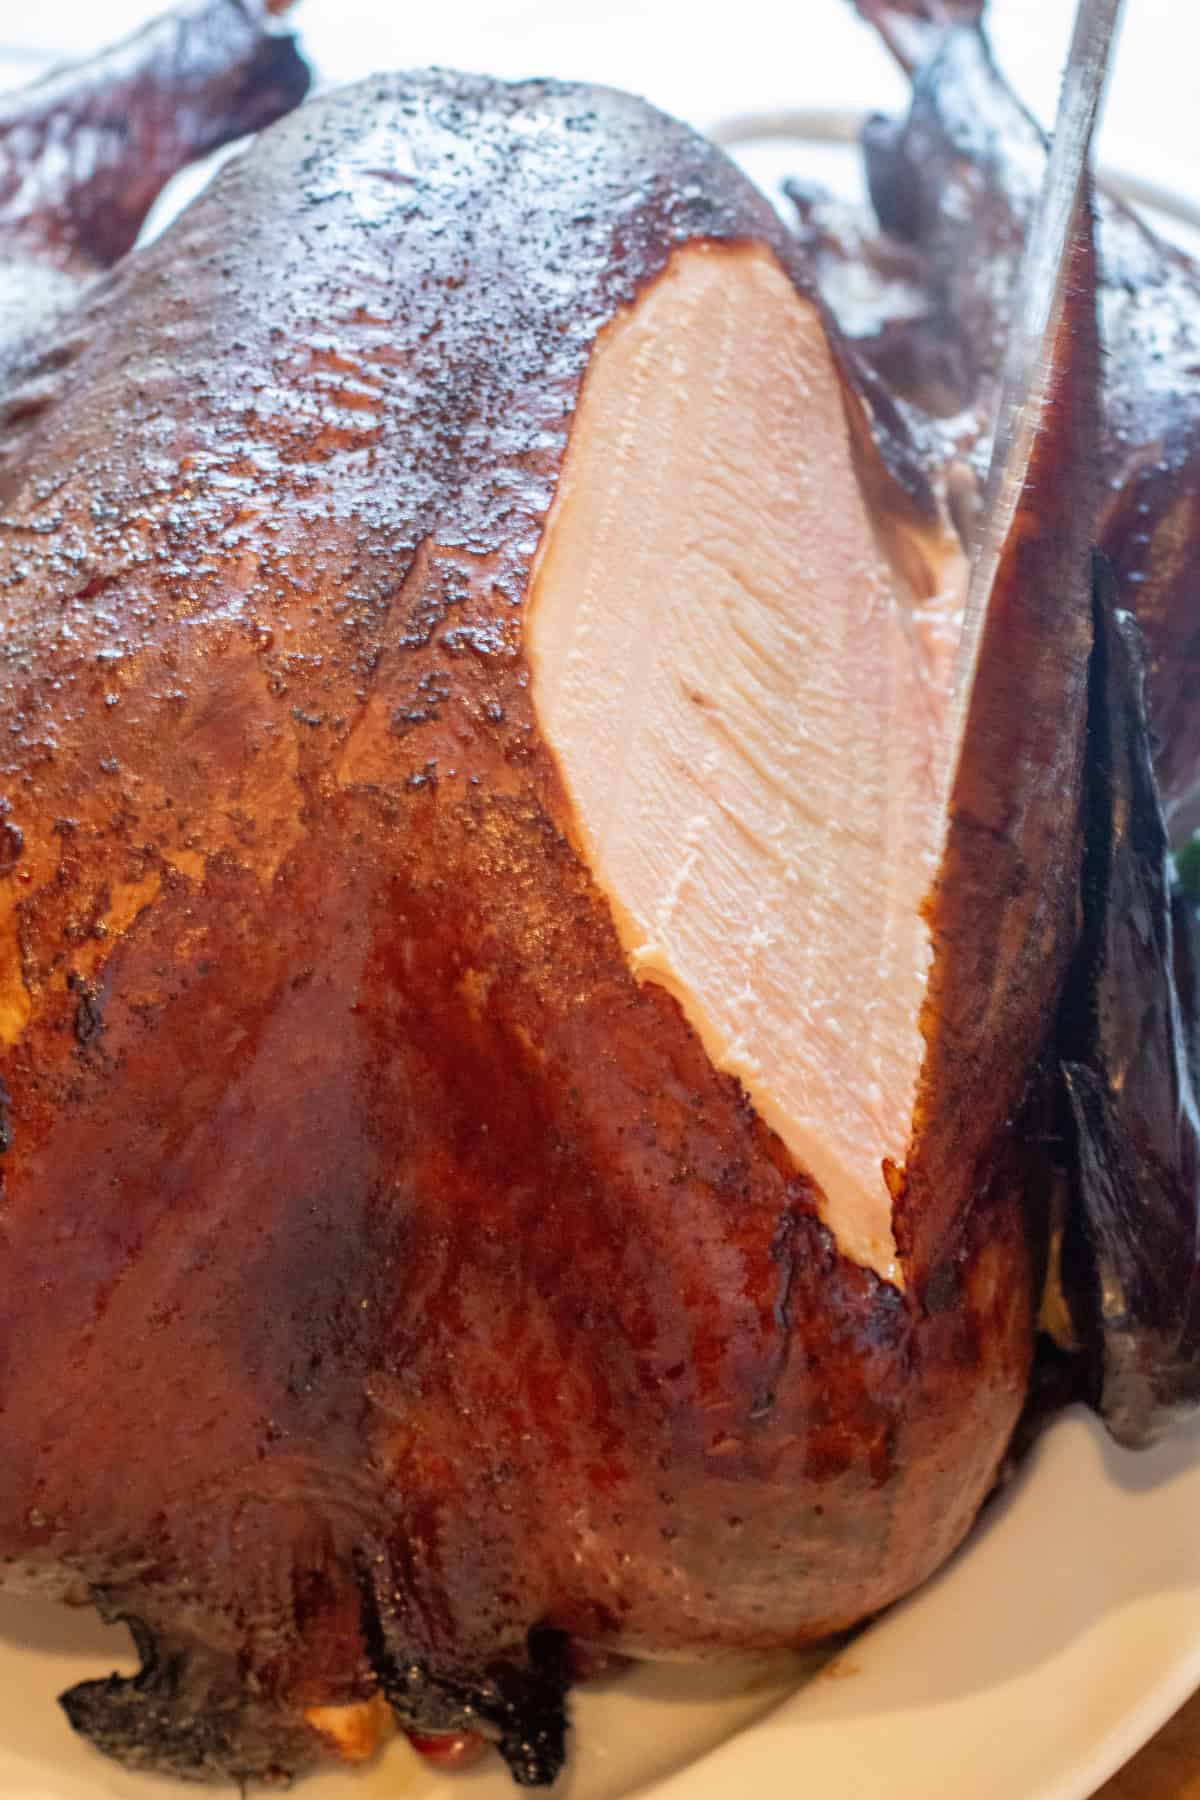
SO delicious! Yes, Smoked Turkey is a lot of prep and a good chunk of time, but trust us, it’s worth it. Worth it not only for the amazing turkey, but also to save that precious oven space!
Serve it With
- Fresh Green Bean Casserole From Scratch
- Crock Pot Mashed Potatoes
- Holiday Stuffing From Scratch
- Homemade Hawaiian Rolls
- Easy Homemade Cranberry Sauce
- Maple Roasted Butternut Squash
- Copycat Boxed Stuffing Mix
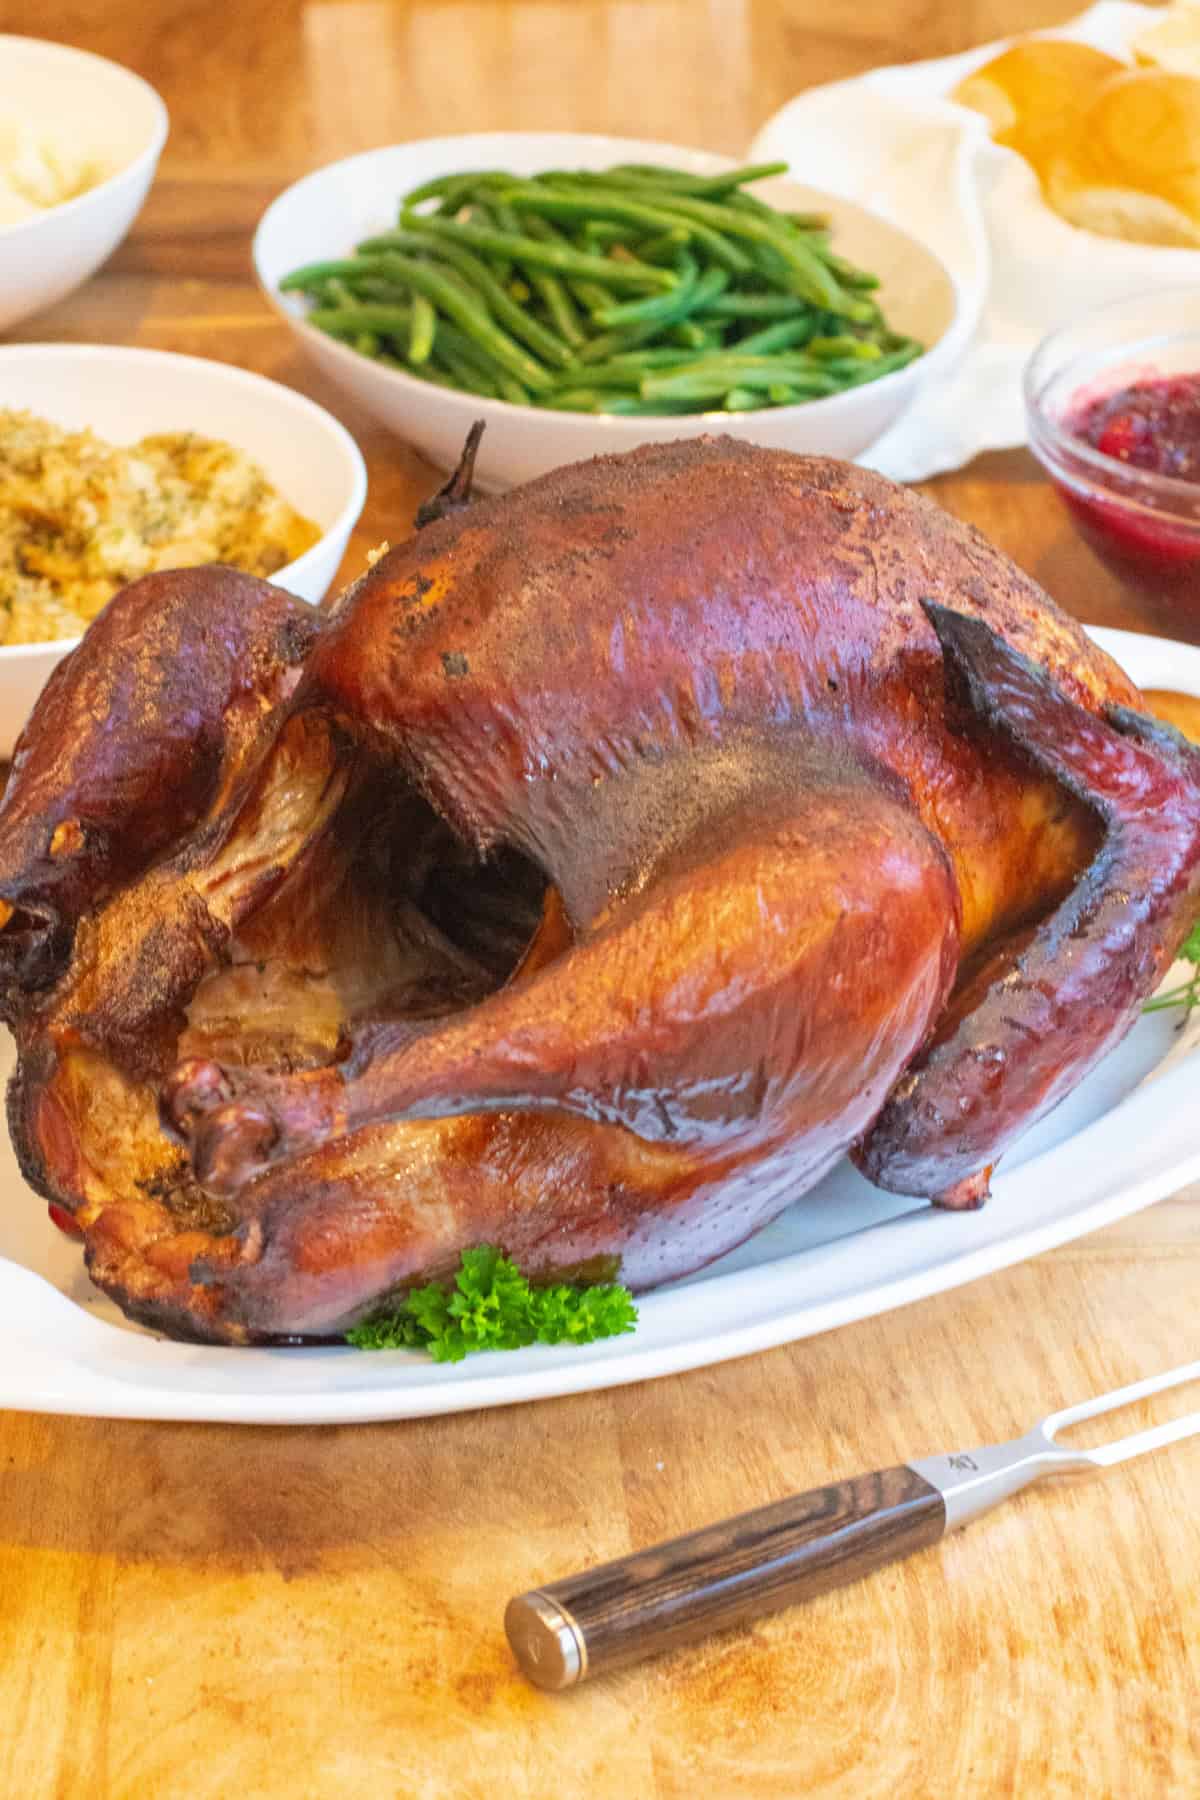
Pro Tip: Be sure to save that turkey carcass and use it to make Smoked Turkey Stock! This stock will add so much incredible flavor to any of your leftover turkey soups!
Enjoy! As always, if you make this recipe or any of my others, I love to hear what you think! Leave a comment below, email me, or you can find me on Facebook, Instagram, and Pinterest!
If you want to see more, be sure to sign up for my 5 Easy Ways to Start Cooking From Scratch!
Smoked Turkey
Equipment
- Thermoworks Signals BBQ optional
- Thermoworks Billows optional
Ingredients
Brine
- 10-20 lb turkey defrosted
- 6 whole oranges quartered
- 1 gallon unsweetened apple juice
- 2 cups brown sugar
- 1 cup kosher salt
- 8 cloves fresh garlic sliced thinly
- 15 whole cloves
- 4 oz fresh ginger sliced thinly
- 6 whole bay leaves
- 1/2 gallon water approximately
Instructions
Brine the Turkey
- Boil: Add the apple juice, brown sugar, and salt to a 6 qt stock pot and heat on high, whisking to dissolve the brown sugar. Bring to a boil for 2 minutes. After 2 minutes, remove from the heat and let cool completely.
- Add Turkey to the Bucket: Unwrap the defrosted turkey and remove the giblets from the turkey. Add the turkey to the bucket, legs up.
- Fill Bucket: Quarter the oranges and squeeze each quarter over the turkey before adding it to the bucket. Repeat for all quarters. Add the ginger, garlic, cloves, and bay leaves. VERY slowly add the cooled apple juice brine to the bucket and then water to finish filling the bucket or whatever you're using so that the turkey is submerged. Important: Keep in mind that backsplash when adding the juice and the water will contain raw turkey, so keep your workspace clear or add on the floor with a towel underneath. The slower you add the liquid, the less backsplash it will create.
- Cover and Brine: Add the lid to the bucket and then store the bucket in a fridge or outside ONLY if temperatures are consistently below 36℉. Do not store outside if temperatures ever go above 36℉, do not store in the sun, and beware of below freezing temperatures, as that will freeze your brine. Let brine for 12-24 hrs.
Dry Turkey
- Remove from Brine: Set out roasting pan and rack on a baking sheet. Gently remove the turkey from the brine and place on the rack in the roasting pan. Remove any pieces of cloves, ginger, garlic, or bay leaves that may be stuck to the outside or inside of the turkey.
- Dry: Pat the turkey dry with paper towels. Place it all – the baking sheet, roasting pan, and turkey in the fridge (uncovered is best, but also very loosely covered with foil is OK) and let it dry for another 12 – 24 hrs.
Prep Smoker
- Prep Wood/Charcoal: In a cleaned smoker, add 4 wood chunks to the charcoal ring. 1 in the center and the other 3 evenly spaced against the perimeter of the ring. Add the charcoal, covering the wood to just below level with the top of the charcoal ring. Place the charcoal on the wood in a volcano shape, leaving the one center piece exposed at the "opening" of the charcoal shaped volcano.
- Light: In a Charcoal Starter, add 15-20 briquettes and light them, allowing them to get hot (usually 10 – 15 minutes to be ready)
- Smoker Setup: While the coals are heating up, line the smoker water bowl with foil and fill it with hot tap water and return it to the smoker. Put in the lower grate in the smoker, and on that grate, place a heat-safe tray (like a metal baking pan) for collecting drippings. Then add the upper grate. Open the top vent and keep the other two slightly open. These bottom two vents are what will help control the temp of the smoker (if not using a temp control system).
- Signals BBQ Setup: If using a temperature monitoring system like the Signals BBQ, run the probe through the silicone access port. Pull it through far enough to be able to reach the turkey, but with enough left to reach the monitoring device.
- Billows Fan Setup: If using a probe-based temp monitoring unit with airflow control like the Billows, fully open one vent and keep the other two closed. With the one open vent, cover 2 of the holes with high-heat tape. Use the one remaining hole to connect the fan – follow the detailed instructions from Billows unit for grate attachment and set up.
Smoke the Turkey
- Add the Bird: Once the turkey has dried, season the outside with salt and pepper and then place the bird on the top grill grates and (if using monitoring system) add the probe into the breast of the turkey.
- Smoke to Temp: For a moister turkey, the smoker temp should consistently be at 225℉, and the turkey will cook for about 30 – 40 min per pound. For a slightly crispier skin but slightly drier meat, keep the smoker temp at 275℉ to cook at 20 -30 min per pound. For faster cooking and an even crispier skin but a bit drier turkey, keep the smoker temp at 325℉ to cook at about 15 – 25 min per pound. See recipe notes for tips on maintaining smoker temperature.Your turkey is done when the internal temperature at the breast is 160℉-165℉ and temp at the innermost part of the thigh is 170℉ – 175℉.
- Remove From Smoker: Remove the turkey from the smoker, and loosely cover it with foil and let it rest for 20-30 minutes before carving. It will continue to rise up to 5 degrees in temp before starting to cool. During this time, it will also lock in moisture.
- Remove Drippings Tray: While the turkey is resting, remove the baking pan from the smoker that was collecting the turkey drippings and use those drippings to make smoked turkey gravy!
- Serve and Enjoy: Carve and enjoy for your favorite holiday meal! Be sure to save the carcass to make smoked turkey stock!