
Homemade Crispy Sesame Chicken
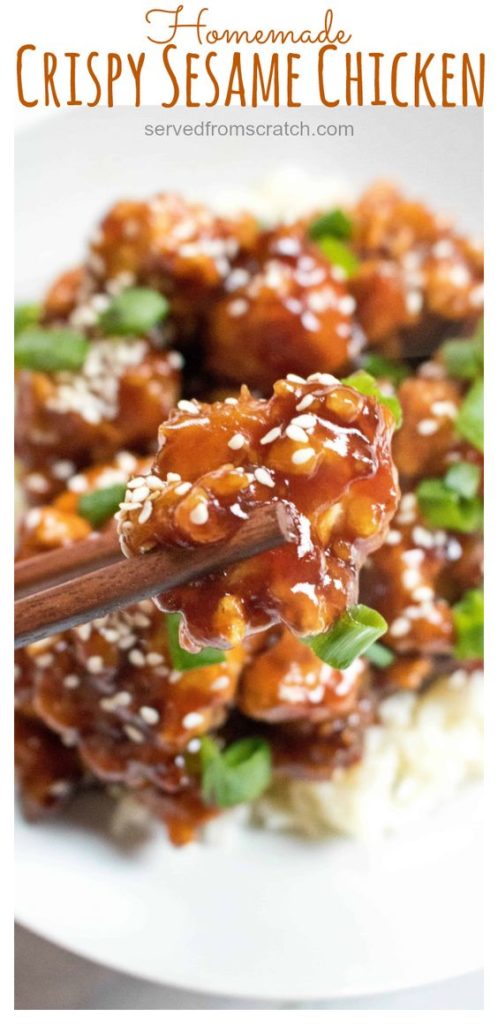
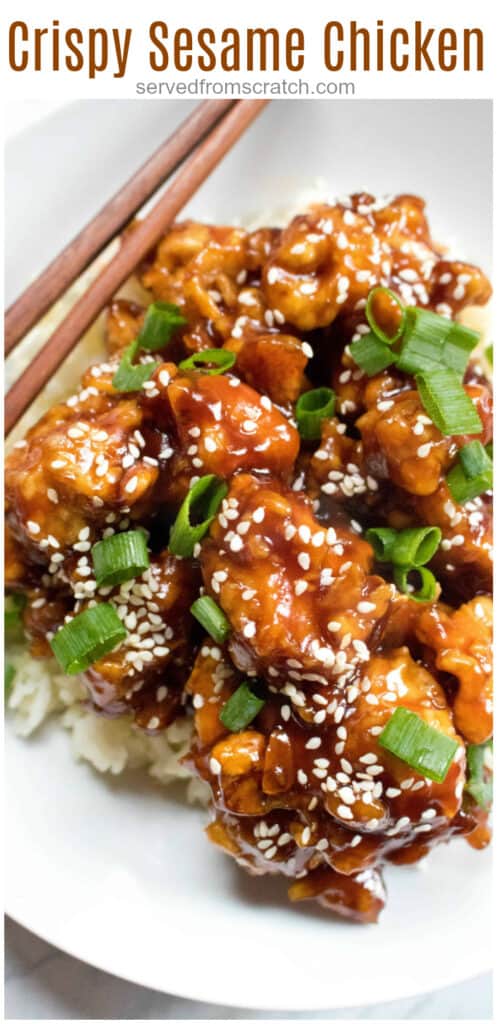
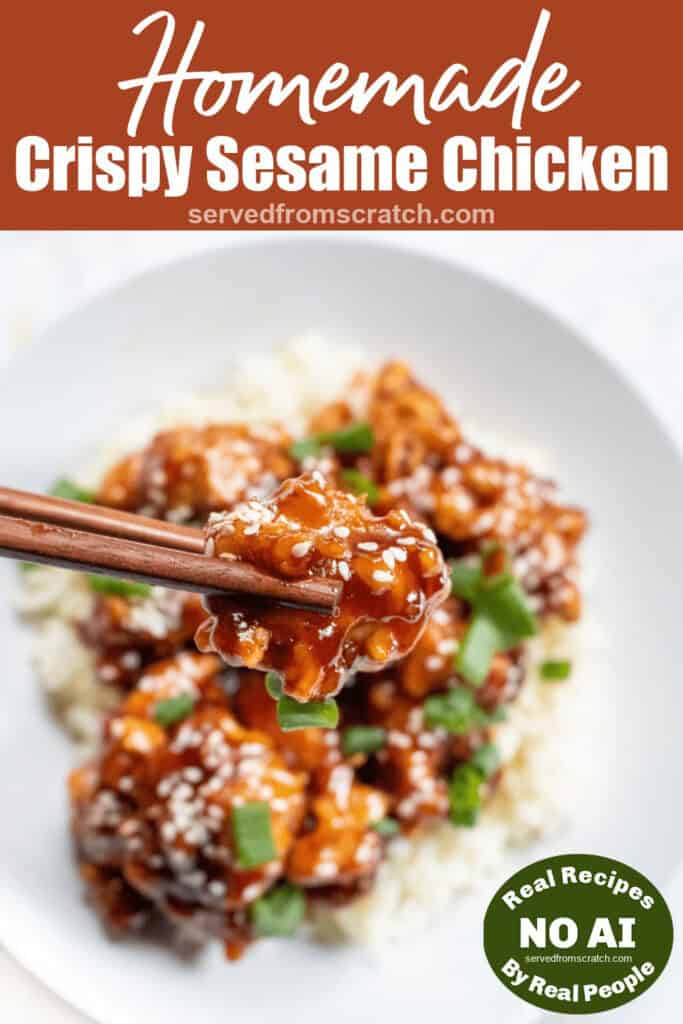



Skip the take-out and make your very own Homemade Crispy Sesame Chicken! It’s easier than you think and you can make it with simple and easy ingredients you already have in your pantry!
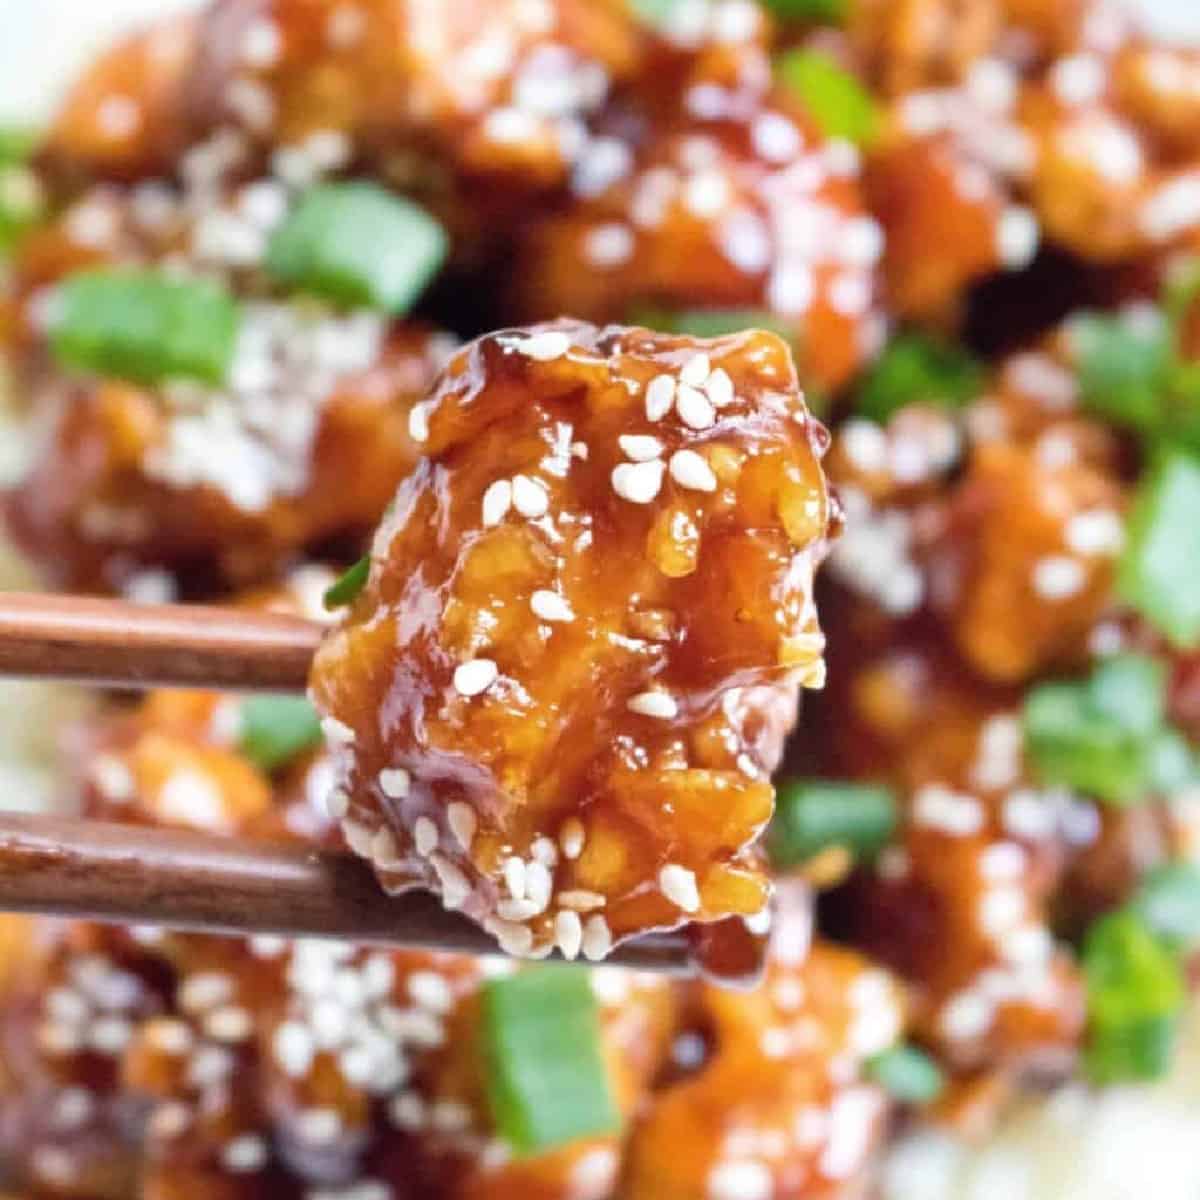
Forget about ordering out, you can recreate all of your favorite take-out flavors at home with just a little bit of time and a few simple ingredients. One of our favorites, Homemade Crispy Sesame Chicken! With a two-year-old and a (now) 3-month-old at home, life is crazy which means dinner has to be easy, but also delicious!
You’ll love this take-out fake out because not only will it save you money, but also, if you do any kind of Asian-inspired cooking, I bet you already have all of the ingredients needed!
Ingredients Needed
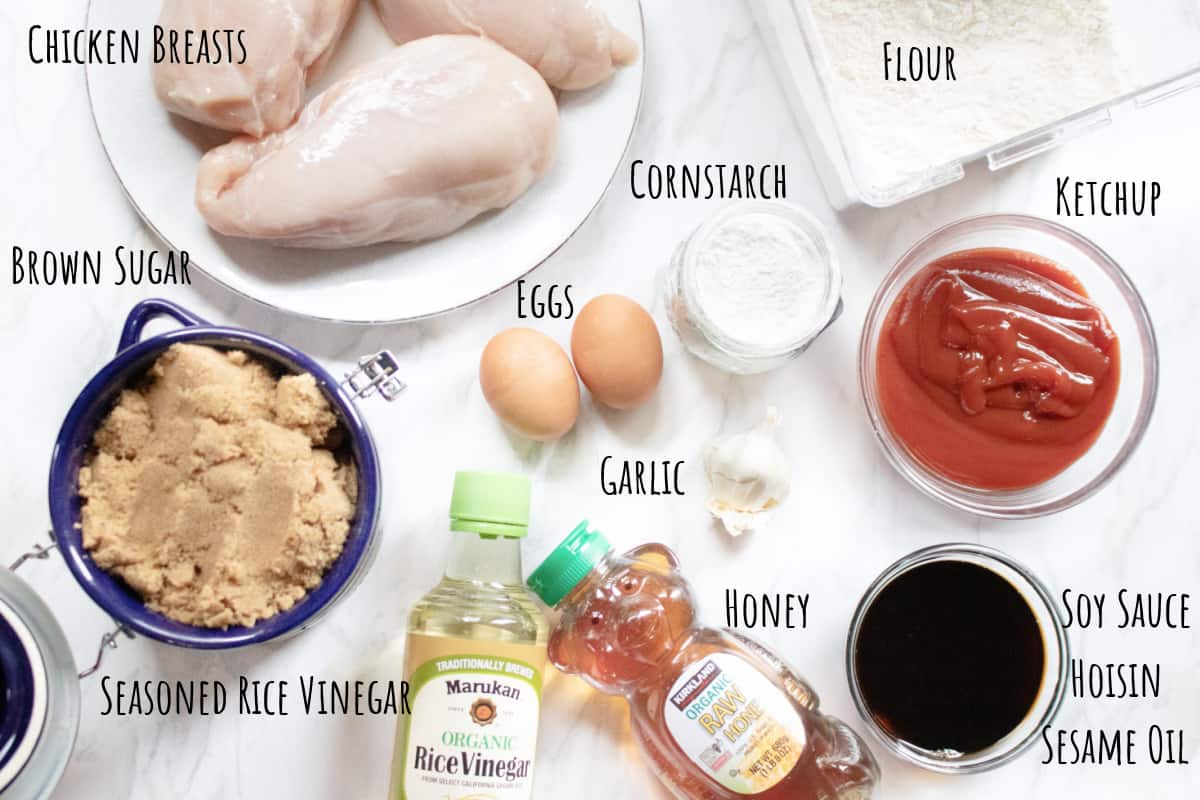
- Boneless Chicken – Breasts are our favorite for this, you can also make this with boneless chicken thighs, but I prefer it with chicken breasts.
- Flour and cornstarch – To coat the chicken. We use all-purpose but you can also use gluten-free flour. Just keep in mind if you use almond or coconut flour, that will adjust the taste of your chicken. The cornstarch helps add to the crispiness while it’s frying.
- Eggs – To bind the coating.
- The Sauce – Low sodium soy sauce, seasoned rice vinegar, ketchup, honey, garlic, hoisin, and brown sugar.
- Sesame Oil – This adds that sesame flavor, although you could also use another oil, but keep in mind whatever you use will impart flavor, so best to use vegetable oil, unless you want some added peanut flavor, add some peanut oil.
Tip: You can make your own 5 Minute Homemade Ketchup, Hoisin Sauce, and Homemade Brown Sugar!
Step-by-Step Instructions
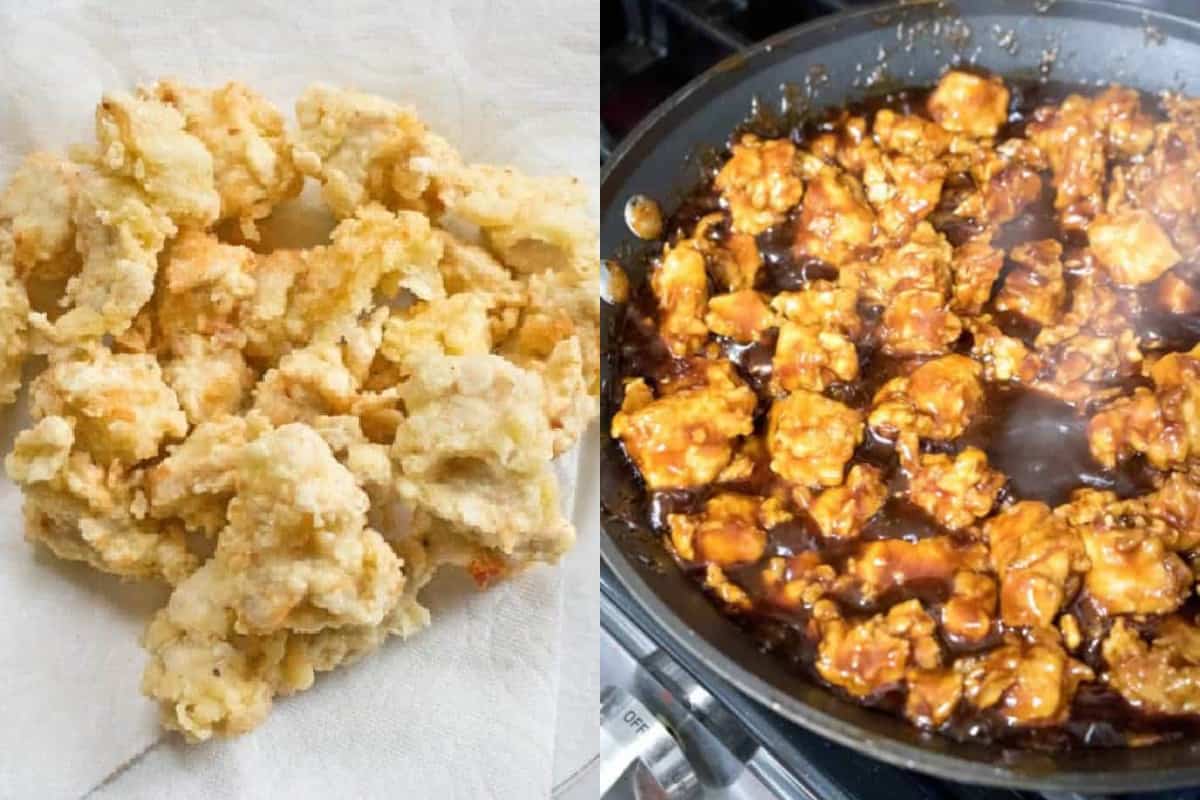
Step 1: Coat the chicken pieces in eggs, flour, and cornstarch, and then fry. It’s the most time-consuming part of this recipe but 100% worth it.
Step 2: Mix your sauce and then just mix the sauce, add it to a pan, and then toss your deliciously breaded and fried bits of chicken in it.
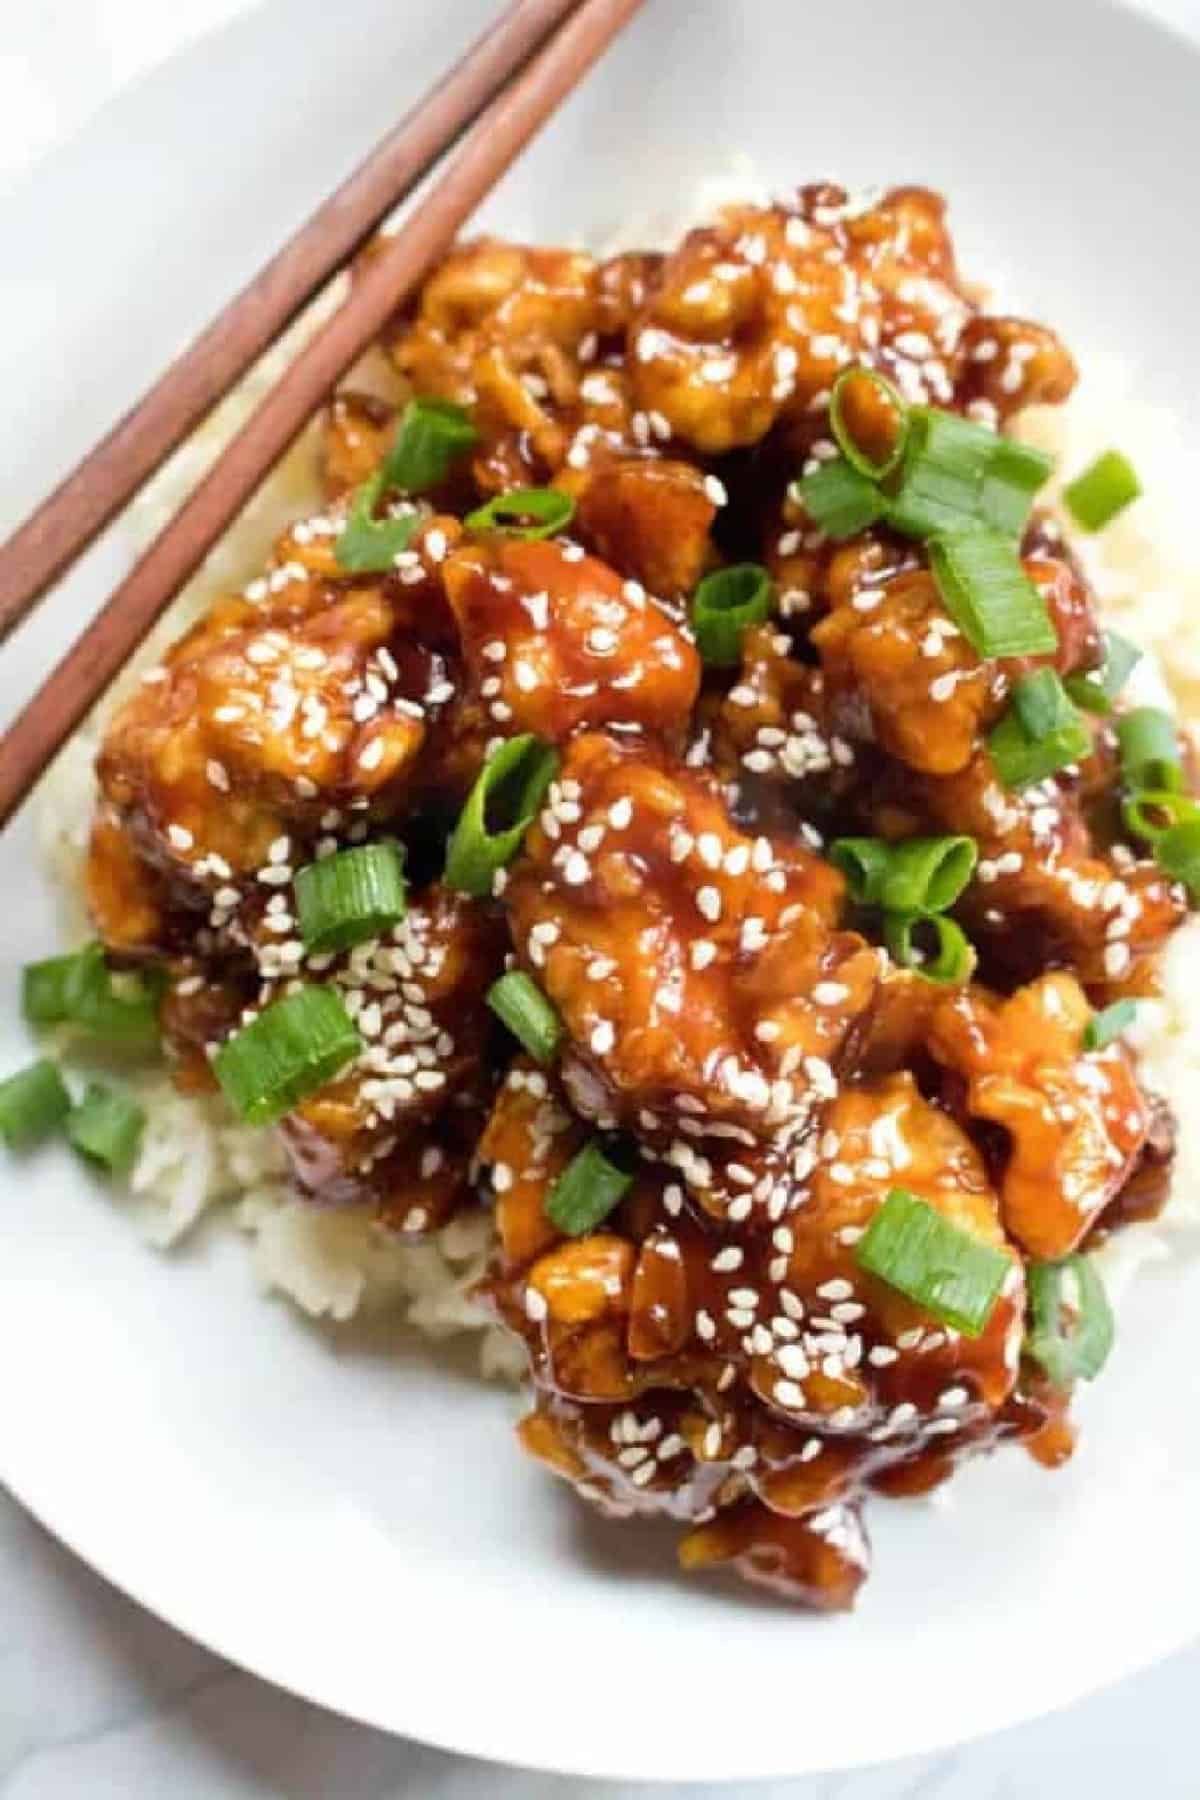
Step 3: Top with sesame seeds and green onions, serve over rice annnndddd done.
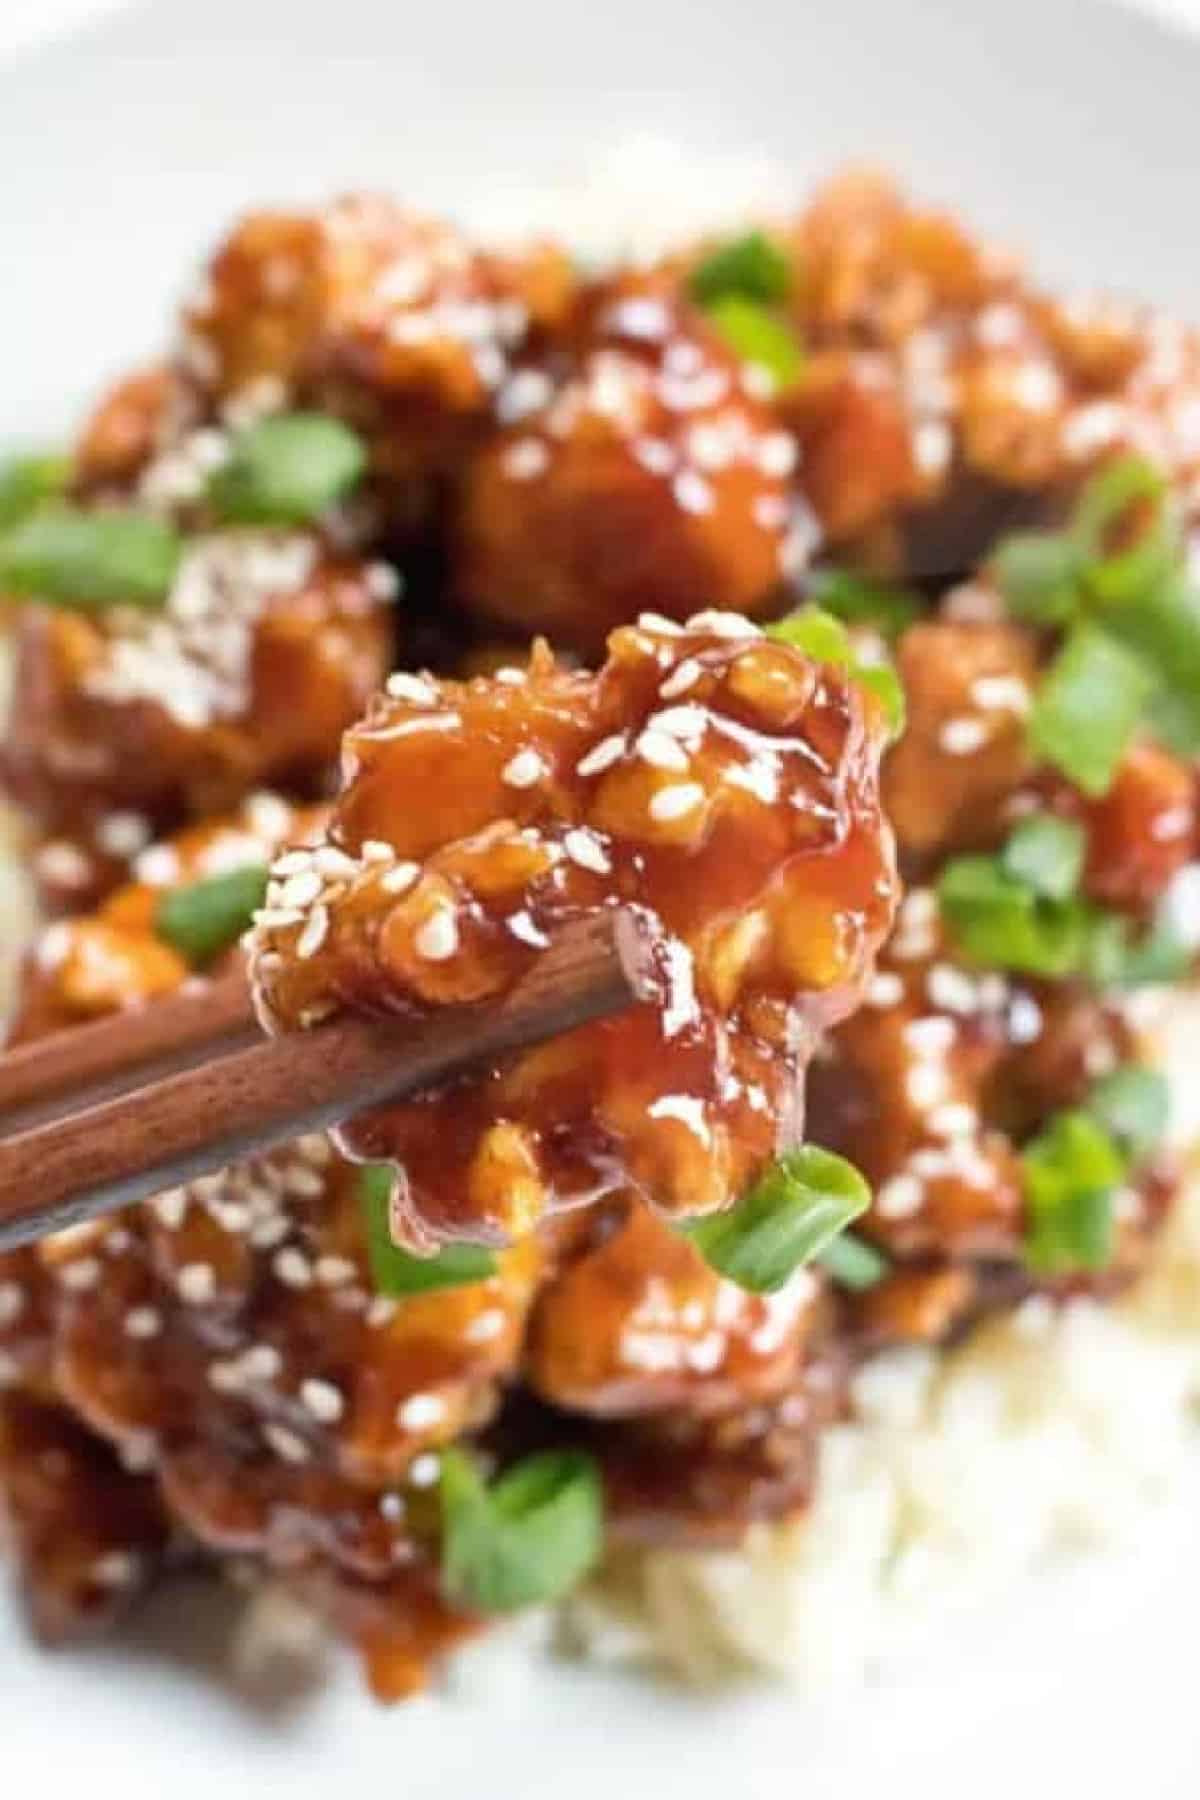
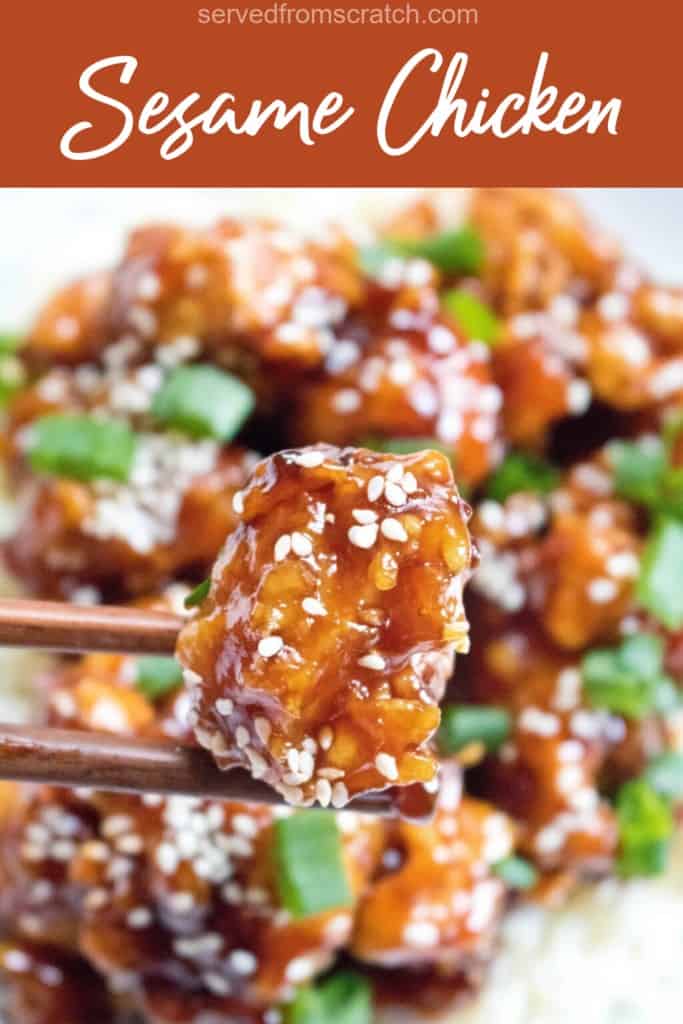
I mean, c’mon. How good does this look? Trust me, it tastes that good, too!
FAQs
Use a mixture of flour and cornstarch to get the best light but crispy results when frying. You could also use all cornstarch, too.
For the best fry without the risk of undercooking and overcooking, is to make sure that your oil is 350 degrees. To do this, we have an instant-read thermometer and we love this one.
No thermometer? No problem. You can do the Wooden Spoon Test: Place the end of a wooden spoon in the oil. If oil bubbles gently around the spoon handle, it is ready. If it bubbles vigorously, then it is too hot and you should let it cool a little before checking the temp again.
Using a low-sodium soy sauce will help keep the saltiness of this dish in check and you can also use tamari. But of course, if you like things salty, can you use a regular soy sauce. You can also add more brown sugar to cut some of the saltiness.
You can make the sauce the day before and store it in the fridge. You can also mix the flour and cornstarch ahead of time and store it in an airtight container before you’re ready to reduce prep time for a faster weeknight dinner.
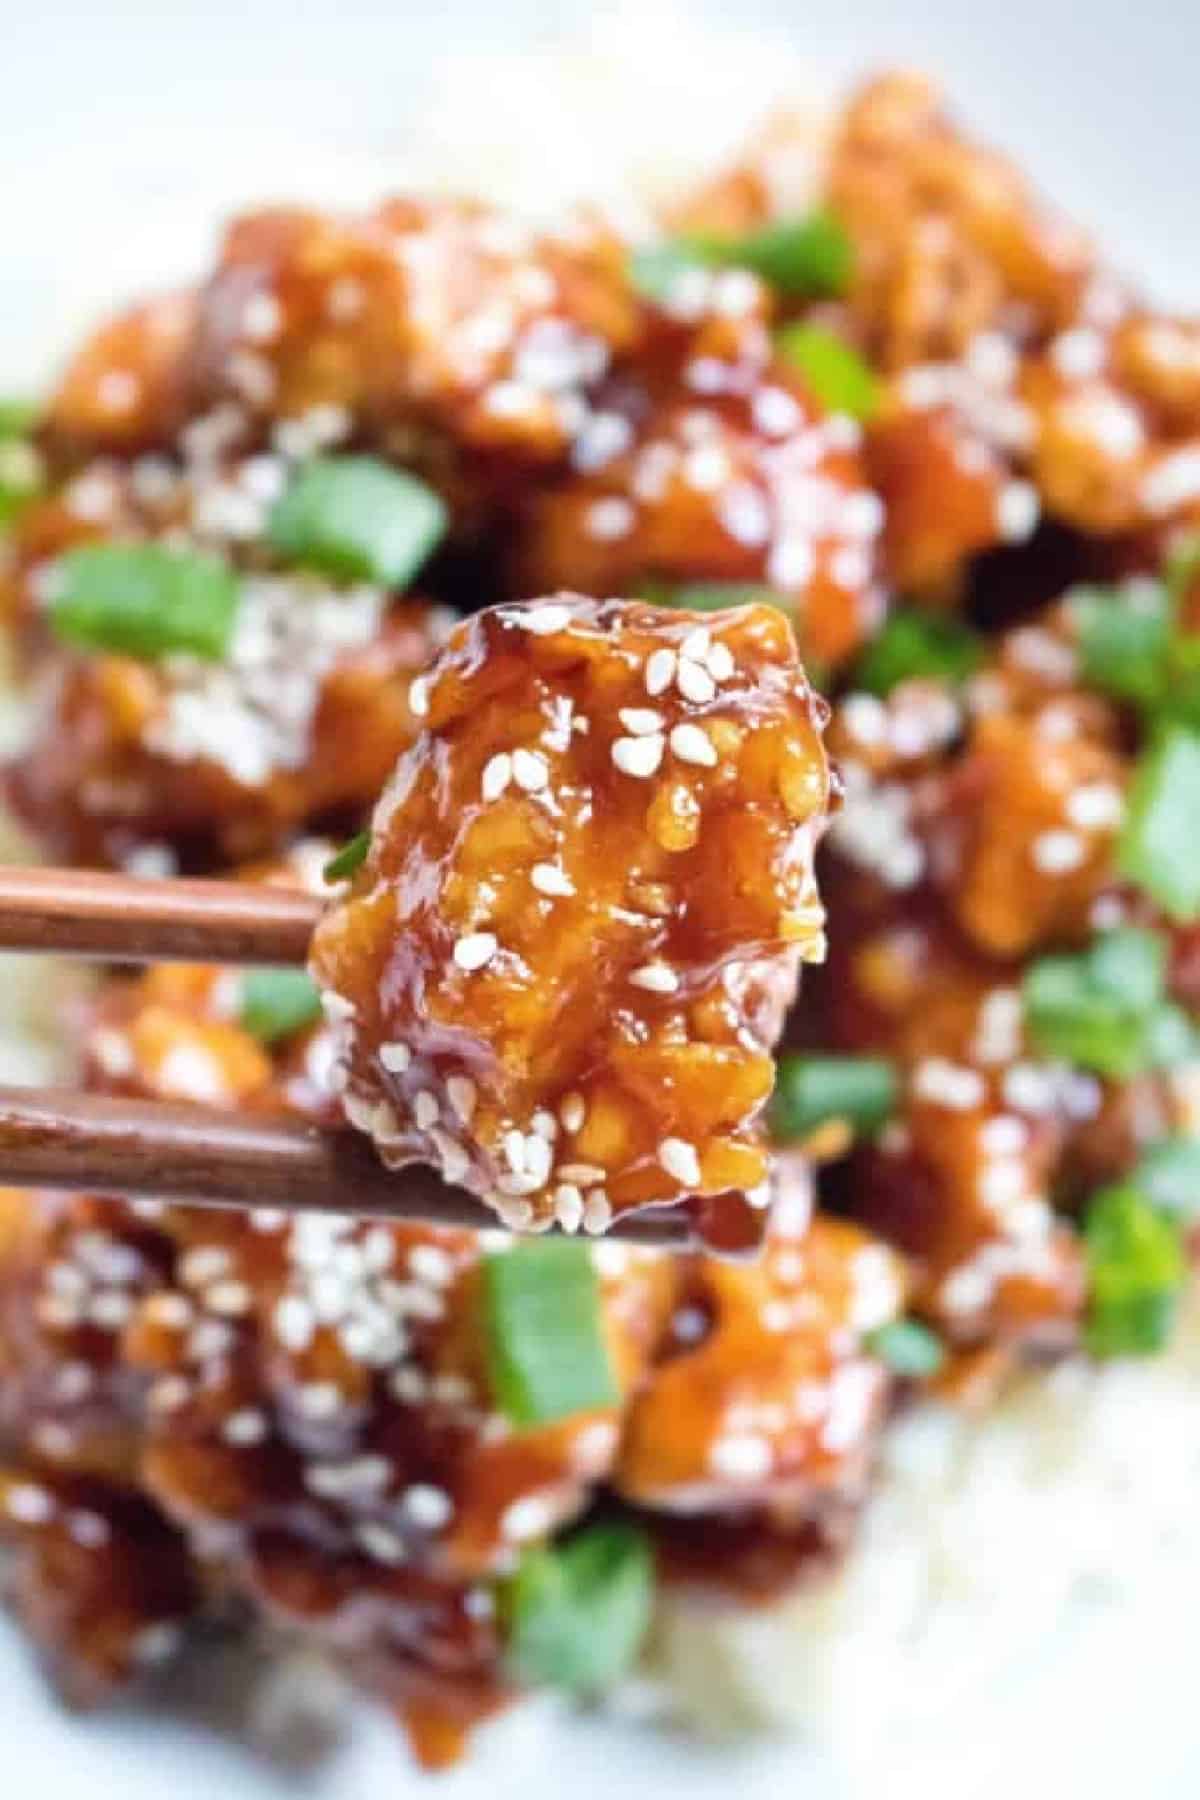
My husband and my two-year-old could not get enough and have already requested it again! So skip the take-out and make your own Homemade Crispy Sesame Chicken!
Other Favorite Asian-Inspired Recipes
- Kimchi Sloppy Joes
- Sweet and Sesame Ginger Meatballs
- Easy Ground Beef and Broccoli
- 20-Minute Sweet and Spicy Noodles
- Asian Cucumber Salad
- Crock Pot Chicken Pho
- 10 Minute Peanut Noodles
Don’t forget to tell me if you’ve made the recipe on Pinterest, Facebook, Instagram, or Twitter! Or leave a comment below – I love hearing from you!

Homemade Crispy Sesame Chicken
Equipment
- instant read thermometer optional
Ingredients
For the chicken
- 1 1/2 lbs boneless skinless chicken breasts cut into 1 inch pieces
- 2 eggs
- 1/2 cup flour
- 1/2 cup cornstarch
- 1/4 teaspoon salt
- 1/4 teaspoon fresh ground pepper
- oil for frying vegetable
For the sauce
- 2 tablespoons sesame oil, divided into 1 tablespoon and another 3 teaspoons or vegetable oil
- 2-3 gloves garlic, minced or 2 teaspoons garlic powder
- 1/4 cup honey
- 1/2 cup Low sodium soy sauce
- 1 teaspoon hoisin
- 1/3 cup ketchup
- 1 tablespoons brown sugar
- 1/4 cup rice vinegar
- 2 teaspoons cornstarch
- 2 tablespoons sesame seeds
- 2 tablespoons sliced green onions
Instructions
- In a medium to large sized shallow bowl, combine flour and cornstarch.
- In another bowl, whisk eggs and add salt and pepper and mix well.
- Coat the chicken by dipping each piece of chicken into the egg mixture with tongs and then into the flour. Add to a large plate. Repeat with all of the chicken.
- In a deep pot (one that will be good for frying), add about 3- 3 1/2 inches of oil and heat on medium until oil is 350 degrees. It's best to use a thermometer for this, but you can also do the wooden spoon test.*
- Once oil is to temp, add chicken to oil (only about 8 pieces of chicken at a time as to not crowd the pot) and cook for 5 minutes or until crispy and golden brown. Remove from oil and add to a paper towel lined plate. Repeat with all of the chicken.
- Let chicken drain on a paper towel lined plate.
- Meanwhile, combine the honey, hoisin, soy sauce, ketchup, brown sugar, rice vinegar, 1 tablespoon of sesame oil and 2 teaspoons of cornstarch in a bowl. You can also prepare this sauce a day in advance.
- Heat 1 teaspoon of sesame oil in a large pan over medium heat. Add garlic and sauté for about 30 seconds just enough for it to become fragrant, but be sure to not burn it. Then add the sauce, bring it to a simmer, and then let it all cook together for about 3 minutes.
- Once sauce has thickened, add the crispy chicken to the pan and coat all the pieces fully with the sauce. Once well coated, drizzle remaining 2 teaspoons of sesame oil over the top.
- Add sesame seeds and green onions to the top of the chicken and then serve!
The chicken recipe was delicious, but the sauce was terrible. I had to throw it out. I think it was just entirely too much vinegar. I remade it and instead I did more brown sugar and added 1/3 water and only 1 tablespoon of the rice vinegar. That substitute was less vinegary…if that’s a word 🙂
not a good sauce recipe
Hi Samantha,
I’m so sorry to hear you’re not happy with the recipe! Was it that you didn’t like the sauce on the chicken or were you trying to make it as just a sauce?
I’m going to make this today but I’m confused about the “Heat the teaspoon of oil”…is this one teaspoon of the 1 TBS of sesame oil therefore only putting two tsp in the sauce mixture? Admittedly, I am not a great cook so I get confused easily! 🙂
Hi Marilyn! I’m so sorry I didn’t see this yesterday – you’re SO right it is supposed to say TABLESPOON. Thank you for catching that – you’re a GREAT cook to catch it! How did they turn out??
Tasty and delicious dish.I made it in my home and get amazing taste,also enjoy the dish with my family they also loved it.one of my suggestion is that if you want more spicy you can add hot sauce and red chili.
That’s great to hear- thanks so much for letting me know you enjoyed it! That extra hot sauce and red chili sounds yummy! ☺️
Yum! This sesame chicken looks better than takeout! I love making dishes like these at home because you get to control the quality of the ingredients and how much salt and sugar you use. Great recipe!
So much better than takeout!
I agree with you this is best crispy sesame chicken . Looks like it has everything you look for crispiness, sweetness and flavors along with nutty sesame seeds. love it.
This is perfect easy family weekdays dinner. I love the flavors and the look. Sound delicious too. I’m putting this on my weekly menu. Great recipe!
Thanks, Natalie!
This looks absolutely delicious! So much better than takeout! Now I’m craving some sesame chicken…my family would love this meal!
Thanks, Catherine! I hope your family loves it as much as mine!
Wow! This sesame chicken looks fantastic! I love Sesame Chicken and I am so glad to make it at home! Yummy!
It’s so fun when you realize you can make your favorites at home!
Thanks!
It may quick and easy but it sounds and looks like it’s got loads of flavor. I remember the days when I had two little ones 13 months apart. Yep it was busy and challenging but also great fun with the kiddos. Now I’m busy in a different way and the homemade crispy chicken would be great to serve. Can’t wait to make it.
13 months! Wow! I love having two pretty close, it definitely makes life even MORE fun!