Easy Crusty French Baguette


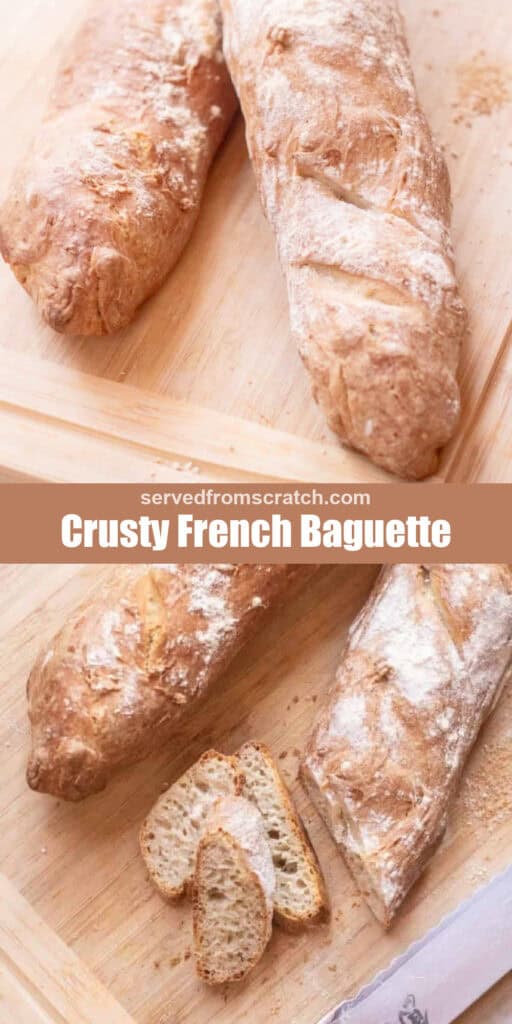
This Easy Crusty French Baguette is simple enough to be made at home but tastes just like you bought it at your local bakery!
Make some for our Easy Tomato Bruschetta!
Hellloooo fellow quaran-carb friends! Let me introduce you to our newest carb love, this Easy Crusty French Baguette!
I don’t know about you guys, but we are carb-loading hard during self-isolation. We’ve been baking a LOT of bread. And one of my deepest loves? A crusty French baguette, which we now can make at home.
Recipe Video
Ingredients Needed:
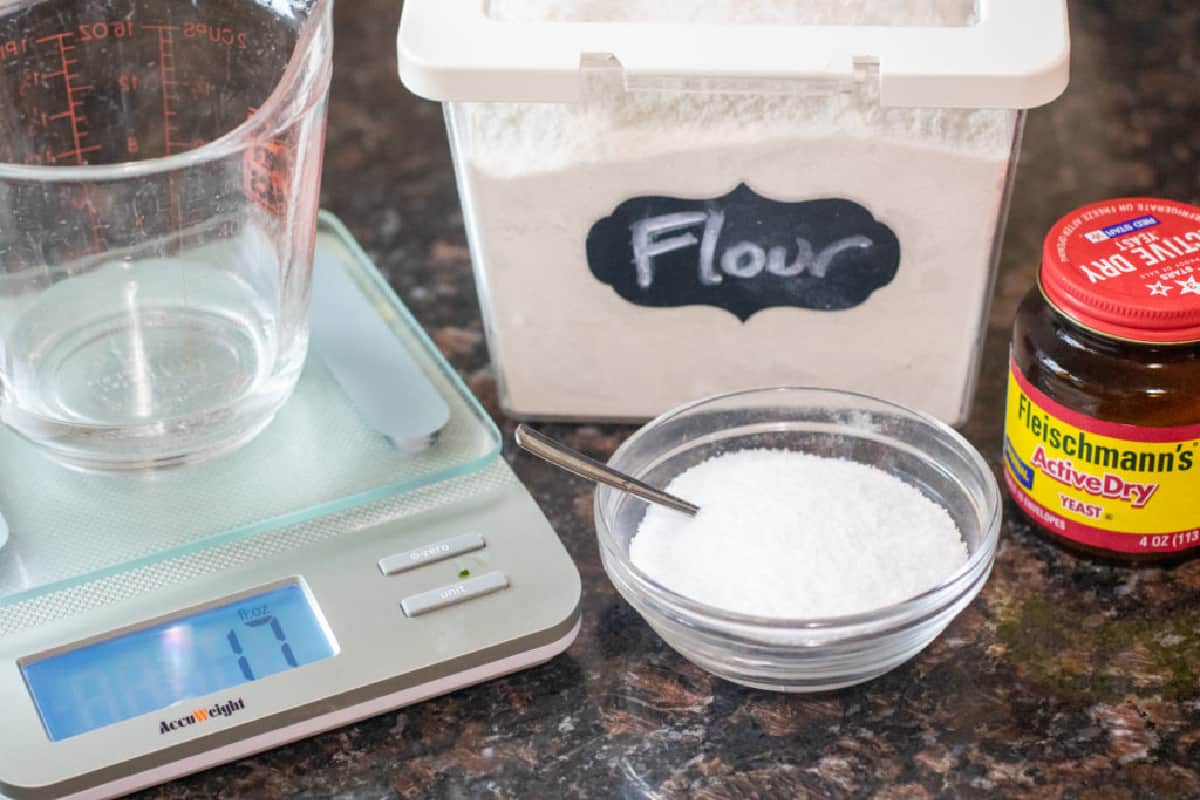
- Flour – The best flour for this is bread flour, but an all-purpose will work great, too.
- Yeast – We use active dry yeast, but you can also use instant yeast, it just won’t need the activation.
- Kosher salt – You can also use table salt, but just see the recipe notes.
- Water –
Equipment Needed:
A Kitchen Scale is really necessary if you want to do a lot of baking to get the right ingredients We love this one!
Also, to help with the Maillard reaction, AKA the gorgeous browning effect, you’ll need a little spray bottle with water. Nothing fancy, just something like this one.
A Lame Bread Slashing Tool – this is basically a super sharp bread razor to make those lovely bread slashes. You can also use a super sharp knife, but isn’t it always more fun to have a special tool?
How to Make:
This bread is an easy one that doesn’t require a starter or a lot of prep time, which is why it’s exactly the kind of bread that stays in our repertoire. It’s really very easy:
- Dissolve and activate the yeast – If using instant yeast, no need to activate it.
- Mix flour – not a lot of kneading is required, which is one of the best parts of this recipe!
- Let rest/rise – let it do its thannng
- Shape into loaves (and rise again)
- Bake!
Bake the next day: You could also after kneading it, place it in the fridge to bake the next day. Just add it to an oiled bowl, cover it tightly with plastic wrap, and place it in the fridge. The next day, punch it down, let it rest for about 10 minutes, and then shape it.
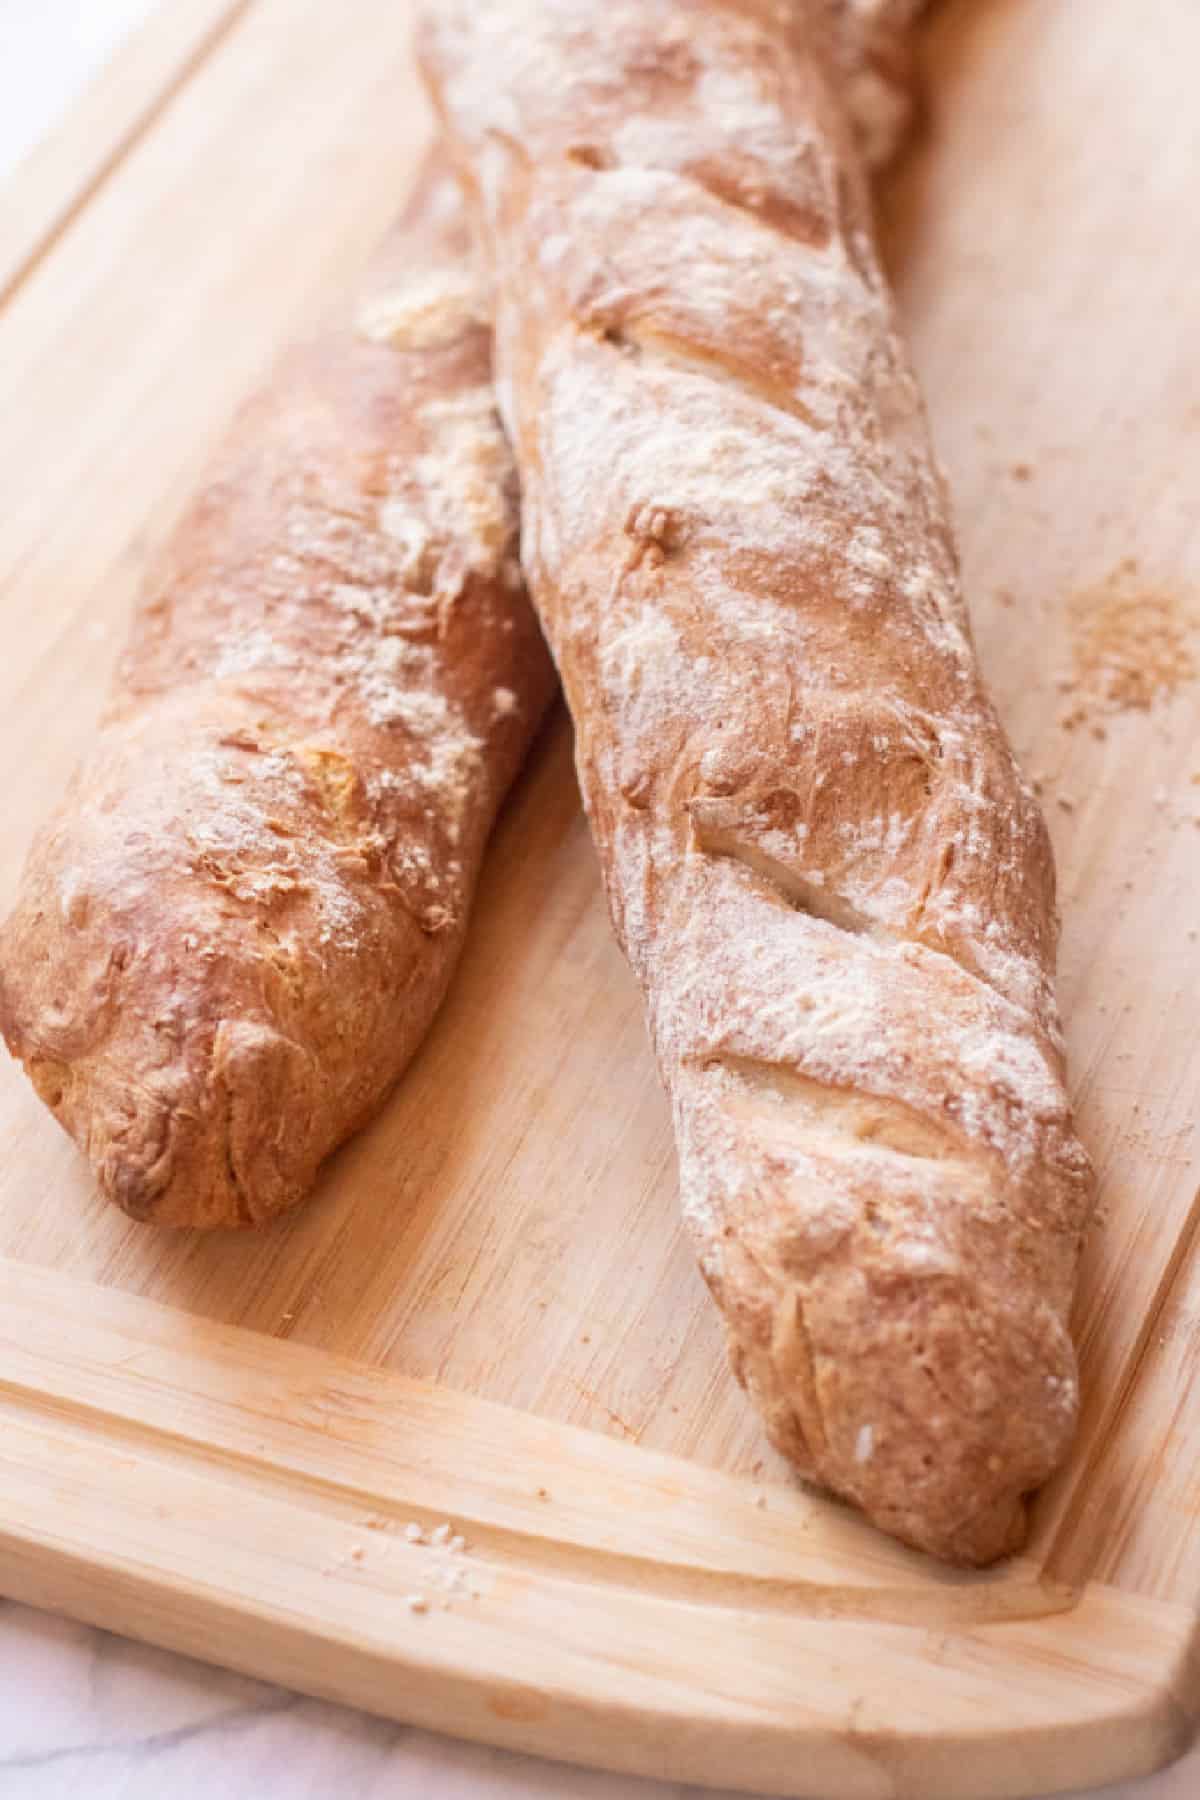
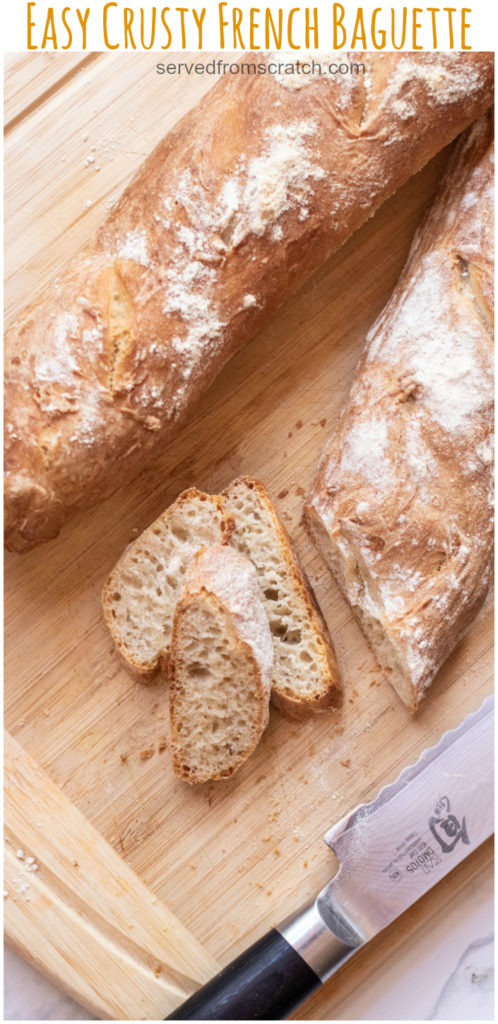
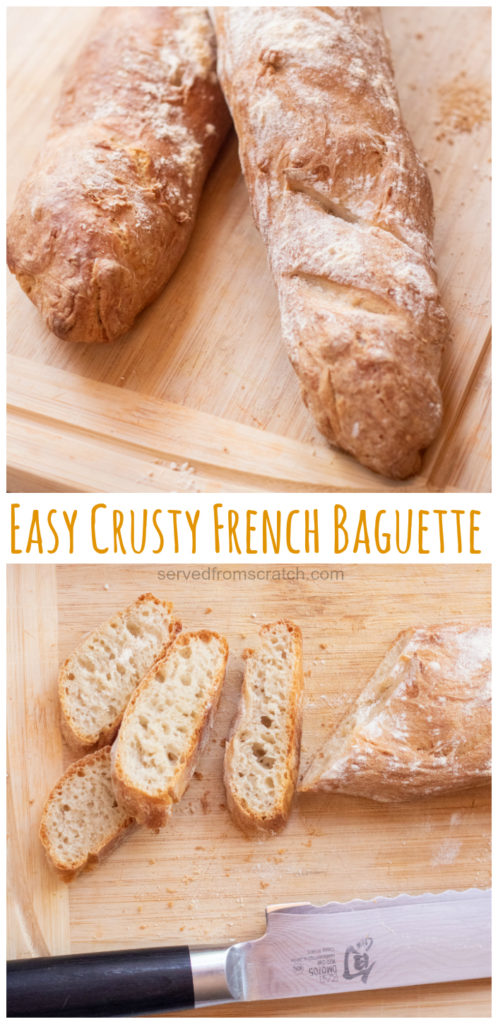
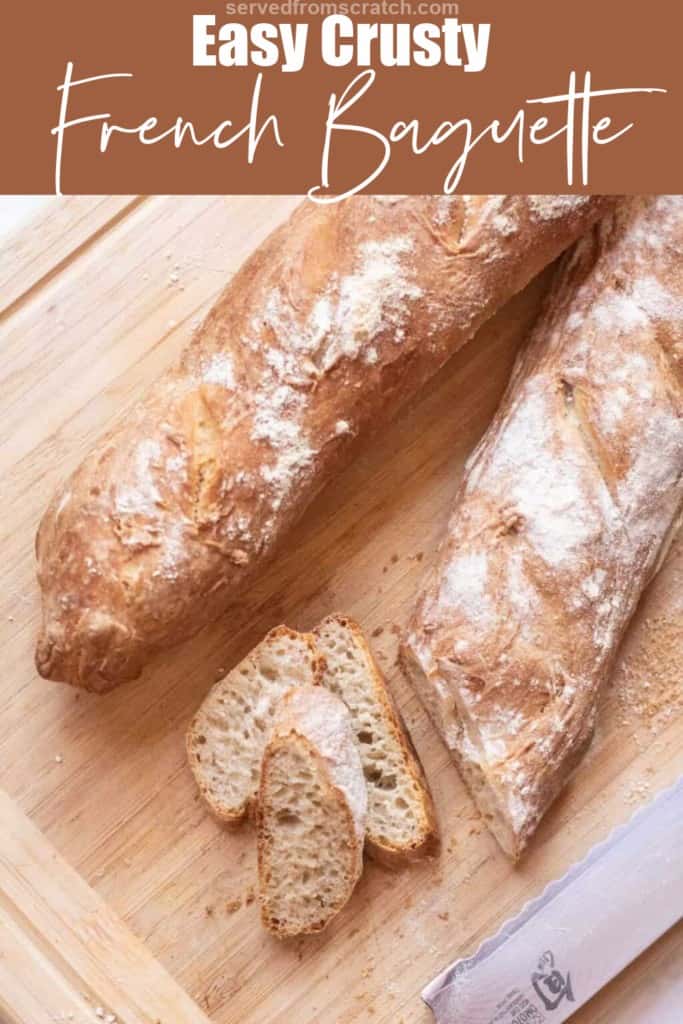
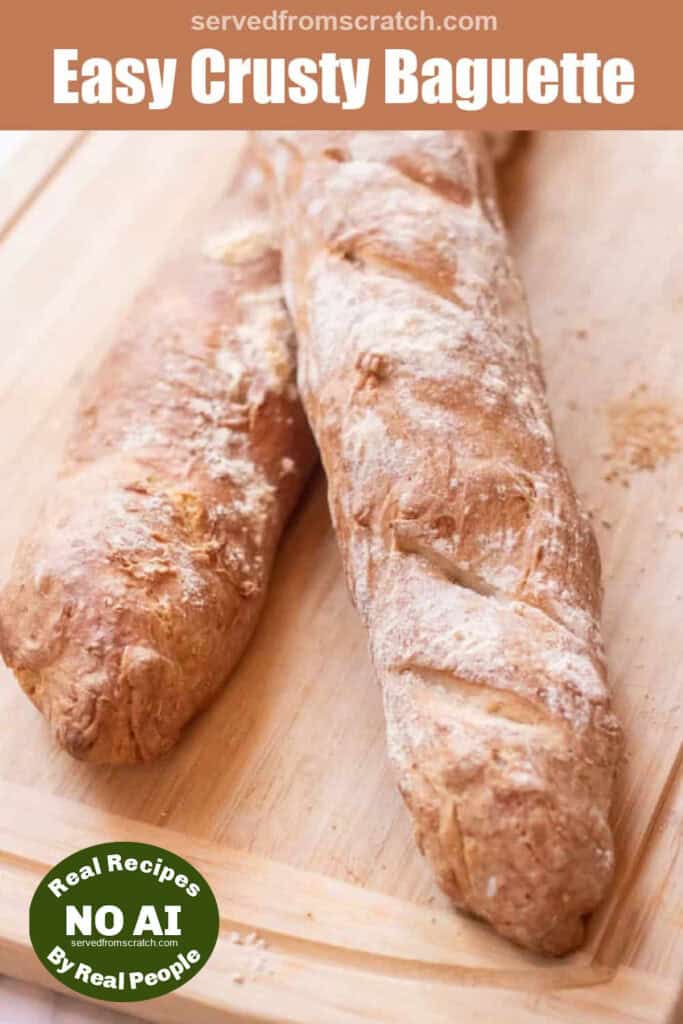
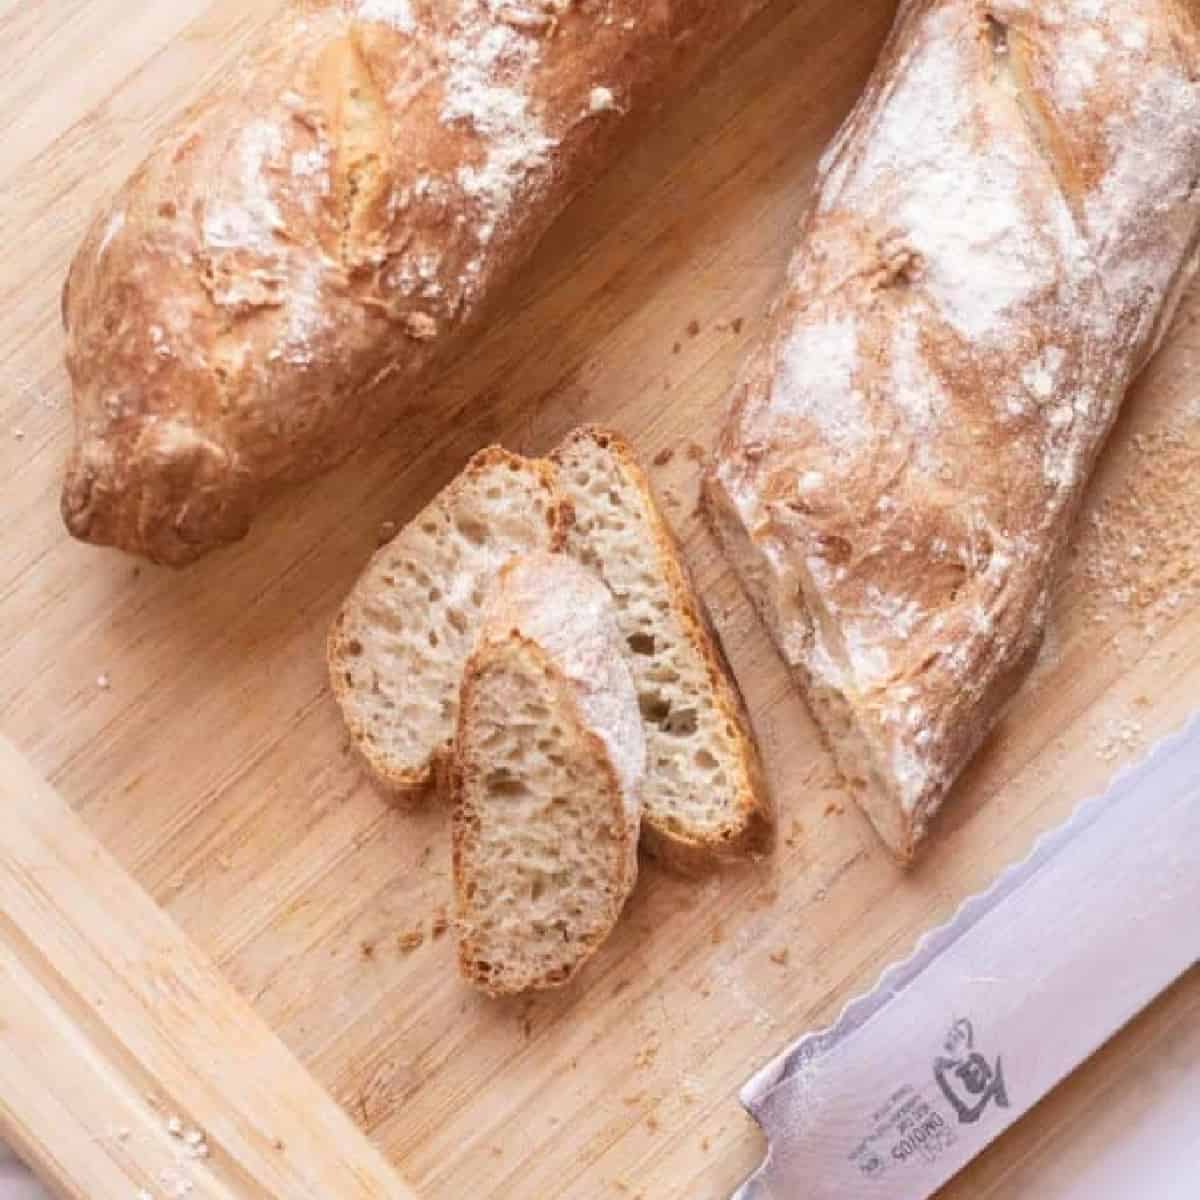
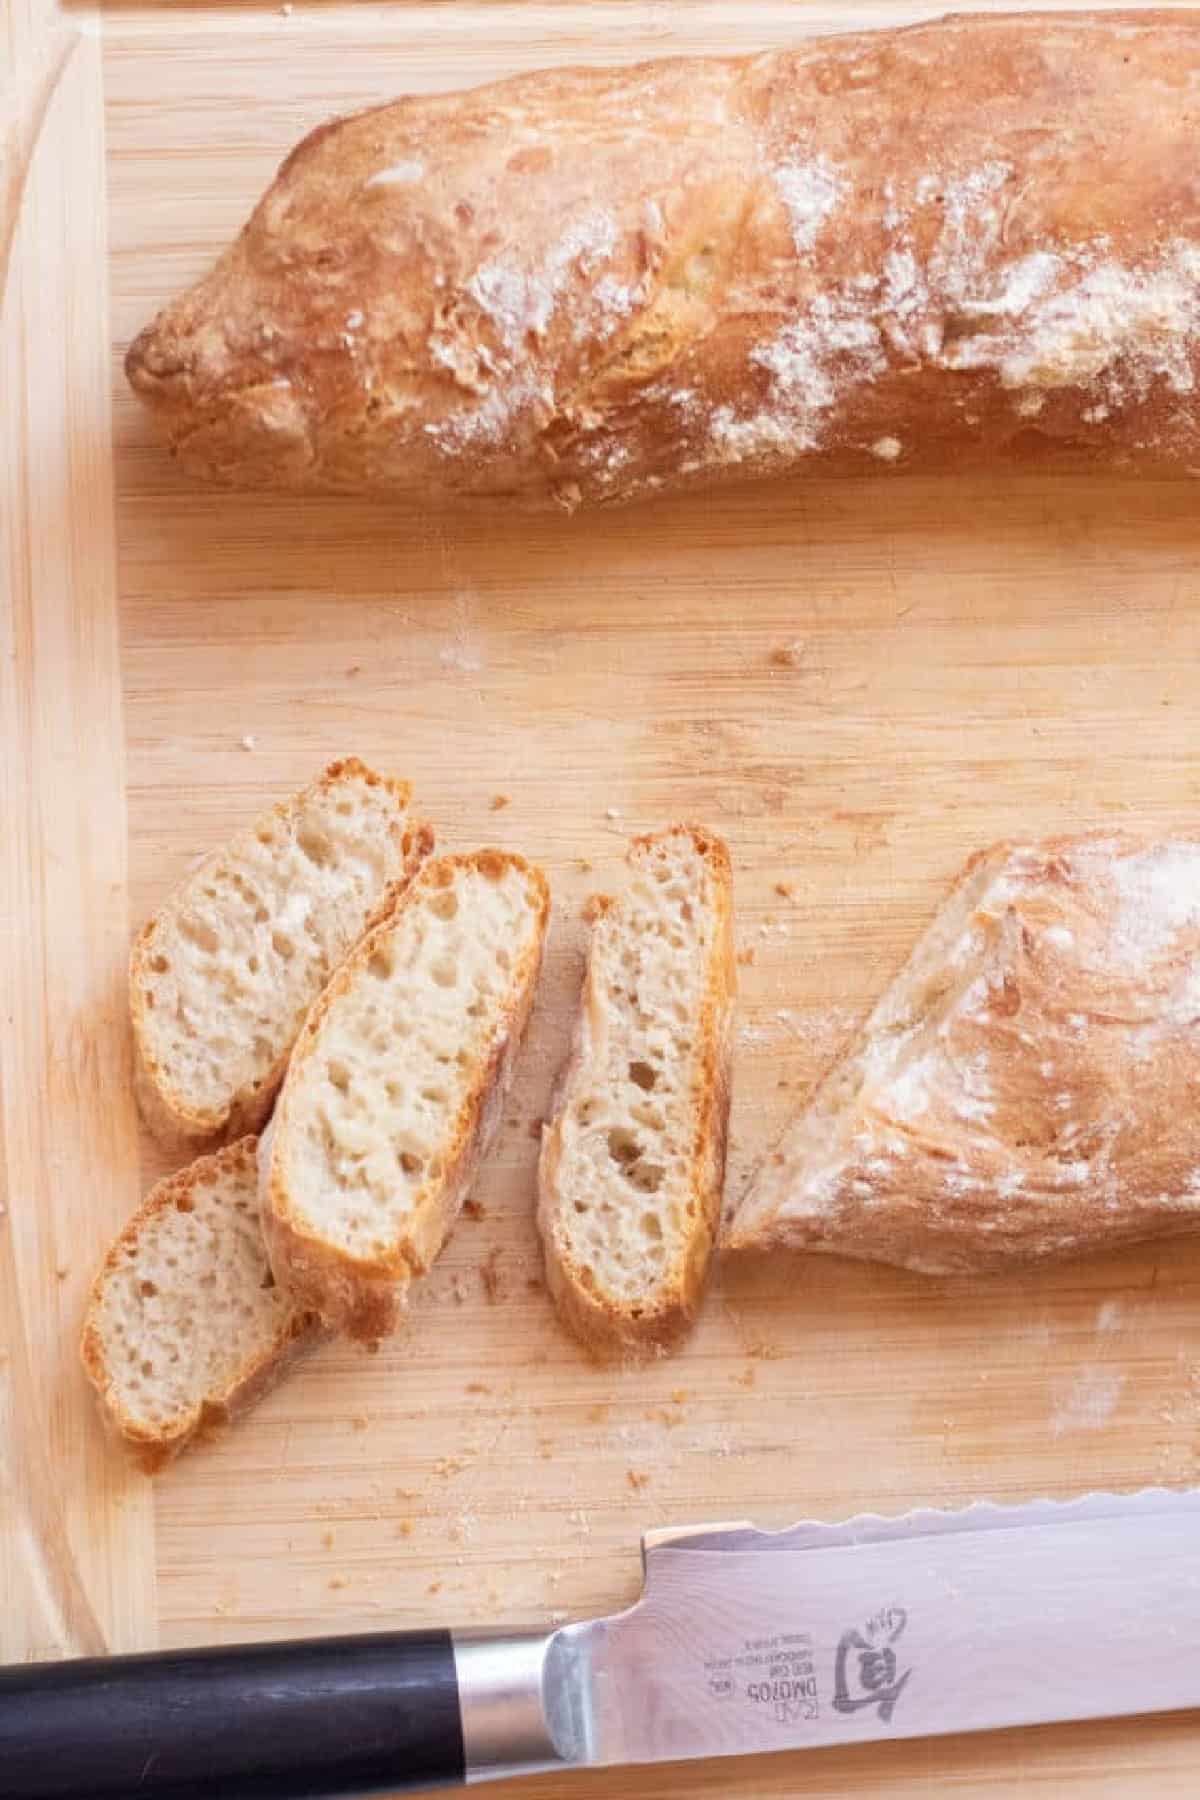
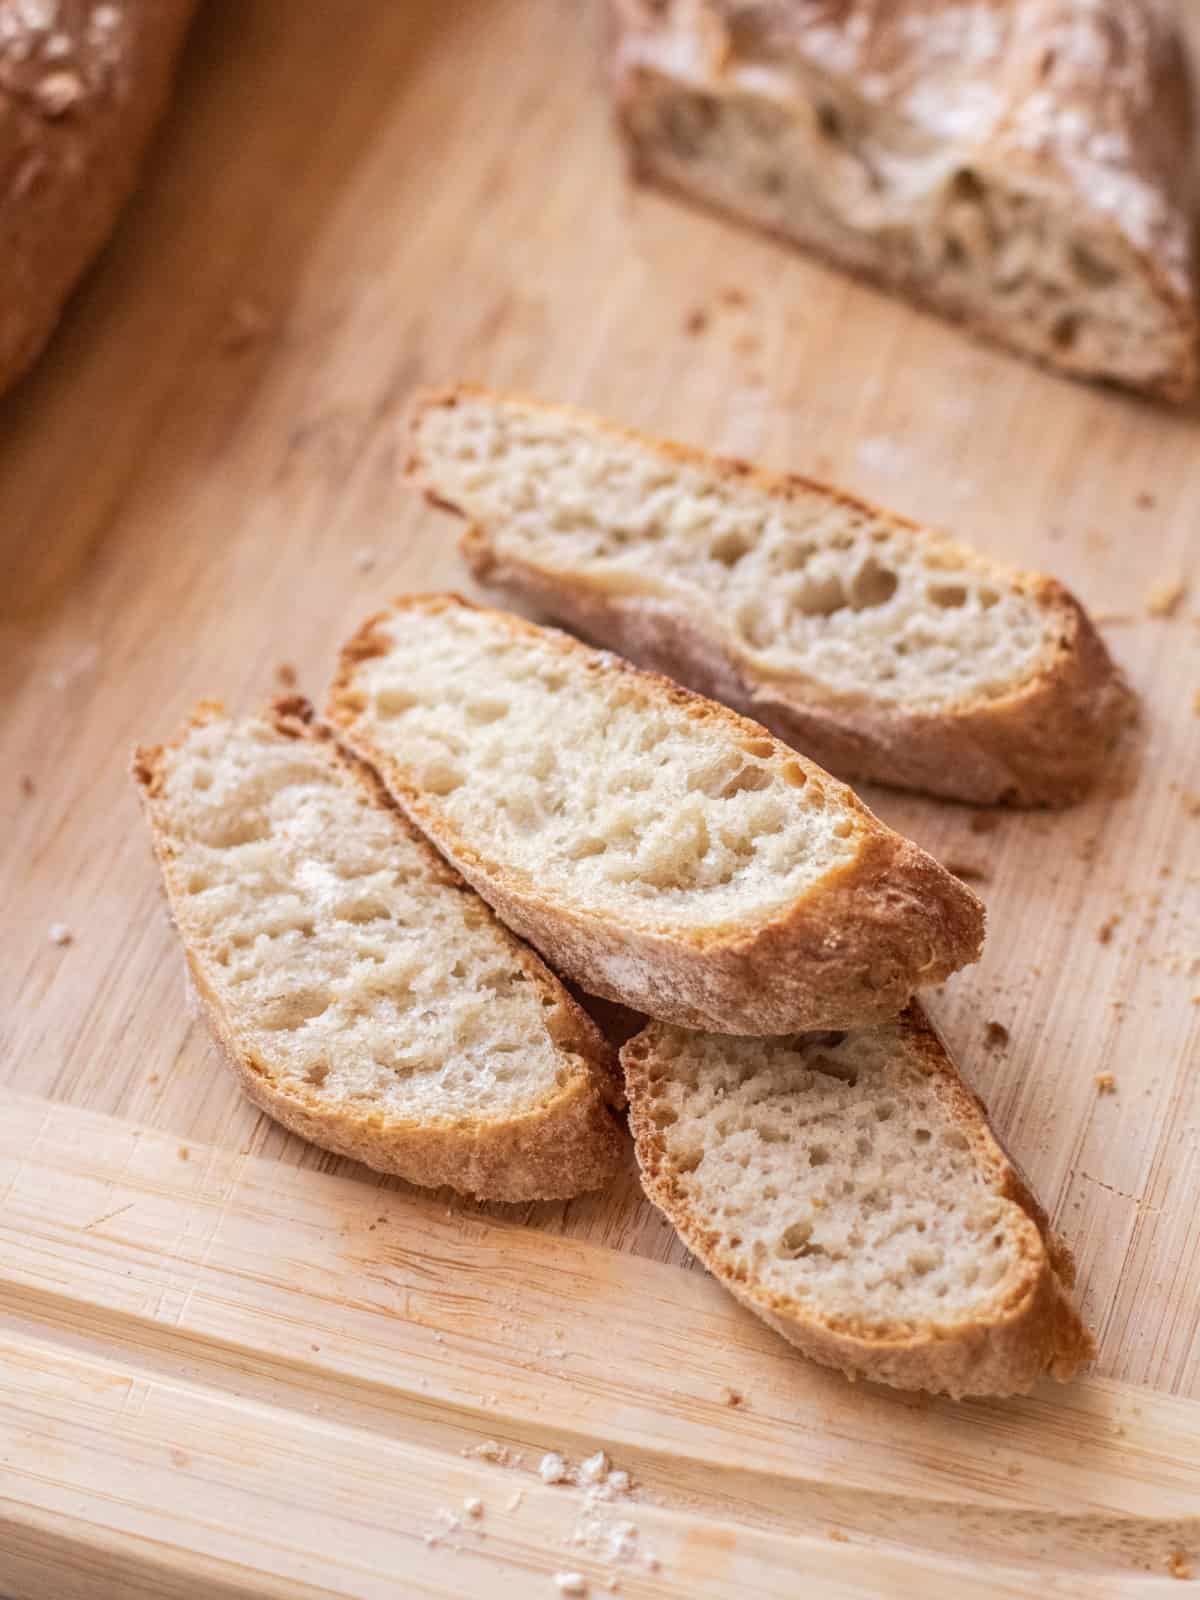
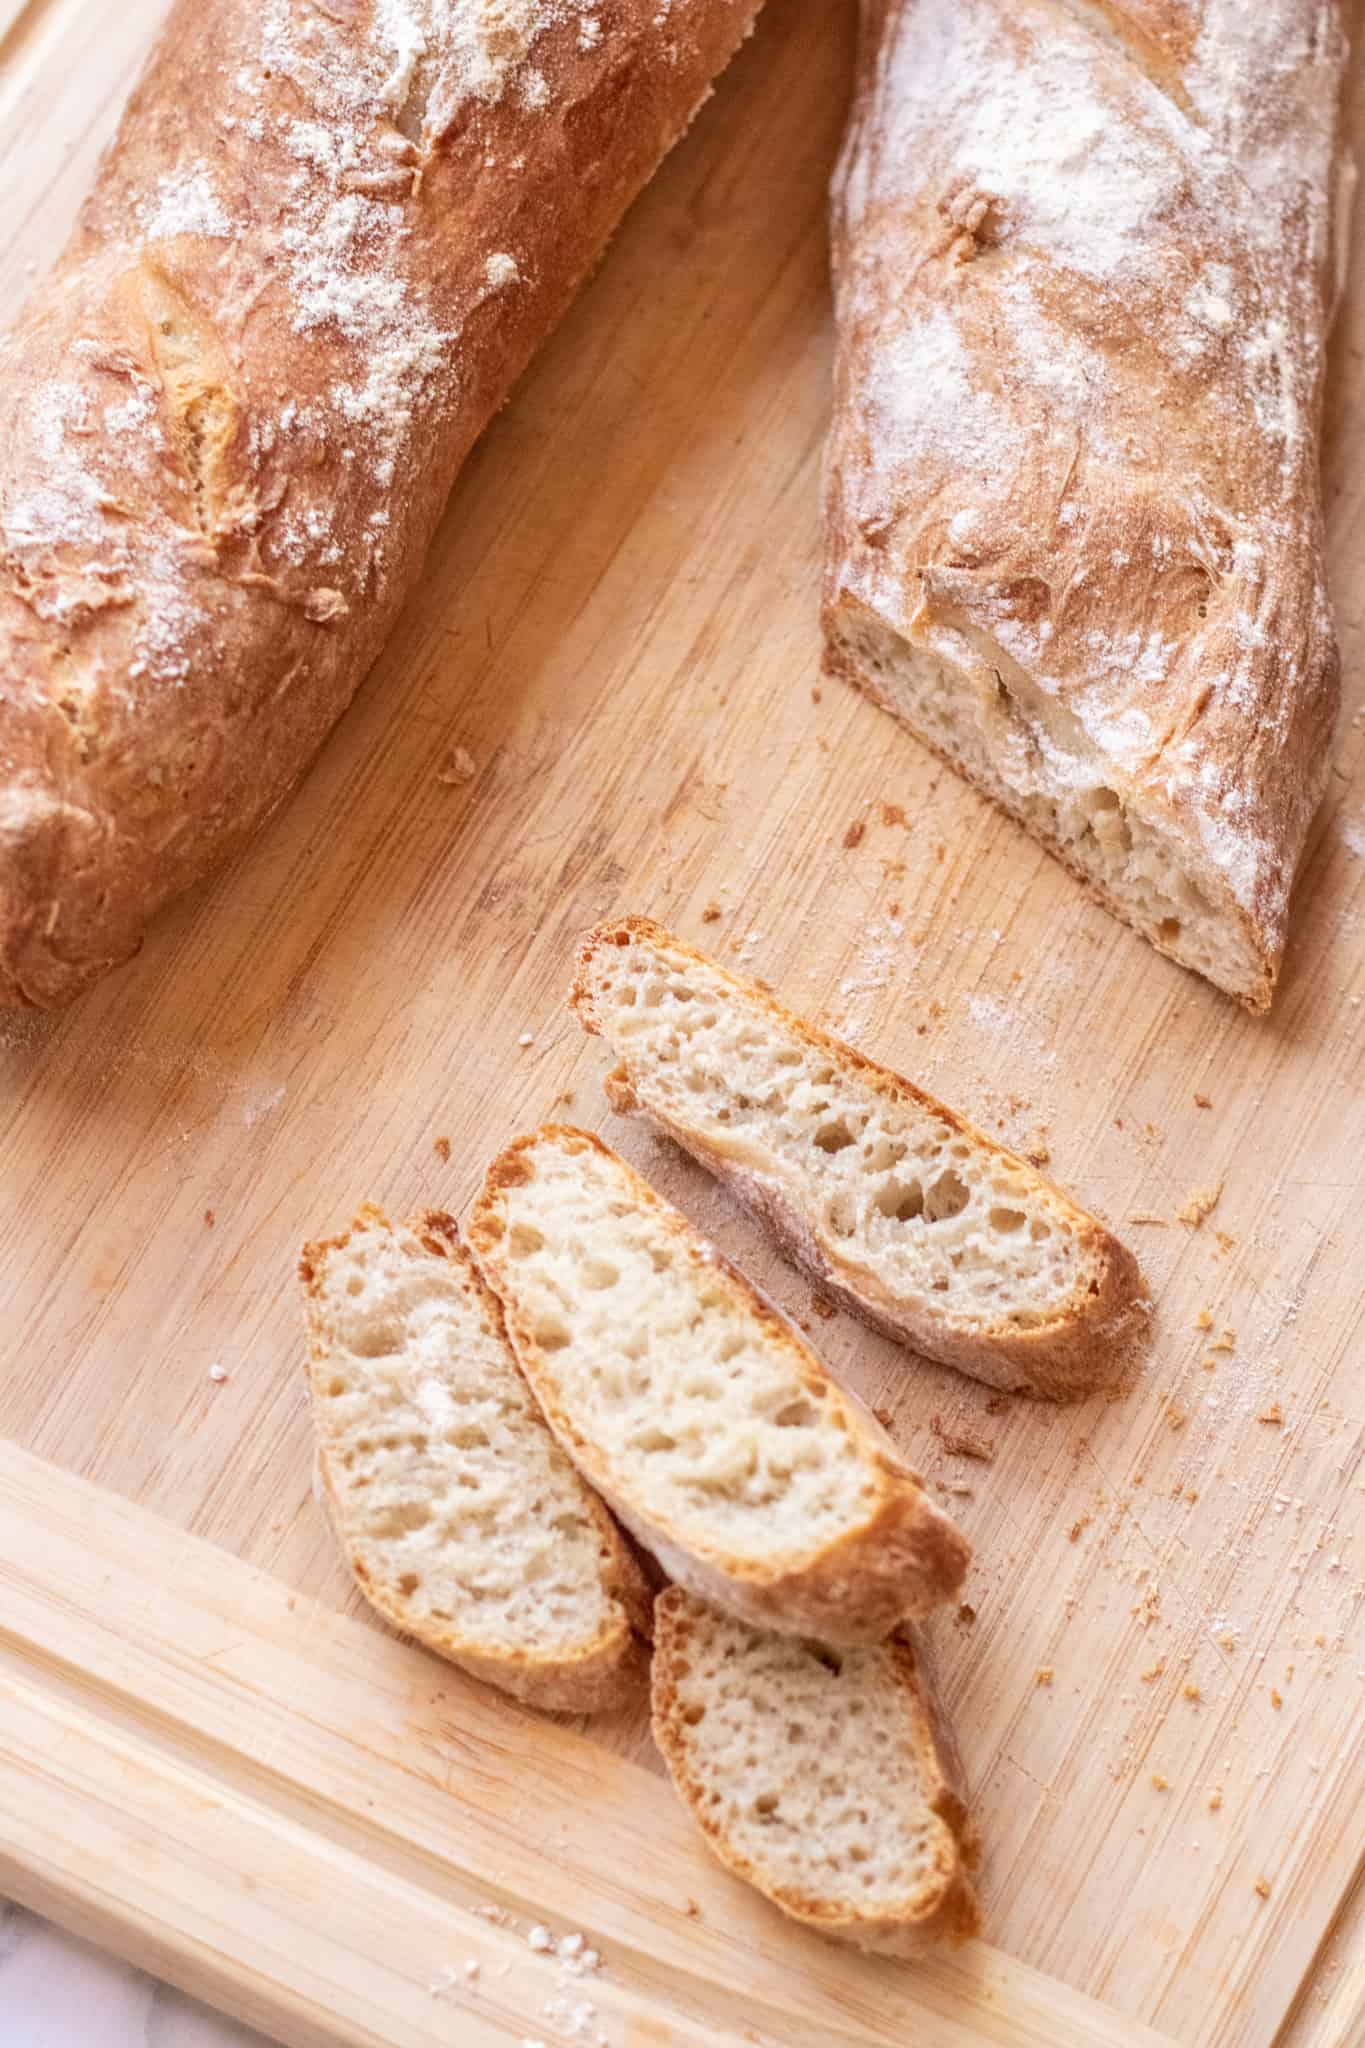
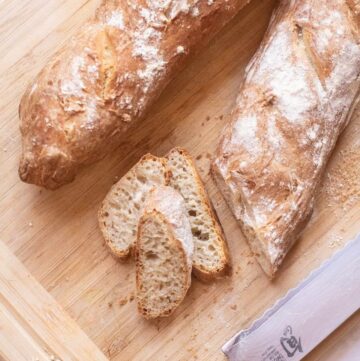
I decided to just make two baguettes, but you could definitely make four. Personally, I like ’em long, but it will make it difficult if you don’t have a sheet pan big enough, so really, this recipe will make up to 4 crusty loaves.
I seriously love this baguette. It is the perfect addition for a wine and cheese afternoon with girlfriends and any cheese board or charcuterie. We love a good baguette.
Favorite Recipes to Serve With:
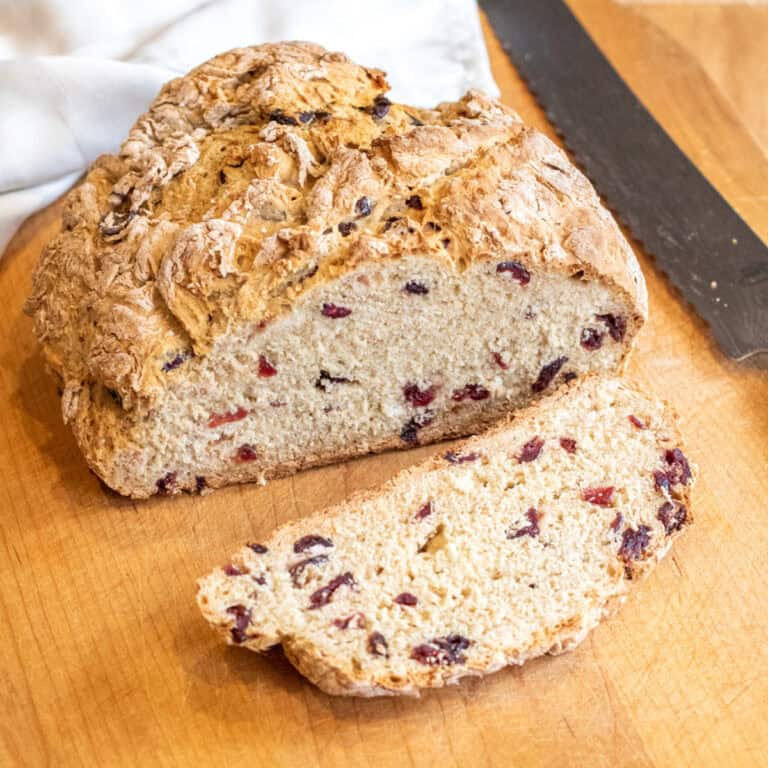
- Easy Tomato Bruschetta
- Chimichurri Steak Crostini
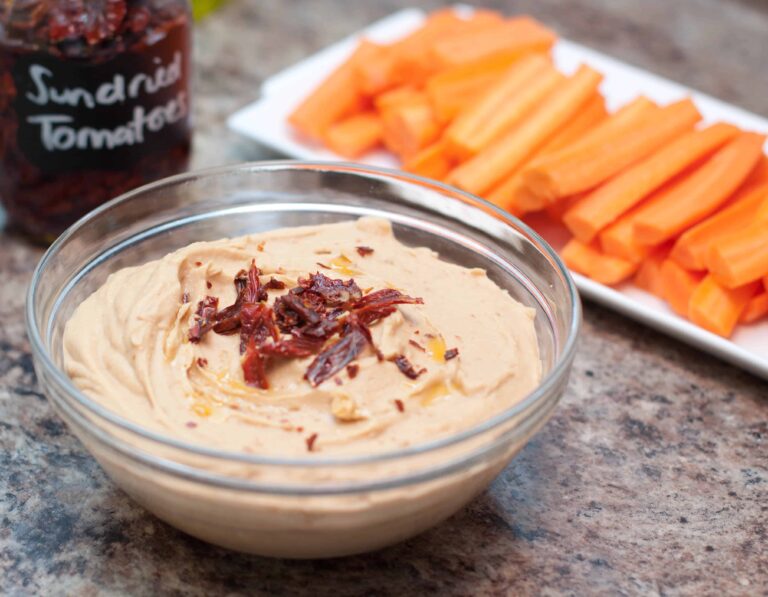
- Sun-dried Tomato Hummus
- Grilled Chicken Banh Mi
- Avocado Corn Salsa
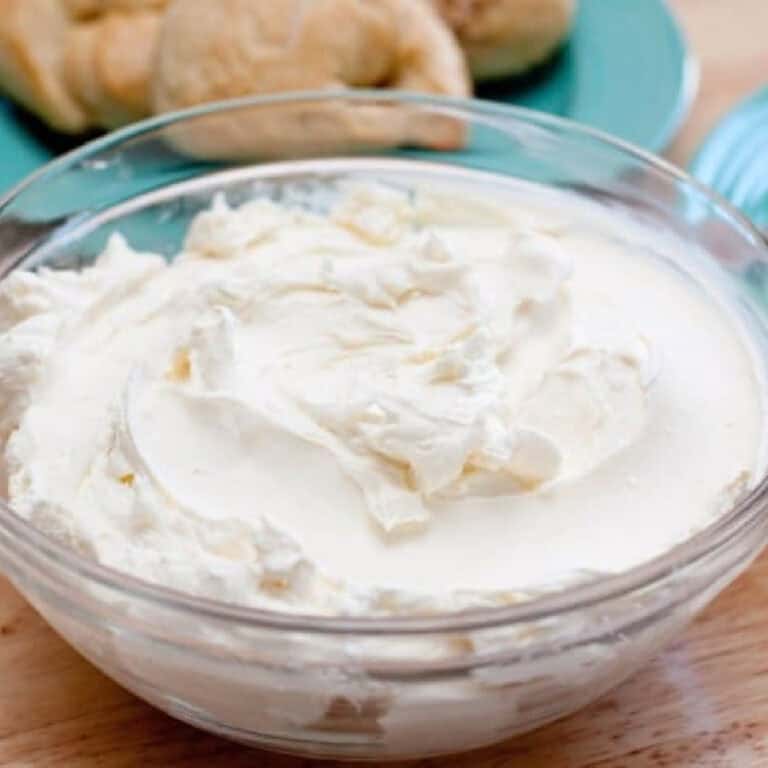
- Whipped Feta and Arugula Crostini
- Candy Cane Charcuterie Board
- Curry Chicken Salad
Or, hey, at this time in lif,e if you just want to sit down with an Easy Crusty French Baguette and some butter with a glass of wine and binge something on Netflix… get it. I’m with you, 100%. Definitely did that with one of these bad boys.
Our Other Favorite Bread Recipes
- Cheesy Pesto Pull-Apart Rolls
- Easy White Sandwich Bread
- Homemade Hawaiian Rolls
- No Knead Rosemary Garlic Bread
- Easy Dinner Rolls From Scratch
- Vietnamese Baguette
So my quarantine baker buds, bake on! As always, if you do please let me know!! I love to hear about it on Facebook, Instagram, and Pinterest!
Easy Crusty French Baguette
Equipment
Ingredients
- 1/4 cup warm water 50 g or 1.75 fl oz
- 2 1/4 teaspoons active yeast 1 packet, 10 g
- 3 2/3 cups bread flour 1 lb or 454 g
- 1 3/4 teaspoons kosher salt 9 g
- 1 1/4 cups water 10 fl oz or 296 g
Instructions
- Add the 1/4 c warm water to a bowl and dissolve the yeast and let activate until bubbly, about 10 minutes. If using instant yeast, no need to wait the 10 minutes.
- In a medium sized bowl, measure out flour, add salt and stir and then add it to the yeast.
- Add water (a little at a time) to the dough and mix into a a shaggy dough. The dough shouldn't be sticky, so you may not need to add all of the water.
- Cover bowl with plastic wrap and let rest for 30 minutes.
- After 30 minutes, add dough to a lightly floured surface and gently knead a couple of times before putting in a lightly oiled bowl to rise. Cover with plastic again and let rise for 1 hr.
- Pre-heat oven to 450 degrees.
- Lightly flour surface. Divide dough in half. And then halve again to get 4 equal portions that are about 10 inches long. Shape doughs into long loaves with pointed ends. Cover with oiled plastic wrap or a dry linen towel and let rise again until almost doubled – about 30-45 minutes.
- Once doubled, gently transfer loaves to parchment lined baking sheets. Sprinkle with flour and then slash with a bread lame slashing tool.
- Spray loaves with water and then add to oven. Set time for 30 minutes. Let bake for 5 minutes (25 min mark) and then spray with water. After another 7 minutes (at 18 min mark) spray again with water.
- Bake for a total of 30 minutes or until baguettes are brown and crusty. Remove from oven and let cool. When the bottom is tapped, they should sound hallow.
- Enjoy!


I love 💕 it!!
So glad to hear it!
Made this baguette. Ours took about 22 minutes, and it was fantastic. The crispy crackle of the outer crust is amazing.
So great to hear, Virginia!
Good Morning! I want to try to make this today (eek!). What do you use to mix the dough? KitchenAid, hands, wooden spoon? Thanks!
You could use any! We’ve done it by hand and with a stand mixer.
Oh dear, my dough wound up being a little wet. Should I cook it for a few minutes more?
Hi! Sorry I didn’t get to you sooner- if the dough is too wet or sticky then adding a little more flour is the best to get the right dough consistency to be able to shape it. What did you end up doing?
Hello! I’m about to put it in the oven and just realized I don’t see a bake temperature- could you please let me know? Thanks so much!! 🙂
450 degrees!
Hi, I’m excited to try these but am wondering where in the oven does the water dish go and which rack do you
cook the baguettes on? Does water go below and racks in middle? Please let me know and thank you!
Hi! The water dish goes on the very bottom rack and bake them on the middle rack, or as close as possible based on your water dish. Enjoy!
Am in the middle of making these gorgeous looking loaves they’re on their second rise. Luckily I was reading through some of the contents and noticed someone asking a question about the water dish. So I see from your response where it goes in the oven, but there was no mention of it in the actual recipe. I know I won’t get an immediate response so I’ll wing it for now, but how much water goes into the dish and do I put it in the oven while it’s preheating or at the same time as the loaves?
Thanks!!
Hi Marelle! Ah that you for saying something – I will note it in the recipe. I actually adjusted the recipe to take out the water dish because I found that it creates a better crispy crust without it. With it, it creates a crust that isn’t quite as crusty.
I let it rise the last time a little too long because I had to get to work and I figured it would just keep rising but the top got hard and I don’t know if it ruined the bread or not? I just peeled it off
These turned out absolutely perfect! I was so proud! Thanks for a great recipe. Wish I could send my pic
That’s great! So glad you enjoyed it. If you have Instagram I’d love to see it- just tag me @servedfromscratch or add it to this Pinterest pin. https://pin.it/4rxVbSd
I made these baguettes today and they were wonderful. My husband said they reminded him of the french bread we used to get from restaurants in New Orleans when we lived there back in the 80s. I had a little trouble shaping them, but that will come with practice. Thank you again for such and easy and delicious baguette recipe.
That’s so great to hear, Susan!! Thank you so much for sharing!
Can I just make one huge loaf with this recipe?
I haven’t tried that yet – but I don’t see why not. It will adjust the cook time, though to ensure that the center is cooked, likely 40-45 minutes.
My first time making baguettes and it was a success! I used them for crostini on New Year’s Eve with my cheeseball and the bread was very tasty. I didn’t transfer the baguettes to a towel for the final rise, as shown in the video (but not suggested in the written recipe instructions). I was afraid of having them not rise as reported by a few reviewers. Instead I placed them on a parchment lined sheet for the final rise and baked them on the same sheet. They were crusty, just as promised.
Thanks so much for sharing, Trish – and for about that missing in the recipe! So glad you enjoyed it!
Hello Tracy I’m making your bread and I only let the rise one hour According to your recipe online but your video says 1 to 2 hours which is correct? So I’m going to have to let the bread rise instead of the 30 to 45 minutes to One hour and 45 minutes. I hope it comes out OK I was planning it to serve it to guest tonight!
Hi Patricia! Sorry that’s not more clear- 1 to 2 hrs, until it’s doubled is what you’re going for. Enjoy!
This turned out well for 6 short baguettes perfect for personal bah mi.
Yum! Sounds like the perfect way to use them!
This bread was delicious! I made the 4 10” baguettes and everyone enjoyed them! Thank you!
So glad you enjoyed it, Margaret! Thanks for letting me know!
Perfect! So easy and delicious!
So glad you enjoyed it, Mikyla!