English Muffins From Scratch
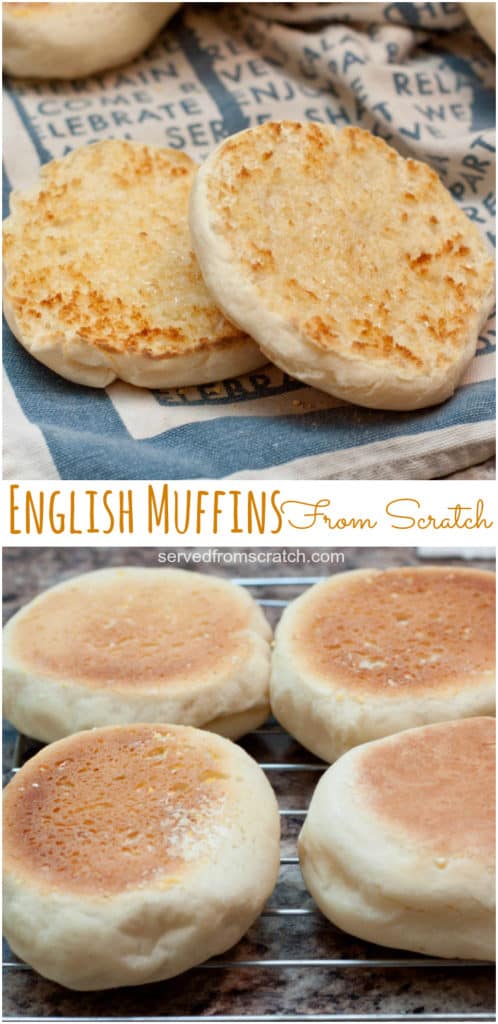
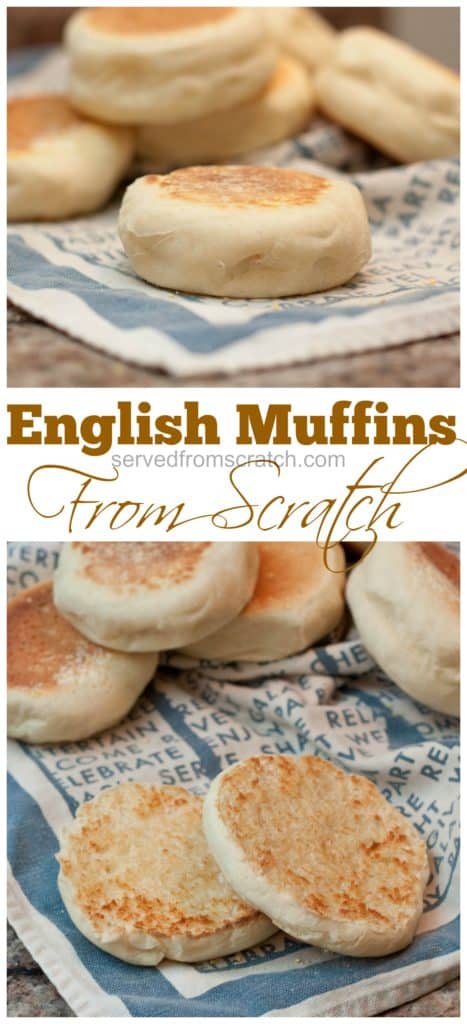
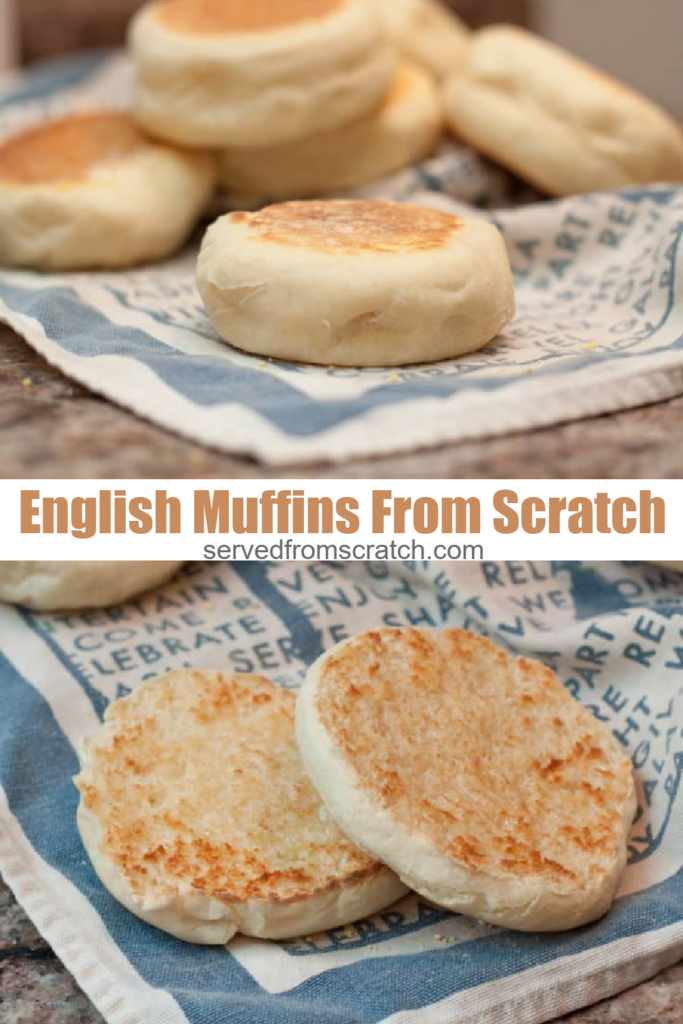


Making your own homemade English Muffins From Scratch is easier than you’d think and sooo tasty without sacrificing any of those famous nooks or crannies!
Serve them with some of our pectin-free Blackberry Jam!
You guys. These English Muffins From Scratch are truly the key to my gluten-loving heart. Yes, like all homemade bread, it’s easier to buy it. But if you’re here, that’s not what it’s about. It’s about taking those simple ingredients, and your two hands, and making something amazing. And these homemade English Muffins, every time I make them, I get excited.
Ingredients Needed
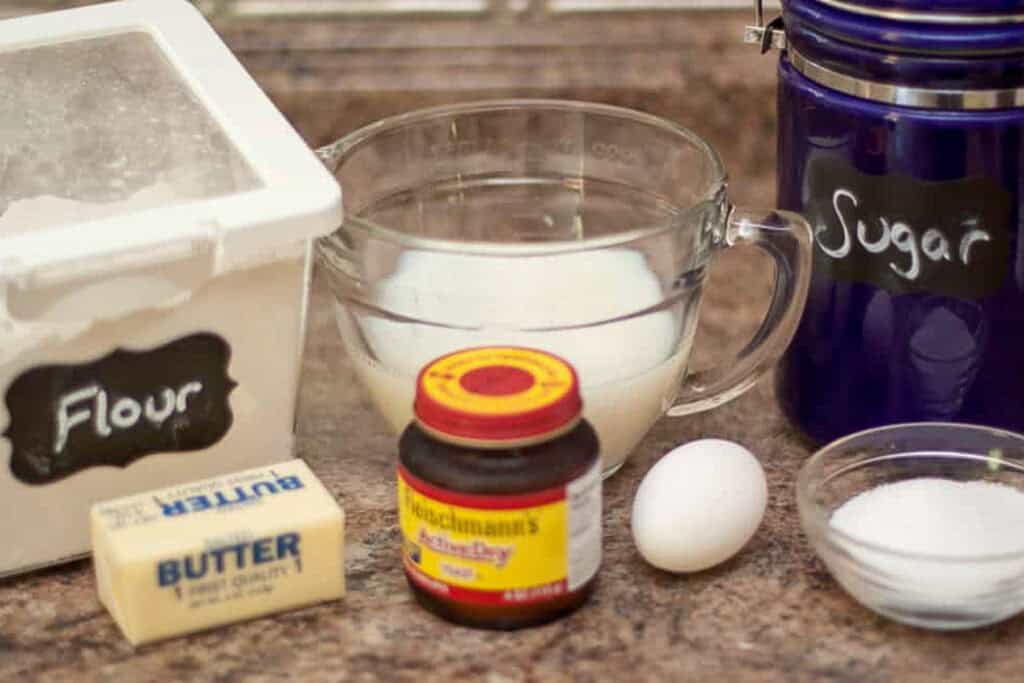
Even better, the ingredients needed are staples in our house.
- All Purpose Flour – Or bread flour. We’ve made them with both and both are delicious!
- Sugar – Regular granulated.
- Milk – 2% is preferred although whole is also fine.
- Unsalted Butter – You can substitute salted butter, but then just adjust the amount of salt, see recipe notes.
- Active Yeast – You can also substitute instant yeast if that’s all you have, but that just means that you don’t have to activate it first.
- Egg and kosher salt
Do you have everything on hand already? Yes? Perfect!
Equipment Needed:
Some of these items aren’t absolutely necessary, but they will help make your life easier.
Kitchen Aid – Or another stand mixer. You could also use a hand mixer (we love this one, and then use a dough hook for the hand mixer).
Kitchen Scale – For under $20, this is something I think should be in everyone’s kitchen! It’s amazing the number of things that you can use it for!
Baking Sheet – This is a great, inexpensive one.
Step-by-Step Instructions
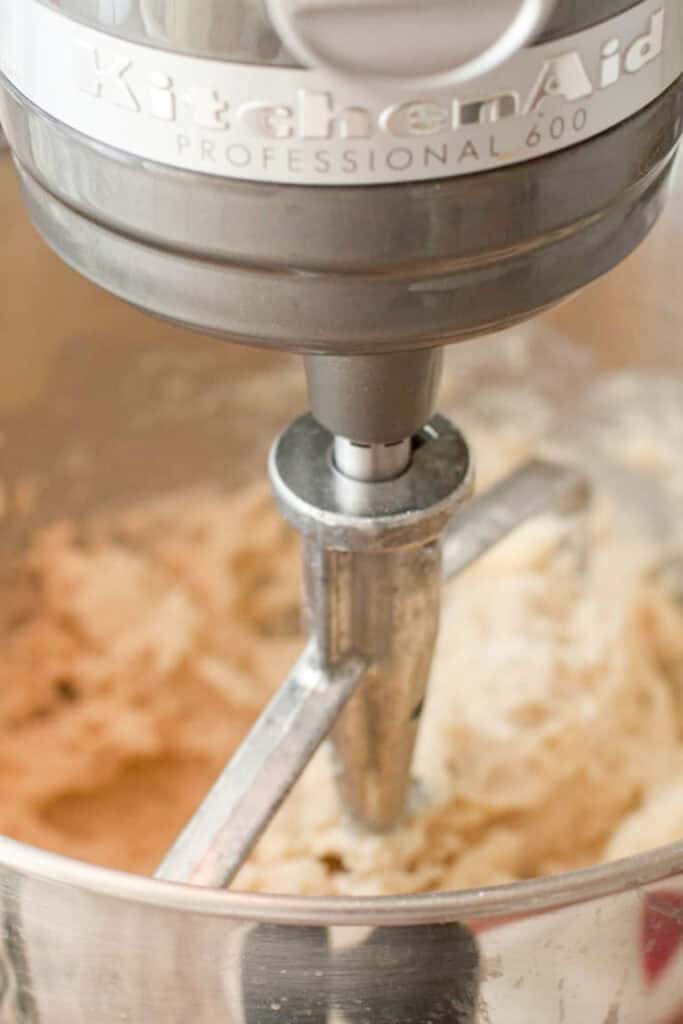
You definitely don’t need a stand mixer, but it will make life easier.
Step 1: Because with one, all you need to do is activate the yeast, and then just add the rest of the ingredients, butter, salt, sugar, egg, and flour.
Tip: No stand mixer? No problem. You can totally use a hand mixer with a hook attachment or mix it well all by hand.
Once it’s all mixed, you’ll have a really sticky dough. Using a spatula will help get it out of your stand mixer!
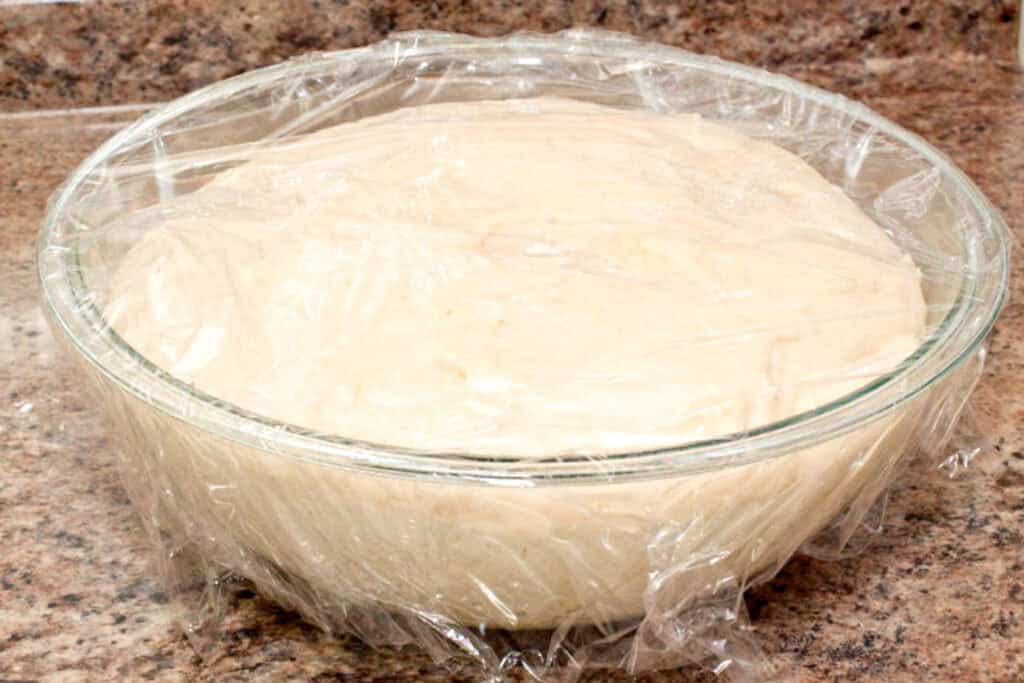
Step 2: Once it’s all mixed together, transfer it to a well oiled large bowl to let the dough rise.
Tip: For easy oiling, we love a Misto!
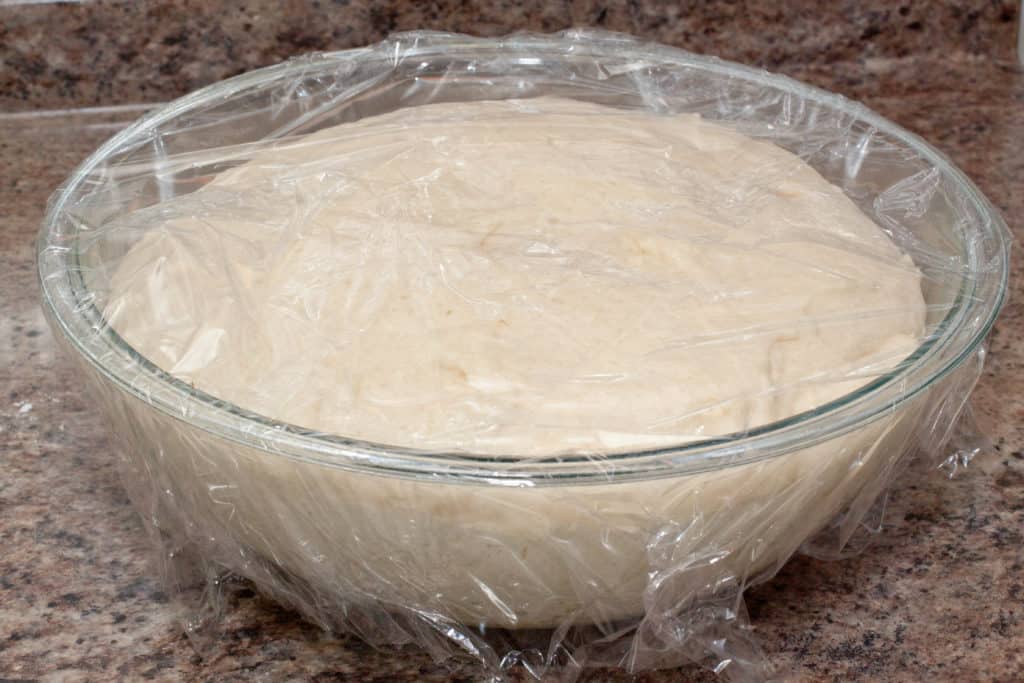
Step 3: Let the dough rise and then you’ll have this beautiful soft, still sticky, dough.
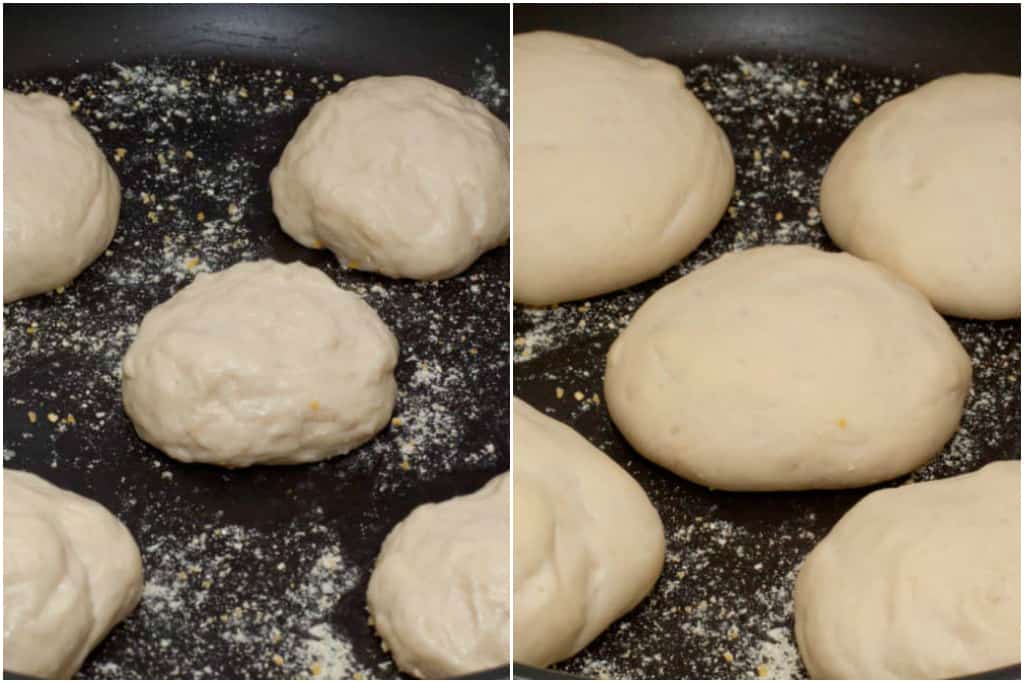
Step 4: Shape the dough and then add to a cornmeal-dusted large non-stick pan or griddle. Add some that
Tip: Here is where a kitchen scale is really helpful for to be able to make your doughs uniform. My pan would only fit about 5 (the rest I put on a baking pan) and then let rise another 20 minutes.
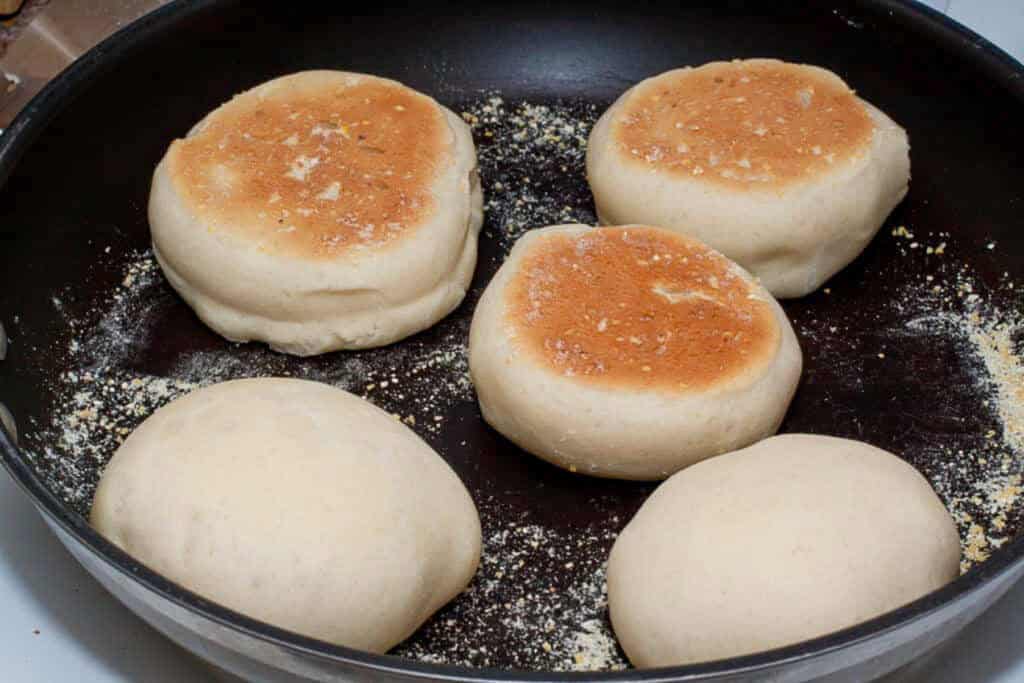
Step 5: Cook on medium low heat for about 10-12 minutes before flipping to cook another 8-10 mins on the other side. Complete with all doughs.

Step 6: Cool on a cooling rack!
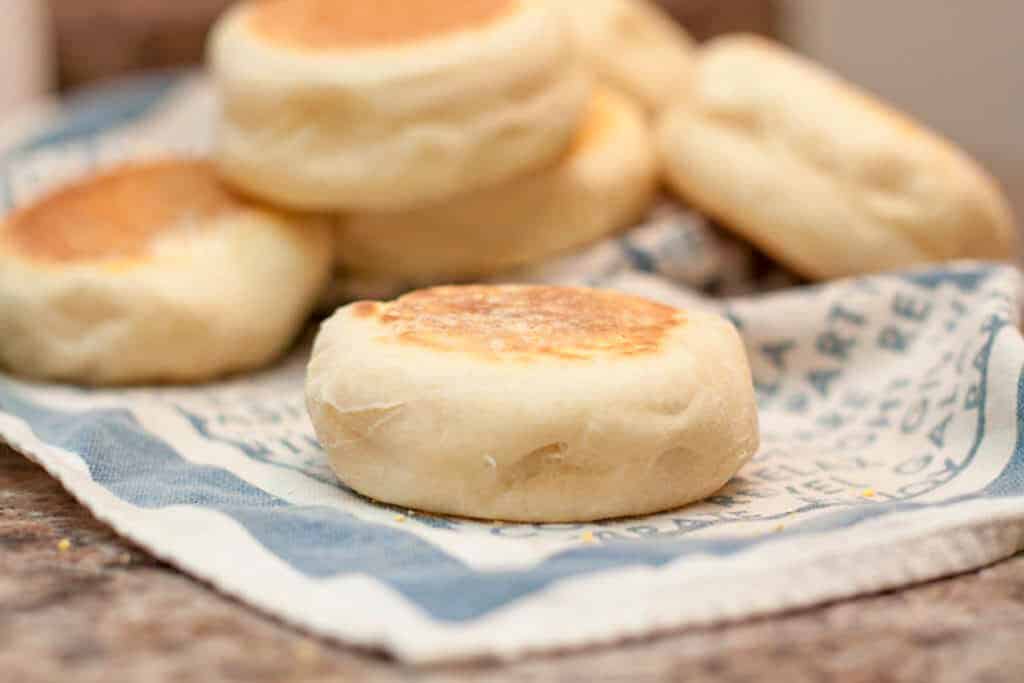
And you’re done! Homemade English muffins! Yes, it takes more time than opening a bag of those “famous” ones, but there’s something about making your own bread that is just so exciting. And these English Muffins are one of my favorite breads to make.
Our Other Favorite Breads
- No Knead Rosemary Garlic Bread
- Cheesy Pesto Pull-Apart Rolls
- Easy Crusty French Baguette
- Easy White Sandwich Bread
- Easy Dinner Rolls From Scratch
- Whole Wheat Honey Oat Bread
- Homemade Hawaiian Rolls
- Easy Homemade Focaccia

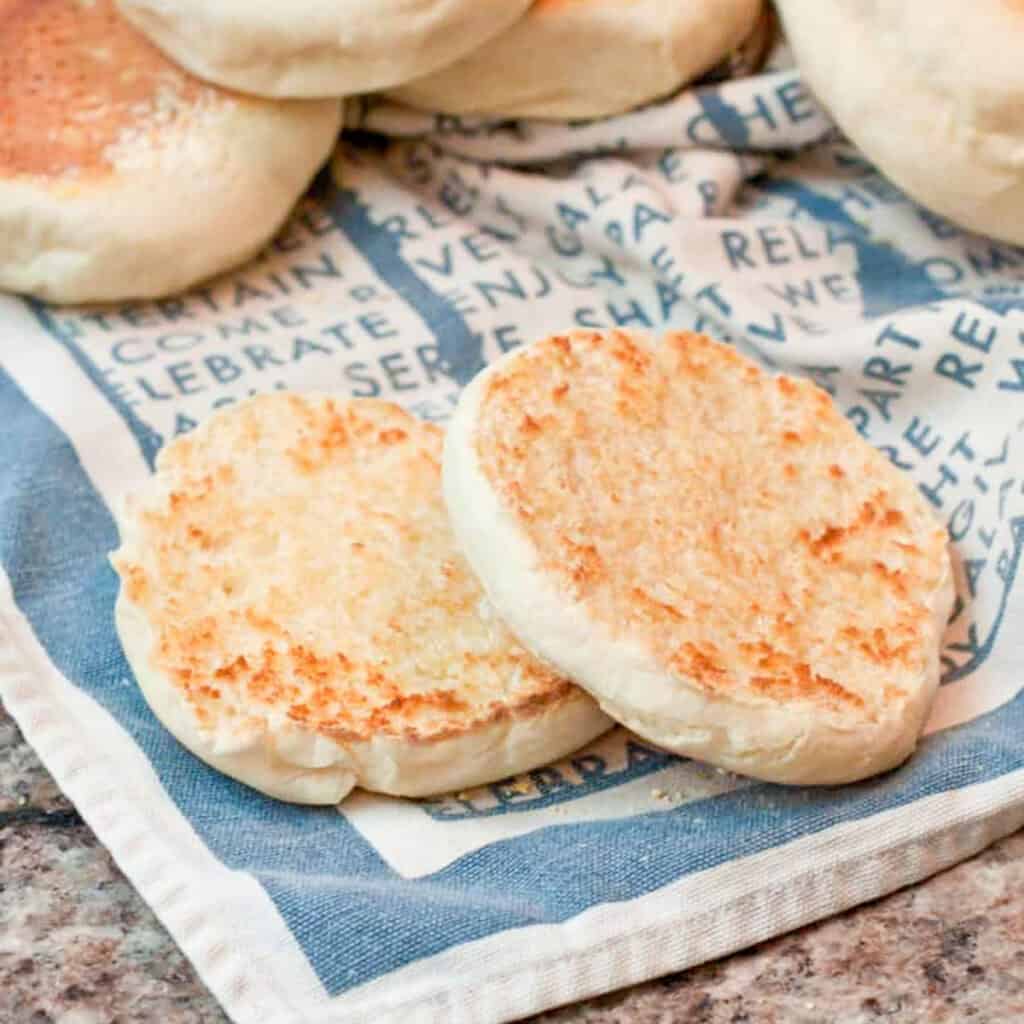
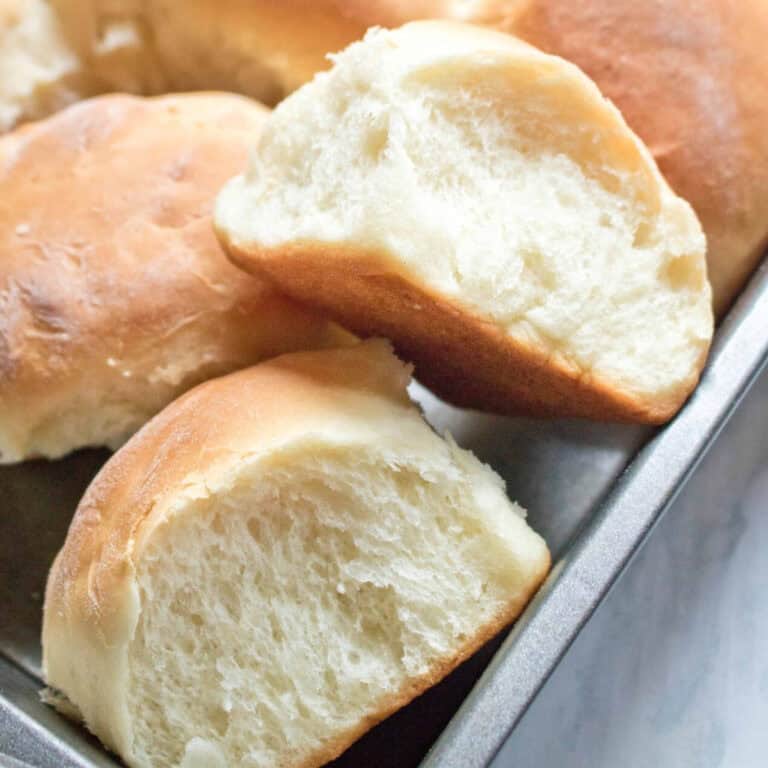
Look at all that space for nooks and crannies! A little toasting, butter, and ahhh homemade English Muffins From Scratch!
FAQs
Either! If you use instant then there’s just no need to activate it.
Yes. It will take longer, but totally doable. Just make sure that everything is mixed really well! Use a spatula and then oil your hands lightly and do the final mixing with your hands.
Yes! We love freezing them to have them on hand whenever we want them- for up to 3 months.
At room temperature, about 2-3 days and in the fridge, about 2 weeks.
Don’t use a knife! Use a fork to gently split the muffin – that way you’ll get the most nooks and crannies!
Enjoy! As always, if you make this recipe or any of my others, I love to hear what you think! Leave a comment below, email me, or you can find me on Facebook, Instagram, and Pinterest!
If you want to see more, be sure to sign up for my 5 Easy Ways to Start Cooking From Scratch!

English Muffins From Scratch
Equipment
- Stand mixer optional
- kitchen scale optional
Ingredients
- 1 3/4 cups lukewarm milk
- 2 1/4 tsp active yeast or 1 package of active yeast, 10 g
- 3 Tbsp unsalted butter softened
- 1 1/4 tsp fine ground salt 9 g
- 2 Tbsp sugar 27 g
- 1 large egg
- 4 1/2 cups all purpose flour 590 g
- Olive oil for bowl and hands
- Cornmeal for pans
Instructions
- Place milk in the bowl of your stand mixer fitted with the paddle attachment and sprinkle yeast over top. Let sit for 10 minutes to activate and then add the butter, salt, sugar, egg, and flour.
- Mix on low until the flour is incorporated and then switch to medium and beat for 5 minutes. The dough will be very soft and sticky.
- Oil a large bowl and then scrape dough out into it, cover, and let rise for about 2 hours.
- Oil your hands (to prevent the dough from sticking) pinch pieces of dough off (2 oz, if you have a kitchen scale or about the size of the center of your palm), form a ball, and place on a (cooled) griddle pan or in a large saute pan that is generously dusted with cornmeal.
- Put the remainder on a baking sheet dusted with cornmeal, or if you have another large saute pan, prep a second pan.
- Let rest for 20 minutes.
- Turn burner to medium low and cook until golden brown, about 10 -12 minutes on the first side and 8-10 min on the second side. (If they brown too quickly, reduce the heat.)
- Heat 2nd pan and cook or carefully transfer the rest from the baking sheet so as not to deflate them and cook until done.
- Let cool completely on a rack before splitting open with a fork.


Very excited to try this! Are you able to rest the dough overnight in the fridge, or will that overprove? I’d love to make them fresh for breakfast, but a two hour rise doesn’t help that 🙂
You know, I haven’t tried that but that’s a great time saving idea! It should be fine – although it’ll change the flavor slightly, but they should still be delicious! Let me know how they turn out! 😀
Can’t wait to make these! Is a cast iron skillet ok for browning the muffins?
Oh definitely!! I hope you enjoy them! Let me know how they turn out! 😀
Is it too late to request these for Mothers Day morning? I have printing off recipes and putting them on my boys desks…big hints. LOL I have never made them from scratch but this looks so fun to do and delicious. Great idea to make some ahead and freeze them so any time you want you can have a delicious homemade English muffin.
I’ve been wanting to make English muffins for a long time too as I can’t buy them here! So happy to have this recipe Tracy! Thank you!! What kind of yeast did you use? I have fresh yeast, will that work?
Hi Naina! I use active dry yeast for these- I’ve never baked with fresh yeast before though! I’m sure it would- do you have a good conversion from dry to active? I’m so curious about the difference!
I just love English muffins and only hope mine would come out at beautiful as yours did!
Aw thanks, Julie! 🙂
I love homemade English muffins! (One of the things I have to work on, now that I’m gluten free… ) So much flavor.
I never used a stand mixer – *until* I fell and hurt my hand – and several years into not baking bread (I’m stubborn) accepted that hand kneading was not going to be easy for me again. But once I had it, I didn’t know how I’d ever baked bread regularly without it!
Awww I’m sorry to hear about your hand, Anne, but what a positive outcome from it! 😉
I have been meaning to make English muffins from scratch for so long now, and have been putting it off putting it off putting it off… but you have totally inspired me! They look so much easier than I keep hyping them up to be, especially with the help of a mixer. (I was without a stand mixer for ages, didn’t think I needed one, then got one as a Christmas gift one year. Now I’m like, why have I been choosing to live in the dark ages for so long?! They are so helpful!)
And I totally agree with your husband’s values about not just getting rid of something and replacing it when it can be repaired. It’s definitely worth a little extra effort if you can get a few more years of use out of something!
P.S. — I just wanted to say I LOVE your blog banner / logo! It’s so simple and cute!
Thanks, Willow! And oh my gosh doesn’t the mixer just change your life?! They’re such life savers – and hopefully now we’ll have ours for many many more years. I hope you do make them – you wont regret it! 😉
I am with you, I don’t enjoy mixing by hand either. I have never made English muffins, but I would love to try.
I absolutely love English Muffins, but I’ve never made them from scratch! I can’t wait to try this recipe
Thanks, Rebecca!
I am super impressed that you were able to get the Kiitchen Aid repaired though. That is something I would procrastinate on FOREVER. My Kitchen Aid is at least 30 years old (originally it was my Grandmas) and luckily (fingers crossed) has never had problems. And what better way to celebrate your repaired Kitchen Aid than with homemade English muffins!?! I made them a few years ago and it was amazing, must do it again, I think the English muffins are the best when it comes to morning bread options 🙂
Oh my gosh I LOVE that your have your Grandma’s! I bet it hasn’t had problems because 30 years ago they were probably built better! The repair people told us that the new ones are built with plastic gears, which is what eventually wore down on us. They replaced them with metal ones which should last a long time- hopefully as long as your Grandmas! 😀