Healthy Homemade Wheat Thins

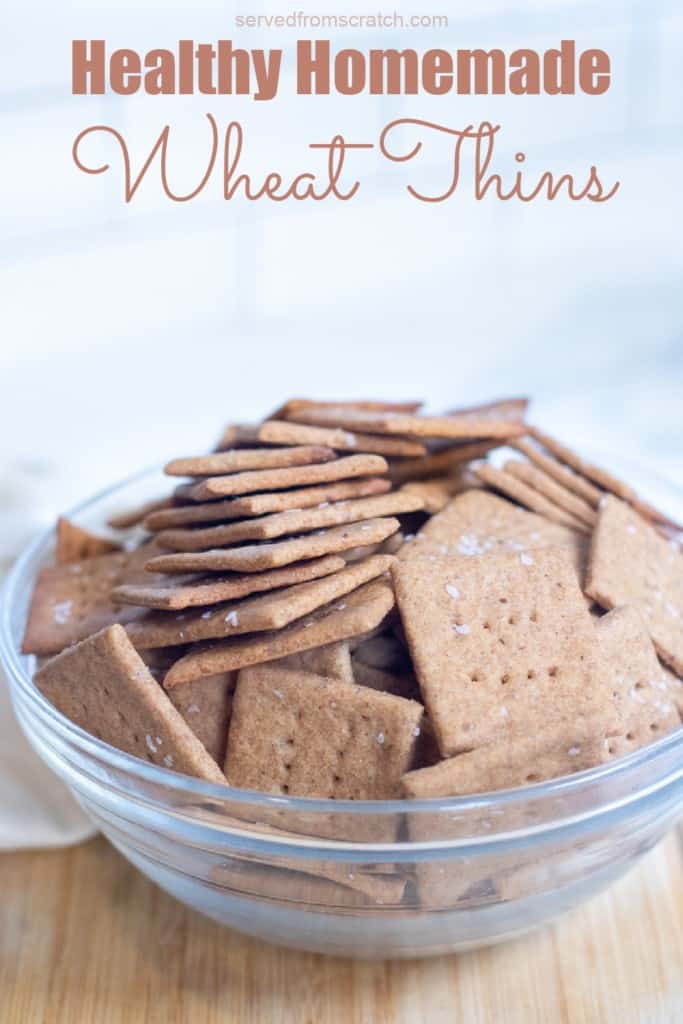
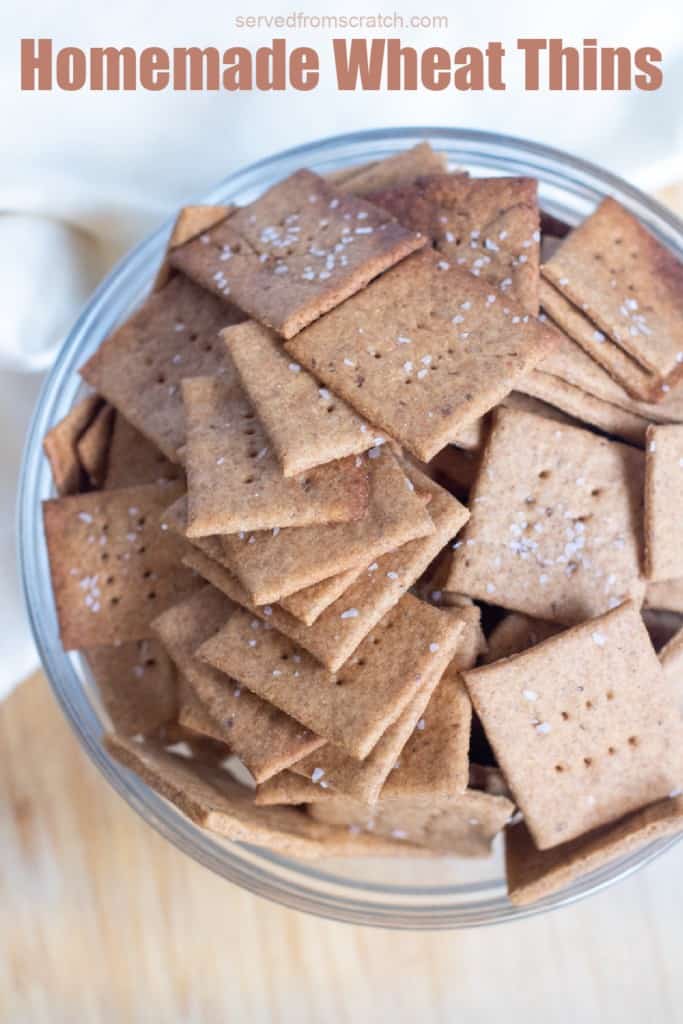
With this homemade wheat cracker recipe, you can recreate a boxed favorite! Our Healthy Homemade Wheat Thins are easy to make, have a little added nutrition, but still have the same amount of crispy crunch as the classic!
If you had to choose just one cracker to only have the rest of your life, what would it be? My husband’s choice: Triscuits. My daughter’s choice? Graham Crackers. My choice? Wheat Thins, hands down. So, since we love making homemade crackers, obviously it was time to create our own Healthy Homemade Wheat Thins!
We first made our own copycat wheat crackers of this classic cracker back in 2016. However, recently, we’ve made them even better. Better texture, healthier, and with a touch of our SFS signature healthy sneak-ins!
Ingredients Needed:
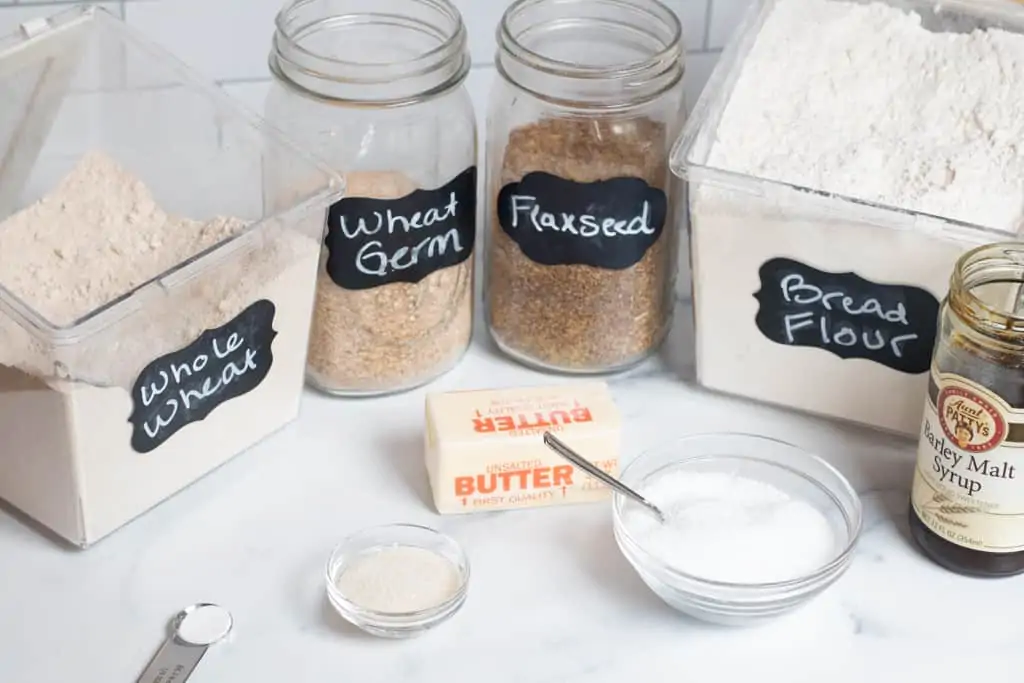
For these homemade wheat crackers, we’ve found a few things are key to giving them that classic wheat thin texture and flavor.
- Whole Wheat Flour AND Bread Flour – Whole wheat flour of course is required for a wheat cracker, but we also found that using a little bread flour, also helps with the structure of the dough and ultimately the texture of the cracker. It’s what helps give the cracker the extra little snap.
- Wheat Germ – This is really key to creating that signature Wheat Thin texture.
- Ground Flaxseed – This also not only adds to the texture of the cracker, but also adds a little bit of extra healthy omega-3 fats, fiber, protien, and other vitamins and nutritents critical to overall good health.
- Barley Malt Syrup – Adds to not only the color, but also the flavor.
- Butter – Unsalted is best, but you can of course use salted if that’s all that you have. In that case, just reduce the salt a touch.
- Sugar – We love cane sugar for this recipe, but you can of course use regular granulated as well. Just a touch, these homemade wheat crackers definitely are not sweet, but just the right amount of sugar adds to the right flavor balance.
- Baking Soda– Just a tiny bit.
- Salt – We prefer to use an iodized table salt for the dough, but then top the crackers with a course ground kosher salt.
Tip: Barley Malt Syrup is definitely something I recommend everyone keep a jar in their fridge if you like to do any kind of bread/cracker baking. Not only is it key for this homemade cracker recipe, but we also use it for artisan bread and bagels!
Easy to Make

Making the dough for these homemade crackers is super fast and easy – especially if you have a food processor. It’s simply a matter of adding everything but the butter (and some reserved salt), blending, then cutting in the cold butter with water, and boom. Done.
No Food Processor? No problem. While it won’t be as easy, still totally doable. You can still make the dough by hand. But I do also suggest this handy dandy little tool for cutting in the butter.
Tips for Cutting Crackers
Once your dough comes together (whether in the food processor or by hand), then it’s just a matter of rolling it out on parchment paper, and this is honestly the “most difficult” part of making these crackers. Spoiler: it’s not that hard with these tips – and with this little wheeled dough cutter!
Tip 1: Cut parchment paper the size of the baking sheet you’re going to use.
This will make it easy to prep the crackers and just slide the whole piece of parchment paper onto your baking sheet. You don’t want to have to mess with that after you’ve rolled out your dough.

Tip 2: Separate the doughs in two and try to roll them out as close to rectangles as possible.
Having pre-cut parchment paper is key for this. Also key to rolling out your dough as thin as possible. The thinner the better, because that’s what’s going to make these Healthy Homemade Wheat Thins thin and crispy!
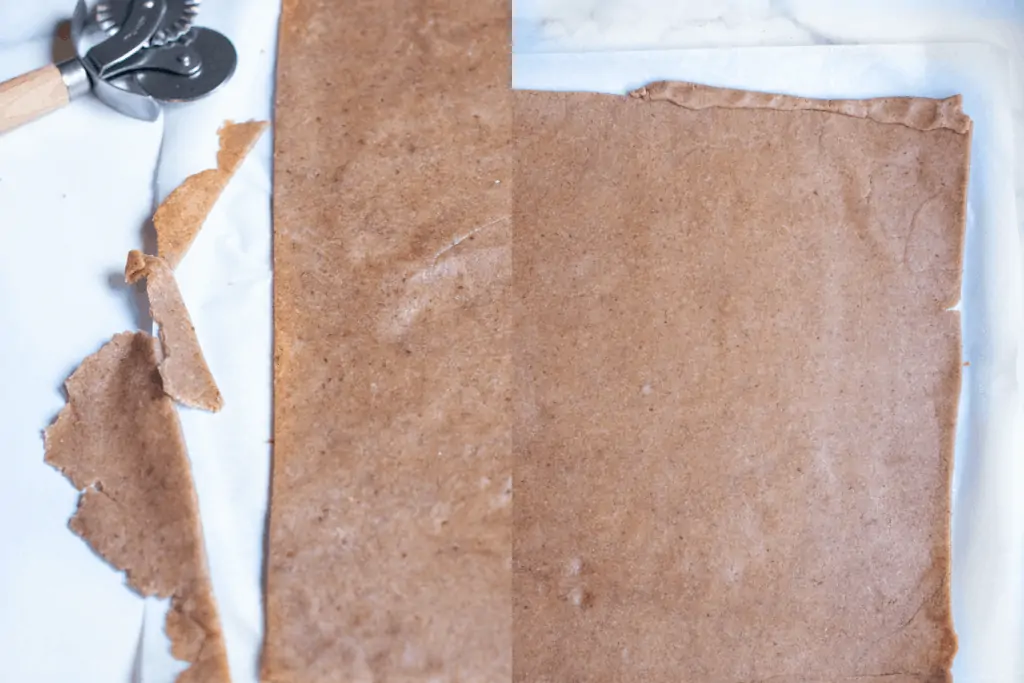
Tip 3: Cut edges and use that dough to finish shaping the rectangle.
Obviously, rolling out a perfect rectangle is impossible. But you can fabricate one! Use a little pastry wheel (or knife) and cut a nice clean edge, and then use that extra dough to “fill in” the other areas of the rolled-out dough to make it into a nice rectangle.
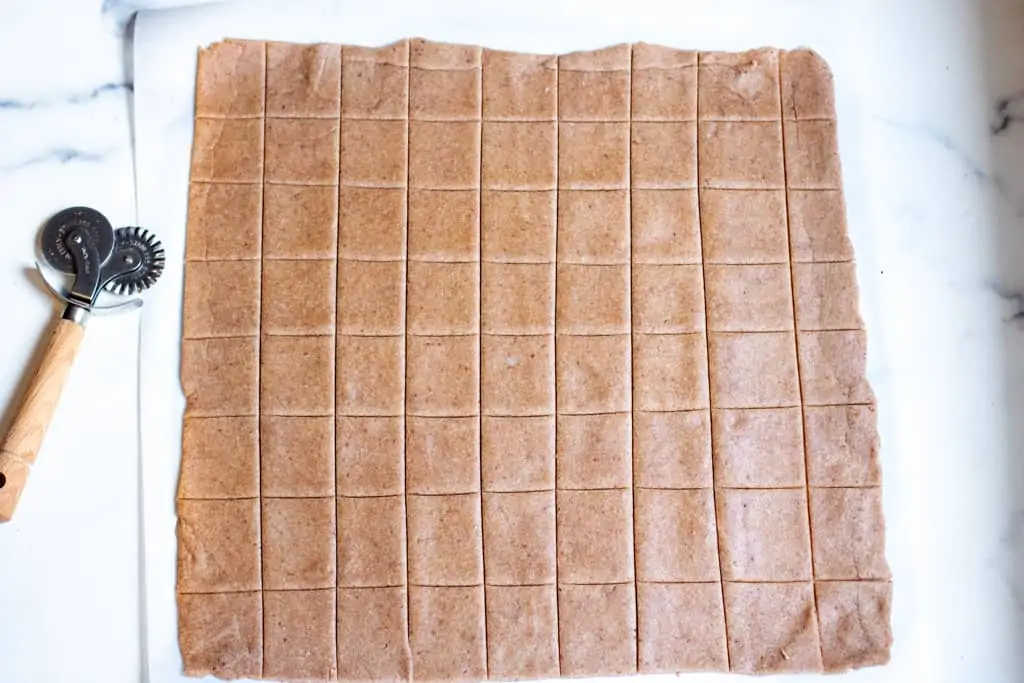
Once you have as close to a rectangle as you’re going to get, then you’ll be able to use the pastry wheel to make little cracker squares.
No need to separate the crackers, you can bake them just like this.
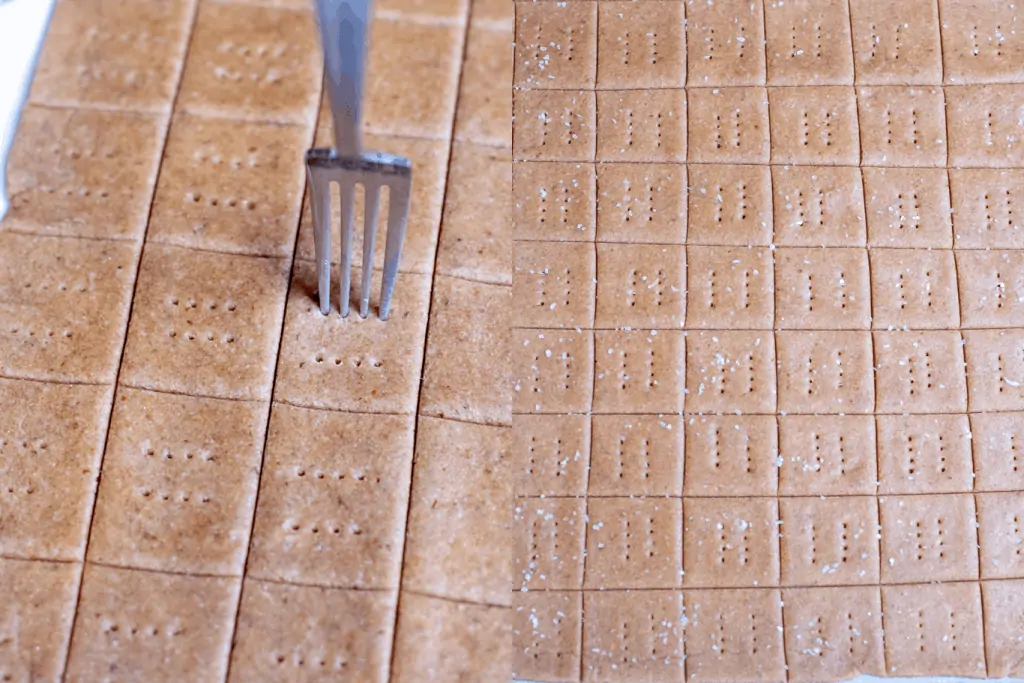
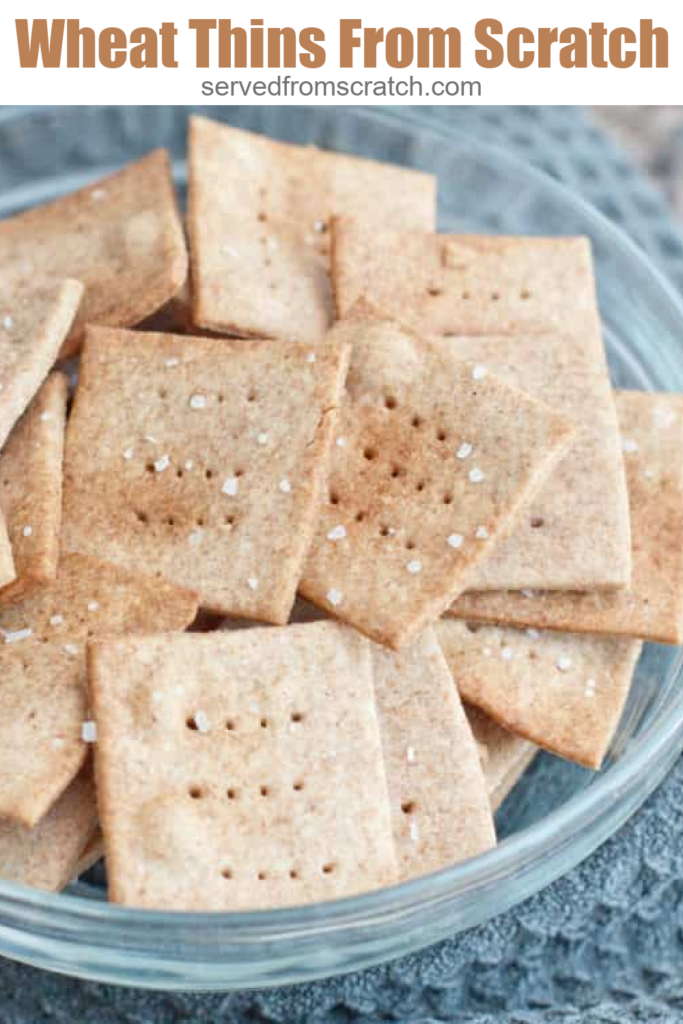
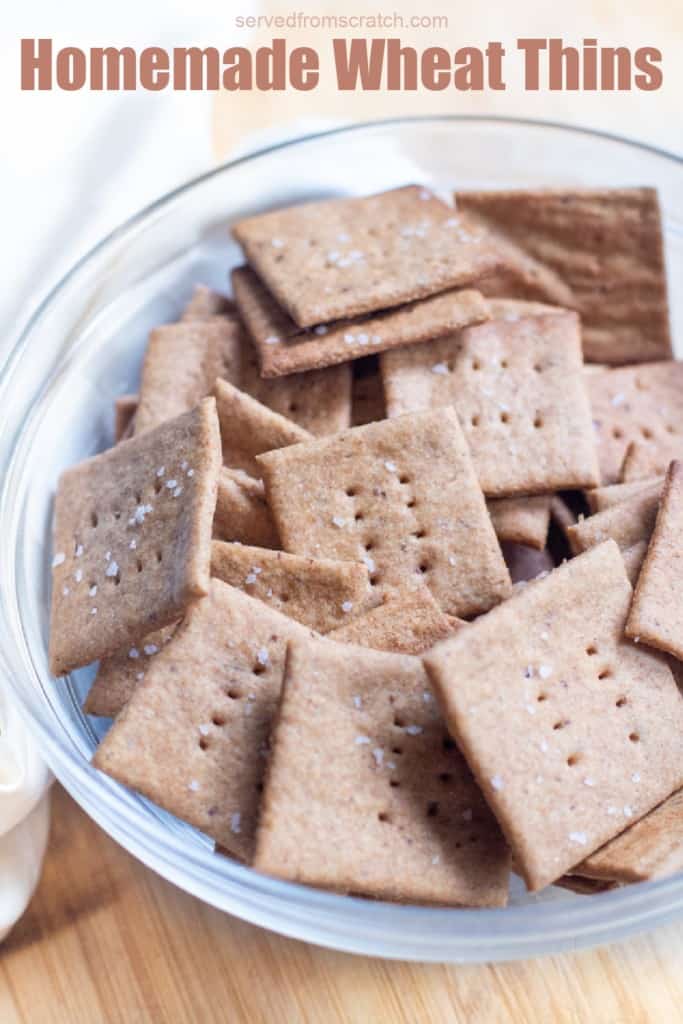
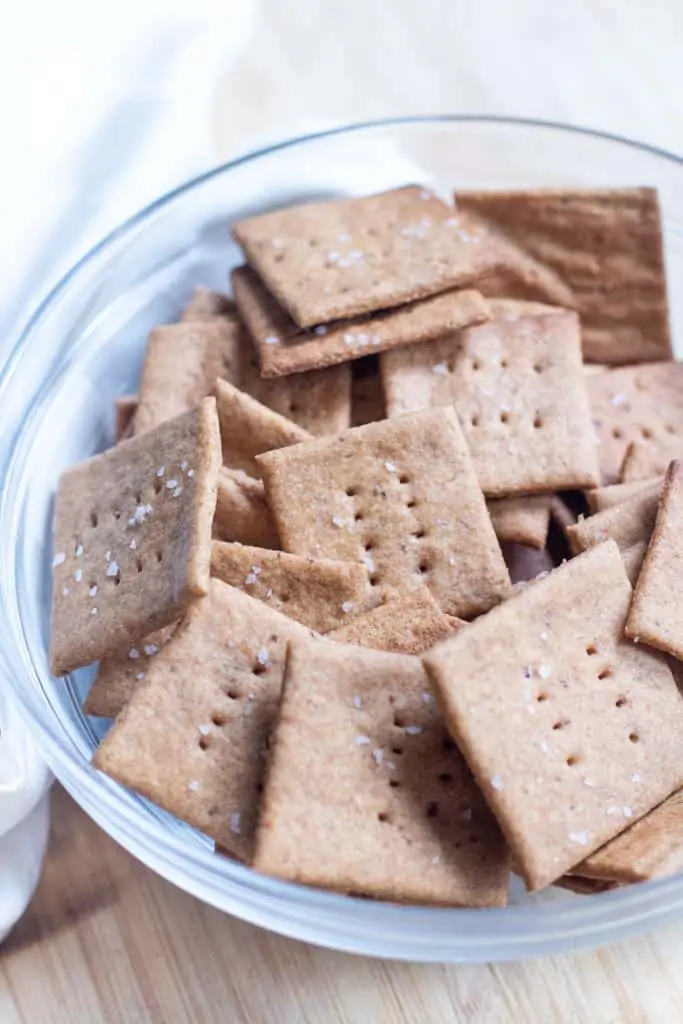
The last step is to pierce the individual crackers with a fork and top with some course salt.
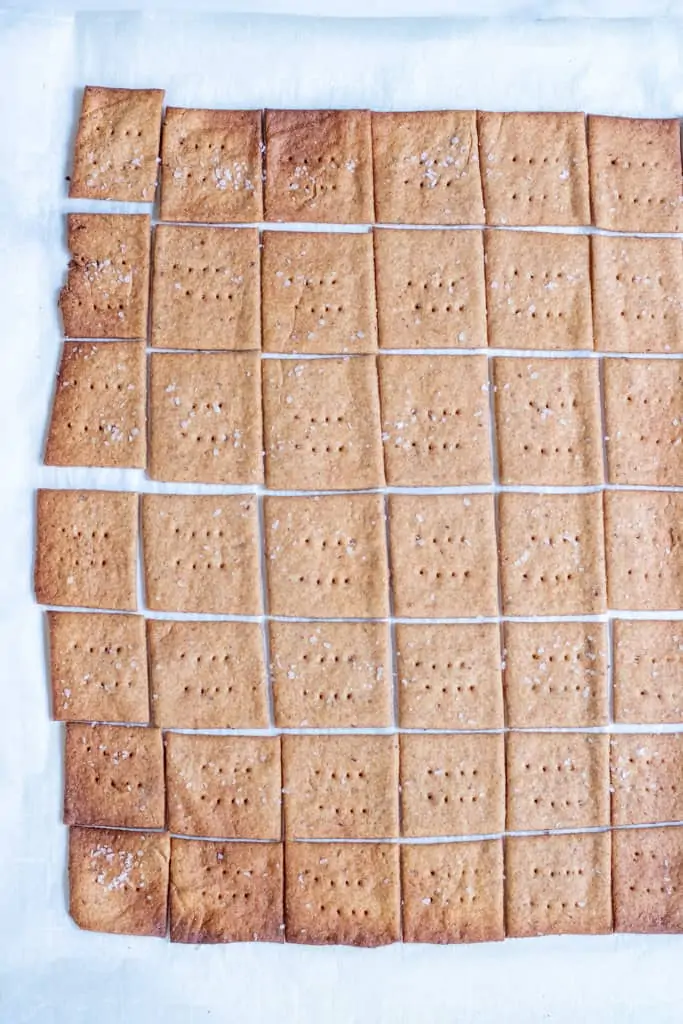
And finally baked to crispy cracker perfection!

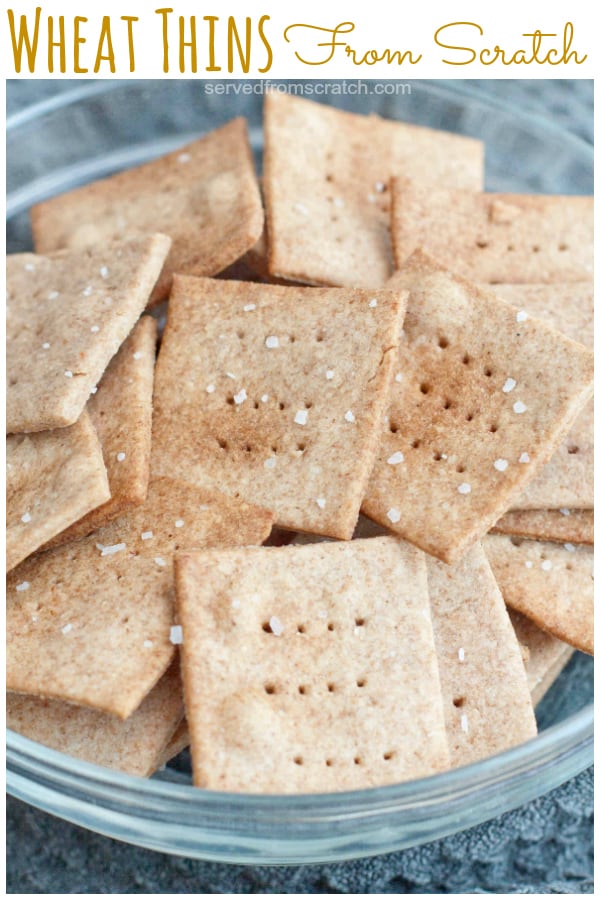
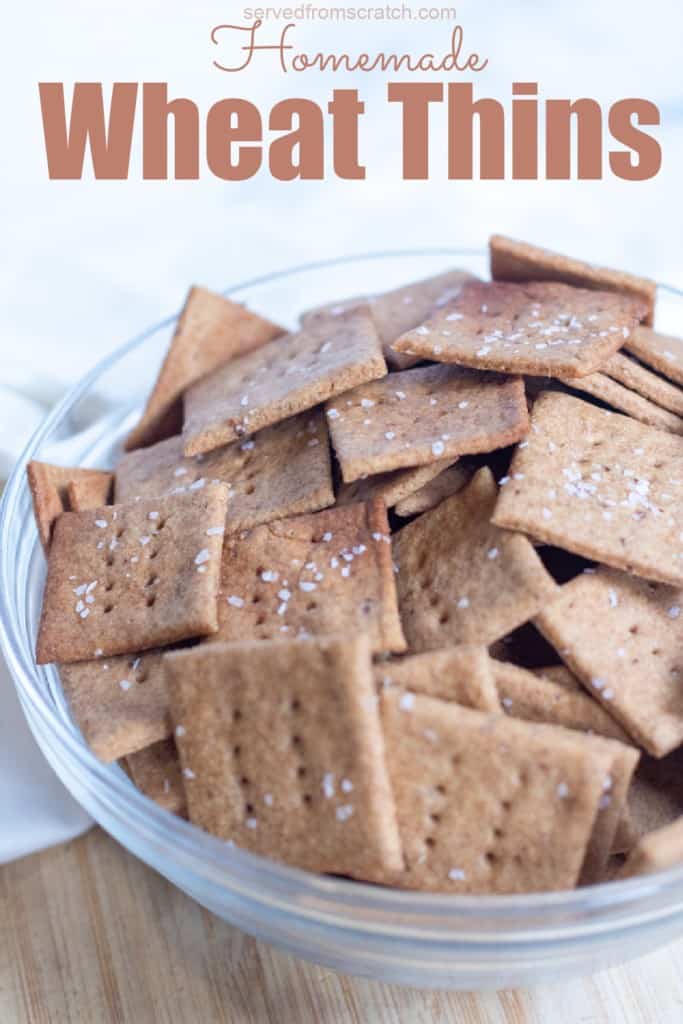
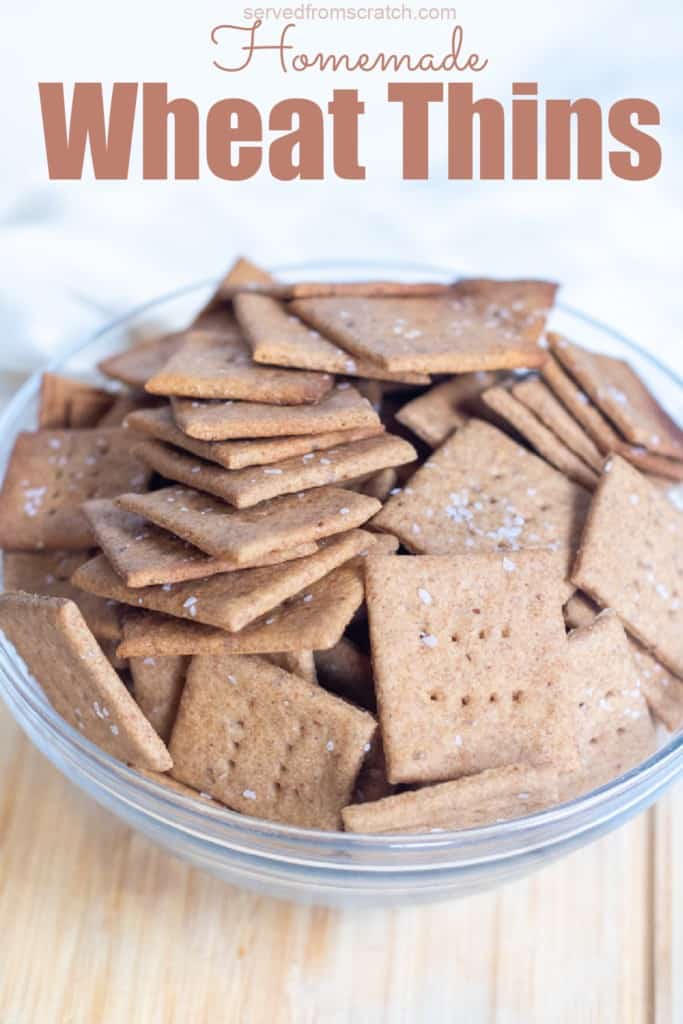
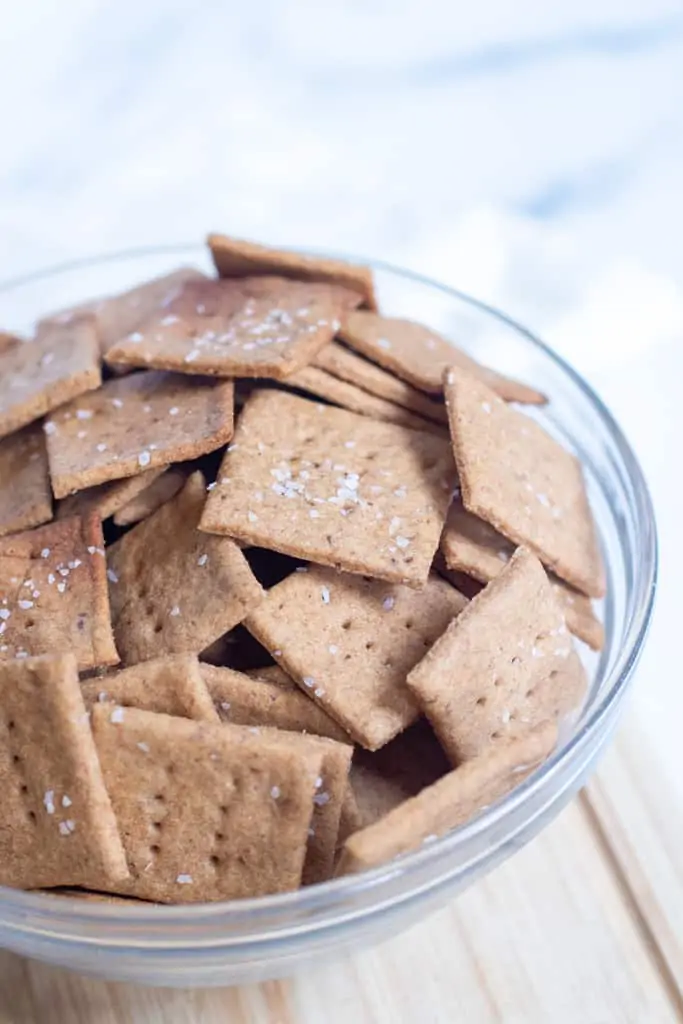
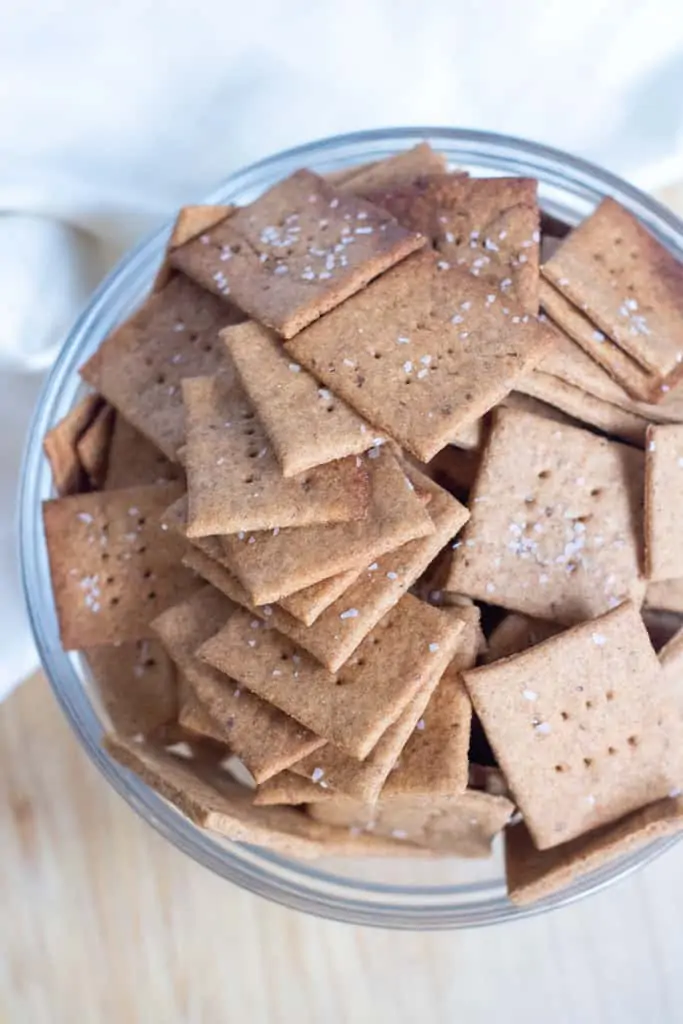
Thin, crispy, salty, and the perfect wheat flavor and crunch!
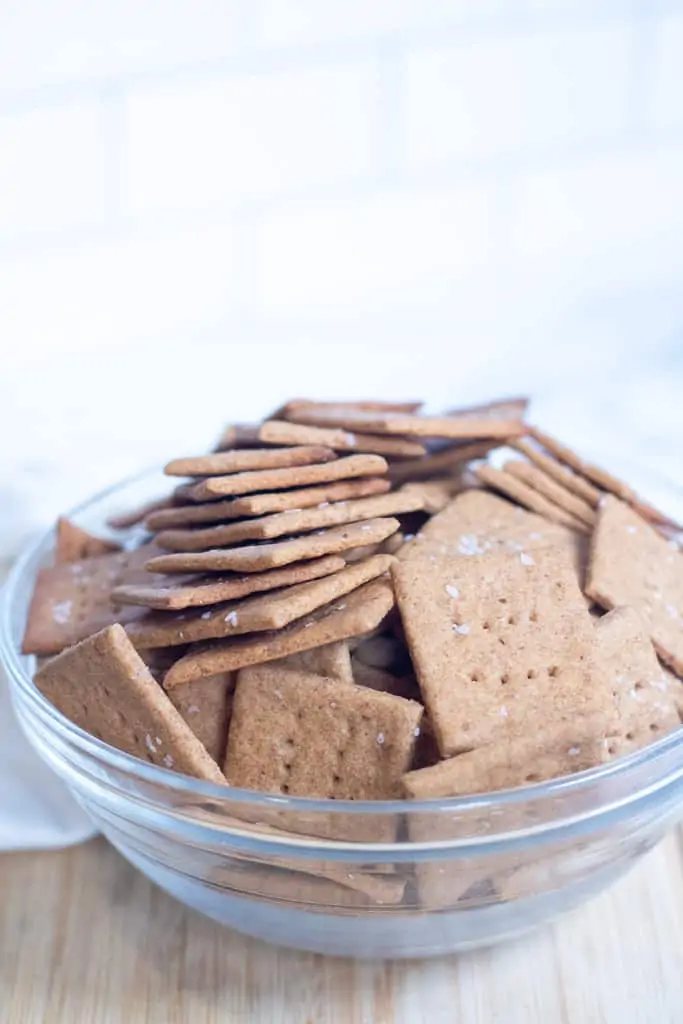
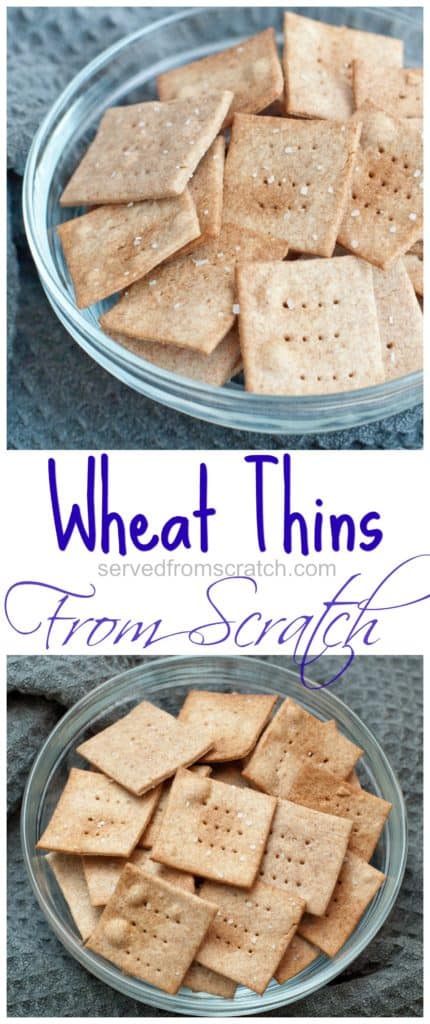
Healthy Homemade Wheat Thins! All the crunch, all the flavor and the texture!
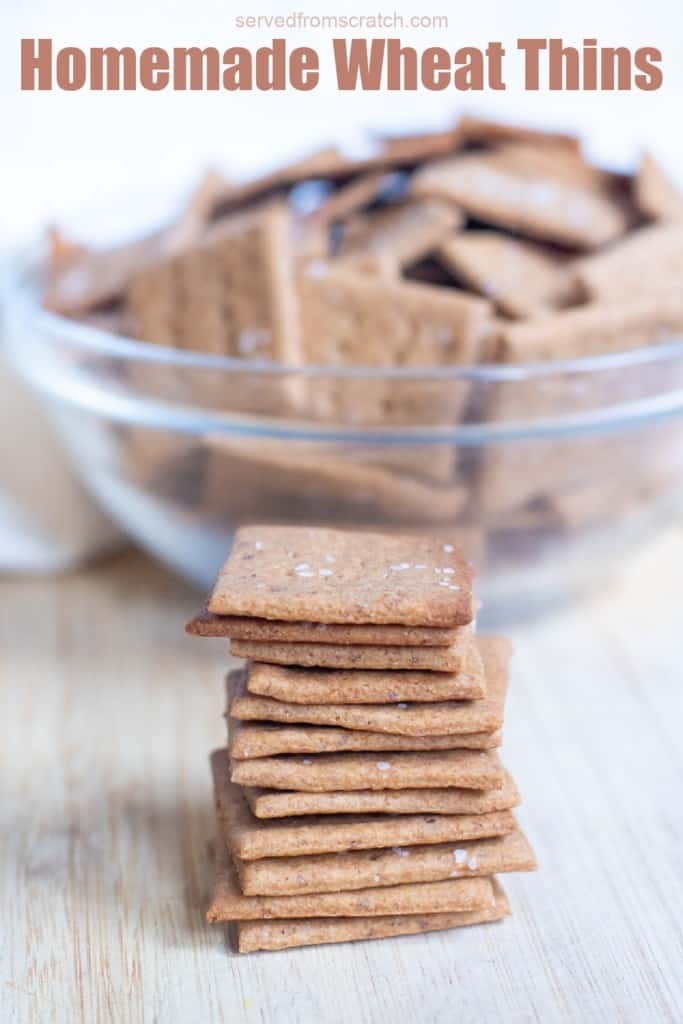
My girls love these homemade wheat crackers, and I absolutely love packing them into their school lunches, because I know they have added more nutrition and are healthier than that yellow boxed option.
Our Other Favorite Crackers
Sourdough Sesame Rye Crackers From Scratch
FAQs
Wheat germ is the part of the wheat that is usually milled out from refined grain products. It’s the part of the wheat that is responsible for the germination of the plant. While it is packed full of thiamin, folate, magnesium, phosphorus, and zinc. You can buy it here and if stored in the fridge, it can last over 8 months. This is really key to the texture of the cracker.
No problem If you don’t have ground flaxseed, that’s ok. Just substitute it for the wheat germ.
Definitely. We find the bread flour helps with the structure of the dough, but you can use all whole wheat flour.
As thin as possible! 1/16 of an inch or 1/8 of an inch at most. This is what will make perfectly crispy crackers!
Nope, you don’t. You can just cut out the crackers in a rough rolled dough, that’ll just mean that you’ll have a bunch of crackers that aren’t squares. If you want all square-sized crackers, then trimming the dough out to an even edged rectangle will be how you can make sure you have all uniform-sized crackers.
In our house, not very long because they’re gobbled up so quickly! But you can store them in an airtight container for up to 2 weeks. They stay the freshest and crispiest for the first week. Be sure to let them completely cool before storing.
Enjoy! If you make any of my recipes please let me know, I love to hear it! Find me on Facebook, Instagram, and Pinterest!

Wheat Thins From Scratch
Ingredients
- 2 cups whole wheat flour
- 1/2 cup bread flour
- 2 tablespoons sugar
- 2 tablespoon wheat germ
- 1 tablespoon ground flax seed
- 1/4 teaspoon baking soda
- 1 teaspoon find ground salt plus more for final dusting
- 1 tablespoon barley malt syrup
- 6 tablespoons cold unsalted butter cut into cubes
- 1/4 – 1/2 cup cold water
- 1-2 teaspoons coarse ground salt
Instructions
- Pre-heat oven to 400 degrees. Cut 2 pieces of parchment paper to fit baking sheet (or sheets if using two different sized sheets) and set aside.
- In a food processor, add the flour, sugar, wheat germ, flax seed, baking soda, salt Pulse a couple of times until well combined.
- Add the malt barley syrup and cold cubed butter and pulse a few times until dough becomes crumbly. While food processor is running, add the water very slowly , 1/4 cup to start and let it blend for about 15 seconds. If a ball of dough doesn't form, add just a tablespoon more at a time and let blend for 5-10 seconds. Stop once a dough ball forms.
- Remove dough from food processor and separate the dough in half. Add one half to one of the pre-cut parchment papers. Shape the dough into a rectangle and then roll it out with a rolling pin, keeping the shape as close to a rectangle as possible. Roll as thin as possible, about 1/16 or 1/8 of an inch. The dough may be a little sticky, use a little wheat flour on your rolling pin to keep it from sticking.
- Once dough is rolled out very thin, use pastry wheel to trim dough to even, straight edges. Use the trimmed dough to fill in other areas of dough to make rectangle on parchment paper. Roll flat and trimp. Repeat until dough is as close to an even rectangle as possible.
- Use pastry wheel to cut dough into 1 1/2 – 2 inch strips. Then again to create squares. Approxiately 8 colums and 8 rows. Pierce each square twice with a fork.
- Gently transfer parchment paper to baking sheet. Bake in baking sheets in oven for 7-10 minutes or until edges of crackers begin to brown.
- Let crackers completely cool and then store in an airtight container for up to two weeks.

I love wheat thins and now I can enjoy more at home.
I love wheat thins. These were terrific. I served them at my book club with some herb cream cheese and everyone loved them.
So great to hear, Beth!
Oh wow, I know that I’m going to make this over and over! I love wheat thins, so I am so happy I found this recipe. Thank you so much for sharing 🙂
Enjoy, Cathleen!
These homemade crackers are perfect for me. They have just the right texture and flavor.
Thanks so much, Andrea!
I am a big fan of wheat thins and knew that I had to make these. I’m so glad I did. They were so easy and delicious that I don’t think I’ll buy the store-bought kind again!
Great to hear, Michele!
I was happy to find these and really wish that they worked for us. I wonder if it was because I used White Whole Wheat Flour? 1/2 cup of water left the dough really dry. By the time (I think) I added enough by hand, they were difficult to roll thin which I’m sure is the culprit of them not being crisp after baking. I turned off my oven and allowed them to cool in the oven hoping they would crisp up. Yours look delicious! Rating reflects that I tried the recipe as written and it did not work out for me.
So sorry to hear that this didn’t work for you, Jessica. The flour shouldn’t have made a difference, but not being able to roll it thinly enough definitely is why they didn’t get crispy. Did you use a food processor or do it all by hand and cut in the butter? I’m surprised that with all of the butter it wasn’t soft enough to roll out. 🙁
Yummy! We’re big fans of crackers here too. I tried making them once. Let’s just say always pay attention to which jar is baking soda and which is baking powder!!
I’ve not make crackers like this for ages, a great reminder to make my own again – so delicious and so frugal to make your own.
I’m listing all things I can spread over this wonderful thins. Love this homemade version!
I did not realise how easy these were to make. I spend soooooooo much money buying thins like these.